Part of: Pocket Hole Joinery →
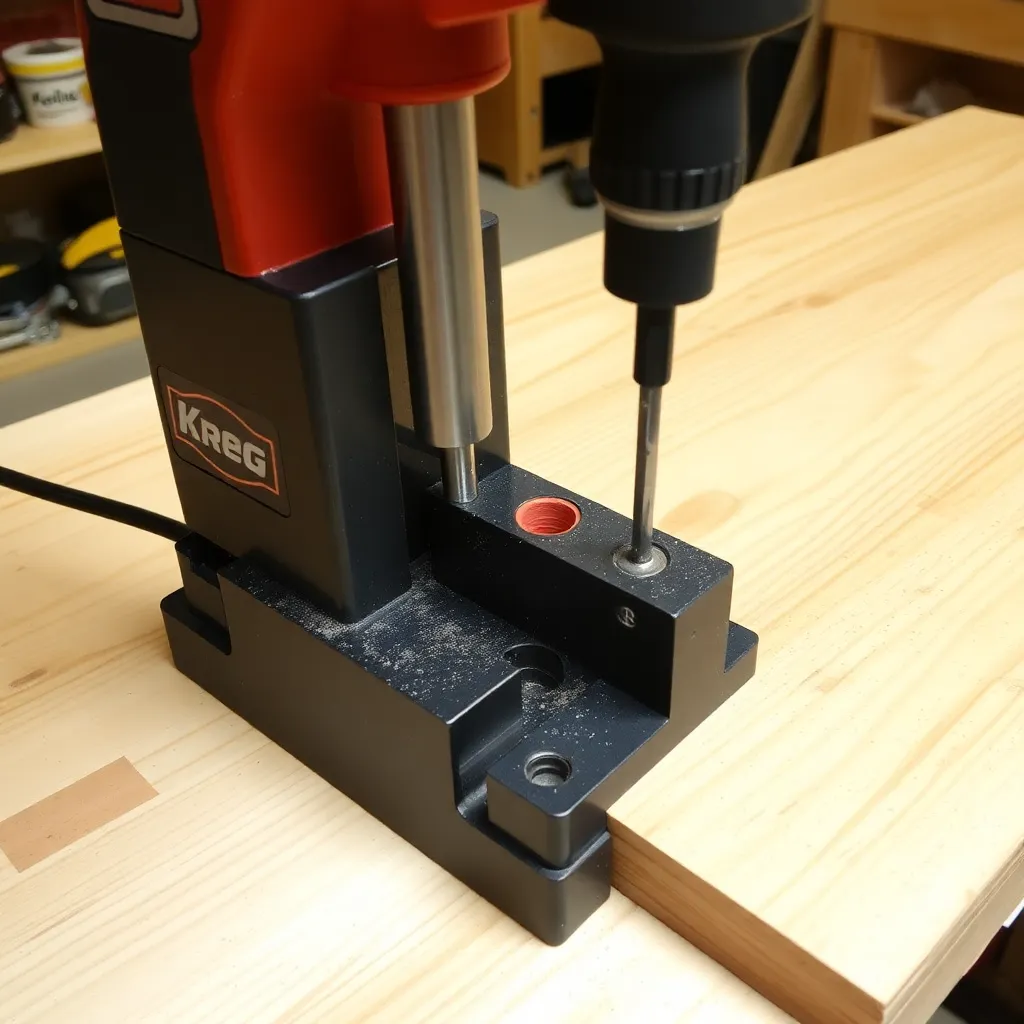
The Kreg pocket hole jig is the tool that made pocket hole joinery mainstream. Before Kreg’s jig system, pocket hole joints required a drill press and careful setup — now a carpenter at any skill level can drill consistent, properly-angled pocket holes in 30 seconds. The jig guides a stepped drill bit at a precise 15-degree angle through the workpiece, creating a pocket that accepts a self-tapping screw to join two pieces of wood without clamps, dowels, or complex joinery. This guide covers the full Kreg system: choosing the right jig, setting it up correctly, and driving screws for a strong, gap-free joint.
Ted’s Woodworking has 16,000+ plans that specify pocket hole locations and settings for every joint. Browse Ted’s plans →
Step 1: Choose the Right Kreg Jig Model
Goal: Select the Kreg jig that matches your workload and budget.
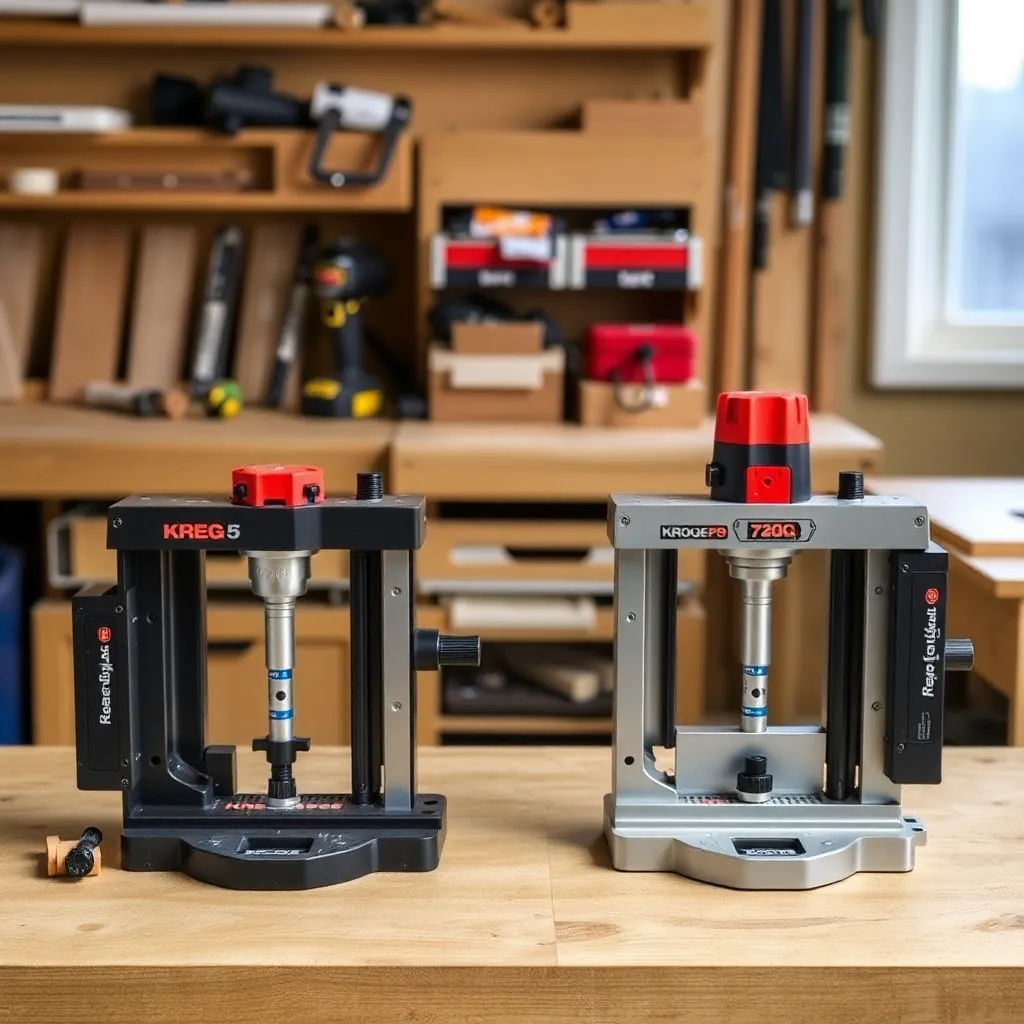
Kreg Jig K5 / K5 Master System:
The flagship model for serious hobbyists and professionals. Features: a built-in clamp that holds the workpiece while drilling (no separate clamp needed), a dust collection port, and a wider face plate that supports boards up to 1.5″ thick. The K5 drills two pocket holes at once (the standard spacing for most furniture work). Best for: anyone who uses pocket holes regularly and wants the fastest, most repeatable setup.
Kreg Jig 720Pro:
The current-generation replacement for the K5 in Kreg’s lineup. Includes an integrated clamp, material thickness gauge, and an easier depth-stop adjustment. Auto-set design allows one-handed material thickness adjustment. Best for: new buyers wanting the current production model.
Kreg Jig R3:
The entry-level model — a smaller jig without an integrated clamp. Requires a separate clamp to hold the jig against the workpiece. Slower and less repeatable than the K5 or 720Pro, but costs significantly less. Best for: occasional users who need pocket holes for a few projects per year and don’t want to invest in a full system.
Kreg Jig Mini:
The smallest model — designed for face frame joinery where space is constrained and only a single pocket hole is needed per joint location. No clamp; requires the workpiece to be secured separately. Best for: cabinet face frames and narrow stock where the standard jig won’t reach the joint location.
Kreg Foreman:
A benchtop drill press version of the pocket hole system — the workpiece slides in and the drill comes down, drilling automatically when the handle is pressed. Very fast for production work (cabinet face frames, furniture factories). Best for: professional shops drilling dozens of pocket holes per hour.
Milestone: Before buying, assess how many pocket holes you’ll drill per month and whether portability or speed matters more — the R3 is fine for occasional use; the K5/720Pro pays for itself in time savings once you’re drilling more than 20 holes per project.
Step 2: Set Material Thickness
Goal: Configure the jig for the thickness of the material being joined.
Why thickness setting matters:
The pocket hole must emerge from the edge of the board at the correct location — too far in and the screw won’t reach the mating piece; too far out and the screw will exit through the face of the mating piece. The Kreg system uses a stepped drill bit with a depth collar — the collar position controls how deep the bit drills, which controls where the pocket emerges.
Common thickness settings:
| Material Thickness | Drill Guide Setting | Collar Setting | Screw Length |
|---|
|——————-|——————–|——————–|————–|
| 1/2″ (12mm) | 1/2″ | Adjust accordingly | 1″ |
|---|---|---|---|
| 3/4″ (19mm) | 3/4″ | Adjust accordingly | 1-1/4″ |
| 1″ (25mm) | 1″ | Adjust accordingly | 1-1/2″ |
| 1-1/2″ (38mm) | 1-1/2″ | Adjust accordingly | 2-1/2″ |
Setting the drill guide (K5/720Pro):
Turn the adjustment dial or slide the guide block to match the material thickness marked on the jig face. The jig has clear markings for standard thicknesses — for 3/4″ material (the most common), set to 3/4″.
Setting the drill bit collar:
The stepped drill bit has a removable collar that stops the bit at the correct depth. Each Kreg jig includes a setup guide that shows where to set the collar for each material thickness. The collar clamps with a hex key — loosen, set depth, retighten.
For the 720Pro: the 720Pro has an auto-set feature that links the guide block and collar setting — adjusting one adjusts both. A significant improvement over the K5 for speed.
Milestone: Before drilling the first hole on project stock, drill two test holes in scrap of exactly the same thickness. Drive a screw into a second scrap piece and verify that the screw is flush with the face — not poking through and not leaving a gap.
Step 3: Drill the Pocket Holes
Goal: Drill clean, consistent pocket holes at the correct location on the workpiece.
Positioning the jig:
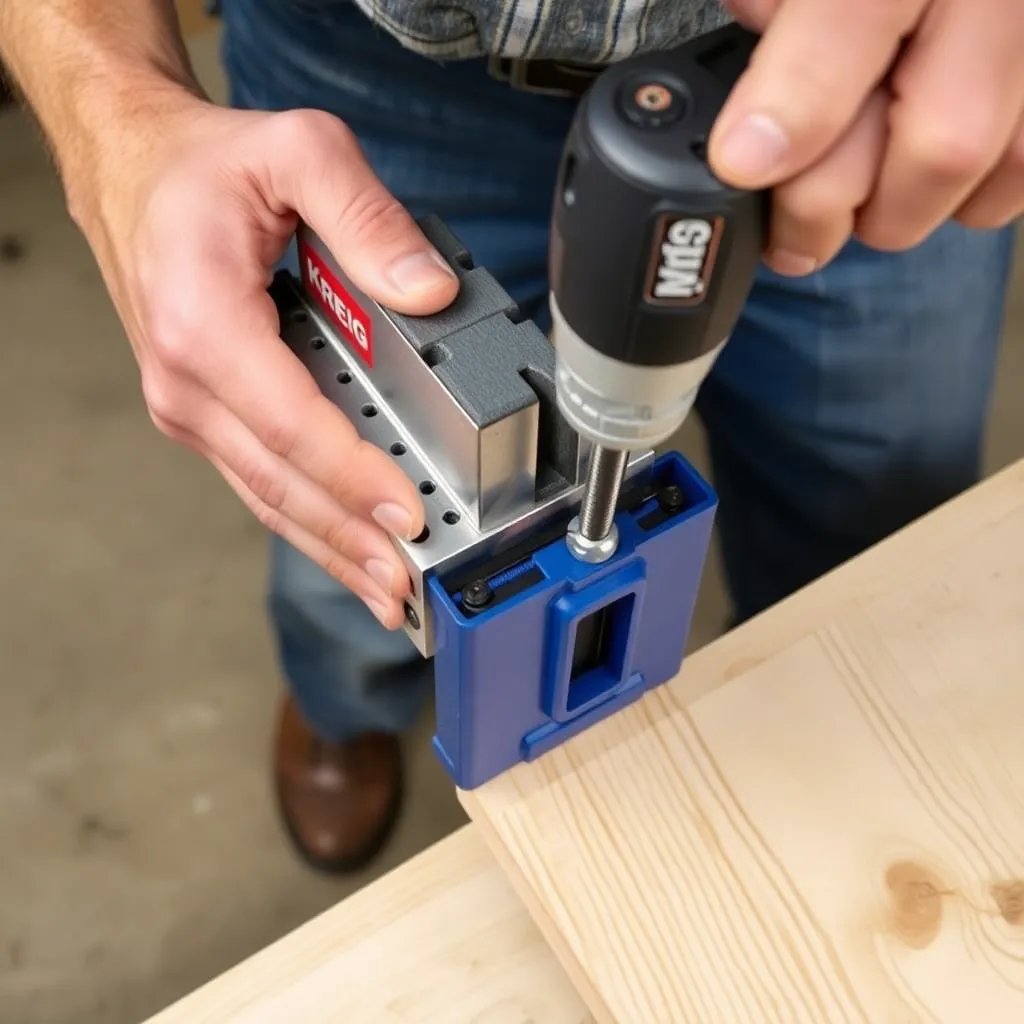
The jig clamps onto the end or edge of the board that will have the pocket holes. For a face frame stile-to-rail joint: clamp the jig onto the end of the rail (the horizontal piece), with the holes positioned to go into the stile (the vertical piece). The pocket holes are always drilled in the piece that connects to the other — think of them as the “receiving” side’s connector.
Hole positioning:
For most joints, drill pocket holes approximately 1″ to 1-1/2″ from each edge of the board. For narrow stock (under 2″): one hole centered. For wider stock: space holes every 6-8″ along the joint.
Drilling technique:
- Set the jig thickness and collar as described in Step 2
- Clamp the jig onto the workpiece (built-in clamp on K5/720Pro; separate clamp for R3)
- Insert the Kreg stepped drill bit into the drill chuck
- Run the drill at medium-high speed (800–1200 RPM)
- Push the bit into the guide hole with steady, moderate pressure — the stepped bit creates the pocket hole and the pilot hole in one pass
- Withdraw the bit and move to the next hole location
Drill speed: a lower speed produces a cleaner hole. Very high RPM can cause the wood to heat and the pilot hole to tear. 800-1200 RPM is the sweet spot for most drill/driver settings.
Tearout on the pocket opening: if the pocket opening (the wide end where the screw head sits) is tearing out, the drill bit is dull. Kreg stepped bits have a limited lifespan (approximately 500 holes for softwoods, fewer for hardwoods) — replace when tearout increases.
Milestone: Drill 6 test holes in a scrap board, varying the position. All holes should have clean openings, consistent depth, and no tearout.
Step 4: Drive the Pocket Hole Screws
Goal: Drive the screw to create a strong, gap-free joint.
Kreg pocket hole screws:
Kreg screws are self-tapping (they cut their own thread) and have a flat-bottomed head (the “maxi-loc” head) that fits the pocket hole seat. Don’t substitute drywall screws or standard wood screws — they don’t fit the pocket seat correctly and will not produce a strong joint. Use Kreg screws or equivalent pocket-specific screws.
Coarse vs fine thread:
- Coarse thread: for softwoods (pine, fir, poplar, MDF) — the coarse thread grabs the soft fibers more effectively
- Fine thread: for hardwoods (oak, maple, birch, cherry) — the finer thread is less likely to strip the harder wood fiber
Assembly procedure:
- Apply wood glue to the mating surfaces (optional for shop furniture; strongly recommended for anything structural)
- Position the two pieces in the correct alignment — clamp them if needed; a Kreg face clamp or Kreg right-angle clamp holds parts in position while driving screws
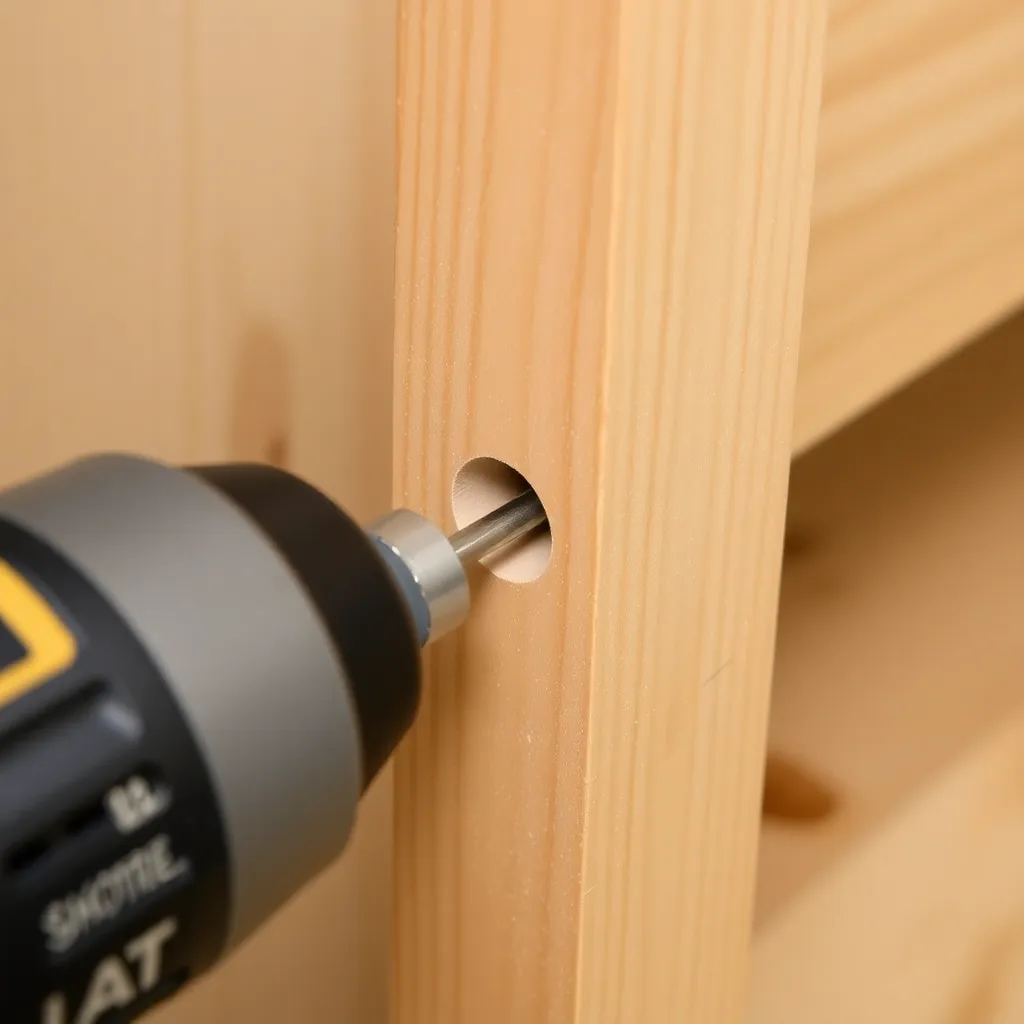
- Drive the screw with a drill/driver set to medium-low torque — the pocket hole screw is self-tapping and can strip the pocket if driven with too much torque
- Drive until the head is seated in the pocket — the flat head should be fully seated in the pocket with no gap between head and pocket wall
- Don’t over-tighten — the screw seats firmly when the joint is pulled together; additional torque just strips the wood
The square driving bit: Kreg pocket screws require a #2 square (Robertson) driver bit — not Phillips, not Torx. A Kreg pocket hole kit includes the correct bit. Keep a spare; it’s the most commonly worn part of the system.
Milestone: Drive a screw into the test joint from Step 3. The two pieces should pull together with no gap; the joint should feel solid when you try to flex it.
Step 5: Troubleshoot Common Pocket Hole Problems
Goal: Identify and fix the most common pocket hole joinery failures.
Gap at the joint face:
The pieces aren’t pulling together. Causes: (1) the parts aren’t clamped together during assembly — the screw is pulling but one piece is moving away; (2) the screw length is too short for the material thickness. Fix: clamp both pieces firmly before driving; verify screw length matches material thickness setting.
Screw exits through the face:
The pocket is too shallow — the drill collar is set for thicker material than the actual workpiece. Fix: adjust the collar deeper (to match thinner material) and redrill. Existing through-exit: fill with wood putty and redrill if the position allows.
Joint feels weak or can be racked easily:
Pocket hole joints resist pull-apart force well but are weak in racking (the joint swinging side to side). Solution: glue the mating surfaces before assembly. A glued pocket hole joint is as strong as most other woodworking joints; an unglued pocket hole joint is significantly weaker.
Wood splitting near the pocket:
Pocket too close to the edge of the board. The minimum edge distance for a pocket hole is approximately 1/2″. Move the pocket location toward the center of the piece width.
Screw strips the pocket:
Over-torque or misaligned driver. Use the torque clutch on the drill (set 2-3 steps below full) and ensure the driver bit is seated fully in the screw head before driving.
Milestone: On the first project using pocket holes, drive a test joint in scrap and verify pull-apart strength (should resist significant force) and racking (will flex without glue; rigid with glue). This calibrates expectations before working on actual project parts.
Kreg Pocket Hole Jig FAQ
What screws do I use with the Kreg pocket hole jig?
Use Kreg-brand pocket hole screws or equivalent pocket hole specific screws. Standard drywall screws, decking screws, or general wood screws don’t fit the flat-bottomed pocket seat correctly — they’ll produce a weaker joint and may cause the wood to split. Kreg sells screws in coarse thread (for softwoods and sheet goods) and fine thread (for hardwoods) in lengths from 1″ to 2-1/2″. The correct screw length depends on the material thickness: 3/4″ material → 1-1/4″ screws; 1-1/2″ material → 2-1/2″ screws. The Kreg screw selector chart (on the Kreg website and printed on the jig) matches material thickness to screw length.
What is the difference between the Kreg K5 and the 720Pro?
The 720Pro is the current-production replacement for the K5. Both have the integrated clamp and two-hole drilling capability. The 720Pro adds an auto-set thickness adjustment (one adjustment sets both the guide block and the drill bit collar simultaneously, reducing setup errors), a simplified depth-stop adjustment, and a slightly updated clamp design. The K5 is still widely available used and at discounted new prices and performs identically for the drilling function — the 720Pro is simply faster to set up. Buy the 720Pro new; buy the K5 used if the price difference is significant.
Can I use pocket hole joinery for face frames?
Yes — face frames are the original application that made Kreg famous. Drill pocket holes into the ends of the horizontal rails, then drive screws into the vertical stiles. The result: a face frame that can be assembled flat on the bench in minutes without clamps waiting for glue to dry. The Kreg Foreman (benchtop model) is designed specifically for high-volume face frame production. For shop furniture and occasional face frames: the K5 or 720Pro handles the job perfectly. For a standard kitchen’s worth of cabinet face frames: the benchtop Foreman saves significant time.
Is pocket hole joinery strong enough for furniture?
Yes, for most furniture applications — with glue. A properly made pocket hole joint with glue resists pull-apart, shear, and bending forces adequately for chairs, tables, bed frames, and cabinets. The limitation is racking resistance (the joint swinging side to side) — pocket holes are weaker in this direction than mortise-and-tenon or dovetail joints. In furniture design, racking is typically handled by the panel (a back or side panel prevents racking) or by the overall geometry of the piece (diagonal bracing). For a simple cabinet or face frame where racking is handled by the cabinet back: pocket holes with glue are completely adequate. For a chair or structural element that must resist racking on its own: combine pocket holes with a panel, diagonal stretcher, or use mortise-and-tenon for those specific joints.

“DIY woodworking enthusiast who started with zero experience and a YouTube tutorial.
I build simple, practical projects for my home and share free plans
so other beginners can skip the guesswork.If I can build it, you can too.”