Part of: Pocket Hole Joinery →
A pocket hole jig is the fastest way to join two pieces of wood without visible fasteners or complex joinery. The jig guides a stepped drill bit at a 15-degree angle into the end or edge of a board, creating an angled pocket that accepts a self-tapping screw. When driven into the mating piece, the screw pulls the joint tight without waiting for glue to dry, without dowels, and without a mortise chisel. It’s the tool that makes building face frames, cabinet boxes, furniture carcasses, and bed frames accessible to woodworkers at every skill level.
Ted’s Woodworking has 16,000+ plans that include pocket hole placement and screw specifications for every joint. Browse Ted’s plans →
Step 1: Understand What a Pocket Hole Jig Does
Goal: Know when pocket hole joinery is the right choice and when it isn’t.
How it works:
The pocket hole jig guides a stepped drill bit at a precise 15-degree angle through a workpiece. The stepped bit creates two things simultaneously: a wide angled pocket (where the screw head will seat) and a narrower pilot hole (through which the screw shank passes). The screw goes in at an angle through one piece (the “pocket” piece) and bites into the mating piece, pulling the two together as it drives.
What pocket holes do well:
- Face frame joinery (stiles and rails) — the most common application
- Cabinet carcass assembly (attaching shelves, dividers, and top/bottom panels)
- Furniture frames (bed rails, table aprons, chair frames)
- Attaching workpieces where clamp access is limited
- Any joint that needs to be assembled flat without a helper holding parts
What pocket holes don’t do well:
- Edge-to-edge glue joints (not needed — just glue works better)
- Joints where the fastener will be visible and can’t be plugged
- Applications requiring maximum racking resistance without a panel (mortise-and-tenon is better here)
- Very thin stock (under 1/2″) where the pocket hole would exit through the face
When glue is required:
Pocket hole joints are mechanical fasteners — the strength comes from the screw. With glue, a pocket hole joint is strong enough for almost all furniture applications. Without glue, it has significant racking weakness. Always add glue to structural joints; skip glue only for temporary assemblies or jigs.
Milestone: Before drilling, identify which piece gets the pocket holes (always the piece that connects to the other, not the piece it connects to) and whether glue will be used for this joint.
Step 2: Set Up the Pocket Hole Jig
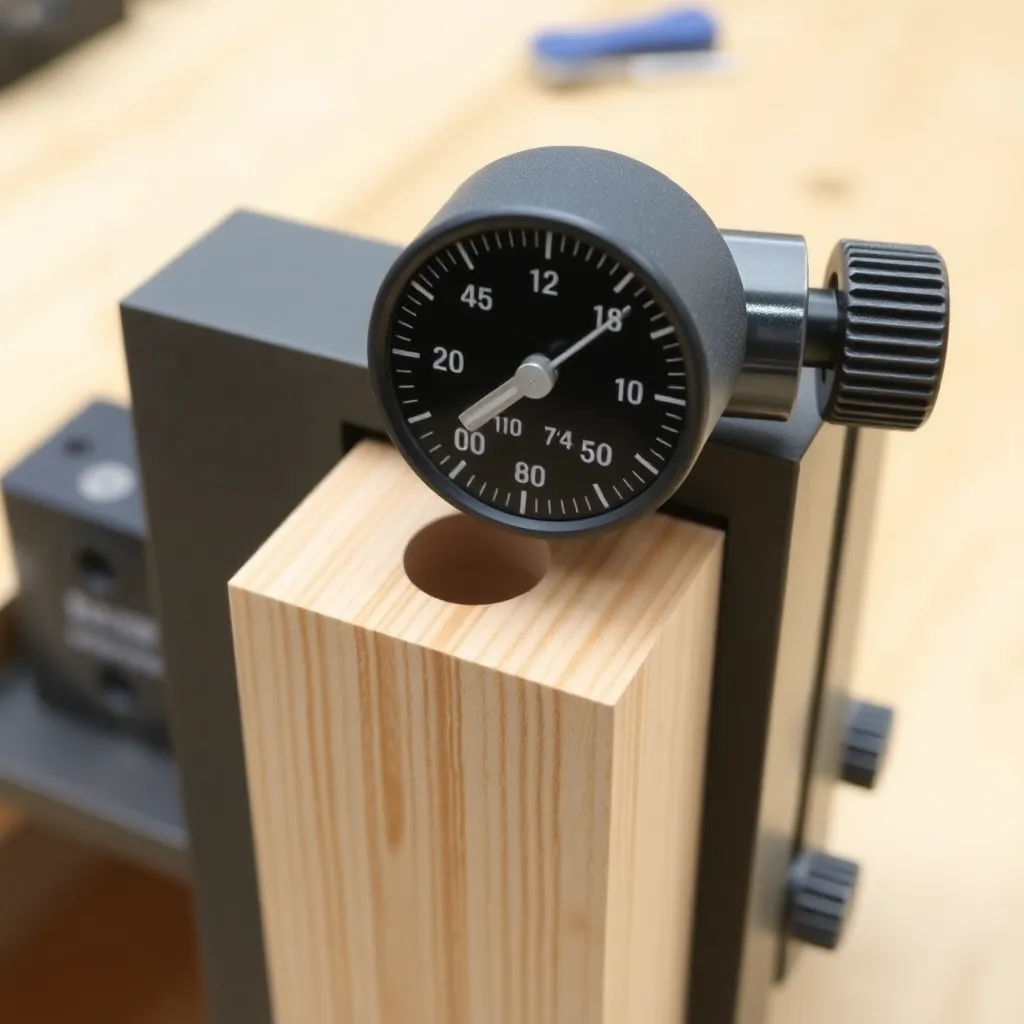
Goal: Configure the jig correctly for the material thickness being joined.
The thickness setting is the critical setup step:
Pocket holes must emerge at the correct location on the board edge — if the collar is set too deep or too shallow for the actual material thickness, the screw either won’t reach the mating piece or will exit through its face.
Finding the material thickness:
Measure the actual thickness of the workpiece with calipers or a ruler. Nominal lumber dimensions don’t match actual dimensions — 3/4″ plywood might measure 23/32″ (0.719″); 1x pine boards nominally 3/4″ may measure anywhere from 11/16″ to 3/4″. Measure each material, especially when switching between plywood and solid wood.
Setting the jig (Kreg-style):
- Loosen the drill guide block and slide it to the mark matching your material thickness (most jigs have marks for 1/2″, 3/4″, 1″, 1-1/2″)
- Adjust the drill bit’s depth collar to the corresponding setting (the jig’s setup guide shows where to position the collar for each thickness)
- Lock both settings — the guide block clamp and the collar hex key
Setting the jig (generic/import jigs):
Import pocket hole jigs often have simpler adjustment mechanisms — typically a single stop screw that limits drill depth. Consult the included chart, or drill test holes and measure where the pocket emerges before proceeding to project stock.
Milestone: For each new material thickness used in a project, drill two test holes in scrap of exactly that thickness. Drive a screw into a second scrap piece and check: screw seated in pocket (not above it), no screw exit through the face, joint pulls tight.
Step 3: Drill Pocket Holes
Goal: Drill clean, consistent pocket holes at the correct positions.
The drilling tool:
Pocket holes require the stepped drill bit that comes with the jig — a standard twist bit won’t create the correct stepped profile. The stepped bit has a wide section (creates the pocket) and a narrower section (creates the pilot hole). Use only the correct stepped bit for the jig system.
Securing the workpiece:
The jig must be clamped firmly to the workpiece during drilling — if the jig moves, the angle changes and the hole position shifts. Options:
- Built-in clamp (K5, 720Pro, and other premium jigs) — fastest; one-handed operation
- F-clamp or C-clamp holding the jig against the workpiece
- Bench vise holding the workpiece while you press the jig by hand (less repeatable)
Hole positioning guidelines:
- Face frame rails (horizontal pieces): pocket holes in the end of the rail, spaced 1″ from each edge of the rail width. For rails wider than 3″: add a center hole.
- Shelf pin attachment: pocket holes in the shelf end, 1″ from each face (top and bottom). Drives into the cabinet side panel.
- Table aprons: pocket holes on the inside face of the apron at each corner, angled to drive into the leg. Space multiple holes 4-6″ apart along long aprons.
- Carcass assembly: pocket holes in the end of the horizontal panel (shelf or top), driving into the vertical panel (side).
Drilling:
- Position the jig at the correct location on the workpiece
- Clamp securely
- Run the drill at 800-1200 RPM (medium-high speed)
- Insert the stepped bit into the guide hole and advance steadily
- The bit stops automatically when the collar contacts the jig
- Withdraw the bit; unclamp and reposition for the next hole
Milestone: Drill 6 pocket holes on a scrap board without repositioning the drill speed or pressure — all six should be identical depth and angle.
Step 4: Assemble the Joint
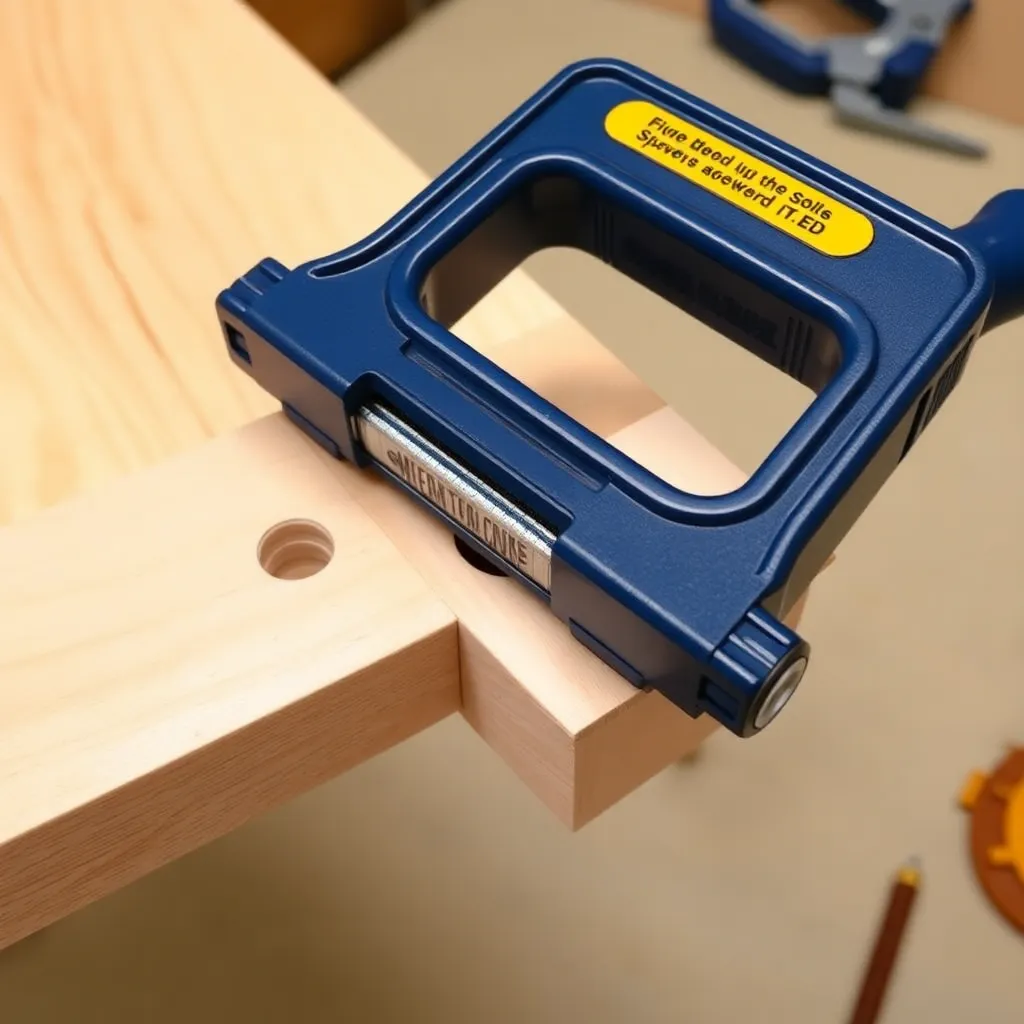
Goal: Join the two pieces accurately with pocket hole screws.
Apply glue:
Run a thin bead of wood glue along the mating face of the joint before assembly. Spread it evenly with a finger or brush — it should cover the full mating surface but not squeeze out excessively. For face frames: apply glue to the end grain of the rail (less critical, since end grain absorbs glue) and to the face of the stile where the rail meets it.
Alignment:
Position the two pieces in the correct alignment. The most common pocket hole assembly problem is parts shifting slightly as the screw is driven — the screw pulls the joint together but also tends to pull the parts out of flush alignment. Prevent this:
- Clamp both parts to a flat surface before driving (a Kreg face clamp is designed for this)
- Use a right-angle clamp for frame corners
- Have a helper hold the parts in position
Drive the screws:
- Set the drill/driver to medium-low torque (the torque clutch setting — typically 3-5 notches below maximum)
- Insert the #2 square drive bit
- Drive the screw until the head seats in the pocket — you’ll feel the resistance increase as the joint pulls tight
- Don’t over-drive — the screw seats when the head is flush with the pocket wall; additional torque strips the wood fiber
Check alignment after each screw:
Drive the first screw, check that the joint faces are flush (run a finger across the joint — any mismatch is felt immediately), then drive remaining screws. Correcting alignment after all screws are driven is difficult; catching it after the first screw is easy.
Milestone: Assemble a test joint in scrap. The joint face should be flush (no step), the parts should be perpendicular or parallel as intended, and there should be no gap between the pieces.
Step 5: Fill or Plug Pocket Holes
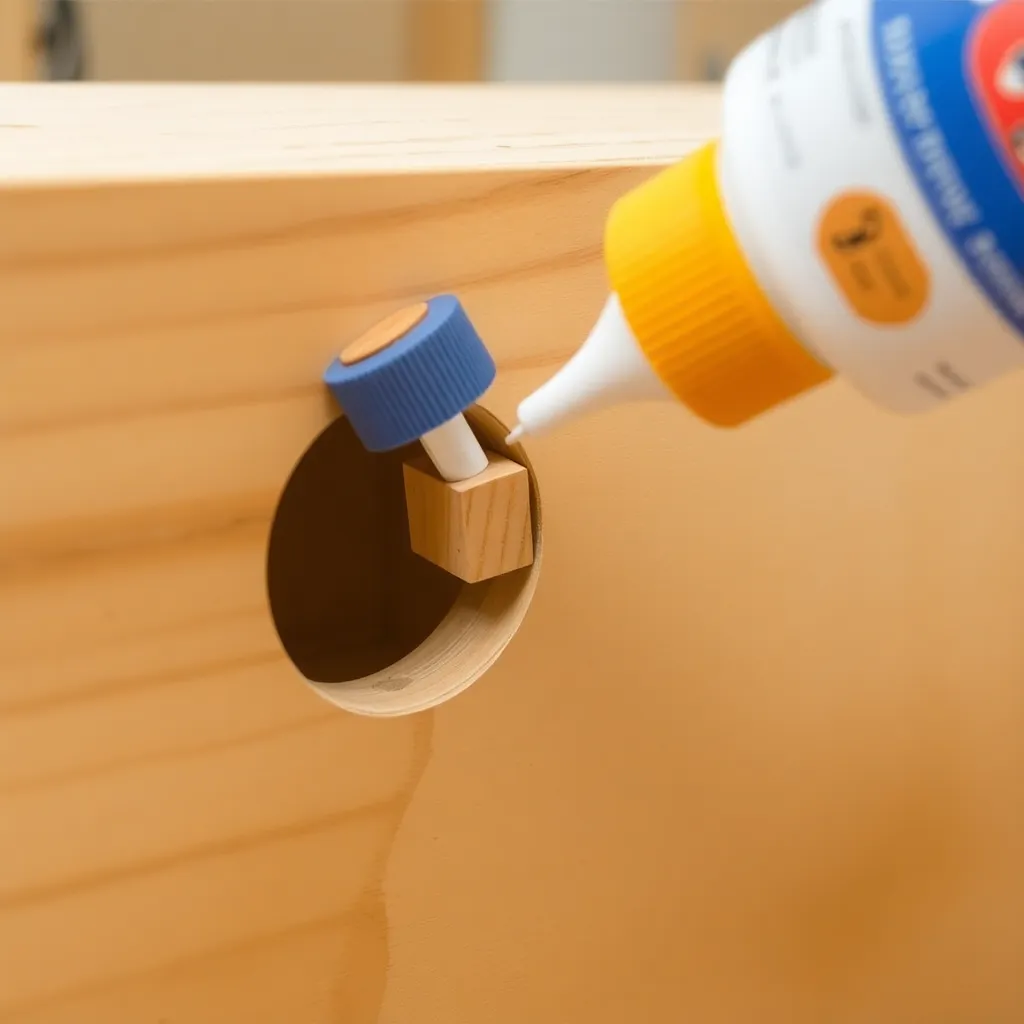
Goal: Conceal the pocket holes on visible surfaces.
Pocket hole plugs (best result for stained wood):
Kreg and other suppliers sell pre-made pocket hole plugs that fit the standard pocket hole opening exactly. Available in common species (oak, maple, cherry, pine) and in paint-grade (a generic wood plug for painted applications). Press the plug into the pocket hole with a thin film of glue and let dry. Sand flush with the surrounding surface after the glue cures. For stained wood: choose a plug from the same species (or dye a closer-grained plug to match) and align the grain direction with the surrounding wood grain for the least-visible result.
Wood filler (for painted surfaces):
For any surface that will be painted: fill the pocket hole with lightweight spackle or wood filler. Press in, overfill slightly, allow to dry, sand flush. Prime and paint. The filled pocket hole is invisible after painting.
Strategic placement (best approach):
Before drilling, position pocket holes so they’ll be hidden in the assembled piece: inside a cabinet (pocket holes face the interior), on the underside of a tabletop, or on the back face of a frame. Many professional builders never plug pocket holes because they plan the hole locations to be automatically hidden.
Milestone: Examine the assembled test piece and identify which pocket holes are visible in the finished assembly. Plan hole locations on the actual project to minimize visible pockets before drilling.
Step 6: Clean and Maintain the Jig
Goal: Keep the pocket hole jig and bit in good working condition.
Drill bit maintenance:
The stepped bit is a consumable. Signs of a worn bit: tearout at the pocket opening, burning (smoke during drilling), resistance that requires more force than normal. Replace the bit when these signs appear — a new Kreg bit costs $10-15 and restores full performance. Don’t try to sharpen the stepped bit at home; the complex stepped geometry requires dedicated equipment.
Jig cleaning:
Wood chips and dust accumulate in the guide holes and adjustment mechanisms. Blow out with compressed air after every use. Keep the guide holes clear — chips in the guide deflect the bit and produce angled holes that don’t match the expected position.
Clamp maintenance:
The integrated clamp on K5/720Pro models has a rubberized pad that wears over time. Replace the pad when it no longer grips the workpiece firmly — Kreg sells replacement pads. A worn pad allows the workpiece to shift during drilling, producing inconsistent hole positions.
Storage:
Store the jig and bits in the included case to keep the guide holes clean and the bit protected. Storing the jig loose in a toolbox allows dust to pack into the guide holes.
Milestone: After each project, blow out the jig, check the clamp pad condition, and store in the case. A well-maintained jig remains accurate and consistent for years.
Pocket Hole Jig FAQ
What size pocket hole jig should I buy?
For most hobbyist woodworkers: the Kreg K5 or 720Pro is the right choice. Both have an integrated clamp, drill two holes simultaneously, and accommodate the full range of material thicknesses (1/2″ to 1-1/2″). The R3 is fine for occasional use but slower and less repeatable. Import jigs (from Amazon, Harbor Freight, etc.) are significantly cheaper and work adequately for occasional use, but the guide hole tolerance and clamp quality are lower — they produce usable joints but with less consistency than the Kreg system.
What is the correct screw length for pocket hole joinery?
The correct screw length depends on material thickness: 1/2″ material → 1″ screw; 3/4″ material → 1-1/4″ screw; 1″ material → 1-1/2″ screw; 1-1/2″ material → 2-1/2″ screw. The rule: the screw must pass through the pocket piece and penetrate the mating piece by at least 3/4″. Too short: the joint is weak (insufficient penetration); too long: the screw exits through the face of the mating piece. When joining pieces of different thicknesses: size the screw for the thinner piece (the one without the pocket holes).
Can pocket holes be used in plywood?
Yes — pocket holes work well in plywood, particularly Baltic birch and furniture-grade plywood. Use coarse-thread screws for plywood (the coarse thread grips the plywood layers better than fine thread). Avoid driving pocket holes into the thin face veneer of plywood — the pocket should be drilled into the edge or end of the plywood panel, not through the face. For attaching plywood shelves to a plywood cabinet side: drill pockets in the shelf end (the edge), drive into the cabinet side face. The screw engages the plywood core layers for a strong grip.
How many pocket holes do I need per joint?
For most joints: 2 pocket holes, spaced 1″ to 1-1/2″ from each edge. This provides adequate pull-apart and shear resistance for furniture-scale loads. For wider joints (over 6″): add additional holes every 6-8″ along the joint. For narrow stock under 2″: one centered hole is sufficient. The critical factor is that each hole engages solid wood (not a void, knot, or the edge of a panel). When in doubt, add more holes — pocket screws are inexpensive and drilling time is minimal.

“DIY woodworking enthusiast who started with zero experience and a YouTube tutorial.
I build simple, practical projects for my home and share free plans
so other beginners can skip the guesswork.If I can build it, you can too.”