Wood joinery is the art of connecting two pieces of wood together — with mechanical interlocking joints, with hardware, or with fasteners — in a way that creates structural strength, resists the forces applied to the joint, and achieves the aesthetic the project requires. The joinery you choose determines not just how strong the piece is, but how long it lasts, how it moves with seasonal wood movement, and whether it can be repaired decades later. This guide covers the essential joinery techniques every woodworker needs to know.
Ted’s Woodworking has 16,000+ plans with complete joinery details, cut lists, and step-by-step instructions. Browse Ted’s plans →
Dovetail Joint
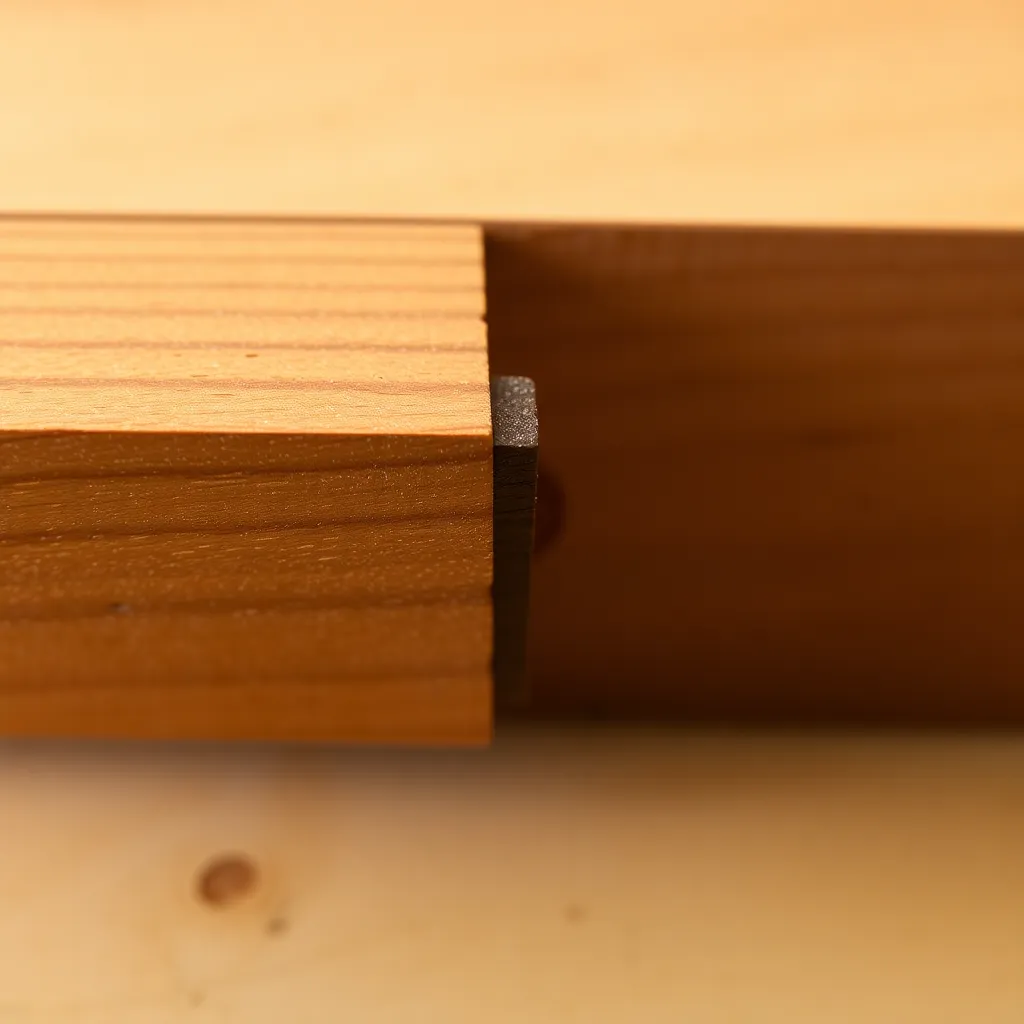
The dovetail is the signature joint of fine woodworking — interlocking trapezoidal tails and pins that create a mechanical connection requiring no fasteners and virtually impossible to pull apart in the direction of stress. Hand-cut dovetails announce a maker’s skill more clearly than any other technique; machine-cut dovetails provide the same strength at a fraction of the time. Used in drawer construction, carcase joinery, and tool chests.
What’s covered: the anatomy of a dovetail (tails, pins, baselines), through-dovetail vs half-blind dovetail (through-dovetails show from the side; half-blind hide in drawer fronts), the hand-cut process (marking, sawing the tails, transferring to pins, chopping the waste), router dovetail jigs (Leigh, Porter-Cable, Keller), and the common dovetail ratios (1:6 for softwoods, 1:8 for hardwoods).
The defining characteristic: the trapezoidal shape of the tails means the joint resists tension in one direction — pulling the two pieces apart in line with the tails. In a drawer box, the drawer front pulls against the sides every time the drawer opens; the dovetail joint resists exactly this force indefinitely.
Mortise and Tenon Joint
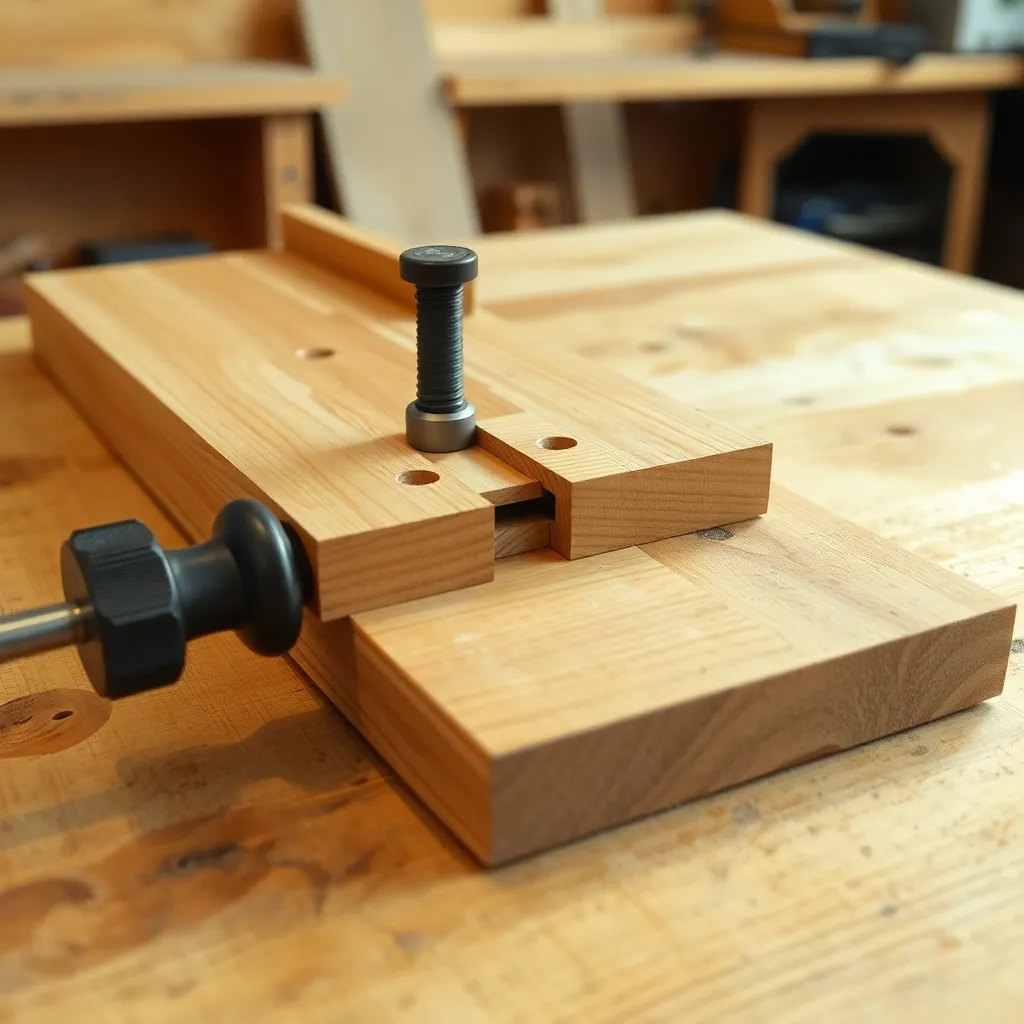
The mortise and tenon is the fundamental structural joint of furniture woodworking — used in chair legs, table aprons, frame-and-panel construction, and timber framing. A rectangular projection (the tenon) fits into a matching rectangular cavity (the mortise), creating a mechanical lock that resists racking and tension. With glue, it’s one of the strongest wood joints in existence.
What’s covered: mortise layout and cutting methods (hollow chisel mortiser, router, hand chisels), tenon cutting (table saw with tenoning jig, router table, hand saw and shoulder plane), the critical fit (the tenon should slide into the mortise with hand pressure — no slop, no forcing), drawboring (driving a slightly offset peg through the joint to pull it tight), and proportions (tenon thickness typically 1/3 of stock thickness).
Variations: through-mortise (the tenon passes completely through and is visible on the other side — traditional for legs and stretchers); stub mortise (the mortise doesn’t break through — concealed joint); haunched mortise-and-tenon (a small shoulder on the tenon fills the groove in frame-and-panel construction).
Miter Joint
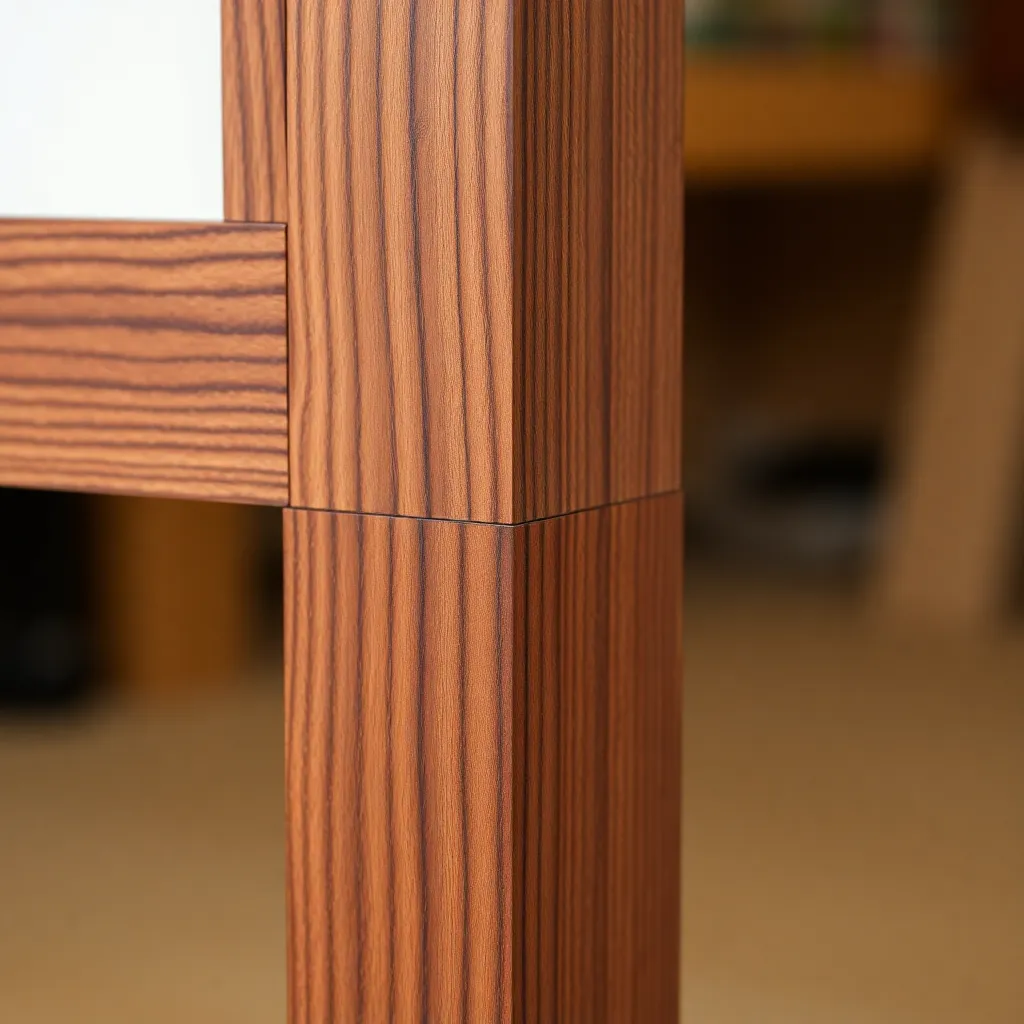
The miter joint meets two pieces at an angle — typically 45 degrees to form a 90-degree corner — hiding the end grain of both pieces. Picture frames, door casings, crown moldings, and cabinet face frames all use miter joints where appearance requires no visible end grain at corners. The weakness of the miter is its glue surface: end grain to end grain bonds are the weakest glue joint in woodworking.
What’s covered: cutting accurate miters (the miter saw is the standard tool; a table saw sled handles wide panels), the glue-up challenge (clamping miters requires specialized clamps or tape), reinforcing miters (splines, biscuits, dominos, or corner blocks that add long-grain glue surface), compound miters (two-angle cuts for crown molding and multi-sided frames), and keyed miter joints (a visible spline across the outside corner that becomes a decorative element).
The spline reinforcement: cut a thin slot across the miter joint on the table saw (the joint held in a simple V-sled) and glue in a thin spline of contrasting wood. The spline adds long-grain glue surface to what was an end-grain joint, dramatically increasing strength. Visible from the outside, it becomes a design element.
French Cleat
The French cleat is a two-part wall mounting system — a strip of plywood ripped with a 45-degree bevel on one edge, with matching strips mounted to the wall and to the back of whatever is being hung. The bevels interlock: the wall strip points up and out; the object strip points down and in; they hook together and gravity holds the object in place. Any object with a French cleat hook can hang anywhere along the wall strip.
What’s covered: ripping cleats on the table saw (3/4″ plywood, 45-degree fence tilt), mounting the wall strips to studs (the most critical step — cleats must hit studs), building custom holders for planes, saws, chisels, and power tools, the weight capacity of a properly mounted French cleat (a cleat into studs holds 200+ lbs per linear foot), and building entire French cleat tool walls.
Why French cleats beat pegboard: French cleats hold heavy tools (hand planes, large saws, clamps) without risk of the peg pulling out; the holders are custom-built for each tool so storage is specific rather than generic; and the system is infinitely reconfigurable — move any holder anywhere without drilling new holes.
Skewing in Woodworking
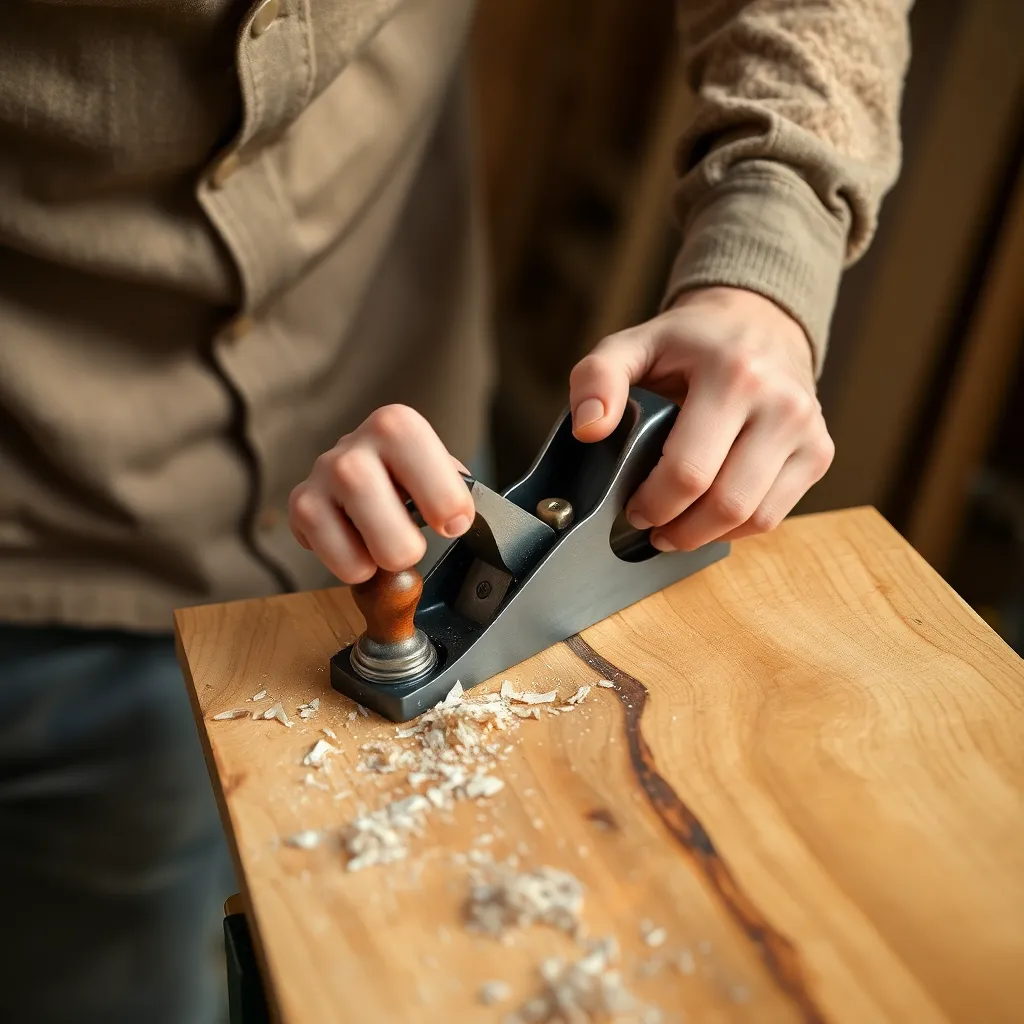
Skewing refers to presenting a cutting tool at an angle to the direction of cut rather than perpendicular to the wood surface. Used with hand planes, chisels, card scrapers, and turning tools, skewing changes the effective cutting angle and the slicing action of the tool — producing cleaner cuts on difficult grain, reducing tearout, and enabling cuts in tight spaces where a square tool presentation isn’t possible.
What’s covered: skewing a hand plane (angling the plane body across the direction of travel to produce a slicing action rather than a scraping action), skewing a chisel (angling the chisel across a cut to produce a paring cut in difficult grain or at joint shoulders), skewing on the lathe (the skew chisel is a dedicated tool for spindle turning that cuts with a slicing action to produce the finest surface finish on the lathe), and card scraper skewing (angling a scraper to the direction of stroke to control the cutting action).
The mechanical reason skewing works: when a cutting edge is perpendicular to the work, it cuts straight across the wood fibers. When skewed, the effective cutting angle changes — the tool slices across the fibers at an angle rather than chopping through them perpendicular. This slicing action severs fibers more cleanly, producing a better surface finish, particularly on difficult or interlocked grain.
Woodworking Screws
Screws are the most versatile mechanical fastener in woodworking — they draw joints tight, provide mechanical strength independent of glue, allow disassembly, and handle situations where clamping during glue-up isn’t practical. The right screw for each application depends on the joint type, wood species, and whether the screw head will be visible or concealed.
What’s covered: the anatomy of a woodworking screw (thread pitch, shank diameter, head type, drive type), coarse vs fine thread (coarse thread for softwoods and sheet goods; fine thread for hardwoods), self-tapping vs clearance hole (pilot holes in hardwoods prevent splitting), pocket screws (the Kreg system and similar for face frame joinery and cabinet assembly), structural screws (GRK, SPAX, and similar for timber framing and structural connections), and screw head types (flathead countersunk, pan head, square drive, Torx).
The pilot hole rule: in hardwoods, always drill a pilot hole. The clearance hole (through the first piece, sized for the screw shank) and the pilot hole (into the second piece, sized for the screw’s root diameter) prevent splitting and allow the screw to draw the joint tight. In softwoods and sheet goods, self-tapping screws drive without pilot holes — but pilot holes still improve results in thin stock near edges.
Joinery Techniques FAQ
What is the strongest wood joint?
The mortise and tenon joint is generally considered the strongest wood joint for furniture — it has large glue surface area (all long-grain), mechanical interlocking resistance to racking and tension, and has survived in furniture that’s hundreds of years old. For drawer construction, the dovetail is strongest in the direction of pull. For carcases and boxes, the dovetail is strongest in tension. The “strongest joint” depends on the direction of force: use mortise and tenon where racking resistance matters (chair legs, table aprons), dovetails where tension resistance matters (drawer corners), and tongue and groove where shear resistance along a panel matters.
What joinery should a beginner start with?
The pocket screw joint (Kreg jig or similar) for a first project — fast, strong enough for most furniture applications, no complex tool setup required. After pocket screws: the mortise and tenon (because it’s used in almost every furniture piece and teaches fundamental joinery skills), then the dovetail (the most technically demanding but also the most satisfying once mastered). The progression that most woodworkers follow: pocket screws → dados and rabbets → mortise and tenon → dovetails. Each step adds skill and produces progressively finer work.
Do I need special tools for hand-cut dovetails?
The minimum tool set for hand-cut dovetails: a dovetail saw (a fine-tooth backsaw with 15-18 TPI and a 14-degree blade angle), a sharp set of bench chisels (1/4″, 1/2″, and 3/4″ cover most applications), a marking gauge (for the baseline), and a sliding bevel or dovetail marker (for laying out the tail angles). Total cost for a basic capable set: $100–$200. The most important factor is not the tools but their sharpness — a mediocre saw used well cuts cleaner than a premium saw used dull. Most woodworkers who struggle with hand-cut dovetails have sharpness issues, not technique issues.
When should I use screws instead of traditional joinery?
Screws are appropriate when: the joint will be disassembled (flatpack furniture, removable panels), when clamping during glue-up is impractical (large cabinet assemblies), for shop furniture and utility pieces where appearance doesn’t require concealed joinery, and when using sheet goods (MDF and plywood glue differently than solid wood — screws add mechanical strength that glue alone doesn’t provide in sheet goods). Traditional joinery (mortise and tenon, dovetails) is appropriate when: the piece is made from solid wood that will move seasonally, appearance requires no visible fasteners, and longevity beyond 50–100 years is a goal. Most practical furniture uses a combination: structural joints for the primary connections, screws for secondary connections and assembly.

“DIY woodworking enthusiast who started with zero experience and a YouTube tutorial.
I build simple, practical projects for my home and share free plans
so other beginners can skip the guesswork.If I can build it, you can too.”