This guide is part of our complete Joinery Techniques Guide — covering wood joints, fastening methods, and hand tool techniques for woodworkers at every level.
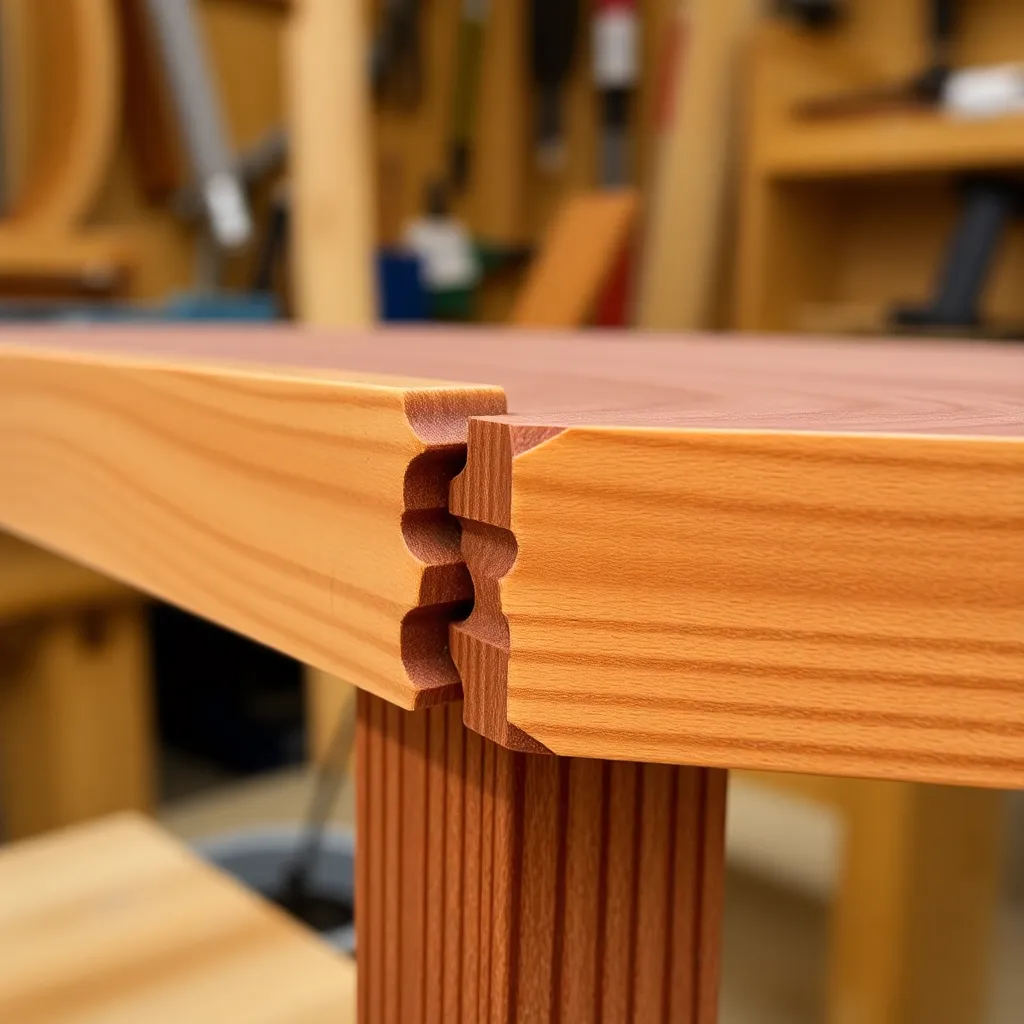
The dovetail joint is the most recognized joint in woodworking — its interlocking trapezoidal shape is both mechanically brilliant and visually beautiful. Hand-cut dovetails are the benchmark of fine craftsmanship; the joint requires sharp tools, careful layout, and precise sawing and chopping to fit correctly. Once mastered, the dovetail is the go-to joint for drawer boxes, carcase corners, tool chests, and any application where the joint must resist tension without mechanical fasteners.
Ted’s Woodworking has 16,000+ plans with complete joinery details for every skill level. Browse Ted’s plans →
Step 1: Understand the Anatomy of a Dovetail Joint
Goal: Know the parts of a dovetail joint and how they interlock.
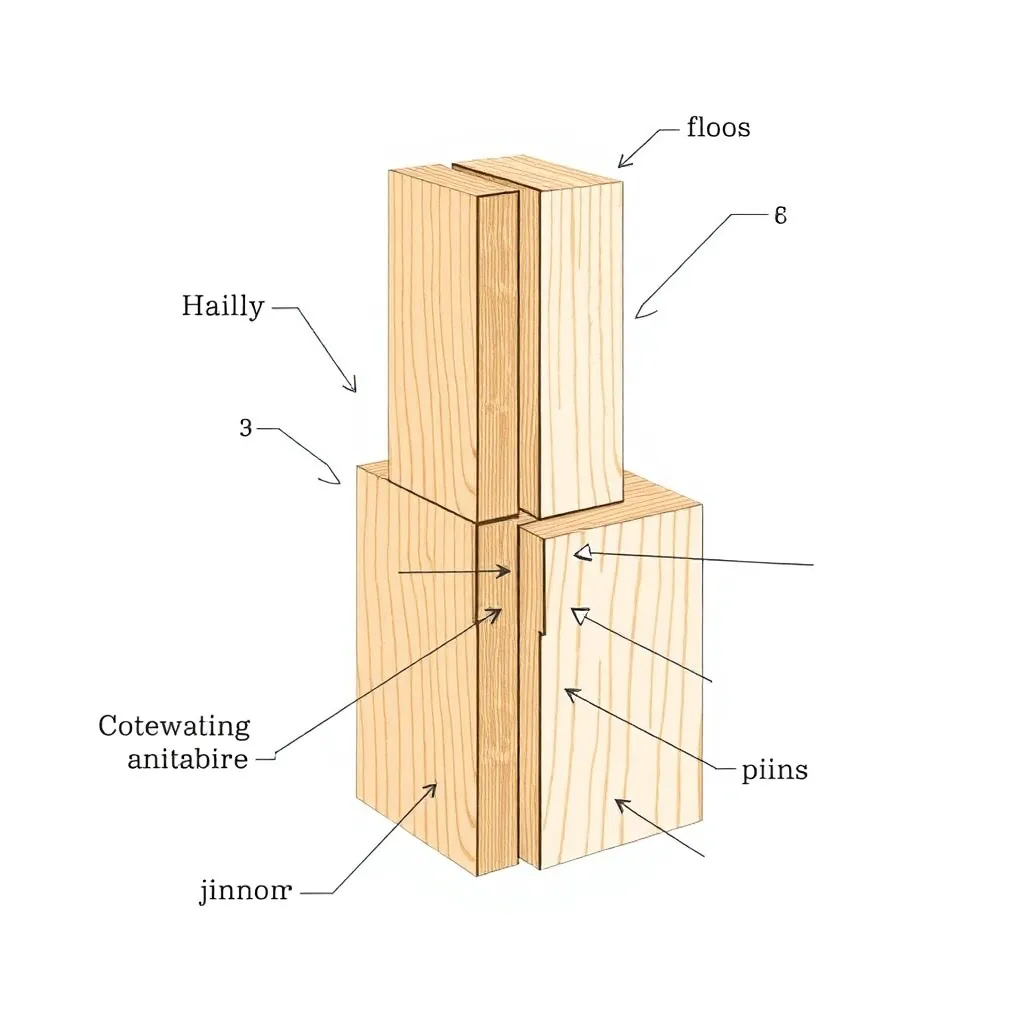
A dovetail joint consists of two mating parts: the tails (cut on one board) and the pins (cut on the mating board).
Tails: the trapezoidal projections cut on the end of one board. The widening shape (like a dove’s tail) is what gives the joint its name and its mechanical lock — the tail physically cannot be pulled out in the direction of tension without the joint failing, because the wider part of the tail is trapped by the pins on either side.
Pins: the narrow projections cut on the mating board that fit between the tails. The spaces between the pins (called pin sockets) receive the tails. The pins are narrower at their base and wider at the surface — the mirror image of the tails.
Baseline: a line scribed across both faces of both boards, perpendicular to the ends, marking the depth of the joint. The tails and pins are cut to exactly this depth.
Half pins: the small pins at each edge of the joint (between the outermost tail and the board edge). Half pins are necessary to close the joint at the edges.
Direction of resistance: a through-dovetail joint resists tension in the direction perpendicular to the tails (the direction the boards are assembled). In a drawer box, this is the direction the drawer front pulls against the sides when opened.
Milestone: Examine a commercial drawer box or dovetailed carcase and identify the tails, pins, baselines, and half pins before cutting your own.
Step 2: Choose the Dovetail Ratio and Lay Out the Tails
Goal: Select the correct dovetail angle for the wood species and lay out the tail positions.
Dovetail ratio: the angle of the tail sides (the slope from narrow base to wide top) is described as a ratio: 1:6 means for every 6 units of run, the tail sides move 1 unit laterally. Common ratios:
- 1:6 (approximately 9.5 degrees): for softwoods (pine, cedar, poplar)
- 1:8 (approximately 7 degrees): for hardwoods (maple, cherry, oak, walnut)
Steeper angles (1:4, 1:5) are visually dramatic but mechanically weaker; shallower angles (1:10, 1:12) are subtler and sometimes used in fine furniture.
Tail spacing: there’s no formula — tail spacing is a design choice. Common approaches:
- Equal spacing (divide the board width by the number of tails + half pins)
- Graduating spacing (tails near the center are wider; tails at the edges are narrower)
- The “rule of thumb”: start with one tail per inch of board width as a rough guide
Layout procedure:
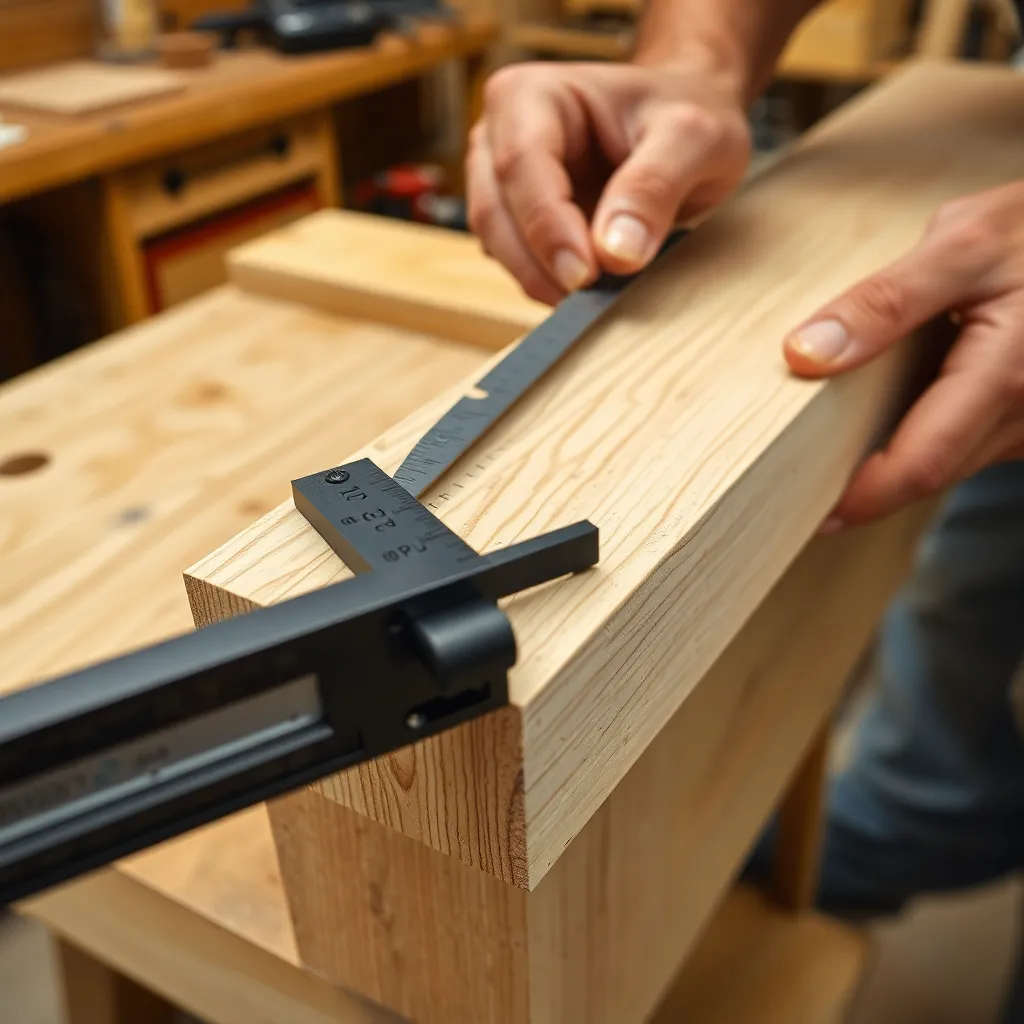
Set a marking gauge to the board thickness and scribe the baseline on both faces and both edges of each board
Mark the tail positions on the end grain using a sliding bevel set to the dovetail ratio
Extend the tail lines down to the baseline with a marking knife
Milestone: Complete the tail layout on a scrap piece of the same species before laying out the actual workpiece.
Step 3: Saw the Tails
Goal: Saw the tail waste accurately to the layout lines.
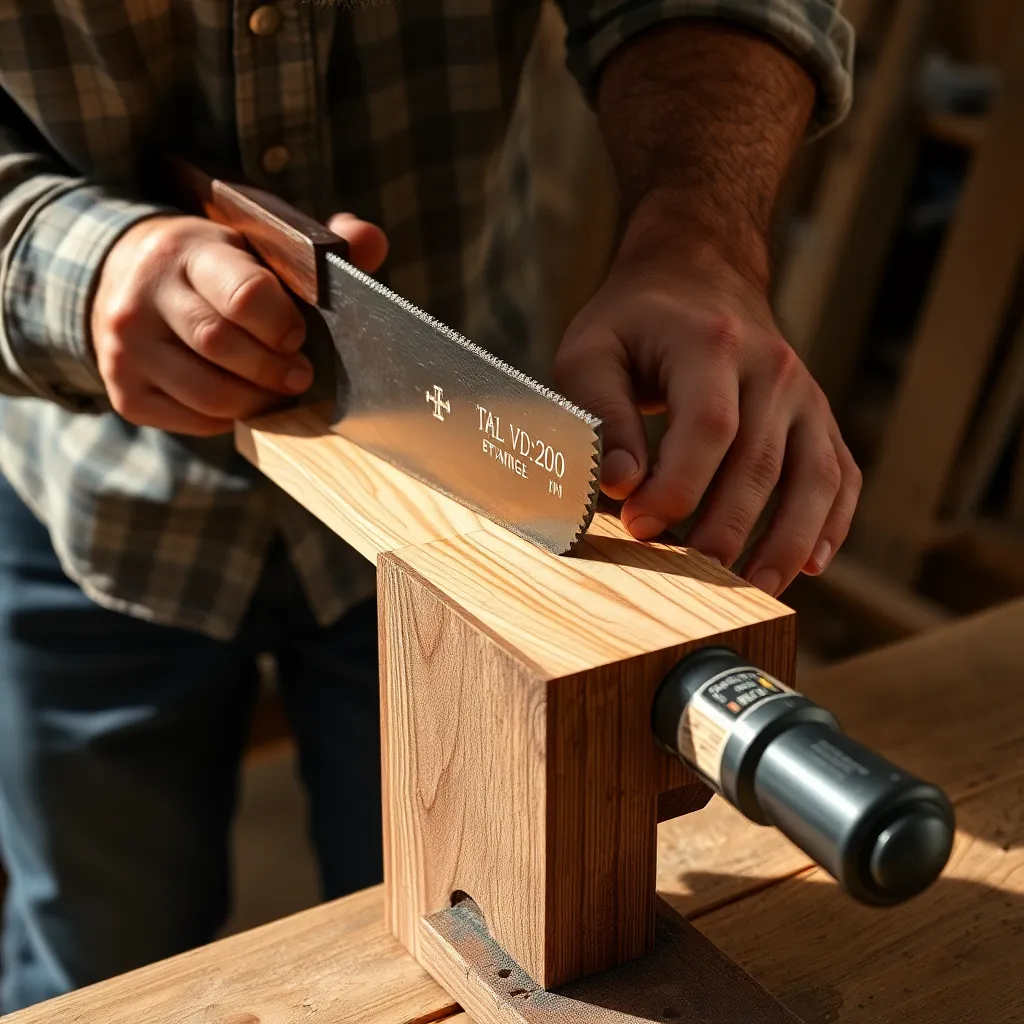
The dovetail saw is the right tool — a fine-tooth crosscut backsaw (15–18 TPI) with a thin kerf that tracks accurately in a saw line. The blade should be set to the 1:6 or 1:8 angle.
Sawing procedure:
Place the board in a vise at an angle so the angled tail lines are vertical — this allows sawing straight down while cutting at the dovetail angle
Start the cut with a few light strokes to establish the kerf at the corner
Saw to the baseline — saw on the waste side of the line (leaving the line itself on the tail)
Saw all the tail sides at this angle, then reposition the board in the vise for the opposite angle and saw the other sides
Saw the half-pin cheeks at the board edges (these are straight cuts, not angled)
Common errors:
- Sawing past the baseline (weakens the joint)
- Sawing on the wrong side of the line (makes the tails too narrow — they’ll be loose)
- Twisting the saw as the cut progresses (produces angled cuts that don’t mate cleanly)
Milestone: Saw both tail sides on a scrap piece and check with a square that the saw cuts are perpendicular to the board face.
Step 4: Chop the Tail Waste
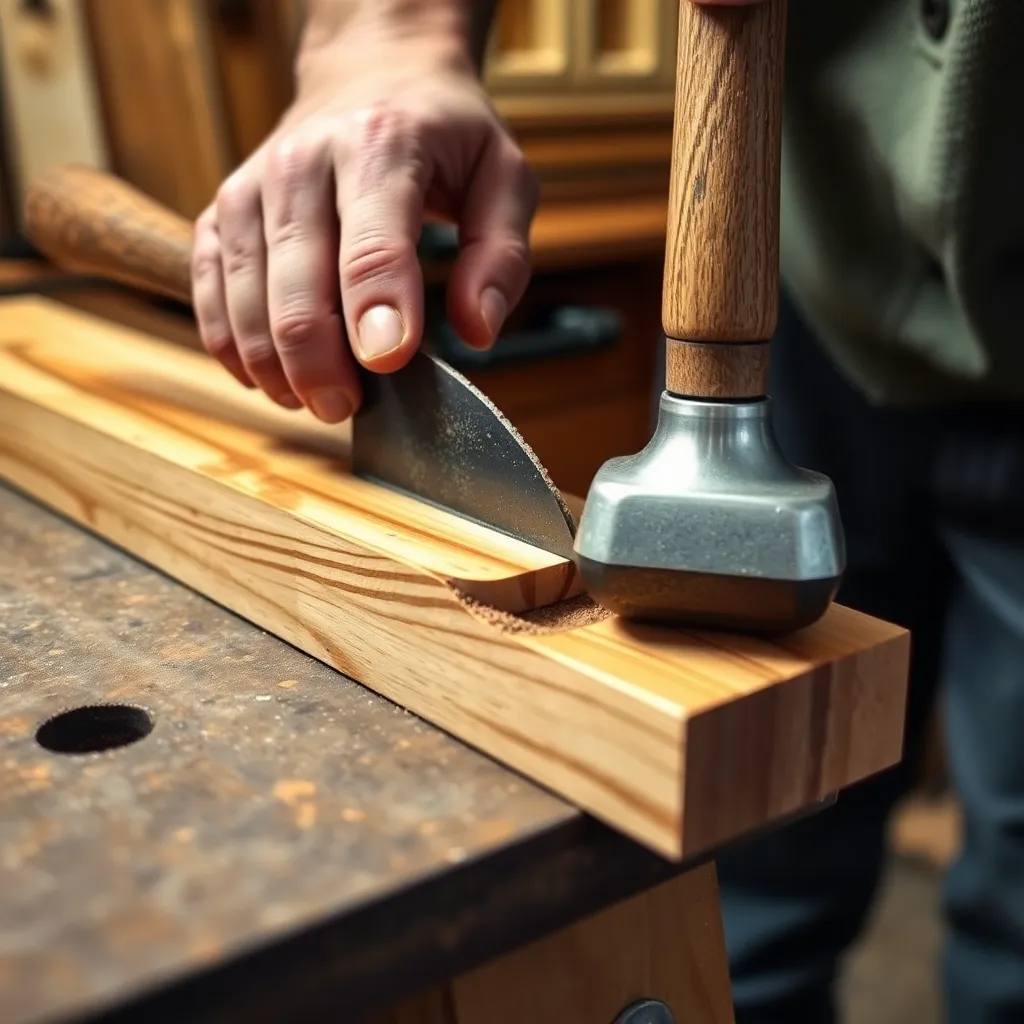
Goal: Remove the waste between the tails with a chisel, producing a flat, square baseline.
The waste between the tails is removed by chopping with a bench chisel. The chisel must be sharp — a dull chisel crushes wood fibers rather than cutting them, producing a ragged baseline.
Chopping procedure:
Place the board flat on the bench
Position the chisel on the baseline (the scribed line), beveled side facing the waste
Strike the chisel with a mallet — one or two firm strikes to chop to within 1/16″ of the baseline
Pry out the waste chip
Chop from both faces (halfway from each side) to avoid blowing out the opposite face
Final pass: pare to the baseline with light pressure and no mallet — the chisel should register on the baseline and pare the remaining waste cleanly
Undercutting: experienced woodworkers slightly undercut the baseline (a degree or two inside the baseline) so the joint surface contacts only at the surface line, not along the full depth of the socket. This makes the joint close more cleanly.
Milestone: After chopping, hold the board up to the light and sight down the baseline — it should be straight, flat, and exactly at the scribed line.
Step 5: Transfer to Pins and Cut the Pins
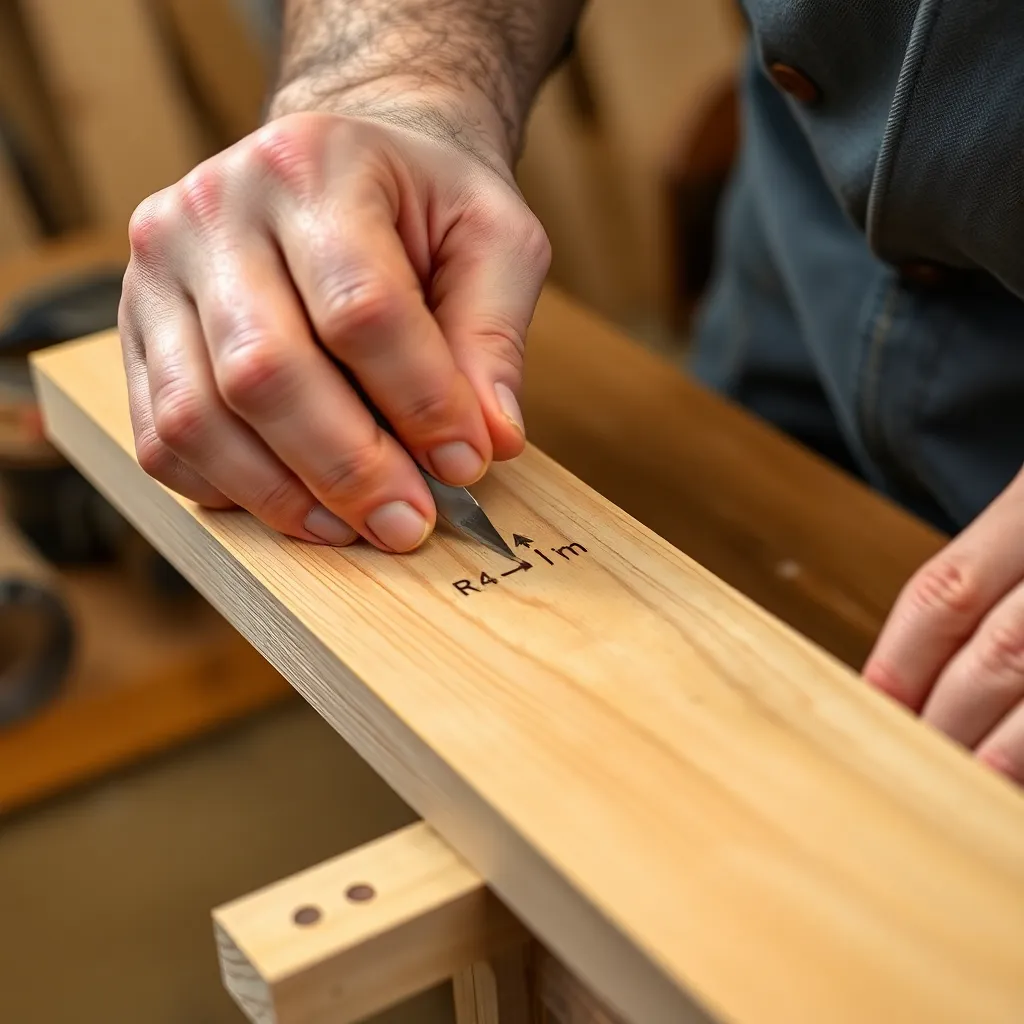
Goal: Transfer the tail layout to the pin board and cut the pins to match.
Transfer procedure:
Hold the tail board on end, tails pointing up
Position the pin board on end against the tail board — the end of the pin board should be flush with the face of the tail board
Use a marking knife (not a pencil) to trace the sides of each tail onto the end of the pin board — the knife follows the exact angle of each tail
Extend these marks down to the baseline with a square
Sawing the pins:
The pin board sawing follows the same procedure as the tails — the board in the vise at an angle, cut straight down, on the waste side of the line
Saw all pin sides, then chop the pin waste with a chisel
The pin waste is larger: the waste between pins (the pin sockets) is wider than the tail waste, making it easier to chop cleanly.
Milestone: Dry-fit the joint — the tails should slide into the pin sockets with hand pressure. If they won’t go, identify which pin is too tight and pare carefully until the joint closes.
Step 6: Fit and Glue the Joint
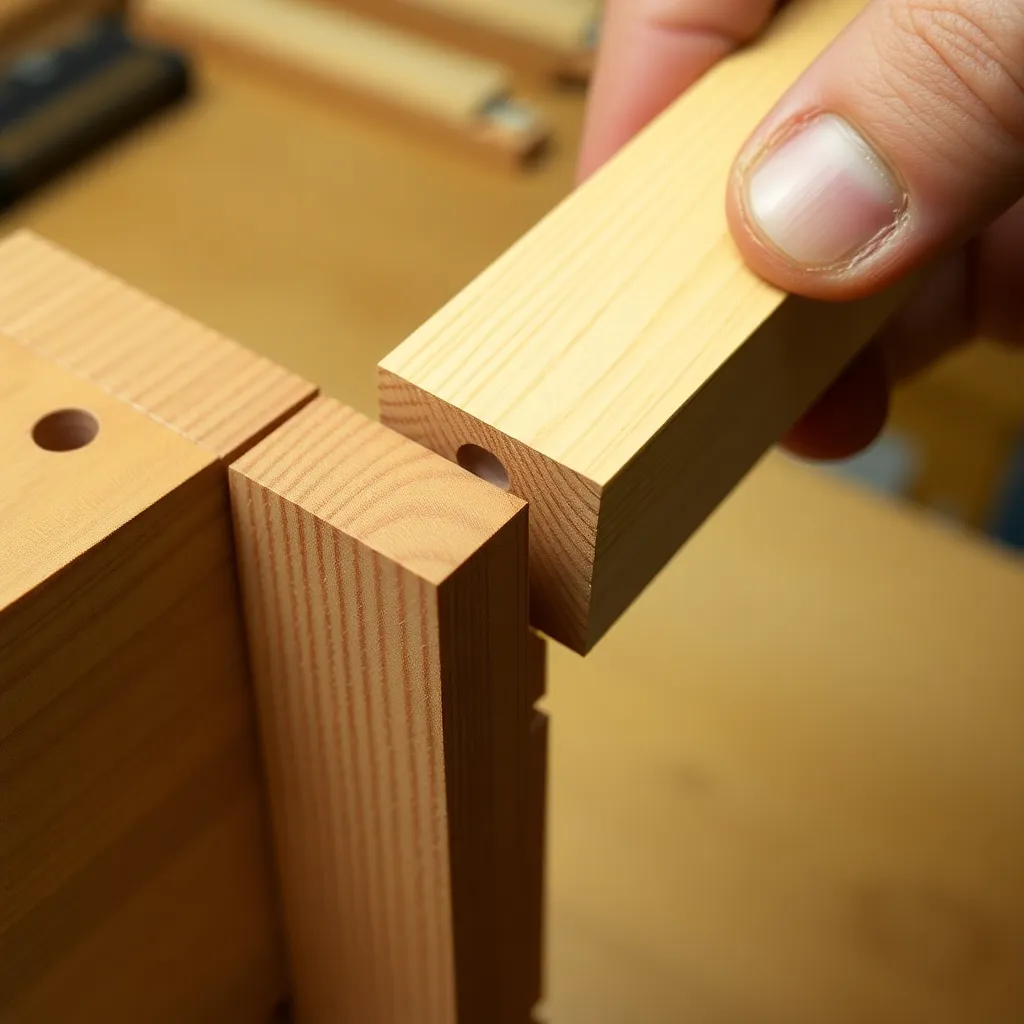
Goal: Achieve a perfect fit and glue the joint closed.
Testing the fit: the joint should close with moderate hand pressure — not so tight that it requires a mallet (risk of splitting), not so loose that it has visible gaps. If any tail is too tight, identify which surface is causing the resistance (use a pencil to mark the joint surfaces, assemble partway, and look for pencil transfer marks) and pare that surface carefully.
Gluing procedure:
Apply glue to the mating surfaces (the sides of the tails and the sides of the pins — not the end grain surfaces, which absorb glue without bonding effectively)
Assemble the joint by hand
Use a mallet and a wood block to close the joint fully — the block distributes the force across the tails
Check for square and clamp
Squeeze-out: glue squeeze-out in the joint indicates adequate glue coverage. Clean it up immediately with a damp cloth, or let it cure and pare it off with a chisel after it gels (partially cured glue is easier to clean than fully cured).
Milestone: After the glue cures, plane or sand the joint surfaces flush — a properly fit dovetail joint should be invisible after planing.
Dovetail Joint FAQ
What is the difference between a through-dovetail and a half-blind dovetail?
A through-dovetail passes completely through the mating board — both the tails and the joint line are visible from the side. Used where the joinery is meant to be seen: drawer boxes (where the joint is visible when the drawer is open), carcase sides on exposed furniture, and decorative joinery. A half-blind dovetail (also called a lapped dovetail) leaves a thin layer of wood on the pin board that conceals the joint from the front face. Used in drawer fronts where the joint should not be visible from the front — the tails are visible from the inside of the drawer, but the joint is hidden from the outside. The half-blind dovetail is more difficult to cut because the baseline of the tail board must be chiseled right to the shoulder of the concealing lap.
What ratio should I use for dovetail angles?
Use 1:6 (approximately 9.5 degrees) for softwoods and 1:8 (approximately 7 degrees) for hardwoods. The reason for different ratios: softwoods compress more easily under lateral force, so a steeper angle provides better mechanical lock without risk of the wood crushing at the thin tip of the pin. Hardwoods are stiffer, so a shallower angle still provides an adequate mechanical lock while looking more refined. Angles steeper than 1:5 in hardwoods produce very thin pins that can split during assembly; angles shallower than 1:10 in softwoods don’t provide adequate mechanical lock. The exact ratio within these ranges is partly preference — many woodworkers develop a ratio they like visually and use it consistently.
Can I cut dovetails with a router?
Yes — router dovetail jigs (Leigh D4R, Porter-Cable 4212, Keller Journeyman) cut dovetails on a router table or with a handheld router and guide bushing. The results are strong and consistent. The trade-offs vs hand-cut: router dovetails are typically uniform (same spacing, same angle throughout the joint), while hand-cut dovetails can vary the spacing and design; router dovetail jigs require setup time that makes small batches less efficient; and the joint geometry is fixed by the bit and jig settings rather than chosen by the maker. For production furniture: router dovetails are more consistent and faster. For one-off pieces and fine furniture: hand-cut dovetails are the traditional choice.
What is the best wood species to learn dovetails on?
Poplar is the best species for learning dovetails — it’s harder than pine (holds saw lines better, less likely to crush under chisel pressure) but softer than maple or oak (less fatigue cutting and chopping). It’s also inexpensive, available at most home centers, and takes glue well. After poplar: cherry is the traditional fine furniture species for dovetails — it cuts cleanly, holds crisp lines, and the contrast between the chocolate brown long grain and the lighter end grain shows the joint beautifully. Avoid MDF and plywood (they cut differently from solid wood) and very hard species (teak, ebony) until the fundamental technique is solid.

“DIY woodworking enthusiast who started with zero experience and a YouTube tutorial.
I build simple, practical projects for my home and share free plans
so other beginners can skip the guesswork.If I can build it, you can too.”