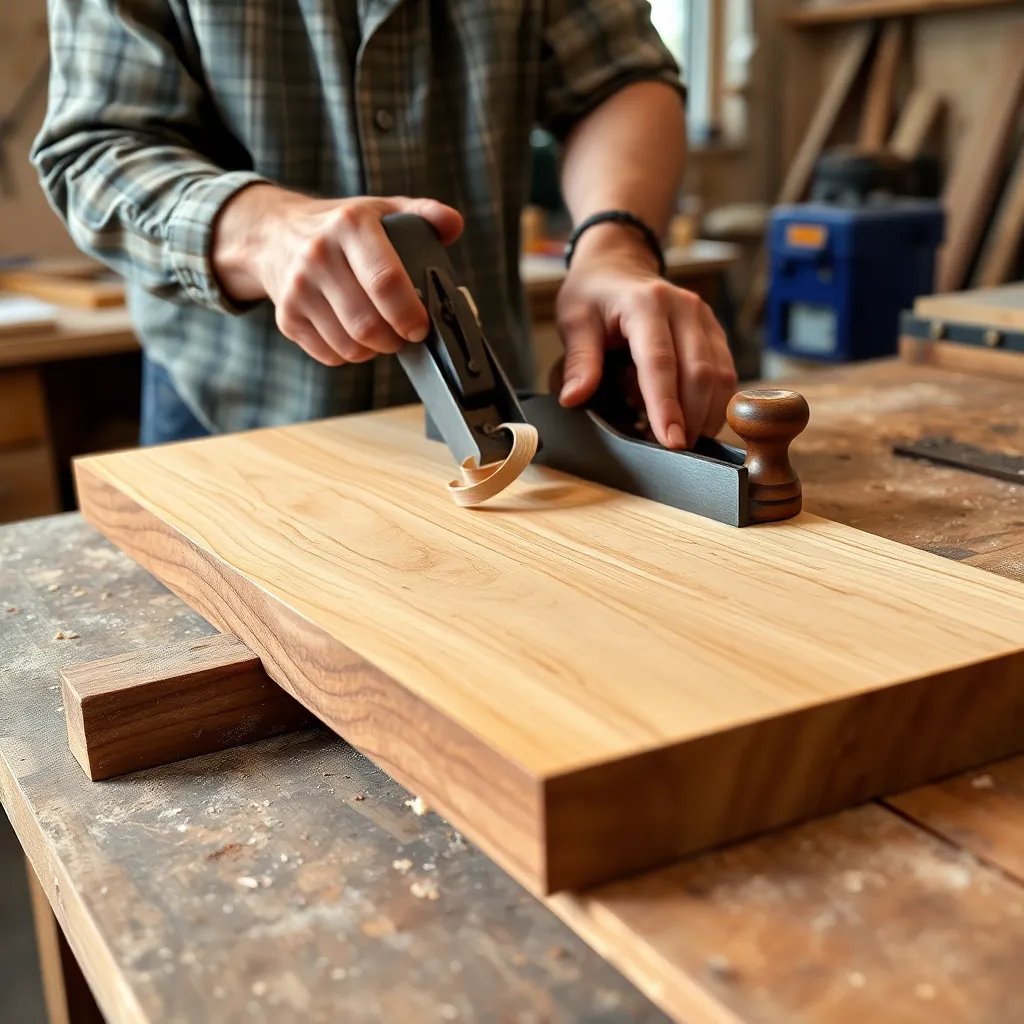
This guide is part of our complete Joinery Techniques Guide — covering wood joints, fastening methods, and hand tool techniques for woodworkers at every level.
Skewing is one of the most useful — and least taught — techniques in woodworking. By presenting a cutting tool at an angle to the direction of cut rather than perpendicular to the surface, you change the tool’s effective cutting geometry in ways that produce cleaner cuts, reduce tearout, and enable work in situations where a square tool presentation fails. Skewing applies to hand planes, chisels, card scrapers, and lathe tools, and understanding why it works transforms how you use all of these tools.
Ted’s Woodworking has 16,000+ plans covering hand tool and power tool techniques. Browse Ted’s plans →
Step 1: Understand Why Skewing Works
Goal: Understand the mechanical reason skewing produces better cuts.
When a cutting edge is presented perpendicular to the direction of cut, the tool’s effective cutting angle is determined purely by the blade’s geometry (the bevel angle, the bed angle, the clearance angle). When the same tool is skewed — angled across the direction of cut — the effective cutting angle changes, and the cutting action changes from chopping to slicing.
The geometry: imagine a chisel cutting straight across a piece of wood at 90 degrees to the wood fibers. The blade chops through each fiber perpendicular to its length. Now skew the same chisel 45 degrees to the direction of cut: the blade now approaches each fiber at an angle, slicing through it rather than chopping. The slicing action requires less force, severs fibers more cleanly, and produces a finer surface.
Effective cutting angle: when a hand plane is skewed 45 degrees to the direction of travel, the effective cutting angle increases (the blade appears to the wood as a steeper angle). This steeper effective angle is better for difficult grain — it reduces tearout in figured wood, wood with interlocked grain, and end grain.
The shearing action: the skewed blade also produces a shearing cut — the wood fibers are severed while being pushed sideways, which is a slicing action. Wood is much easier to slice than to chop, just as cutting bread at an angle with a knife is easier than pressing straight down.
Milestone: Plane a difficult-grained board perpendicular to the grain direction (no skew), then try again at a 45-degree skew. Observe the difference in tearout and surface quality.
Step 2: Skewing a Hand Plane
Goal: Apply skewing technique to hand plane work for cleaner results on difficult grain.
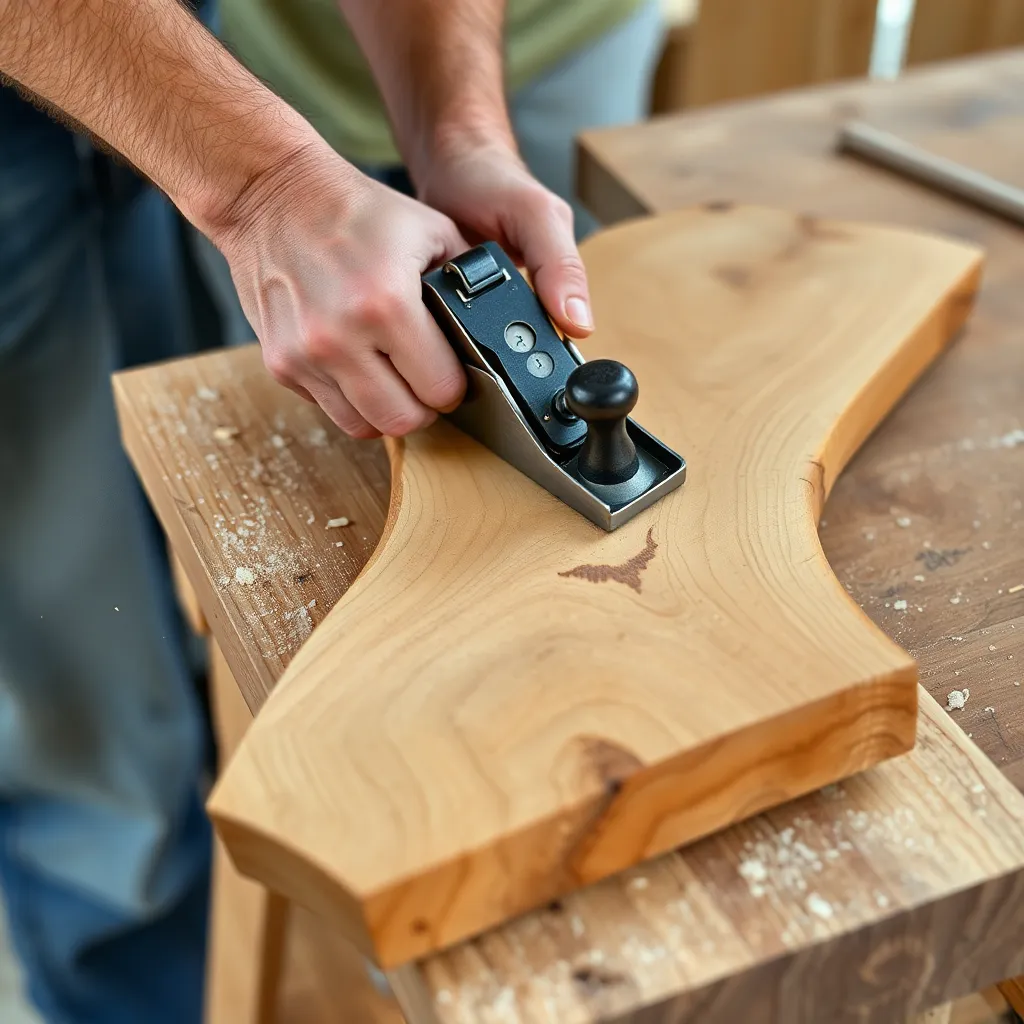
Skewing a bench plane is one of the most effective techniques for dealing with difficult grain, reversing grain, and figured wood that tears out when planed in the conventional direction.
How to skew a plane:
Stand at the bench in the normal position. Rather than pushing the plane directly forward (perpendicular to the shaving), angle the plane body 20–45 degrees across the direction of travel while still pushing forward. The toe of the plane points diagonally left (for a right-handed planer), and the shaving curls off the left edge of the iron.
When skewing helps:
- Difficult grain: woods like curly maple, birds-eye maple, and crotch pieces have grain running in multiple directions. A skewed plane increases the effective cutting angle, which reduces the tendency of the wood to tear out where the grain runs steeply against the cut.
- Wide boards: skewing a plane on a wide board brings more of the iron into contact with the work, allowing wider shavings and faster material removal.
- End grain: skewing a plane on end grain produces a slicing cut rather than a scraping cut — essential for clean end grain surfaces.
Skewing for traversing: planing across the grain (traversing) is a rapid way to remove high spots on a rough surface. Combining traversing direction with skew maximizes the shearing action — some woodworkers plane at 45 degrees to the grain while also skewing the plane another 45 degrees, producing an extremely aggressive material removal pass.
Milestone: Skew your bench plane at approximately 30 degrees to the direction of travel and take several passes on a straight-grained board. Note the surface quality compared to planing without skew.
Step 3: Skewing a Chisel
Goal: Use the skewing technique with bench chisels for cleaner paring and joint fitting.
Chisels benefit from skewing in several specific situations: paring end grain, cleaning joint shoulders, and chopping across difficult grain.
Paring end grain with a skewed chisel:
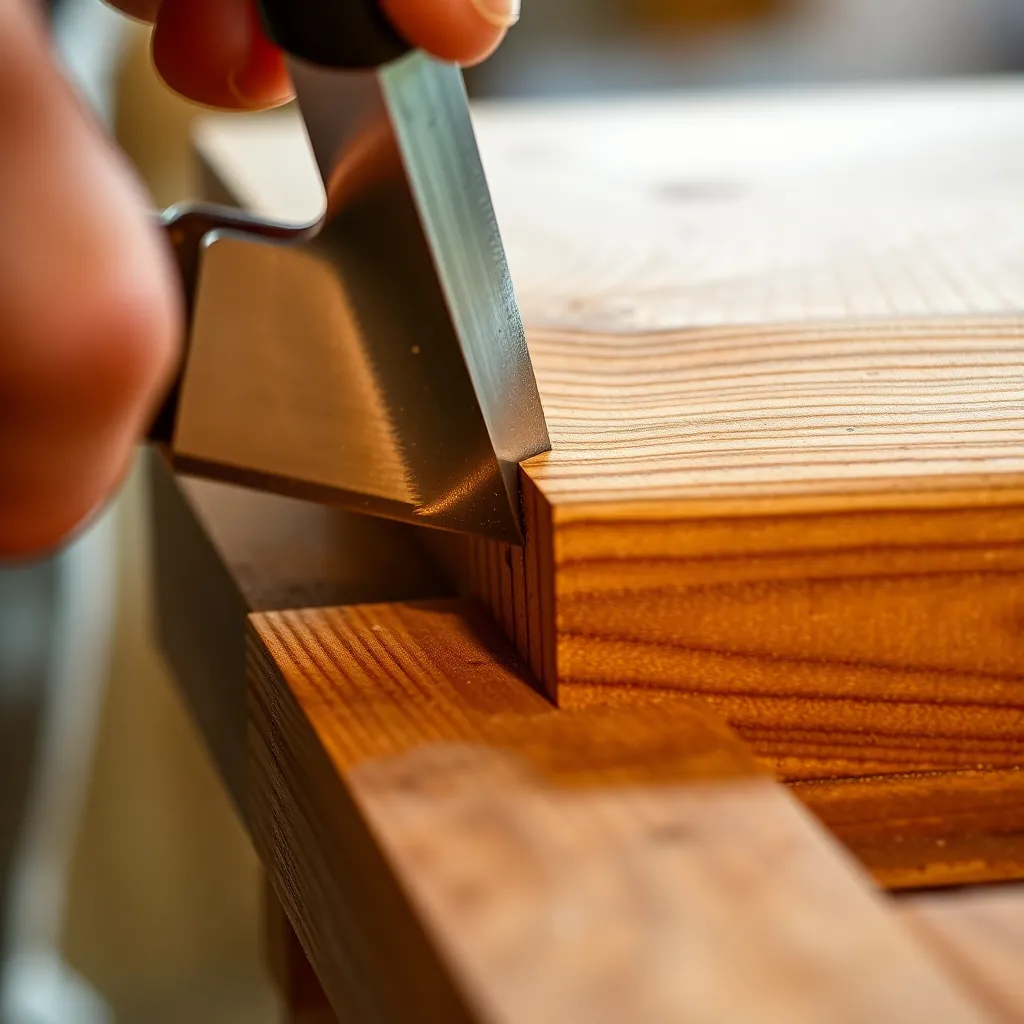
End grain is the most challenging surface for a chisel — the fibers run perpendicular to the cutting direction, and a straight-on chisel chops across the fiber ends rather than slicing them. By skewing the chisel across the end grain surface (moving the chisel diagonally while paring), the blade slices across the fiber ends at an angle rather than chopping. This produces a much smoother surface and requires less force.
Cleaning joint shoulders:
After sawing a tenon shoulder, the shoulder face often has small high spots or saw marks. Pare the shoulder with a chisel skewed to the shoulder line — the slicing action removes material more precisely and cleanly than a straight-on chisel, which tends to crush the fibers and leave a ragged surface.
Skewing in tight spaces:
A chisel skewed at 45 degrees fits into corners and recesses that a straight-on chisel can’t reach. In chopping mortise waste near the baseline, skewing the chisel lets the flat back of the chisel register on the mortise wall while the cutting edge reaches into the corner.
Milestone: Pare the end grain of a piece of softwood first straight-on, then with the chisel skewed 30–45 degrees. The difference in surface quality is immediately visible.
Step 4: Skewing on the Lathe — The Skew Chisel
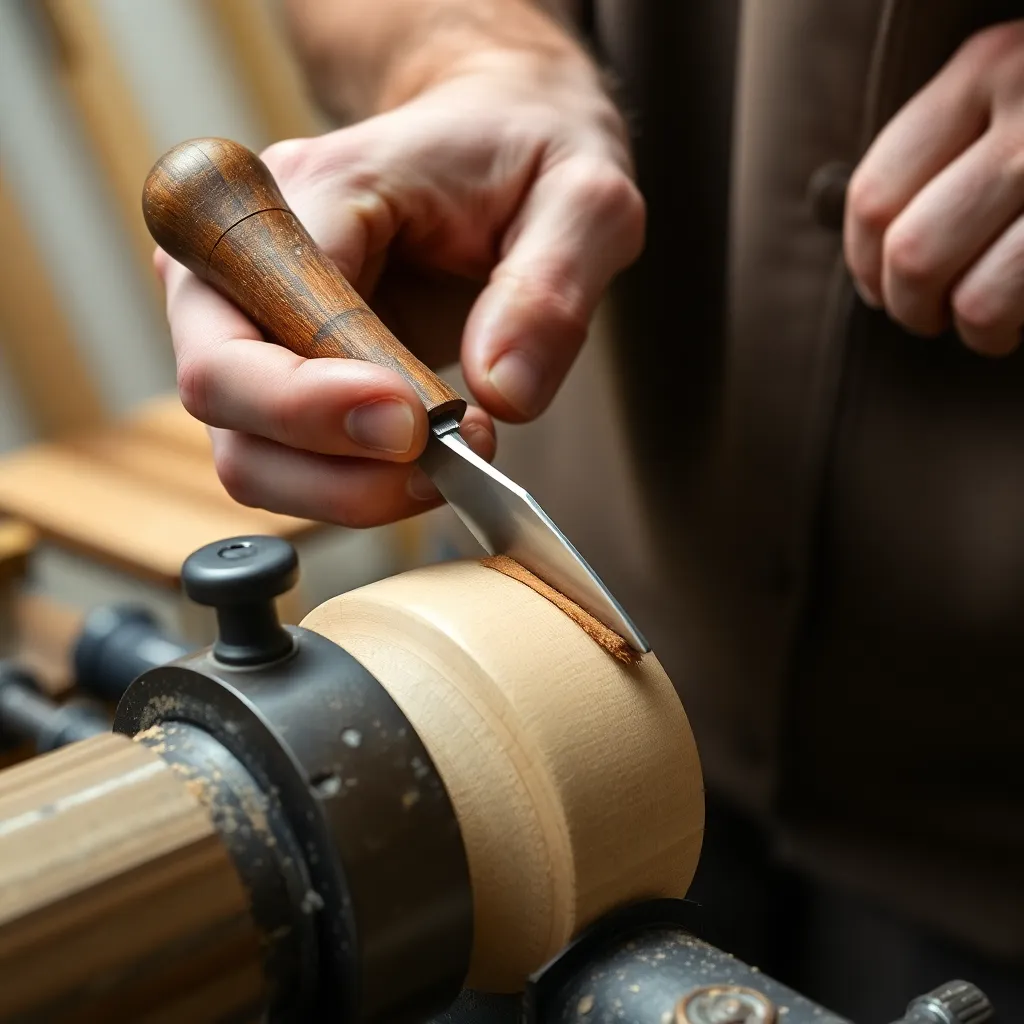
Goal: Understand the skew chisel as a dedicated lathe tool for the finest spindle turning surface.
The skew chisel is a dedicated lathe tool — a flat steel bar ground to a bevel on both long edges, with the cutting edge at an angle to the tool’s centerline (typically 25–30 degrees). It is the most difficult lathe tool to master and produces the finest surface finish of any turning tool — a properly used skew leaves a surface that needs no sanding.
Why the skew works on the lathe: the skewed edge presents to the spinning wood at an angle, producing a slicing cut rather than a scraping cut. The tool cuts with the very tip of the bevel edge (the “long point” or “short point” depending on the cut) and the slicing action severs the wood fibers cleanly rather than tearing them.
The two skew cuts:
- Planing cut: the skew is used bevel-down at a low presentation angle, cutting in the center of the edge (not at the tip). This cut removes material rapidly and leaves a very smooth surface. The most versatile skew cut for general spindle turning.
- V-cut (parting cut): the long point of the skew enters the wood to cut a groove or define a detail. Requires precise control — touching the revolving wood with the long point at the wrong angle produces a catch.
The catch: the skew chisel’s characteristic failure is the “catch” — when the tool digs in and the workpiece (or the tool) kicks violently. Catches happen when the tool is rolled too far, when the grain reverses unexpectedly, or when the operator loses control of the tool’s position. The remedy: keep the bevel in contact with the wood, cut with the middle of the edge (not the tip), and practice on soft wood at slow speeds until the cut is instinctive.
Milestone: Practice the planing cut on a cylinder of softwood at low lathe speed. The goal is a consistent, controlled cut that produces a smooth, shiny surface.
Step 5: Skewing a Card Scraper
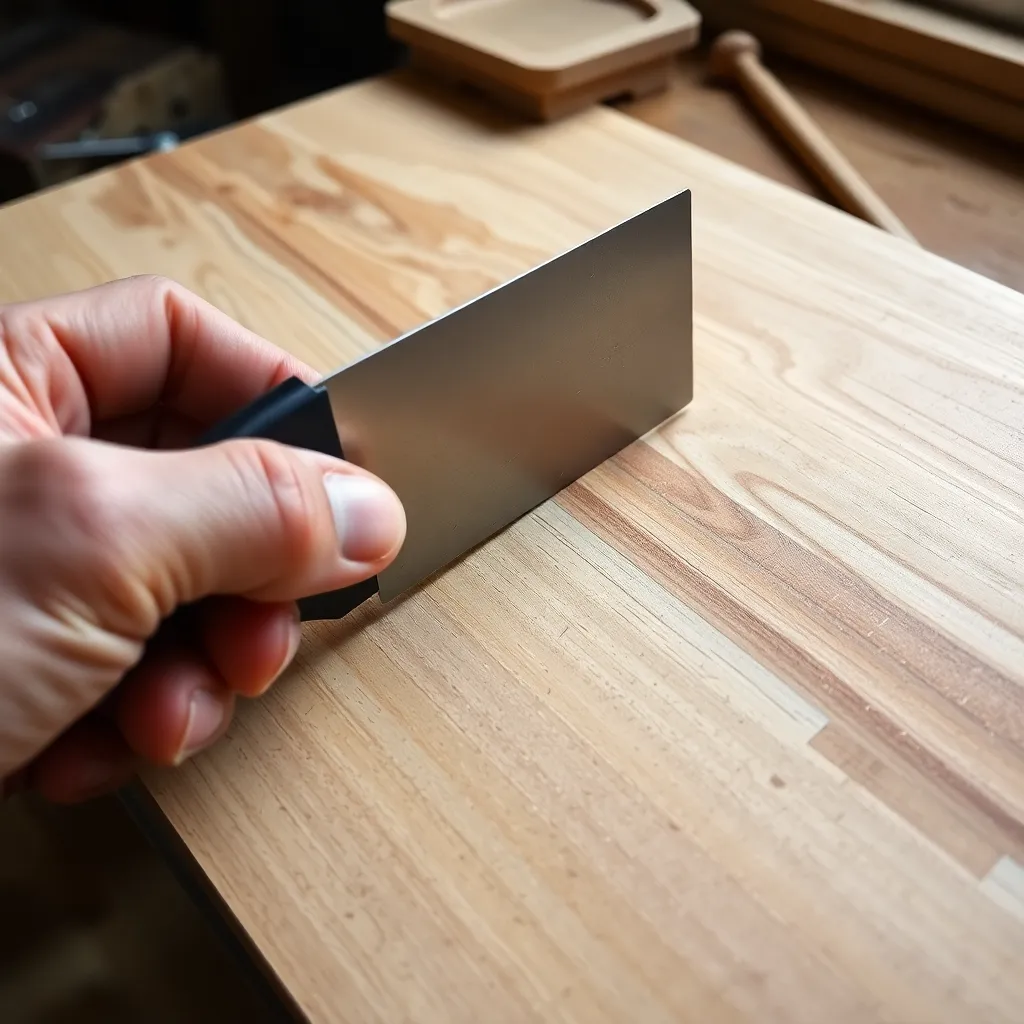
Goal: Use scraper skewing to control the cutting action and improve surface quality.
A card scraper is a thin piece of hardened steel with a burr on its edge — when flexed slightly and pushed across the wood surface, the burr shaves extremely thin shavings, removing mill marks, tear-out, and planer ripple without the grain direction issues of hand planes.
Standard scraper use: hold the scraper at approximately 75 degrees to the wood surface (slightly past vertical, tilted toward you) and push forward. The burr removes thin shavings.
Skewing the scraper: by angling the scraper 20–30 degrees across the direction of travel while maintaining the 75-degree tilt, you produce a slicing action that:
- Removes material faster (longer effective cutting edge in contact)
- Reduces chatter (the diagonal movement doesn’t allow the scraper to vibrate in the same frequency as straight pushing)
- Works better on difficult grain (the slicing action reduces tearout at the scraper edge)
Scraper for end grain: a scraper skewed across end grain produces the finest possible end grain surface — smoother than a plane and smoother than sandpaper at 320 grit. The technique: scrape at 45 degrees to the grain direction, moving diagonally across the end grain surface. This is the preferred preparation for end grain before applying a finish.
Milestone: Scrape a piece of figured maple first straight-on, then with the scraper skewed 30 degrees. The skewed pass should produce a noticeably smoother surface.
Step 6: When Not to Skew
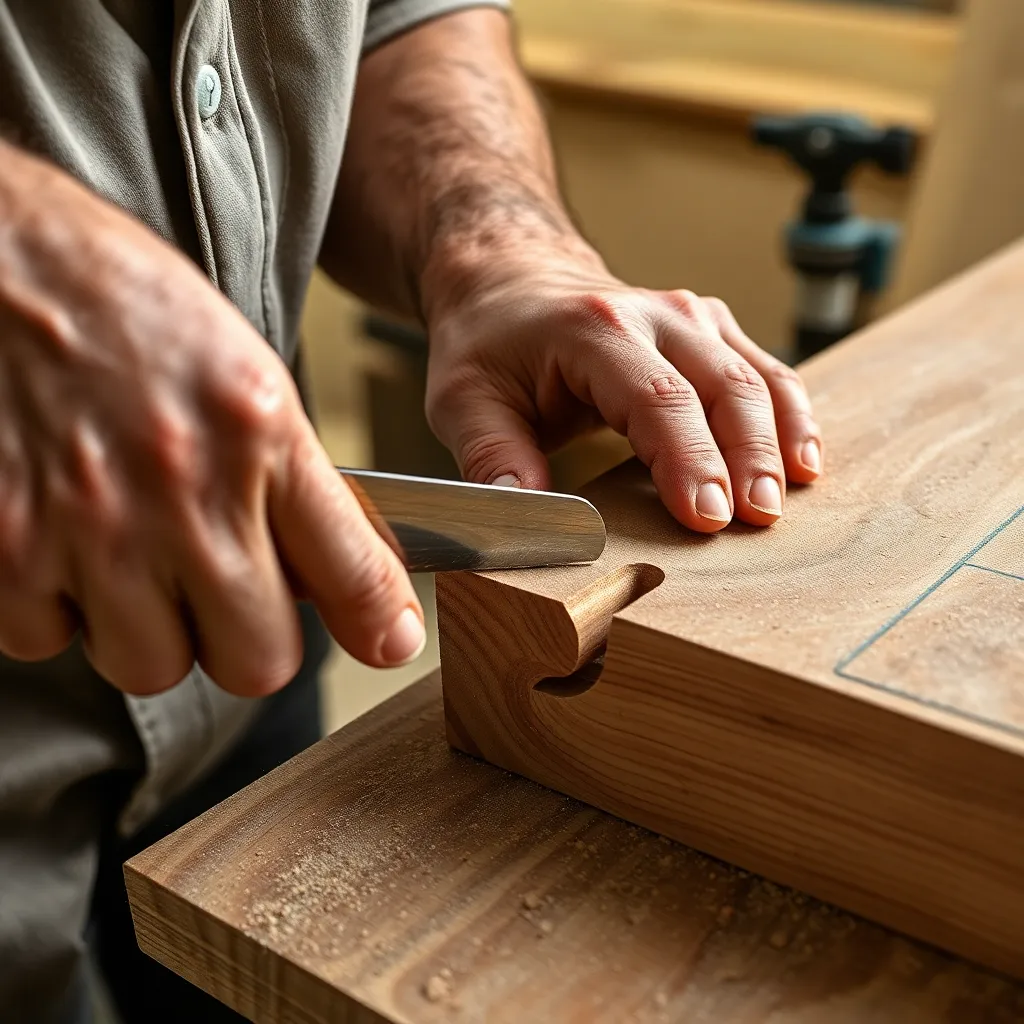
Goal: Understand the limitations and situations where skewing is counterproductive.
Skewing is not always beneficial — there are situations where it produces worse results or creates new problems.
When straight-on is better:
- Chopping dovetail waste: when chopping across the grain at a dovetail or mortise baseline, a square chisel presentation concentrates the force exactly at the baseline. A skewed chisel distributes the force along a diagonal that may not align with the layout line.
- Sizing cuts: when paring to a precise layout line, a square chisel presentation gives better visual alignment with the line than a skewed approach.
- Very soft materials: in very soft woods, the slicing advantage of skewing is minimal because the material lacks the interlocked grain structure that causes tearout in the first place.
Overcompensating: beginning woodworkers sometimes over-skew — using extreme angles (60+ degrees) that cause the tool to drift sideways rather than cut forward. Keep skew angles between 20–45 degrees for most applications.
Skewing power tools: don’t skew power tools. The safety and performance of a router, planer, or table saw depends on the tool being presented square to the cut direction. Angling a router bit, table saw blade, or planer blade to the feed direction creates dangerous kickback and cutting geometry problems that have nothing to do with the beneficial slicing action of hand tool skewing.
Milestone: List the hand tool operations you perform most frequently and identify which ones would benefit from skewing and which require a square presentation.
Skewing in Woodworking FAQ
What angle should I skew a hand plane?
Most woodworkers use 30–45 degrees of skew for hand plane work. At 30 degrees, you get a noticeable improvement in cutting action with minimal loss of forward progress (the plane still moves forward efficiently). At 45 degrees, the cutting angle improvement is maximized but the plane moves at a significant diagonal — you need more board width to take a full pass. For a typical 8-inch wide board, a 45-degree skew means the plane travels across the board diagonally; on narrow boards (under 4 inches), a 45-degree skew may take you off the board edge before completing a pass. Use less skew (20–30 degrees) on narrow stock, more skew (35–45 degrees) on wide stock with difficult grain.
Does skewing a plane change the effective cutting angle?
Yes — this is one of the primary benefits of skewing. The mathematical relationship: effective cutting angle = arctan(tan(bed angle) / cos(skew angle)). For a standard bench plane (45-degree bed angle) skewed at 45 degrees, the effective cutting angle increases to approximately 54 degrees — equivalent to changing from a standard 45-degree plane to a mid-angle plane. This higher effective cutting angle reduces tearout in difficult grain the same way a 50- or 55-degree pitch plane does, without requiring a different plane or blade. For very difficult grain (quartersawn interlocked species): try skewing before reaching for a bevel-up plane with a high cutting angle.
What is a skew chisel and how is it different from a regular chisel?
A regular bench chisel has its cutting edge ground perpendicular to the sides of the blade — the edge is square to the tool. A skew chisel (in the cabinetmaking sense, not the lathe tool sense) has its cutting edge ground at an angle to the sides — typically 30–45 degrees offset. This skewed edge is already at a slicing angle before the tool is even presented to the work, making it easier to slice into corners (like the inside corners of inlay recesses and stopped dadoes) and clean the acute angles of joints. Skew chisels are available as dedicated tools (Pfeil, Flexcut make bench skew chisels) or can be created by grinding a regular chisel to a skewed profile.
Why do woodturners say the skew chisel is difficult?
The skew chisel produces the finest surface finish on the lathe but has a narrow window of correct presentation — if the tool digs in at the wrong angle, it catches violently. The lathe spins the workpiece at several hundred RPM, so any catch happens very fast. The two common catch scenarios: (1) accidentally catching the long point of the skew instead of using the middle of the edge — the long point digs in instantly; (2) rolling the tool too far toward the long point as the cut progresses. The remedy is practice at low speeds on soft wood, keeping the bevel in contact with the wood, and starting with the planing cut (middle of the edge, low presentation angle) rather than the V-cut until the tool’s behavior is instinctive. Most woodturners consider the skew the last tool to learn rather than the first.

“DIY woodworking enthusiast who started with zero experience and a YouTube tutorial.
I build simple, practical projects for my home and share free plans
so other beginners can skip the guesswork.If I can build it, you can too.”