This guide is part of our complete Joinery Techniques Guide — covering wood joints, fastening methods, and hand tool techniques for woodworkers at every level.
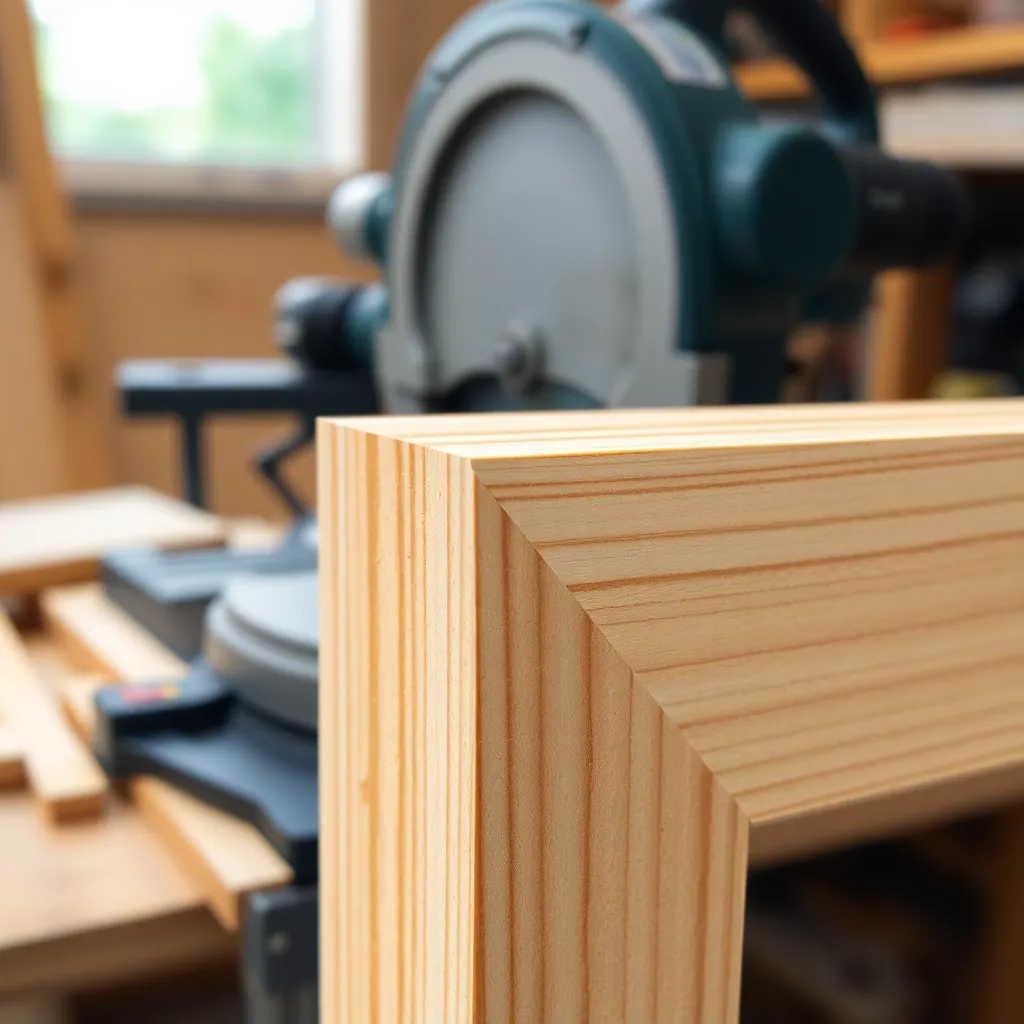
The miter joint meets two pieces of wood at an angle — most commonly 45 degrees to form a 90-degree corner — while hiding the end grain of both pieces behind a continuous surface. Picture frames, door casings, crown moldings, cabinet face frames, and box corners all use miter joints where appearance requires a clean corner with no visible end grain. The miter’s beauty is its appearance; its challenge is its weakness — end-grain glue joints are among the weakest in woodworking, and miters require reinforcement for structural applications.
Ted’s Woodworking has 16,000+ plans including complete molding and frame joinery guides. Browse Ted’s plans →
Step 1: Understand Miter Joint Types
Goal: Know the different miter configurations and which application each suits.
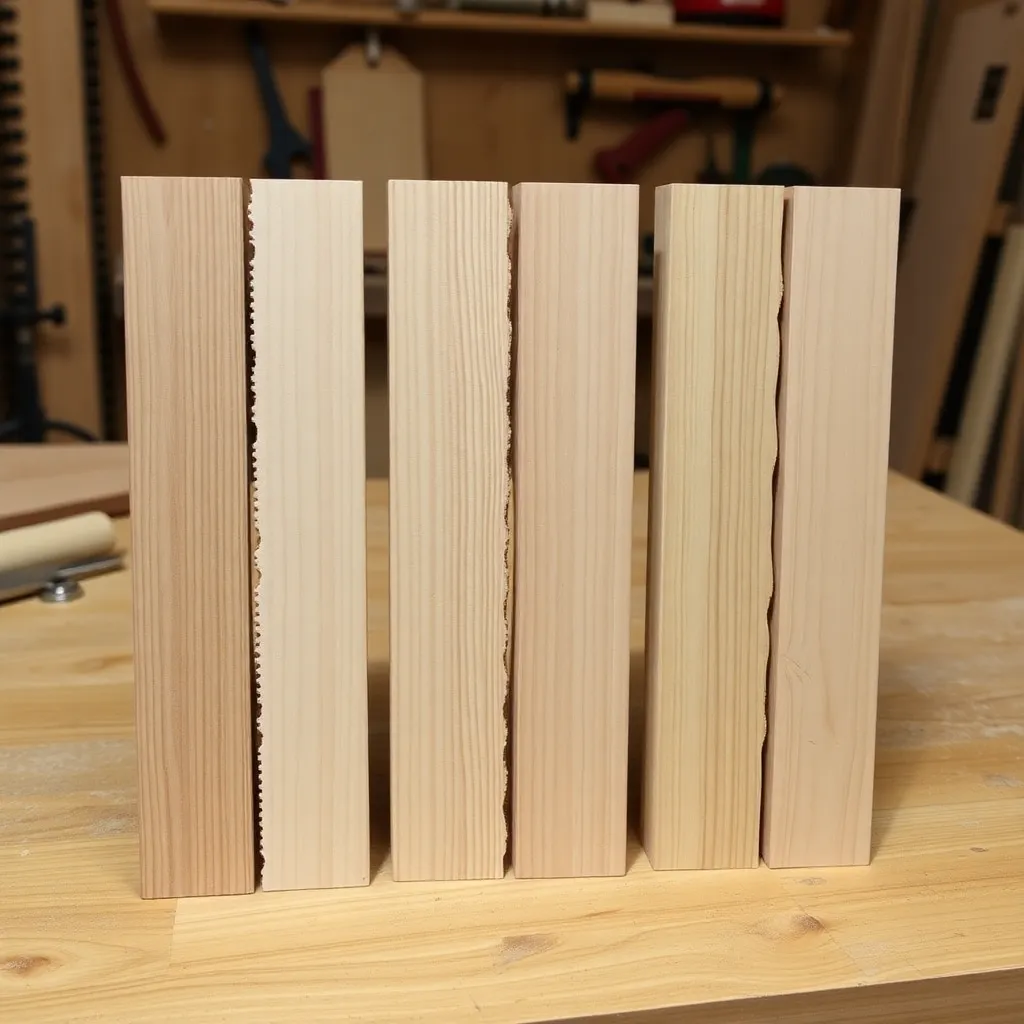
Flat miter (most common): two boards cut at 45 degrees in the same plane, meeting to form a 90-degree corner. Used for picture frames, box corners, and cabinet face frame corners where both pieces are flat.
Compound miter: a cut that involves two angles simultaneously — both a miter (horizontal angle) and a bevel (vertical angle). Required for crown molding (which sits at an angle between wall and ceiling) and multi-sided frames (hexagon or octagon shapes). The compound angles are calculated from the corner angle and the spring angle of the molding.
Miter with spline: a flat miter reinforced by a thin spline glued into matching slots cut across the miter joint faces. The spline adds long-grain glue surface and mechanical strength.
Keyed miter: a flat miter with a decorative key (a thin contrasting-wood spline) inserted from the outside of the assembled joint. The key is visible and becomes a design element — common in small boxes.
Biscuit or domino miter: a flat miter reinforced with biscuits (compressed wood wafers in matching slots) or Festool Dominos. Faster than a spline and adequate for most furniture applications.
Milestone: Identify the miter type for your project and determine whether reinforcement is required (structural corners always need reinforcement; decorative frames may not).
Step 2: Set Up for Accurate Miter Cuts
Goal: Configure your saw for accurate, repeatable 45-degree cuts.
Miter saw setup:
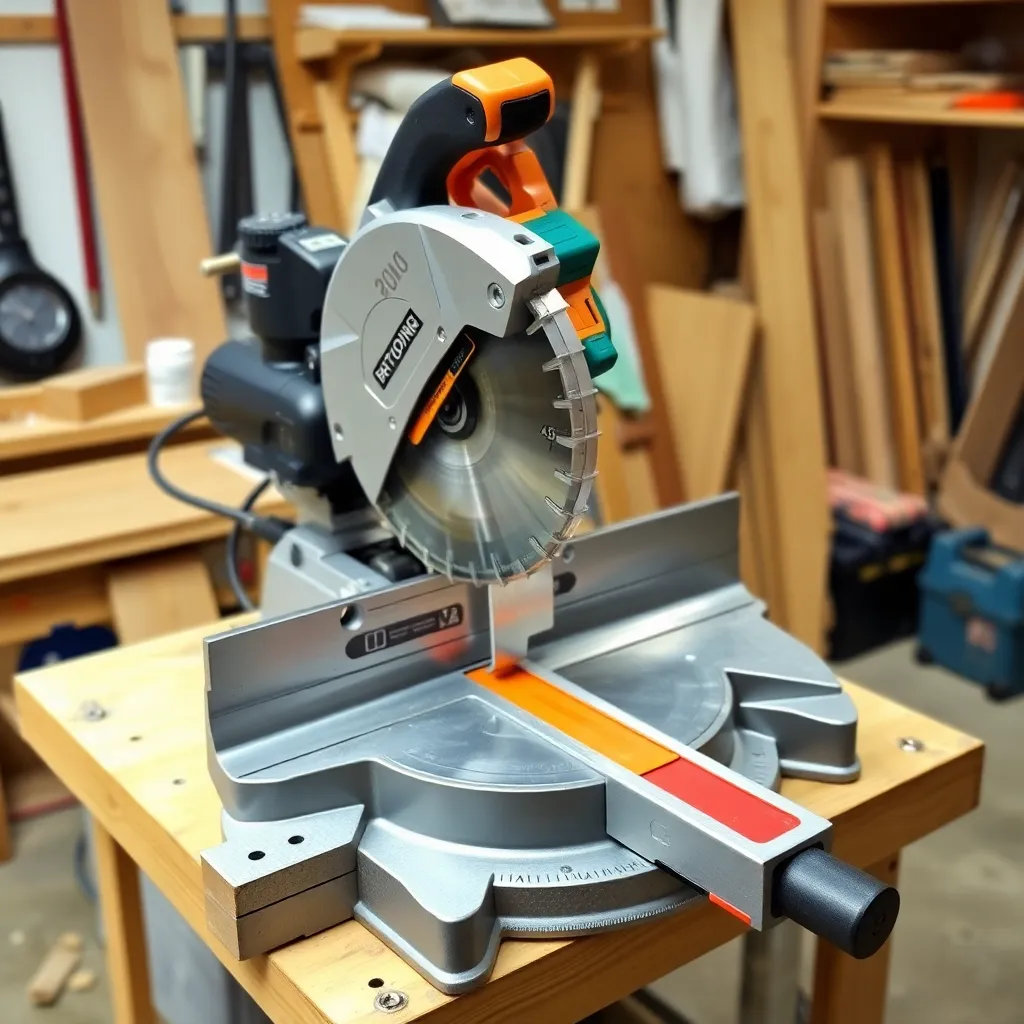
The miter saw (compound miter saw) is the standard tool for miter cuts in moldings and framing. For flat miters: set the miter angle to 45 degrees (left and right). For compound miters: set both the miter angle and the bevel angle based on the crown molding’s spring angle and the corner angle (most saws have crown molding angle charts).
Accuracy check: cut two scrap pieces at 45 degrees and bring them together. The resulting corner should be exactly 90 degrees (check with a reliable square). If it’s not: adjust the miter saw stop by the error divided by two (a 1-degree total error means adjusting 0.5 degrees per cut).
Table saw setup:
For miter joints in small boxes and frames: a crosscut sled with a 45-degree fence attachment (or a dedicated miter sled) produces very accurate flat miters on short pieces. The table saw is preferred over the miter saw for thin materials and very precise work.
Router table:
For molding profiles that must be mitered: cut the molding profile first, then miter the mitered stock on the miter saw. Don’t try to cut a miter on a router table.
Milestone: Cut four test pieces at 45 degrees and assemble them into a square — the four corners should produce a perfect square with no gaps.
Step 3: Cut the Miters
Goal: Make clean, accurate miter cuts that mate without gaps.
Technique for miter saw cuts:
Make sure the stock is firmly against the fence and table — any movement during the cut produces an inaccurate angle
Cut to finished length plus a small amount (1/16″), then sneak up to final length with the second miter cut
For picture frames and matching pairs: cut both pieces of each pair with the same fence setting without moving the stop — this ensures both pieces of a pair are the same length
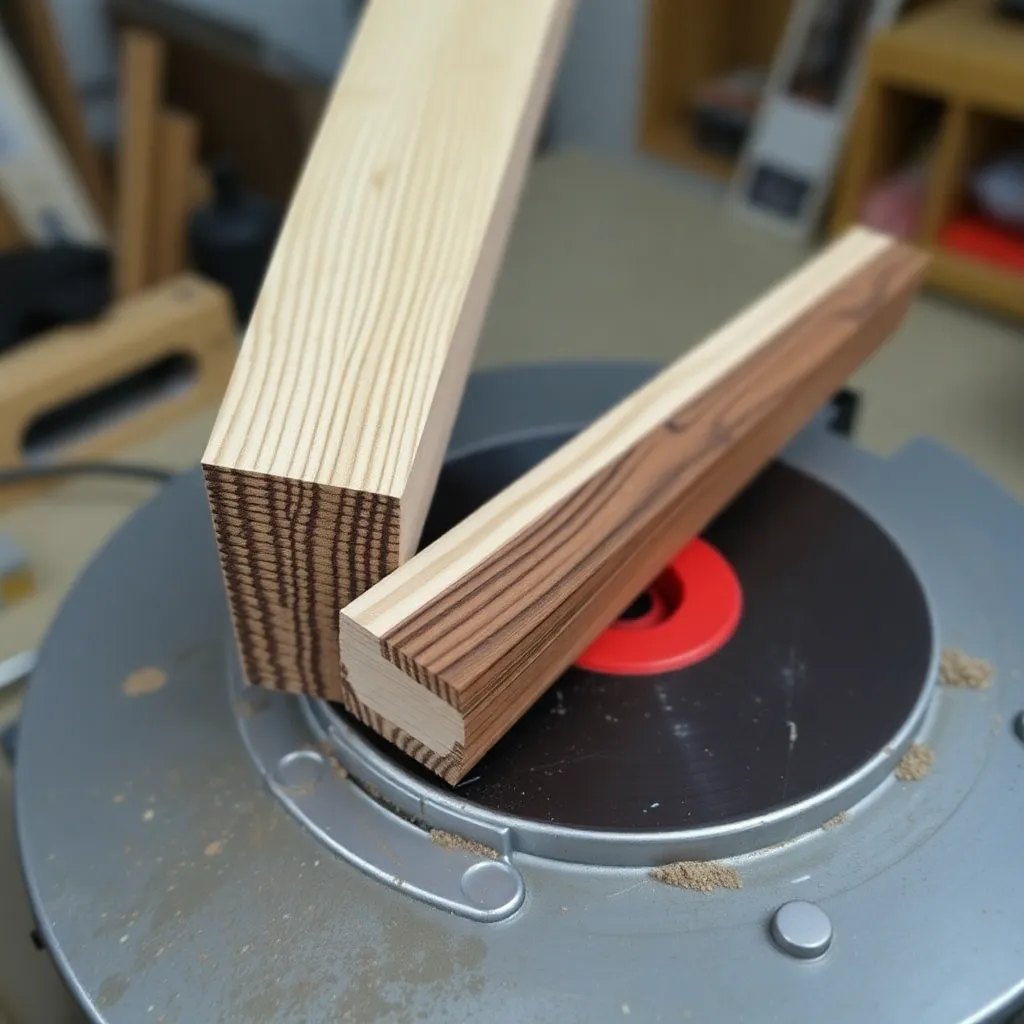
Preventing tearout: the blade exits the bottom face of the workpiece on a miter saw — the bottom face is where tearout occurs. For pieces that will be visible on both faces: apply masking tape on the bottom face at the cut location, or use a zero-clearance insert on the miter saw.
For crown molding: set the crown molding against the fence in the “spring position” (the same angle it sits on the wall, approximately 38 or 45 degrees from vertical depending on the molding’s spring angle). Mark “ceiling face” and “wall face” on test pieces before cutting to avoid confusion about which face goes where.
Milestone: Cut a complete set of frame or box parts and dry-assemble to check that all corners close without gaps before applying glue.
Step 4: Reinforce the Joint
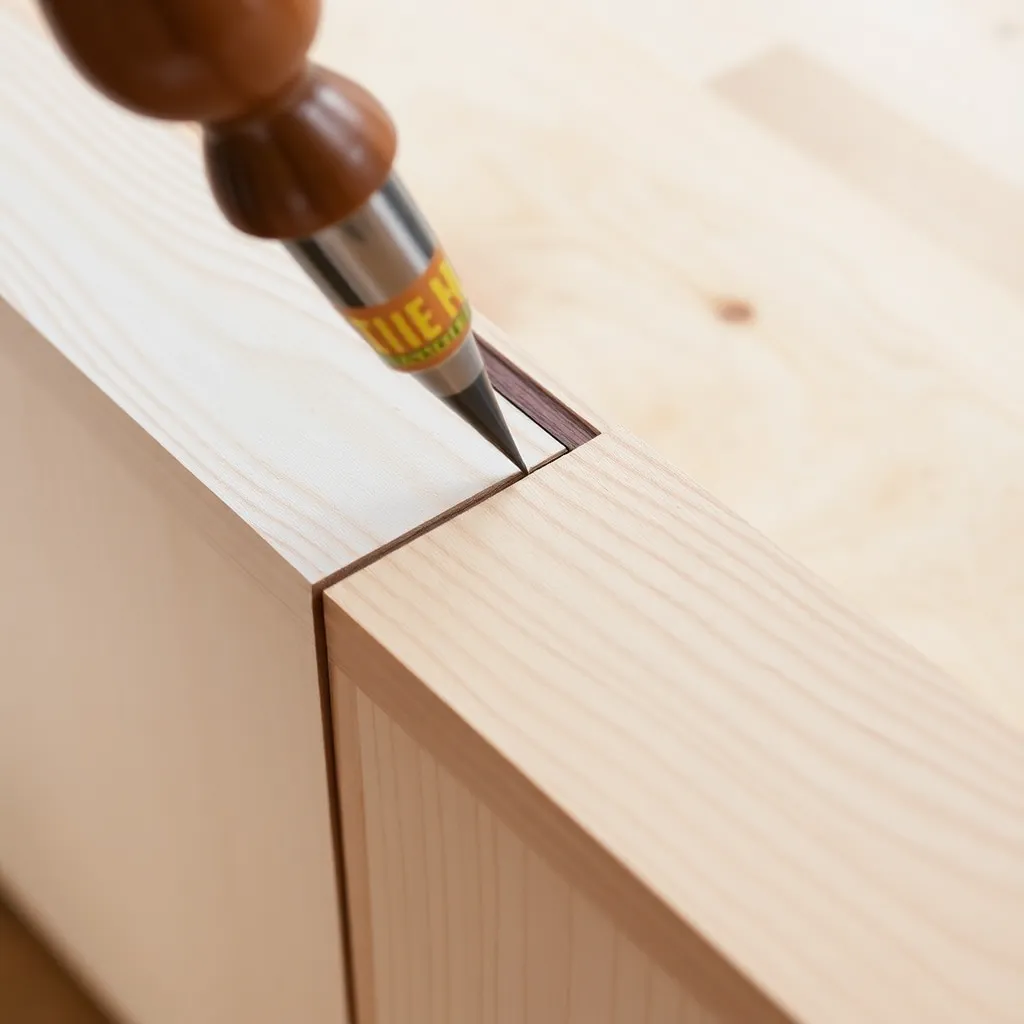
Goal: Add mechanical strength to the miter joint for structural applications.
Spline reinforcement (strongest and most versatile):
Assemble the miter joint dry and clamp lightly
Run the assembled corner over the table saw, the miter joint face down, with the blade set to cut a slot 1/3 to 1/2 of the way through the joint
Cut a spline from thin stock (1/8″ to 1/4″ thick) with grain running perpendicular to the miter joint face
Glue the spline into the slot
Biscuit reinforcement:
Cut biscuit slots into both miter faces using a biscuit joiner, with the tool registered against the outer face of each piece. #0 or #10 biscuits for frames; #20 for larger pieces. Apply glue, insert biscuits, and clamp.
Domino reinforcement:
The Festool Domino joiner cuts slots for oval tenons (Dominos). Stronger than biscuits and more precisely positioned. Excellent for miter joints in furniture-scale work.
Corner blocks (inside reinforcement):
For boxes and carcases: glue small triangular blocks inside the corner after the miter glue-up. The blocks provide long-grain glue surface to the inside of the corner and significantly increase strength without being visible from outside.
Milestone: Test the breaking strength of a reinforced vs unreinforced miter (on scrap) — the difference in resistance to racking is immediately apparent.
Step 5: Glue and Clamp the Miter
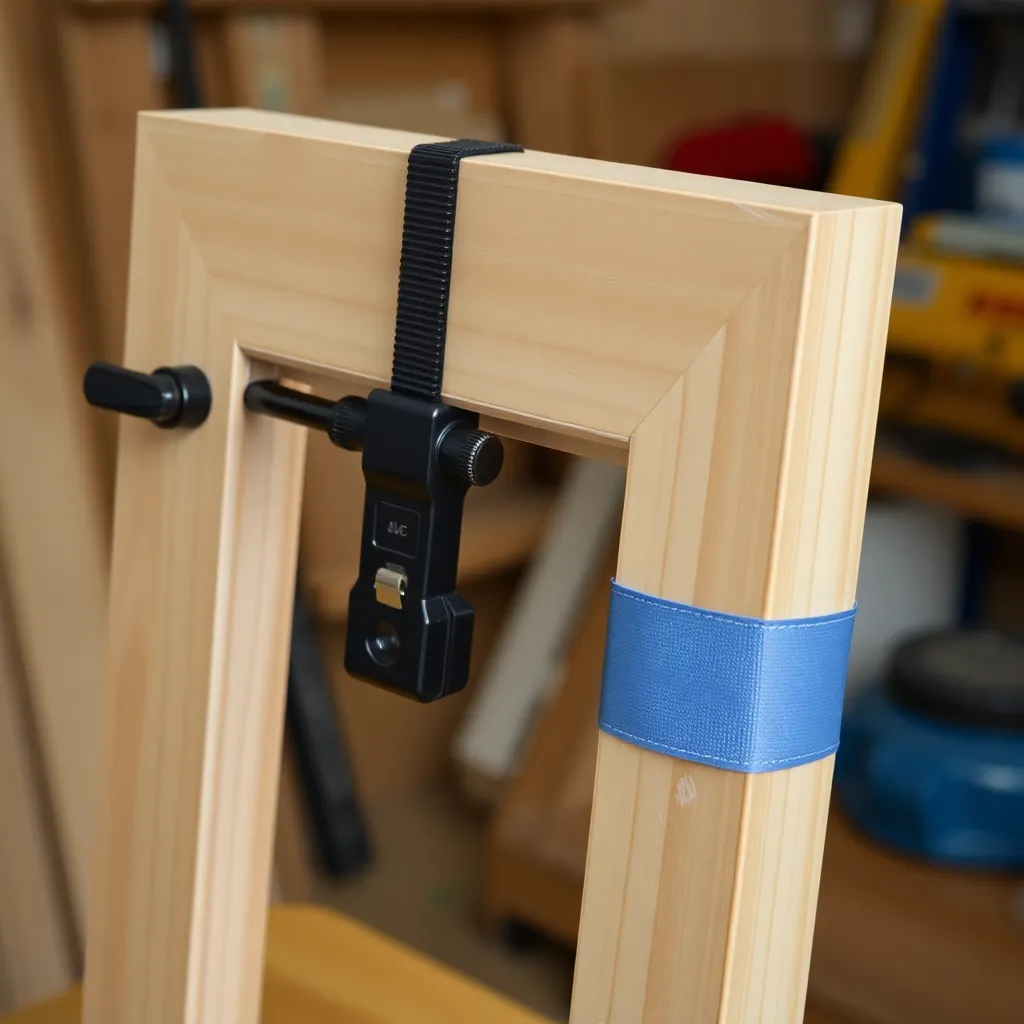
Goal: Apply glue and clamp the miter joint without the pieces sliding during clamping.
The primary challenge of gluing miters: the smooth, angled faces slide relative to each other under clamping pressure. Standard clamps produce pressure perpendicular to the joint face, which causes the pieces to slide along the joint.
Tape clamping (for picture frames and small boxes):
Lay all four pieces face down in order on the bench
Apply masking tape across the outside of each joint, stretching slightly to create tension
Apply glue to all miter faces
Fold the assembly up — the tape holds the pieces together as the glue sets
Apply additional tape or bands around the assembled frame
Band clamps:
A band clamp (a loop of webbing with a ratchet) wraps around all four sides of a frame or box, applying even pressure at all four corners simultaneously. Miter corner brackets (small right-angle pieces that go inside each corner) prevent the corners from sliding as the band is tightened.
Specialized miter clamps:
Clamps designed specifically for miter joints (Bessey Miter Clamps, Rockler Miter Clamp) grip both pieces and prevent sliding during clamping. The most reliable solution for furniture-scale miter joints.
Milestone: Clamp a dry-assembled miter and verify no gaps open at the miter face before applying glue — if the dry assembly works, the glue-up will too.
Step 6: Fit and Install Crown Molding Miters
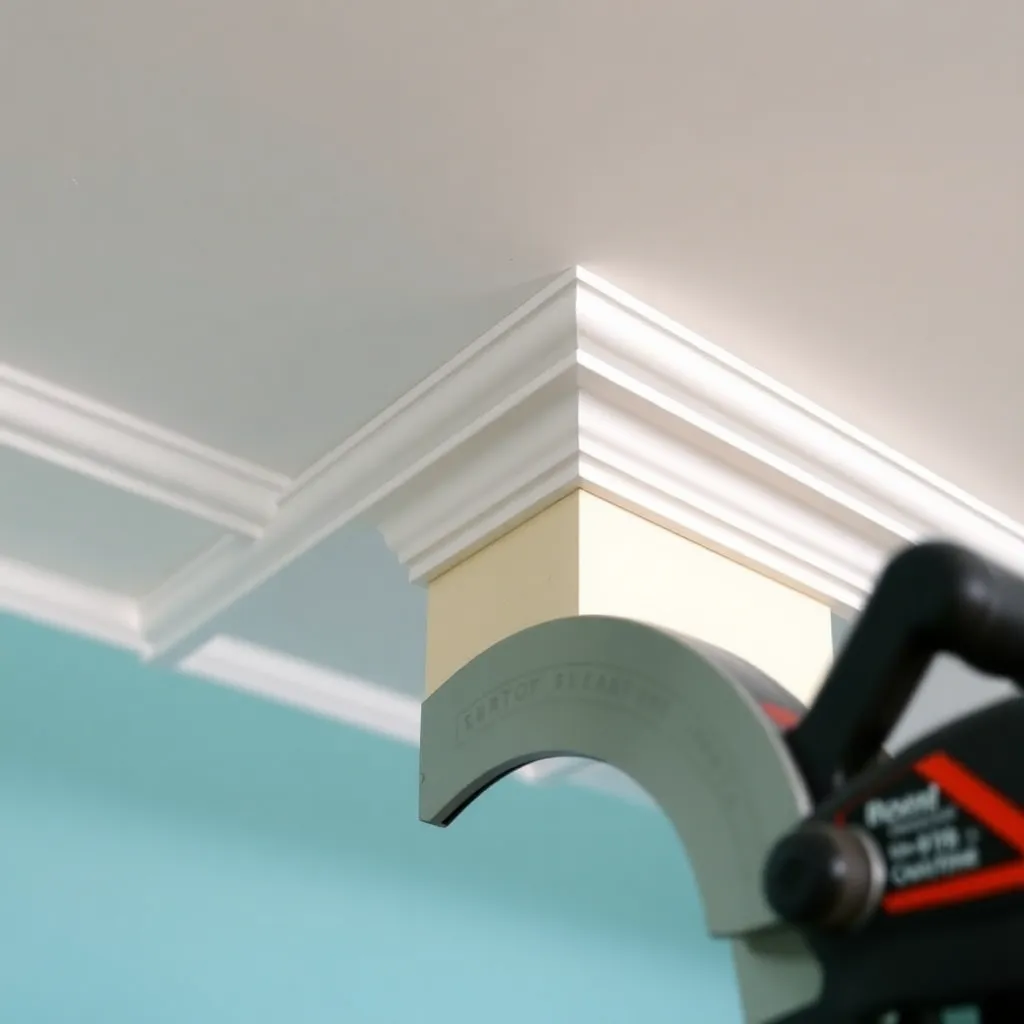
Goal: Cut and fit compound miter joints in crown molding at inside and outside corners.
Crown molding is the most challenging miter application — the compound angles required are counterintuitive, and the molding must be held in the spring position during cutting.
Spring angle: the angle at which the crown sits between wall and ceiling. Common spring angles: 38 degrees (the most common residential crown) and 45 degrees (decorative crown). The spring angle determines the compound miter settings.
Inside corners: the two pieces of crown meet at an inside corner. Both pieces tilt away from you as you cut — right piece with miter left and bevel left; left piece with miter right and bevel right (for a 45-degree inside corner on a compound miter saw).
Outside corners: the two pieces meet at an outside corner. Both pieces tilt toward you — right piece with miter right and bevel left; left piece with miter left and bevel right.
Cope-and-stick alternative for inside corners: rather than miter both inside corners (which requires perfectly square rooms), cope the second piece: cut the first piece square and butt it into the corner; cut the second piece with a matching profile cut (the coped cut) that fits over the face of the first piece. The coped joint accommodates walls that aren’t perfectly square and is the professional standard for interior crown molding installation.
Milestone: Cut a test inside corner with scrap crown molding and verify the joint closes cleanly before cutting finish material.
Miter Joint FAQ
Why do miter joints open up over time?
Miter joints open at the outside corner (the point of the miter) due to wood movement. The two pieces of a miter joint meet with end grain to end grain — wood moves across the grain with seasonal moisture changes but not along the grain. As the wood swings between dry (winter, indoor heating) and humid (summer), the miter faces move relative to each other. A well-constructed miter with reinforcement (spline, biscuit, or corner blocks) moves as a unit and shows minimal gapping. An unreinforced miter is especially vulnerable because there’s no mechanical constraint on the relative movement of the two faces. Priming and painting the end grain before assembly reduces moisture absorption and slows the movement cycle.
What is the difference between a miter and a bevel cut?
A miter cut changes the angle in the horizontal plane — the top face of the board remains flat, but the cut angle is not perpendicular to the board’s length. A bevel cut changes the angle in the vertical plane — the face of the board is cut at an angle rather than perpendicular to the face. A compound miter cut combines both: the cut is angled in both planes simultaneously. On a miter saw: the miter handle controls the horizontal angle (miter); the bevel tilt adjusts the vertical angle (bevel). For flat miter joints (picture frames, box corners): only the miter angle changes. For crown molding: both miter and bevel angles change for compound miters.
How do I cut a perfect 45-degree miter?
A “perfect” 45-degree cut that produces a gapless joint requires three things: an accurate saw setup (verify with a square after setting to 45 degrees — most saws have stop detents that are close but not always exact), consistent stock feeding (the board must be firmly against the fence throughout the cut — any movement changes the angle), and matching lengths (both pieces of a pair must be exactly the same length — use a stop block for all cuts of the same length). The most common miter gap problem: one or both cuts are slightly off 45 degrees, leaving a gap at the tip or the base of the joint. Fix by adjusting the saw angle by half the total error, cutting test pieces, and verifying until the joint closes perfectly.
Should I use yellow glue or another adhesive for miter joints?
Yellow PVA glue (Titebond Original or Titebond II) works for miter joints in most woodworking applications. The limitation of PVA: it doesn’t bond end grain as well as long grain (end grain absorbs the liquid glue carrier before the polymer bonds). Apply PVA to end-grain miter faces, let it soak in for 30–60 seconds, then apply a second coat before assembly — this pre-sizing of the end grain improves the bond significantly. For the strongest miter bond: liquid hide glue (more open time, good for complex miter glue-ups) or epoxy (gap-filling, works well on end grain). For exterior miter joints (door casings, exterior trim): use a polyurethane adhesive (Gorilla Glue) or Titebond III for water resistance.

“DIY woodworking enthusiast who started with zero experience and a YouTube tutorial.
I build simple, practical projects for my home and share free plans
so other beginners can skip the guesswork.If I can build it, you can too.”