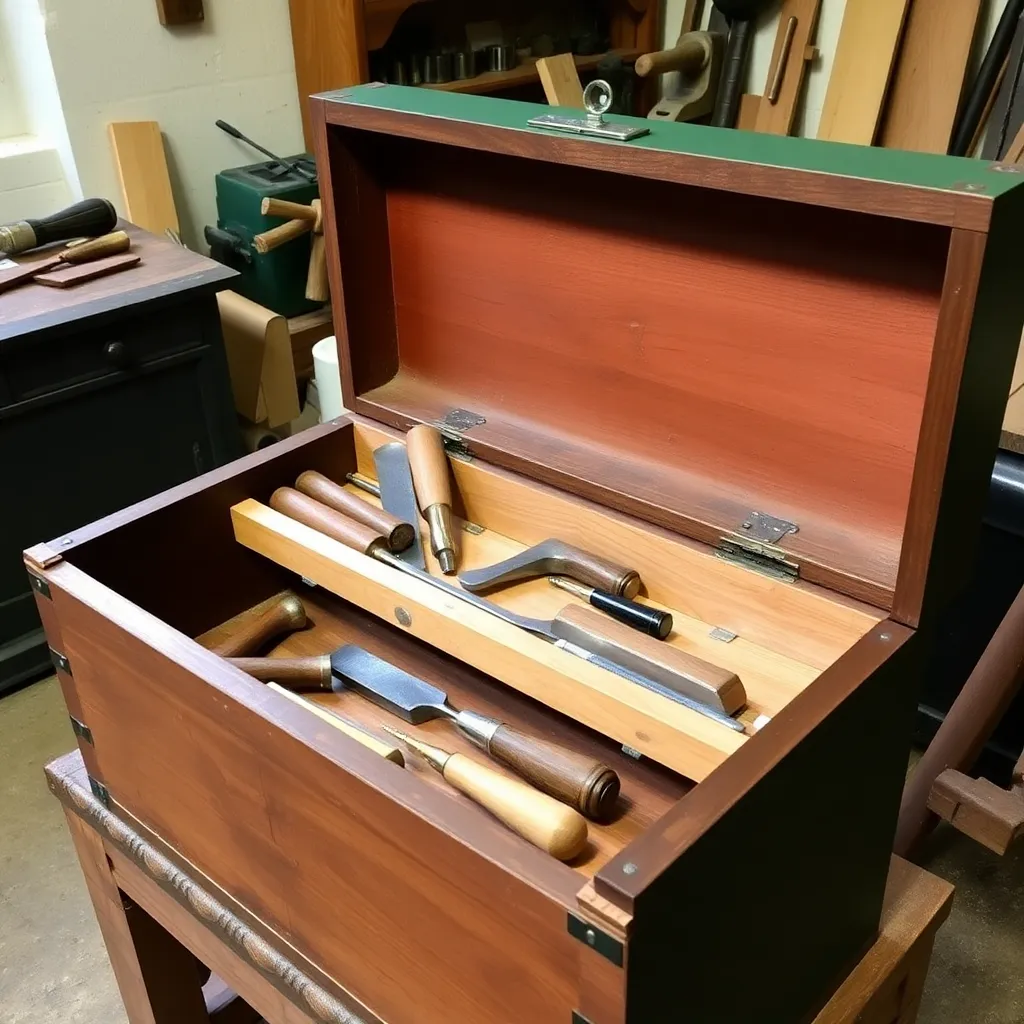
A traditional wooden tool chest is the finest portable tool storage solution ever designed for hand tools — a centuries-old form refined to exactly the right size, depth, and organization to hold a complete set of woodworking tools. It’s also one of the best hand tool practice projects available: the construction teaches dovetailed corners, fitted lids, breadboard ends, and interior fitting in a single project.
Ted’s Woodworking has complete tool chest plans from simple to traditional dovetailed versions. Browse Ted’s plans →
This guide is part of our complete Workbench Plans: Shop Benches, Sawhorses & Tool Storage — covering workbench designs, sawhorses, tool storage, and more.
Step 1: Determine the Chest Dimensions
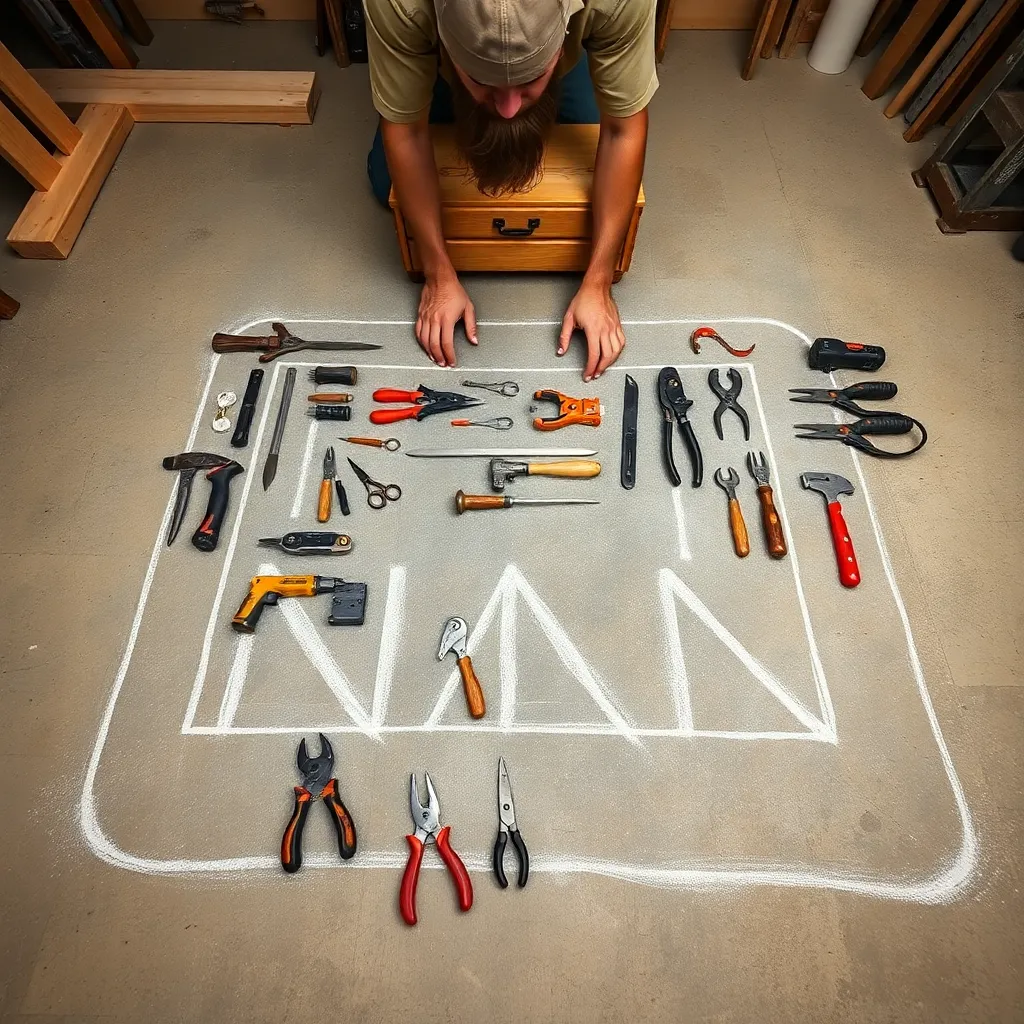
Goal: Size the chest to hold your current tools with room for growth.
The classic tool chest dimensions are deceptively specific — they evolved over generations of craftsmen who needed to hold a complete set of hand tools while remaining portable (liftable by two people).
Recommended starter dimensions:
- Length: 24–28 inches (fits most hand saws up to 26 inches)
- Width: 12–14 inches
- Height: 12–14 inches (exterior, including lid)
Checking your tools against the dimensions: lay your longest tool (typically a hand saw or large panel saw) flat inside the proposed length. Stack your planes, squares, and marking gauges inside the width. The chest should hold everything with room for a till (removable tray) in the upper 3–4 inches.
Traditional proportion: the interior depth below the till should accommodate a No. 4 bench plane lying on its side (approximately 9 inches clear). The till height accommodates chisels, marking tools, and small accessories.
Milestone: Sketch the chest layout and verify all your current tools fit within the proposed dimensions.
Step 2: Choose Construction Method and Materials
Goal: Select the joinery method appropriate for your skill level and tools.
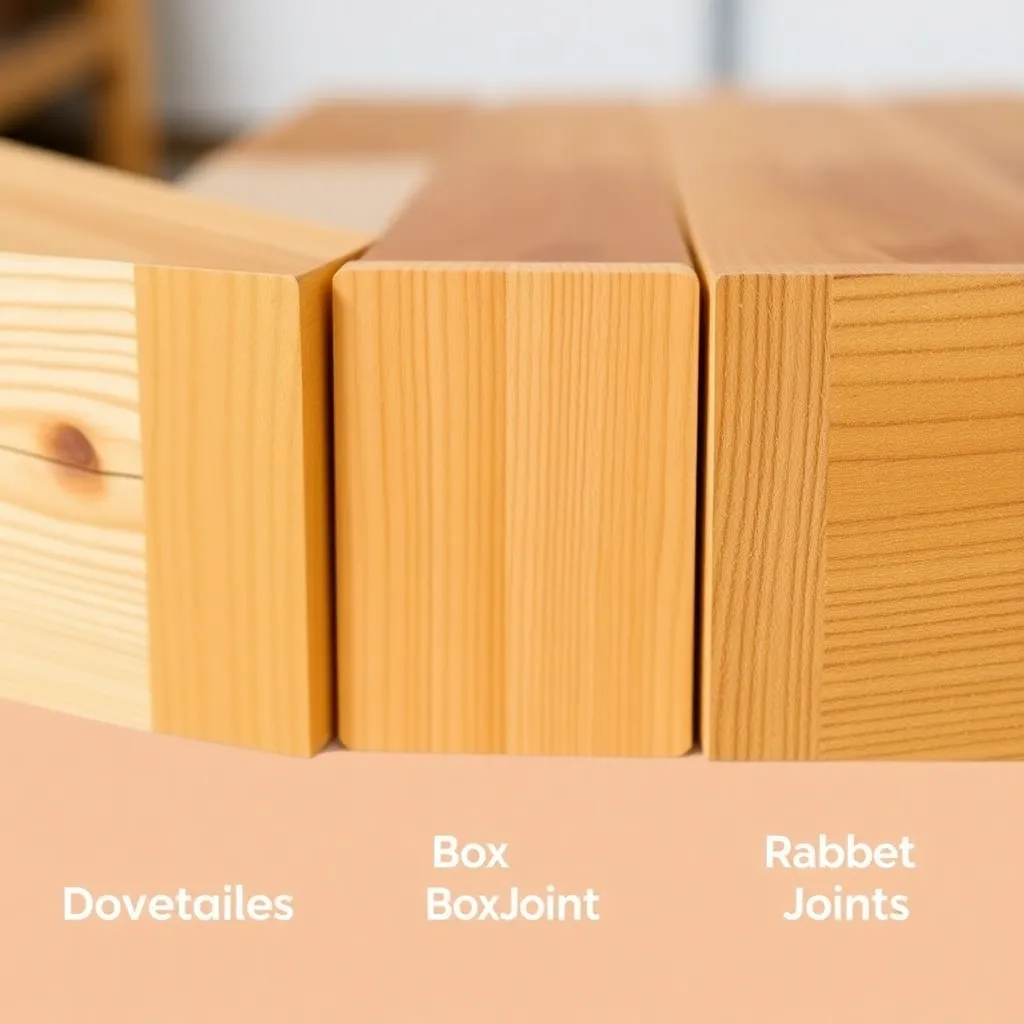
Option 1 — Dovetailed corners (traditional): the most beautiful and strongest construction. Through-dovetails at all four corners. Requires hand tool skill (marking, sawing, and paring dovetails) or a dovetail jig on the router table. A fully dovetailed chest is a significant hand tool project — beautiful results, 20–30 hours for a first-timer.
Option 2 — Box joints (machine-cut): strong, attractive, and achievable on a table saw with a box joint jig. Similar appearance to dovetails from a distance. Approximately half the time of hand-cut dovetails for equivalent results.
Option 3 — Rabbet and screw (simplest): the front and back panels rabbet into the side panels; screws reinforce the joint. Covered with glue and clamps. The least decorative option but fully functional and achievable in a weekend.
Species selection: traditionally, tool chests use soft pine (easily worked, light weight). Modern alternatives: poplar (harder than pine, takes paint well), cherry or walnut (beautiful natural finish, heavier). The lid and till are often a different, lighter species than the main box.
Milestone: Choose a construction method and species, then price out the lumber for your dimensions.
Step 3: Build the Box
Goal: Construct the main chest box with your chosen corner joinery.
Milling the stock:
- Mill all stock flat and to consistent thickness (typically ½” for the main box, ¼” for the bottom panel)
- Joint all edges straight
- Crosscut to final length with a stop block for consistent lengths
Corner joint layout:
- For dovetails: mark the baselines (the depth of the pins and tails) with a marking gauge; lay out the tail spacing
- For box joints: set the jig to the desired finger width (typically ¼” or ½”)
Assembly sequence:
- Dry-fit all corners to verify fit
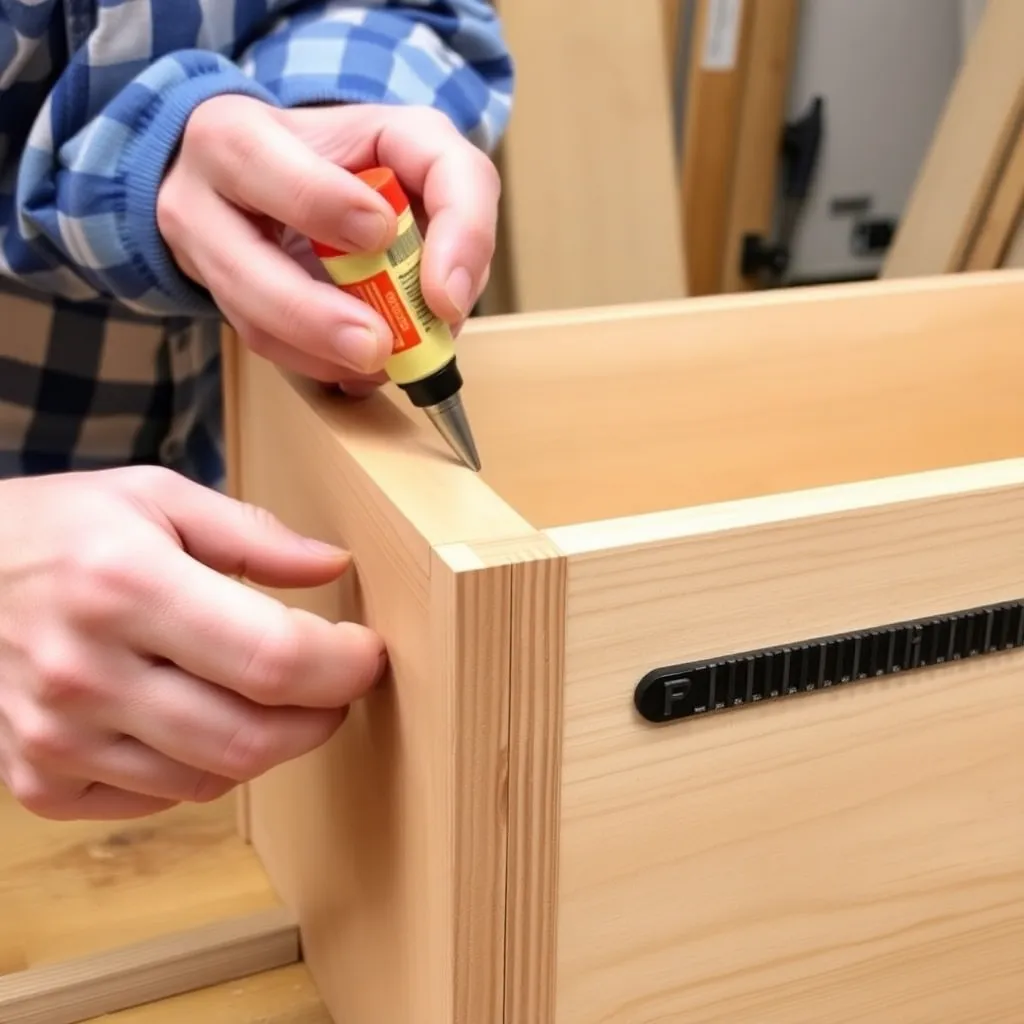
- Glue and clamp the front and back to the sides — check for square
- After curing, fit and glue the bottom panel (captured in grooves cut before assembly, or fit in rabbets cut after)
Square check: measure diagonals after clamping — both diagonal measurements should be equal within 1/16″. Rack the box diagonally if needed to bring it square.
Milestone: Complete a dry-fit assembly and check that all joints close fully with hand pressure before applying glue.
Step 4: Build the Lid
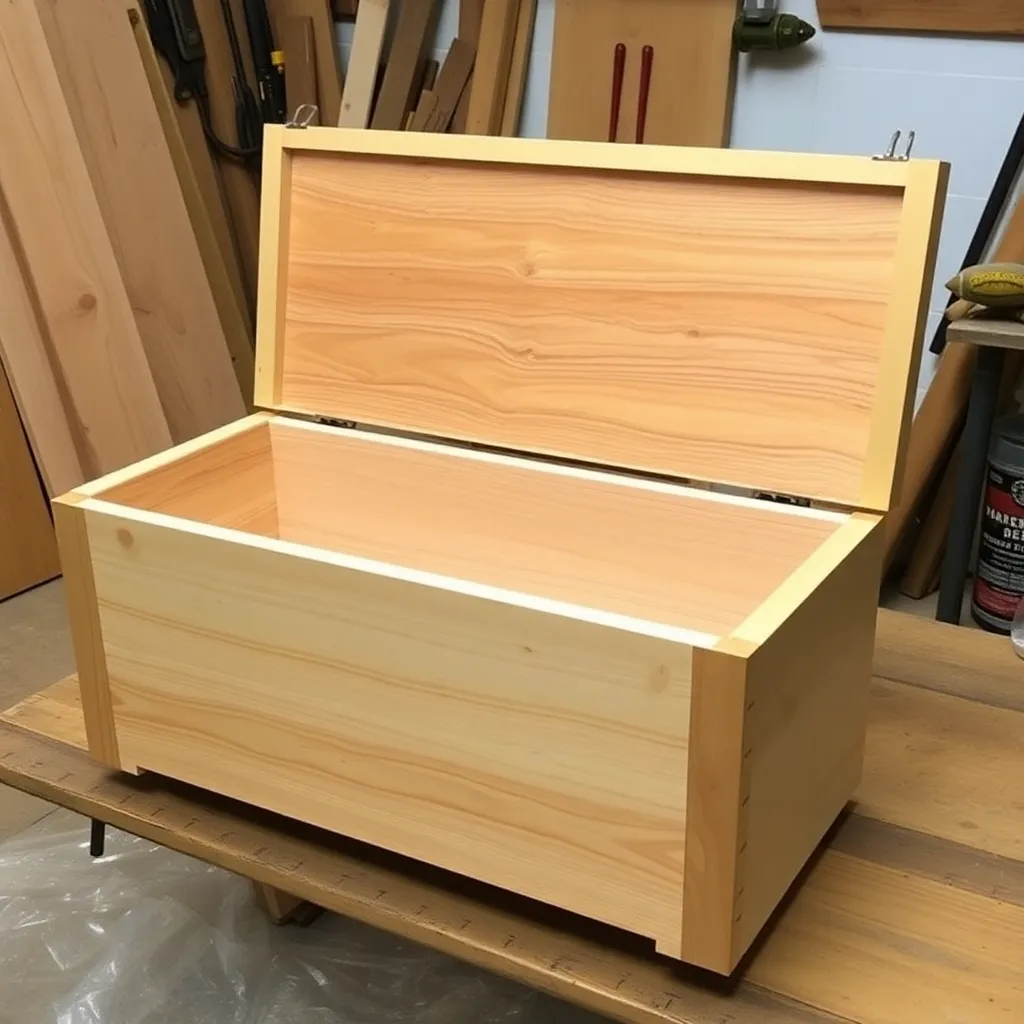
Goal: Construct a lid that fits the box without gaps and manages wood movement.
The lid is the most demanding part of a tool chest — a solid wood panel of this size (24″×12″) will move ⅜–½ inch seasonally in typical climates. The lid must be designed to accommodate this movement without cracking.
Lid construction options:
Breadboard ends: the lid panel is a solid wood slab; solid wood strips (breadboard ends) are glued at the center only and are jointed to the panel with elongated mortise-and-tenon slots at the ends. The tenons slide in the slots as the panel moves. Traditional, attractive, and works well.
Frame-and-panel: a solid wood frame surrounds a floating panel. The panel floats in grooves in the frame pieces and is not glued — it moves freely inside the frame without stressing the joint. The frame joints (bridle joints or mortise-and-tenon) hold the lid flat.
Plywood lid: no movement concerns, perfectly flat, simple — but not traditional and less attractive. Appropriate for a utility chest that will be painted.
Lid hinges: two or three butt hinges (1.5″×2″) set into mortises in the back of the lid and back panel. Mortise the hinge leaves flush so the lid closes flat.
Milestone: Fit the lid to the box, checking that the reveal (gap between lid and box) is even all around (approximately 1/16″) before cutting hinge mortises.
Step 5: Build and Fit the Till
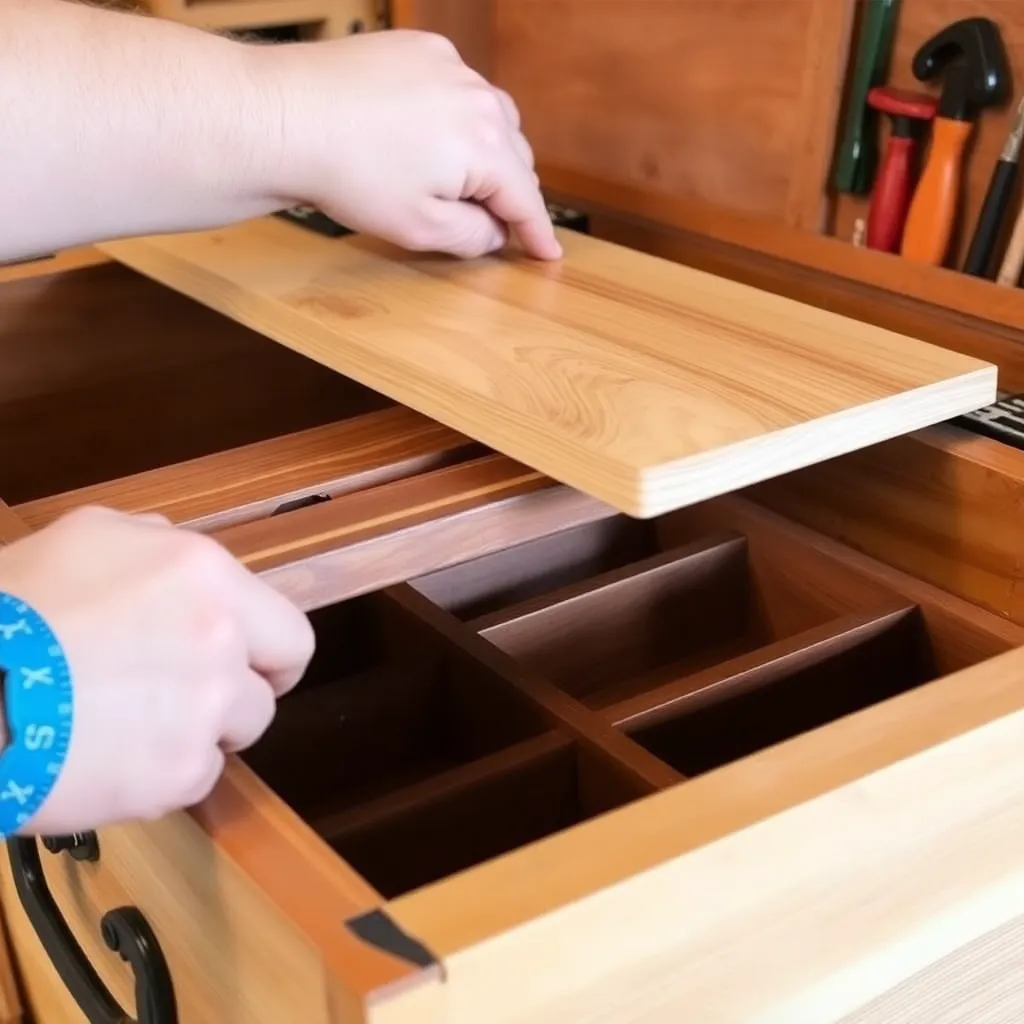
Goal: Build a removable tray that fits inside the chest and holds small tools.
The till is a shallow tray that sits in the upper portion of the chest, resting on cleats attached to the inside of the front and back panels. It holds chisels, marking tools, squares, and small accessories — freeing the lower compartment for planes, saws, and large tools.
Till dimensions:
- Length: chest interior length minus ¼” for clearance
- Width: chest interior width minus ¼” for clearance
- Height: 3–4 inches (deep enough for chisel handles, shallow enough to leave adequate depth below)
Till construction: the till sides, front, and back are simple butt-jointed or finger-jointed corners, ½” or ¼” thick. The bottom is ¼” plywood or solid wood. The till is not glued into the chest — it lifts out completely to access the lower compartment.
Interior compartments: dividers inside the till separate chisels from marking tools. A chisel holder (a strip of leather or felt with slots) keeps cutting edges from contacting each other. Custom-fit slots can be added for specific tools.
Milestone: Lower the till into the chest and verify it slides in and out smoothly and rests level on the cleats.
Step 6: Finish the Chest
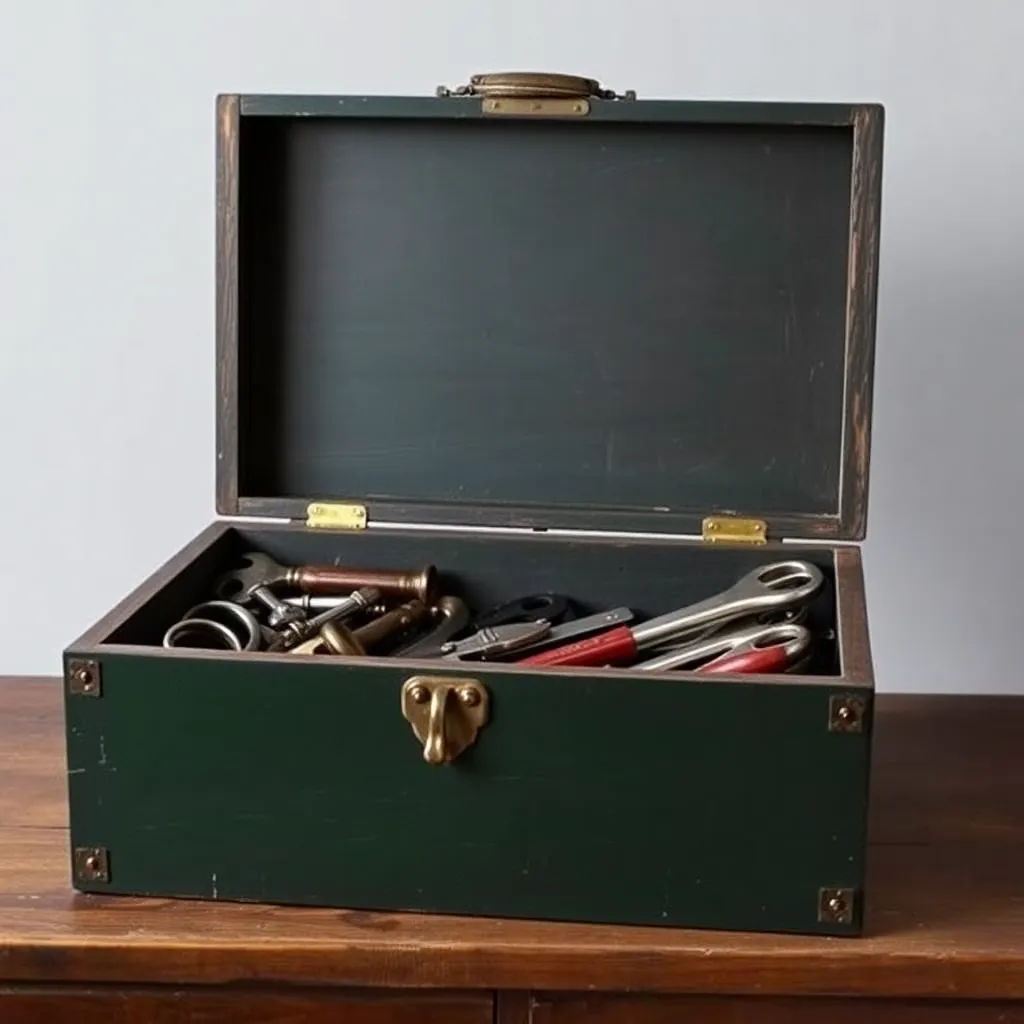
Goal: Apply a finish that protects the chest and looks appropriate for a tool storage piece.
Traditional tool chest finish: oil (boiled linseed oil or Danish oil) on the interior, paint on the exterior. The reasoning: oil protects the interior wood from tool handle oil and incidental contact without building a film that chips; paint protects the exterior from impact and moisture in a shop environment.
Interior finishing:
- Sand to 180 grit
- Apply one coat of boiled linseed oil (BLO) with a rag
- Allow to dry completely (24–48 hours for BLO)
- Light scuff with 220 grit if needed
Exterior finishing:
- Fill any gaps, nail holes, or tearout with wood filler; sand flush
- Apply one coat of oil-based primer
- Sand to 180 grit
- Apply two coats of oil-based enamel paint (traditionally dark colors — black, dark green, or deep red)
Hardware installation:
- Chest handles: two chest handles (bail handles) on the ends, sized for the chest length
- Lid stay: a chain or leather strap that limits how far the lid opens — prevents the lid from falling back and stressing the hinges
- Optional: a small lock hasp for securing the chest
Milestone: Apply the first coat of exterior primer and interior oil in the same session — the BLO dries slowly, so applying it first and painting exterior while it dries is efficient.
Wooden Tool Box FAQ
What size should a tool chest be?
A practical first tool chest: 24 inches long, 12 inches wide, 12 inches tall (exterior dimensions). This accommodates most hand tools (a 26-inch hand saw fits diagonally) and remains liftable by one person when not fully loaded (approximately 25–35 lbs empty). Traditional cabinetmaker’s chests ran 36–42 inches long to hold a complete set of full-size tools — but these are two-person lifts when loaded. Size the chest to the tools you actually have, not the tools you might someday acquire.
What wood is best for a tool chest?
Eastern white pine is the traditional material — lightweight, easy to work (important since the chest itself is a hand-tool practice project), and the same wood that professional cabinetmakers used for centuries. The soft surface develops a patina of marks and dents that tell the chest’s history — this is considered appropriate for a working tool chest, not a flaw. For a more formal chest: poplar (harder than pine, takes paint extremely well) or cherry (beautiful natural finish, lighter than walnut). Avoid very hard species (maple, oak) — the extra weight makes the chest less portable, and the extra hardness provides no benefit for a storage piece.
How are tool chests traditionally joined?
Through-dovetails at all four corners — the widest, most visible joint in woodworking displayed prominently in every corner. This was the traditional demonstration of the cabinetmaker’s skill: a well-cut set of dovetails announces that the owner can execute precise hand tool work. The bottom is typically rabbeted and nailed or screwed in from the outside. The lid uses breadboard ends (solid wood ends mortised and tenoned to a solid panel lid, allowing movement) or frame-and-panel construction. Modern builders often substitute box joints (finger joints cut on the table saw) for hand-cut dovetails — the result looks similar and is structurally equivalent, but lacks the hand tool construction.
Do I need special hardware for a wooden tool chest?
The hardware required: two chest handles (bail handles, sometimes called drop handles — available from Rockler, Lee Valley, and antique hardware suppliers), two or three butt hinges for the lid, a lid stay (chain or leather strap), and optionally a hasp lock. All of this hardware is standard and inexpensive. The chest handles are the most critical purchase — choose steel or cast iron handles rated for the expected weight of the loaded chest. Traditional chests used ornate stamped steel hardware; modern versions often use plain or brushed steel for a cleaner look.

“DIY woodworking enthusiast who started with zero experience and a YouTube tutorial.
I build simple, practical projects for my home and share free plans
so other beginners can skip the guesswork.If I can build it, you can too.”