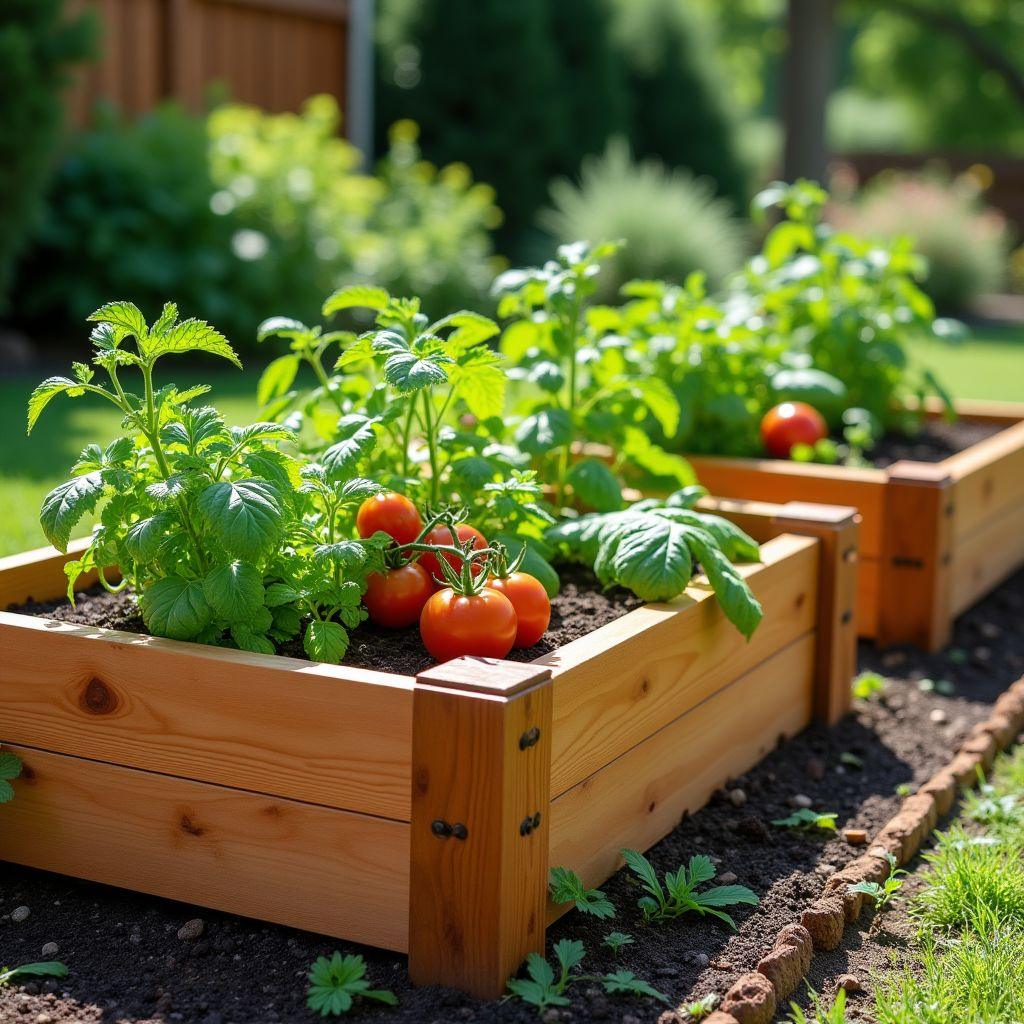
You stand in the lumber aisle staring at boards labeled “#2 Premium” and “#2 Better,” with no idea which one to grab. Then you see the price: $25 to $35 for a single 2x6x8 cedar board. Every guide you skimmed on the way here told you to “buy cedar” and “cut it to size,” but not one gave you a real cut list, a current price, or a way to spend less.
This guide fixes that. You get complete board-by-board cut lists for four bed sizes, real 2026 Home Depot and Lowe’s cedar prices, a fence-picket hack that cuts your lumber cost 50 to 70 percent, plain-English cedar grade guidance, and the exact soil mix and pest barrier that make the bed actually grow food.
Cedar is the right material for this. Untreated western red cedar lasts 10 to 20 years outdoors, needs no chemical treatment, and is completely safe for edibles. That is why every plan below is built around it.
This cedar raised garden bed comes in four variants: a standard vegetable bed, a tall accessible bed, a square flower bed, and a small patio planter. The standard bed builds in under three hours with basic tools. You can jump straight to your size in Step 2.
If you want the fastest path, build the standard 4x8x11-inch bed. Every other variant is just a variation on it.
Step 1: Choose Your Bed Size and Know What It Costs in 2026
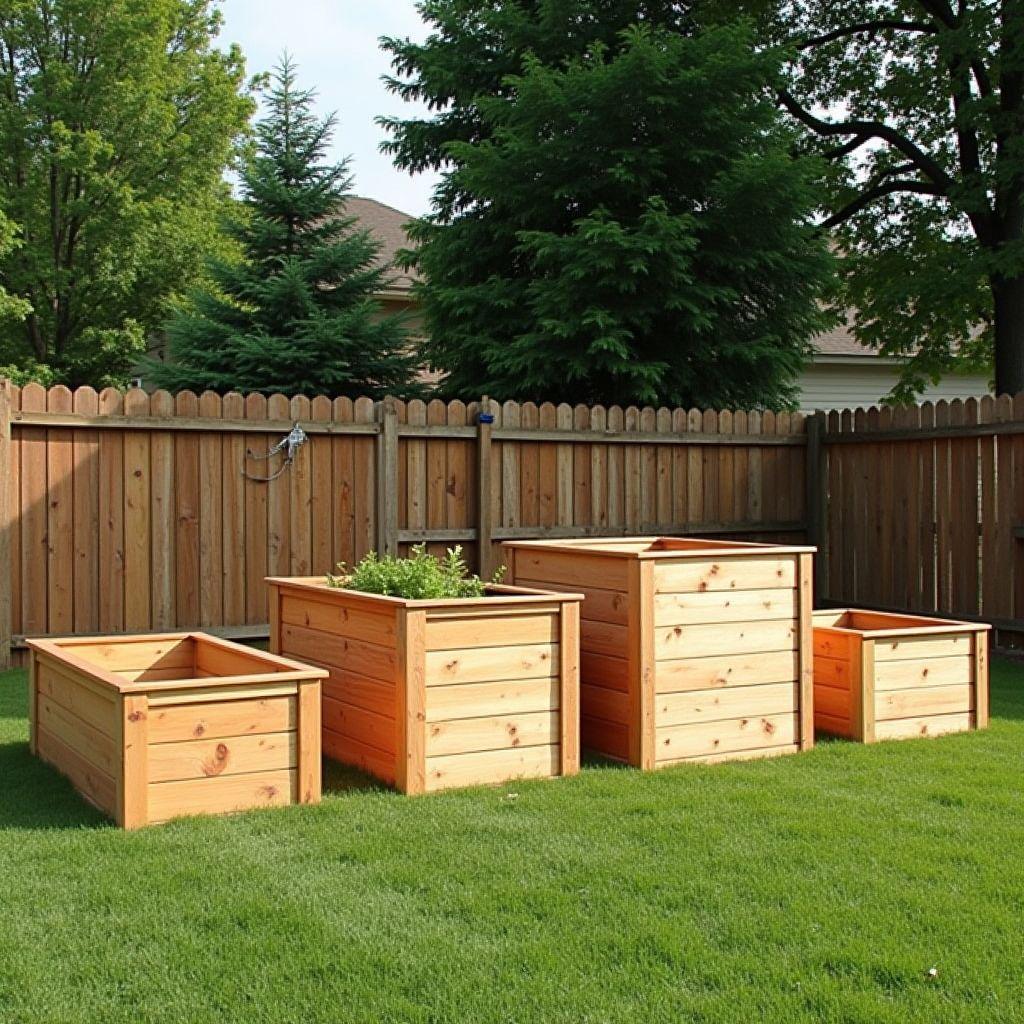
Here is the number nobody else prints: a single 2x6x8 cedar board runs $25 to $35 at Home Depot and Lowe’s in 2026. Lowe’s recently listed a #2 cedar 2x6x8 at $31.48. That means a standard 4×8 bed costs $150 to $210 in lumber alone.
Pick one of these four variants first. Everything else in this guide follows from your choice.
| Variant | Dimensions | Best for | Boards needed | Approx. 2026 lumber cost |
|---|---|---|---|---|
| Standard vegetable bed | 4 x 8 x 11 in | Tomatoes, peppers, lettuce, herbs | (6) 2x6x8 + (1) 4x4x8 | $150–$210 |
| Tall / accessible bed | 4 x 8 x 24 in | Back-friendly, wheelchair, deep-root crops | (12) 2x6x8 OR (6) 2x12x8 | $300–$420 |
| Square flower bed | 4 x 4 x 11 in | Flowers, herbs, strawberries | (4) 2x6x8 | $100–$140 |
| Small planter box | 2 x 4 x 11 in | Patios, balconies, renters | (2) 2x6x8 + post material | $50–$70 |
Searched for raised bed plans or raised flower bed plans? The standard bed and the square bed are your answers. The square 4×4 lets you reach the center from all four sides, ideal for flowers, herbs, and strawberries. For raised planter bed plans or plans for a raised garden box on a patio or balcony, the small planter box suits tight spaces and renters.
Follow the 4-foot width rule for every variant. A bed no wider than 4 feet lets you reach the center from either side without stepping in the soil.
Depth is simple math. A 2×6 board actually measures 1.5 by 5.5 inches, not 2 by 6. Stack two and you get 11 inches, plenty for annual vegetables. Go 16 to 18 inches for tomatoes and root crops, and 24 inches for deep production or accessibility.
Cedar prices vary by region and have stayed elevated since the 2021 lumber spike, so check your local store. If the sticker shock is real, hold on for the fence-picket hack in Step 3.
Best for most people: pick the standard 4×8 if you are growing vegetables and unsure. Skip the tall bed if budget is tight, since it doubles the board count.
Step 2: Cut Lists for All Four Bed Variants
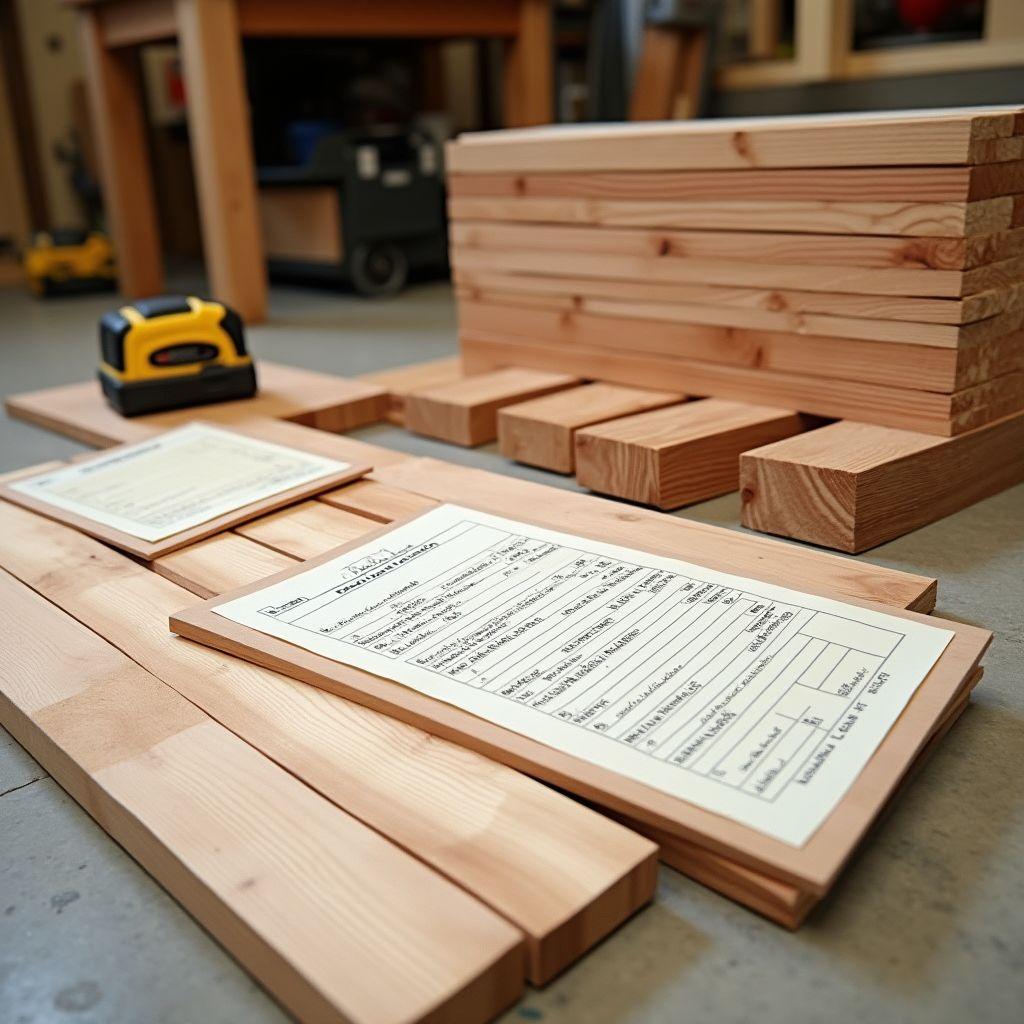
Here is the part every other guide leaves out. Below are four complete cut lists, one per variant. Find your size, make these cuts, and there is zero guesswork left.
Cut List 1: Standard 4x8x11 in
- Long sides: (6) 2x6x8 left at the full 8 feet. No cutting needed.
- Short sides: cut (3) 2x6x8 in half, giving (6) pieces at 48 inches.
- Corner posts: cut (1) 4x4x8 into (4) pieces at 11 to 12 inches.
- Optional center brace: (1) 2×4 at about 46.5 inches.
- Screws: (36) #10 x 3-inch stainless steel deck screws.
Cut List 2: Tall 4x8x24 in
- Boards: (12) 2x6x8 (six long sides plus six short sides cut from three more boards) OR (6) 2x12x8.
- Corner posts: (4) 4×4 at 24 inches, cut from two 4x4x8 boards.
- Center braces: (2) 2×4 at about 46.5 inches, one per 12-inch height increment.
- Screws: (60 or more) #10 x 3-inch stainless steel deck screws.
Cut List 3: Square flower bed 4x4x11 in
- Boards: (4) 2x6x8 cut in half, giving (8) pieces at 48 inches. Two per side, four sides.
- Corner posts: (4) 4×4 at 11 to 12 inches.
- Screws: (24) #10 x 3-inch stainless steel deck screws.
Cut List 4: Small planter box 2x4x11 in
- Boards: (2) 2x6x8 cut to (2) pieces at 48 inches for long sides and (2) pieces at 21 inches for short sides, stacked two high.
- Corner posts: (4) 4×4 at 12 inches, cut one 4x4x8 into four.
- Screws: (16) #10 x 3-inch stainless steel deck screws.
One critical point on measurements. A 2×6 actually measures 1.5 by 5.5 inches. Two stacked equal 11 inches, and three stacked equal 16.5 inches, not 18. Cut with the actual dimensions in mind so your heights land right.
The 48-inch short-side pieces give an outside width right around 48 inches. The interior is slightly less once corner posts take up space, which is exactly what you want for the 4-foot reach rule.
Pricing a custom size? Run your board totals through the board foot calculator before you shop.
Every board is now cut to length. Do Step 3 before a single screw goes in, so you buy the right wood. Cut lists do not get simpler than this. Most cuts are just an 8-footer sawn in half.
Step 3: Buy the Right Cedar Grade and Save With Fence Pickets
The cedar fence pickets in the fence aisle are the exact same western red cedar as the $30 boards, and they cost $4 to $5 each. That one fact can cut your lumber bill in half.
First, cut through the grade confusion at the aisle.
Which cedar grade to buy
- #2 / #2-Better / “Premium” is what Home Depot and Lowe’s stock, often labeled “2-in x 6-in #2 Premium Cedar.” This is the right choice. Small knots and minor imperfections do not affect rot resistance or structural strength for a garden bed. Hand-select your boards to skip any with through-cracks or large loose knots. “#2 Premium” and “#2 Better” are essentially the same product.
- #1 has fewer, smaller knots and sits closer to heartwood. It is nice, priced above #2, and unnecessary for a bed.
- Clear grade (CVG, A&Better) is virtually knot-free, sold at specialty yards, and the most expensive. There is no practical benefit for a bed buried in soil. Skip it.
The fence-picket hack
Cedar fence pickets measure 5/8 inch by 5.5 inches by 6 feet, stock in the fence section, and cost about $4 to $5 each versus $25 to $35 for a 2x6x8. Same species, same rot resistance.
The trade-offs are manageable. Pickets are thinner at 5/8 inch, so stack two for roughly 11 inches of height and add 2×3 or 4×4 corner framing. They are rough-sawn, not smooth on all four sides. Ana White builds a 39 by 75-inch bed from just (6) pickets and (4) 2×3 studs. Net savings land around 50 to 70 percent.
Do not drop cedar for cheap untreated pine to save money up front. Untreated pine rots in 3 to 5 years. Cedar lasts 10 to 20. That lifespan gap justifies the price.
Wood bought and cut. Now the build begins, starting with the one step that saves your corners from splitting. Fence pickets are best for budget builds and shallow 11-inch beds. Skip them for a 24-inch tall bed, where the rigidity of dimensional 2×6 boards matters.
Step 4: Gather Tools and Pre-Drill Every Corner
There is one mistake that ruins a board on the very first corner: driving a screw near a board end and watching cedar crack straight down the grain. It is irreversible, and it is completely preventable.
Stage these tools before you start.
Essential:
– Circular saw or miter saw
– Drill/driver
– 1/8-inch pilot bit (countersink bit optional)
– Tape measure
– Speed square or framing square
– Heavy-duty staple gun (for hardware cloth in Step 7)
– Safety glasses and hearing protection
Optional but helpful:
– Clamps
– Level
– Tin snips or aviation shears (for cutting hardware cloth)
Pre-drill every board end
Drill all end-grain holes with a 1/8-inch bit before you drive any screws. Cedar splits along the grain within about 2 inches of a board end, and it is soft enough that a screw alone will wedge it apart. Drill 2 pilot holes per board end, spaced 1.5 to 2 inches apart.
Understand why this works so you do not skip it on board 20. You are drilling into end grain in a soft wood. The pilot hole gives the screw a channel instead of a wedge.
Have your screws staged too: #10 x 3-inch 304 stainless steel deck screws. The full reasoning is in Step 5, but note now that #8 screws snap under soil load, so #10 is your minimum.
Holes drilled, tools ready. Time to build the box. Pre-drilling adds ten minutes and prevents the one mistake that cracks cedar corners. Never skip it.
Step 5: Assemble the Corners With the Right Screws
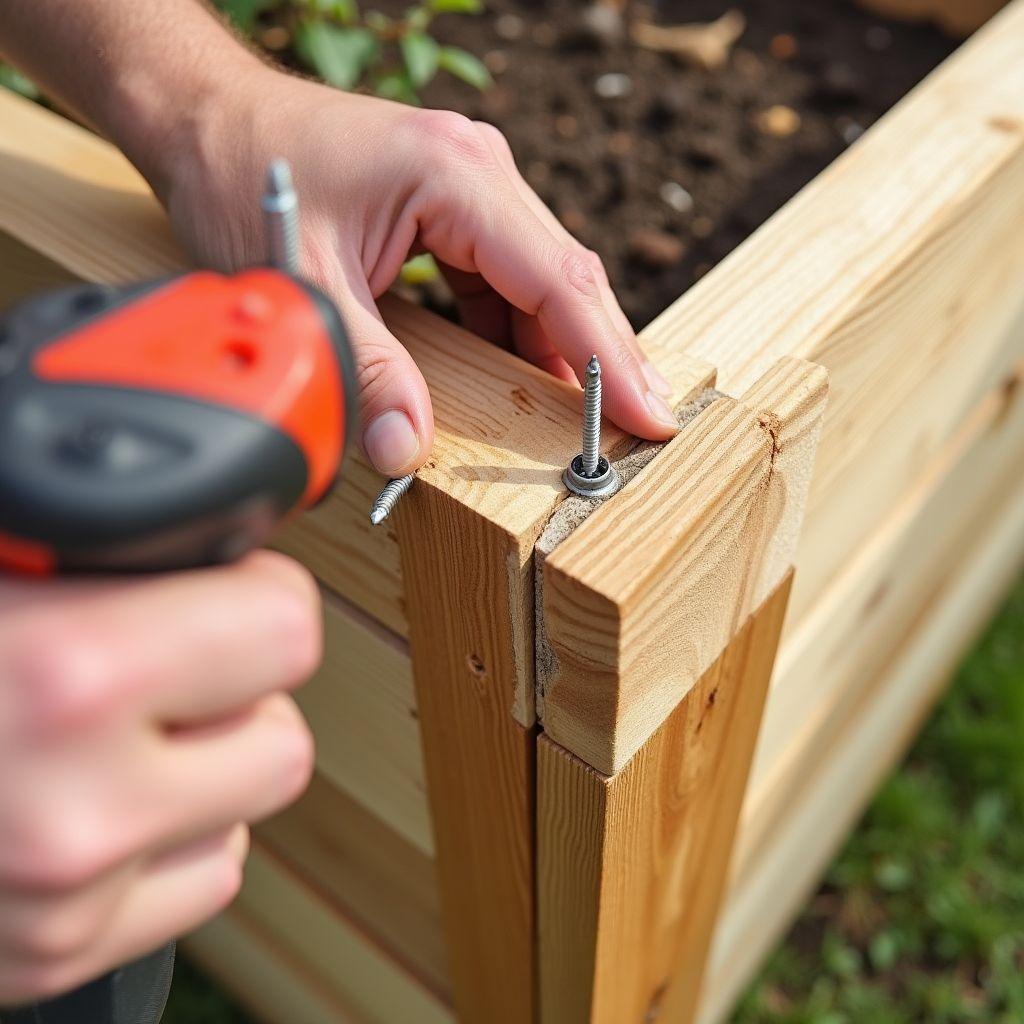
Two corner methods, one right screw. Pick the method that matches your tools, then use the fastener that outlasts the wood itself.
The screw that won’t rust
Use #10 x 3-inch 304 stainless steel deck screws. They will not rust in wet soil and will not leach anything near your edibles. If you live within 3 miles of saltwater, upgrade to 316 stainless.
Do not use zinc-plated, drywall, or standard coated screws. They rust within one season, stain the cedar with rust streaks, and weaken the corner joints. Drive 2 screws per board end.
Method A: Corner posts (recommended)
Attach the long-side boards to the 4×4 corner posts first, then attach the short-side boards. The posts give you a solid screw target and let the bed sit on short “legs” that reduce ground contact and extend its life. Use 2 screws per board end into each post.
Method B: Butt joints (no posts)
Run the long boards the full 8 feet and fit the short boards between them. Drive 3-inch screws through the end of each short board into the face of the long board. This uses less lumber and is simpler, though slightly weaker than posts.
Check for square before you tighten everything down. Use your framing square, then measure both diagonals: they should be equal. Clamp boards while you drive the corner screws. Build one course, then stack and screw the second course on top to reach 11 inches.
The box is assembled and square. On an 8-foot bed, it needs one more piece before soil goes in. Use corner posts and 304 stainless. That combination survives 15-plus years of wet soil.
Step 6: Add a Center Brace So the Bed Never Bows
Here is the classic failure. You fill the bed, water it well, and by mid-season the long sides have bellied outward. It is structural, not cosmetic, and one board prevents it.
A board deflects most at its midpoint, so soil pressure pushes hardest at the center of an 8-foot wall. A single brace right at that center solves the problem without paying for heavier, thicker boards.
Install (1) horizontal 2×4 brace spanning the interior at the midpoint of the long walls, cut to about 46.5 inches. Screw it from the outside through the wall into the brace ends, and pre-drill those holes too. For the tall 4x8x24 bed, install two braces, one per 12-inch height increment.
A few other anti-bow moves reinforce this. Keep the width to 4 feet maximum, use 2-inch actual boards rather than 1-inch, and put 2 to 3 pre-drilled screws in every corner. The square 4×4 and small planter variants are short enough that you can skip the brace entirely.
Structurally, the bed is done. Now protect it from what is below and choose where it lives. One 2×4 at the center is the cheapest insurance in the whole build.
Step 7: Line the Bottom With Hardware Cloth to Stop Burrowing Pests
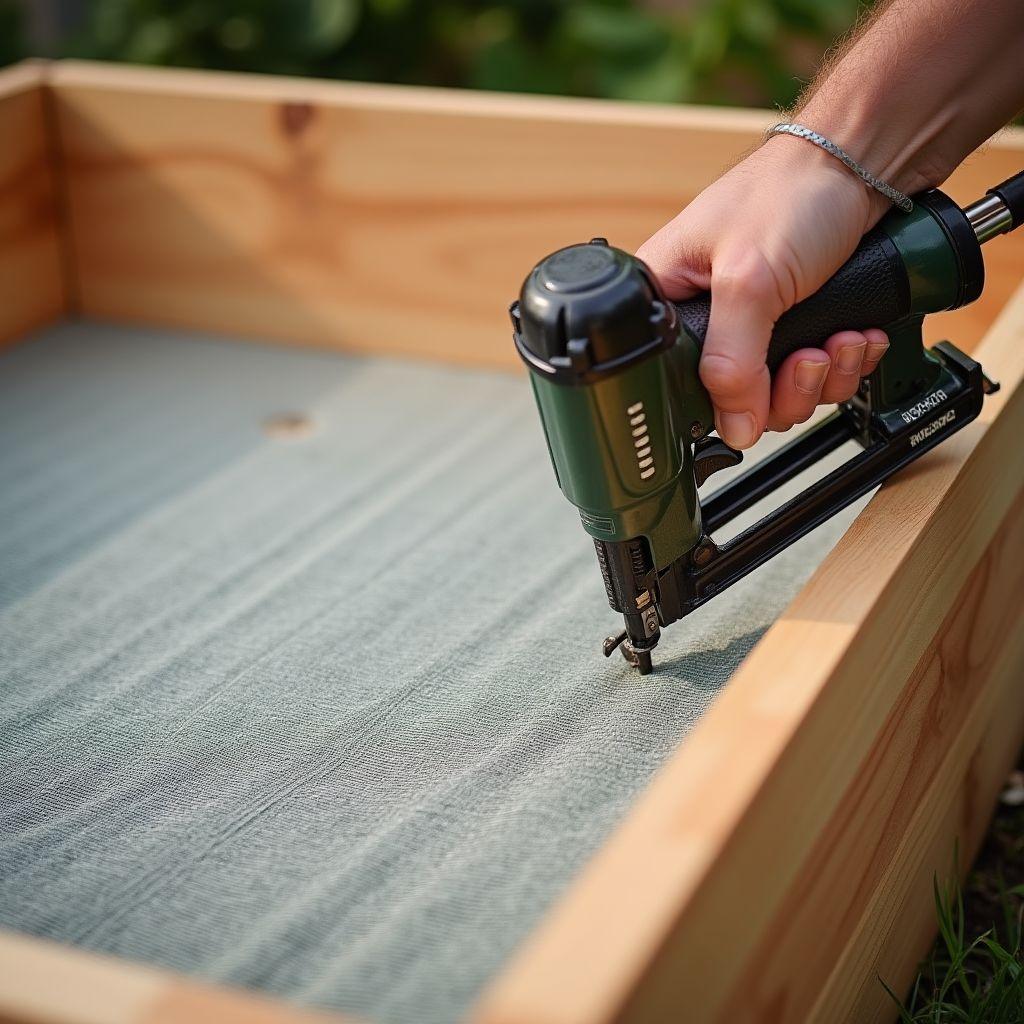
Nothing is worse than pulling a carrot and finding a gopher ate it from below. Across much of the western United States, burrowing pests will find a raised bed.
You only need this step if gophers, voles, or moles are active in your area. No burrowing pests? Skip ahead to Step 8.
The right mesh
Use 1/4-inch galvanized welded hardware cloth. It is the best all-around pick because it stops voles and juvenile gophers, not just adults. A 1/2-inch mesh stops gophers but lets small voles slip through.
Two specs matter. It must be galvanized (zinc-coated) so it survives burial in moist soil without rusting out. And it must be welded, not woven. Welded mesh holds its shape after cutting and resists spreading under the weight of the soil.
Installing it
- Cut the cloth slightly larger than the interior footprint. Tin snips cut it cleanly.
- Lay it flat inside the assembled frame while the frame is still on the ground.
- Fold the edges 2 to 3 inches up against the interior walls.
- Staple every 3 to 4 inches along all edges with a heavy-duty staple gun.
In aggressive pest zones, press a thin wood strip over the cloth edge and screw it to the frame interior for extra hold. Inspect the cloth once a year for rust, tears, or loose staples.
The floor is protected. Next, put the bed where it will thrive. Hardware cloth is best for anyone in gopher or vole country. Skip it if you have no burrowing pests and want to save $20 to $30.
Step 8: Place and Level the Bed (Including on Concrete or a Patio)
On concrete, a raised bed stops being a bed and becomes a container. That single change rewrites the depth and drainage rules.
Sunlight comes first
Give the bed 6 to 8 hours of direct sun per day for most vegetables. Factor in shade thrown by buildings and trees at different times of day. A convenient but shaded spot is one of the top causes of weak plants.
On grass or dirt
Level the site first. Lay landscape fabric or cardboard under the bed to suppress weeds, or strip the sod before setting the bed down. Beds resting on gravel or stone last longer than beds sitting on wet grass, so a well-drained base is a small investment in lifespan.
On concrete or a patio
Use a minimum 12-inch depth, and 18 inches is better, since there is no soil below to feed roots or drain water. Lay at least 3 inches of coarse gravel in the bottom, up to 6 inches, and cover it with a geotextile membrane so the drainage layer does not clog and the soil does not wash out through the bottom.
Make sure the bed is level or slopes slightly toward drainage. A pitched patio will pool water at one end and drown those plants. Avoid plastic liners, which trap moisture against the wood and speed up rot.
The bed is placed and level. The last step is what actually grows your plants: the soil. Aim for full sun plus 12-inch-plus depth on any surface, and on concrete, add gravel and a membrane before you fill.
Step 9: Fill With the Right Soil Mix
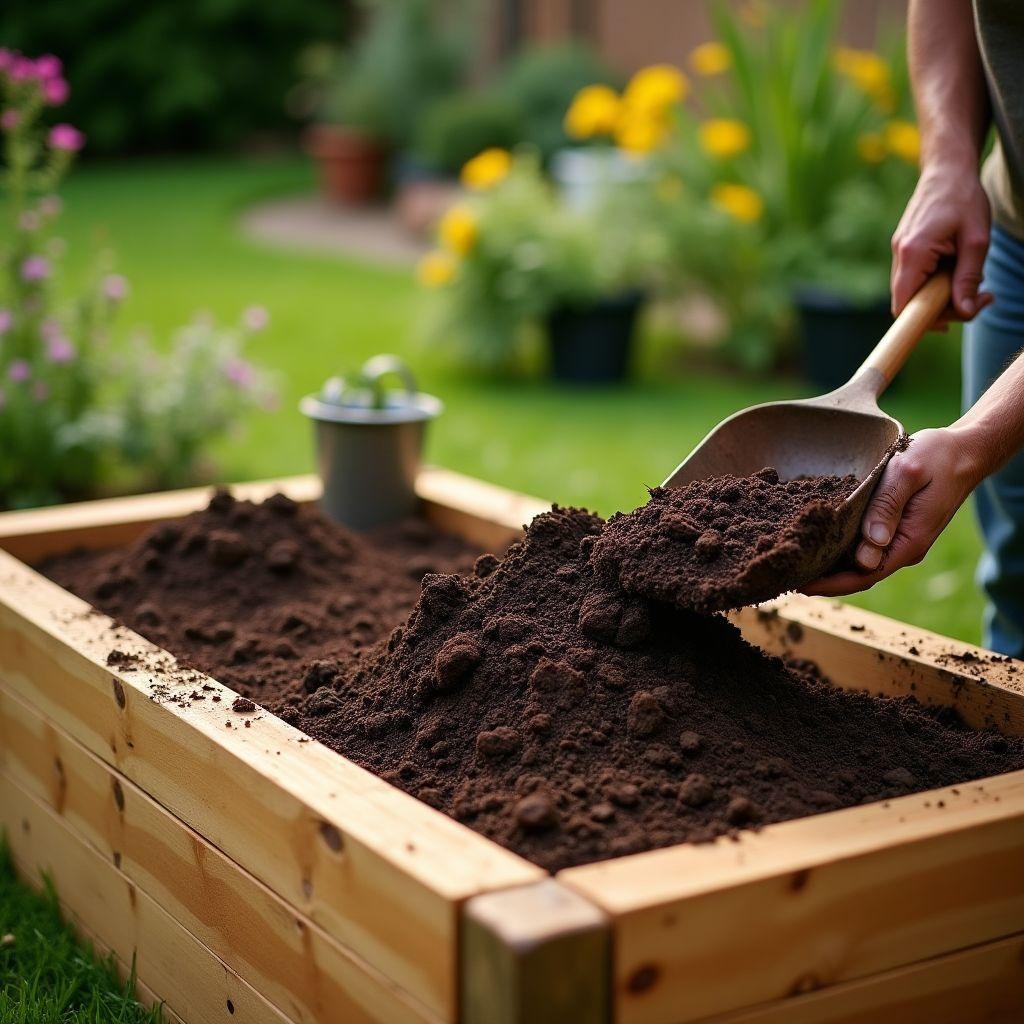
Here is the exact recipe professional square-foot gardeners use, in simple thirds, with no guesswork.
Mel’s Mix
Combine equal thirds by volume:
- 1/3 finished compost
- 1/3 peat moss or coconut coir
- 1/3 coarse vermiculite
Blend your compost from multiple sources, such as yard-waste, food-scrap, aged manure, and mushroom compost, for real microbial diversity. Peat moss holds many times its weight in water while staying airy, and coco coir is the renewable alternative at pH 5.8 to 6.8. Coarse vermiculite gives permanent, non-compacting drainage and aeration. Measure by volume, not by weight.
How much you need
A standard 4x8x11-inch bed needs about 29 cubic feet of mix. The math is 4 x 8 x 0.917 feet, which equals 29.3 cubic feet, or roughly 1 cubic yard. Use the same formula for any variant: length x width x depth in feet. An 11-inch depth is 0.917 feet, and a 24-inch depth is 2 feet.
Budget alternative
If Mel’s Mix is out of reach, blend 60 percent topsoil, 30 percent compost, and 10 percent perlite or coarse sand. It is cheaper and works well for vegetables. Never fill with straight native or garden soil. It compacts solid in a raised bed and drowns your roots.
Want more builds like this one? Download the full plan library here for expanded step-by-step plans.
The bed is built, placed, and filled. It is ready to plant. One more step keeps you from the mistakes that trip up first-timers. Go with Mel’s Mix if you can afford it, the 60/30/10 blend if you cannot, and never plain garden soil.
Step 10: Avoid These Common Cedar Raised Bed Mistakes
The beds that fail almost always fail for the same eight reasons. Run this checklist before you cut, screw, and fill.
- Wrong screws. Zinc, drywall, and coated screws rust in a season and stain the cedar. Use #10 x 3-inch 304 stainless.
- No pilot holes. Skipping them splits cedar end grain at the corners. Always pre-drill with a 1/8-inch bit.
- No center brace. Eight-foot walls bow outward under soil pressure. Add one 2×4 at the midpoint.
- Boards too thin. A 1×6 at 3/4 inch is too weak past 6 inches of depth. Use 2×6 (1.5-inch actual) minimum.
- Screws too small. A #8 screw snaps under soil load. Use #10 x 3-inch minimum.
- Skipping hardware cloth in pest areas. Gophers and voles destroy root crops. Line the bottom first.
- Filling with native soil. It compacts and drowns roots. Use a purpose-made mix.
- Placing in shade. Most vegetables need 6 to 8 hours of direct sun.
One more reminder worth repeating: cedar fence pickets are the same western red cedar as the pricey dimensional boards. It is the easiest way to cut your cost.
Avoid these eight and your bed will outlast a decade of gardening. Print this list and check it before you build.
Cedar Raised Garden Bed FAQ
How long does untreated cedar last in a raised garden bed?
Untreated western red cedar typically lasts 10 to 20 years, with 15 to 20 years common for heartwood boards in well-drained sites. Moisture is the main factor, since boards that stay persistently wet rot sooner, especially bottom edges in soil contact. Thicker 2-inch boards outlast 1-inch boards.
What grade of cedar should I buy for a raised garden bed?
Buy #2 or #2-Better cedar, often labeled “Premium” at Home Depot and Lowe’s. It is the standard stocked grade and works perfectly, because small knots do not affect rot resistance for this raised bed lumber. Hand-select boards to avoid through-cracks and large knots, and skip pricey clear grade.
Can I use cedar fence pickets instead of dimensional lumber?
Yes. Cedar fence pickets (5/8-in x 5.5-in x 6-ft) are the same species and rot resistance as dimensional cedar, at about $4 to $5 each. Stack two for roughly 11 inches of height and add 2×3 or 4×4 corner framing. The savings run 50 to 70 percent versus 2×6 boards.
What screws should I use?
Use #10 x 3-inch 304 stainless steel deck screws. They will not rust in wet soil or leach near edibles, and you should upgrade to 316 stainless within 3 miles of saltwater. Avoid zinc-plated and drywall screws, which rust in one season. Use 2 pre-drilled screws per board end.
Do I need hardware cloth under my bed?
Only if gophers, voles, or moles are active in your area, which is common across the western United States. Use 1/4-inch galvanized welded hardware cloth for full protection, since 1/2-inch lets small voles through. Fold the edges up 2 inches and staple every 3 to 4 inches before filling.
What soil mix should I use?
Use Mel’s Mix: equal thirds by volume of blended compost, peat moss or coconut coir, and coarse vermiculite. It drains well, holds nutrients, and never compacts. A 4x8x11-inch bed needs about 29 cubic feet, just under 1 cubic yard. Avoid native garden soil, which compacts solid in a raised bed.
Can I build on concrete or a patio?
Yes. Use a minimum 12-inch depth, with 18 inches preferred, since the bed acts as a container. Add 3 to 6 inches of coarse gravel in the bottom, covered with geotextile membrane, for drainage. Place it in full sun and keep it level or slightly sloped so water does not pool at one end.
How wide and deep should a raised bed be?
Keep the width to 4 feet maximum so you can reach the center from either side. Use an 11 to 12-inch minimum depth for most annual vegetables (two 2×6 boards stacked equal 11 inches actual). Go 16 to 18 inches for tomatoes and root crops, and 24 inches for deep production or wheelchair access. These same figures apply to any plans for a raised garden box.
Once you have your variant picked and your cut list in hand, the rest of the build is straightforward. Build it once in cedar and you will not rebuild for 15-plus years.

“DIY woodworking enthusiast who started with zero experience and a YouTube tutorial.
I build simple, practical projects for my home and share free plans
so other beginners can skip the guesswork.If I can build it, you can too.”