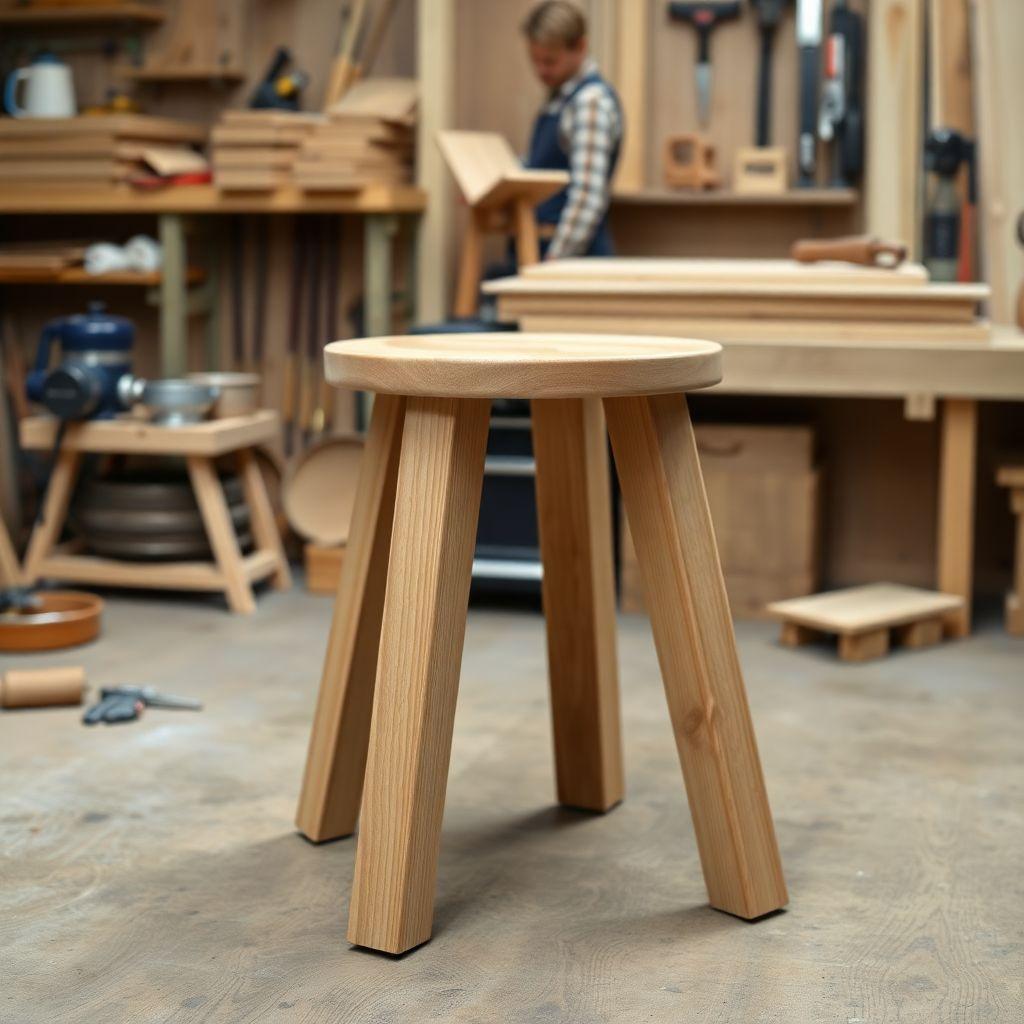
A woodworking stool is one of the best first joinery projects you can take on. It is small enough to finish in a weekend, cheap enough to build from offcuts, and it teaches the two skills that carry over to every chair and table you will ever make: angled legs and real joinery. This guide walks you through building a solid 4-leg stool with a 13-inch square seat and an 18-inch seat height, using either mortise-and-tenon or dowel joints. Budget around $40 in hardwood and about a weekend of shop time.
The build below is part of our larger chair and stool plans series, where we compare six seating projects by skill level, cost, and build time. If you are brand new to angled work, this stool is the place to start.
The single detail that separates a stool that lasts from one that racks itself loose in a month is leg splay. Vertical legs look fine on paper, but a stool with dead-straight legs tips the moment you shift your weight to one edge. Splayed legs push the footprint wider than the seat, so the stool stays planted. We will cover exactly how to set that splay, whether you have a drill press or just a block of wood and a hand drill.
Shop Stool vs Kitchen Stool: Choose Your Height
Looking for more chair ideas?
This guide is part of our complete chair and stool plans series — compare all options by skill level, cost, and build time.
Want 16,000+ woodworking plans?
Ted’s Woodworking has step-by-step plans for every skill level. Browse Ted’s plans.
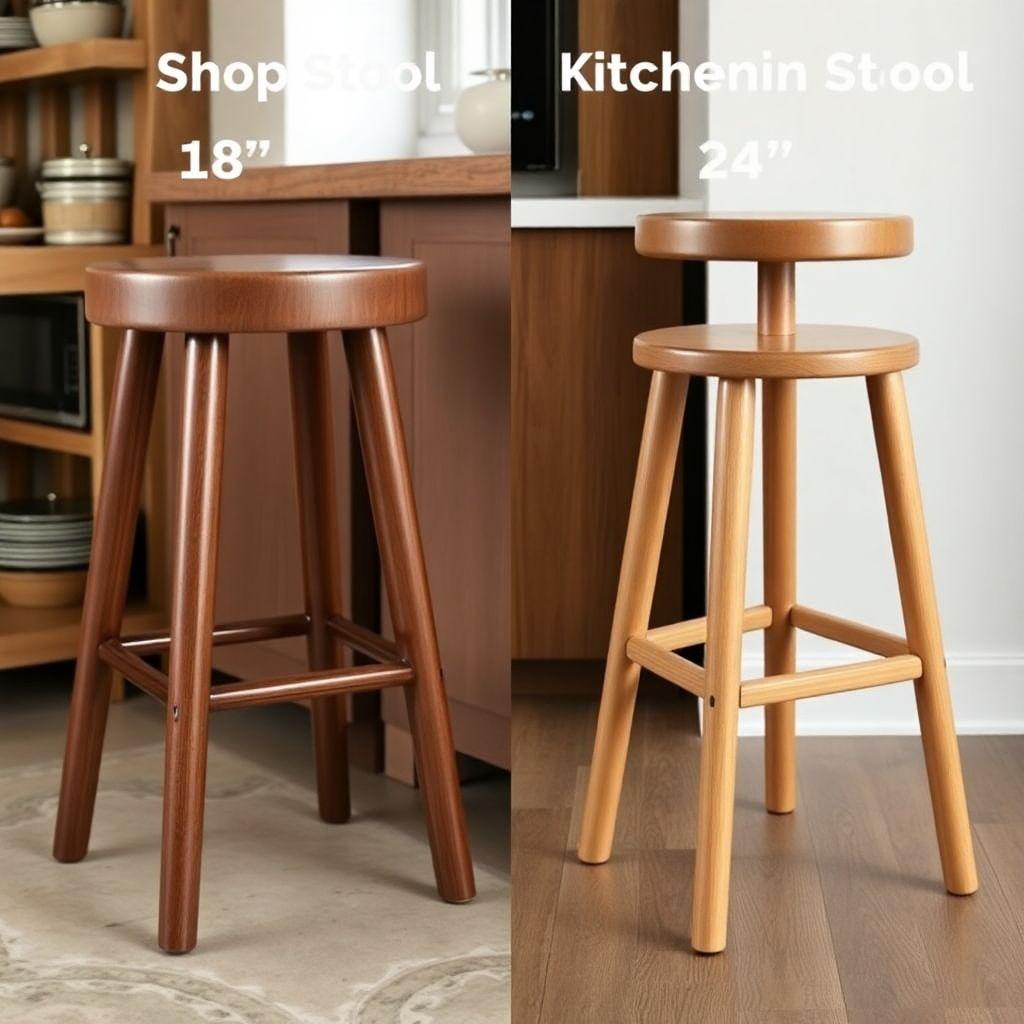
Before you cut anything, decide what the stool is for. Height drives every other dimension.
A shop stool sits at 18 inches, the same as a standard chair seat. That is the height used in this plan and the cut list below. It works at a workbench, a low bench, or as extra kitchen seating around a standard 30-inch table.
A kitchen counter stool sits at 24 to 26 inches to pair with a 36-inch counter. A bar stool sits at 29 to 30 inches for a 42-inch bar top. If you want either of those heights, keep everything in this plan the same and simply lengthen the legs. For a 24-inch stool, cut the legs to 23-1/2 inches before the angle cut. For a 30-inch bar stool, cut them to 29-1/2 inches.
There is one extra detail for tall stools: foot support. On an 18-inch stool your feet reach the floor or rest on the bottom rung. On a 24-inch or taller stool you need a dedicated toe rest. Add a second rung at 20 inches from the floor so feet have somewhere to go. Without it a bar stool is genuinely uncomfortable to sit on for more than a few minutes.
Rule of thumb: seat height is roughly the finished counter or table height minus 10 to 12 inches.
Materials and Cut List
This cut list builds an 18-inch shop stool with a 13-inch square seat, four splayed legs, and four rungs. Any hardwood works. Oak, maple, ash, and poplar are all common and cheap. Avoid softwoods like pine for the legs and rungs, since they dent and the joints crush under load over time.
| Part | Quantity | Material | Dimensions |
|---|---|---|---|
| Seat | 1 | 3/4″ hardwood (glued up if needed) | 13″ × 13″ |
| Legs | 4 | 1-1/4″ square hardwood | 17-1/2″ long (before angle cut) |
| Rungs | 4 | 3/4″ dowel or turned stock | 11″ long |
| Stretcher (optional) | 1 | 3/4″ × 1-1/2″ hardwood | 11″ long |
A note on the seat blank. If your board is wider than 6 inches, do not use a single wide plank. Wide solid wood cups as it loses moisture, and a cupped seat is uncomfortable and looks amateur. Instead glue up two narrower boards to reach 13 inches, and alternate the grain direction between them. Look at the end grain: if one board’s growth rings arch up, flip the next so its rings arch down. Alternating the arcs means any cupping tension in one board fights the next, and the panel stays flat.
Consumables you will also need: wood glue, 120 and 180 grit sandpaper, and your chosen finish.
Tools Required
You can build this stool with a modest shop. Here is the working set:
- Saw for crosscutting legs and rungs (miter saw, table saw, or a hand saw with a miter box)
- Drill or drill press (a drill press makes the splay far easier but is not required)
- 3/4-inch Forstner or spade bit for rung holes
- Chisel and mallet if cutting mortise-and-tenon joints
- Dowel jig if using dowel joinery
- Bar clamps, at least four
- Bevel gauge or a printed angle template for setting splay
- Random orbital sander or sanding blocks
- Optional: block plane or spokeshave for shaping the seat edge
Step 1: Mill and Prepare the Stock
Start by cutting all parts to the rough dimensions in the cut list, leaving them slightly long. Legs go to 17-1/2 inches, rungs to 11 inches. If you are gluing up the seat blank, do that first so it can cure while you work on the legs.
For the seat glue-up: joint the mating edges so they meet with no gaps, apply an even bead of glue, alternate the grain direction as described above, and clamp. Wipe the squeeze-out with a damp rag before it skins over. Leave it in clamps for at least an hour, ideally overnight, then plane or sand it flat and trim to a 13-inch square.
Square up your leg stock so all four legs are identical in cross-section. If the legs vary in thickness, the joints will not seat evenly and the stool will rock. Mark a face and an edge on each leg so you keep orientation consistent through the angle and joinery cuts. This reference-face habit is what keeps a four-legged project square.
Step 2: Cut the Leg Angle (Splay)
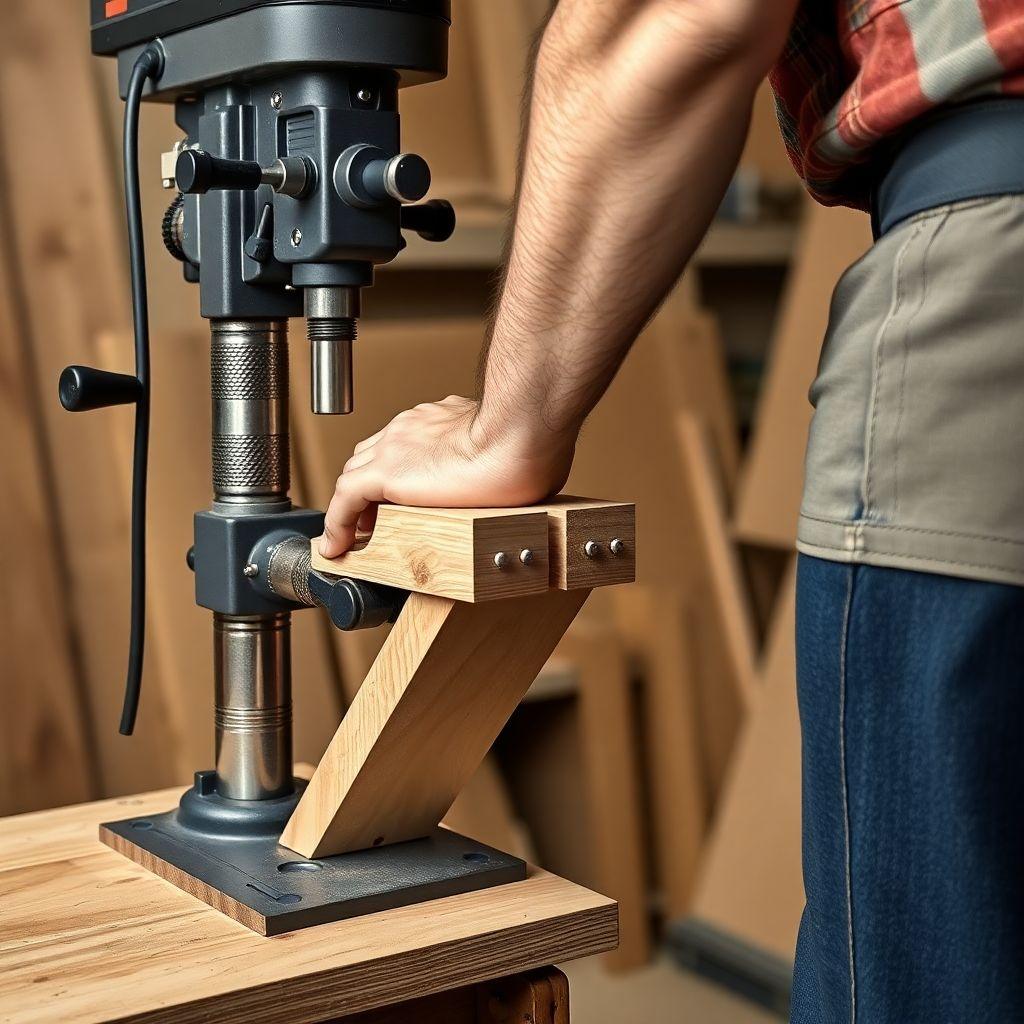
This is the step that makes or breaks the stool. Aim for 5 to 7 degrees of outward splay on all four sides. That range is the sweet spot: enough to widen the footprint for stability, not so much that the legs look spindly or the joints get awkward. Five degrees is plenty for a shop stool; push toward 7 if you want a more planted, traditional look.
Splay works in two directions at once. Each leg leans outward toward its corner, which means it tilts along both the front-back and left-right axes. The clean way to handle this is compound angle, but you can get an excellent result treating it as a simple splay set on two faces.
On a drill press. This is the easiest and most repeatable method. Build or clamp an angled block, essentially a wedge cut to 5 to 7 degrees, to the drill press table. Set the seat blank on the wedge so the bit enters at the splay angle, and bore the leg mortises or dowel holes into the underside of the seat. Because the table stays fixed, every hole comes out at the identical angle. Rotate the seat 90 degrees for each corner and the four legs mirror each other automatically.
By hand. Cut a scrap block to your chosen angle and use it as a visual guide beside the drill. Line the drill bit up parallel to the angled face of the block and bore each hole freehand, checking against the block as you go. It is slower and less perfect than a drill press, but a steady hand and a good reference block get you within a degree, which is close enough for a stool. A bevel gauge set to the splay angle, stood next to the bit, works the same way.
Whichever method you use, the goal is that all four legs splay by the same amount. Consistency matters more than hitting exactly 6 degrees. Four legs at a matched 5 degrees make a stable stool. Four legs at random angles make a wobbler.
Step 3: Cut the Joinery
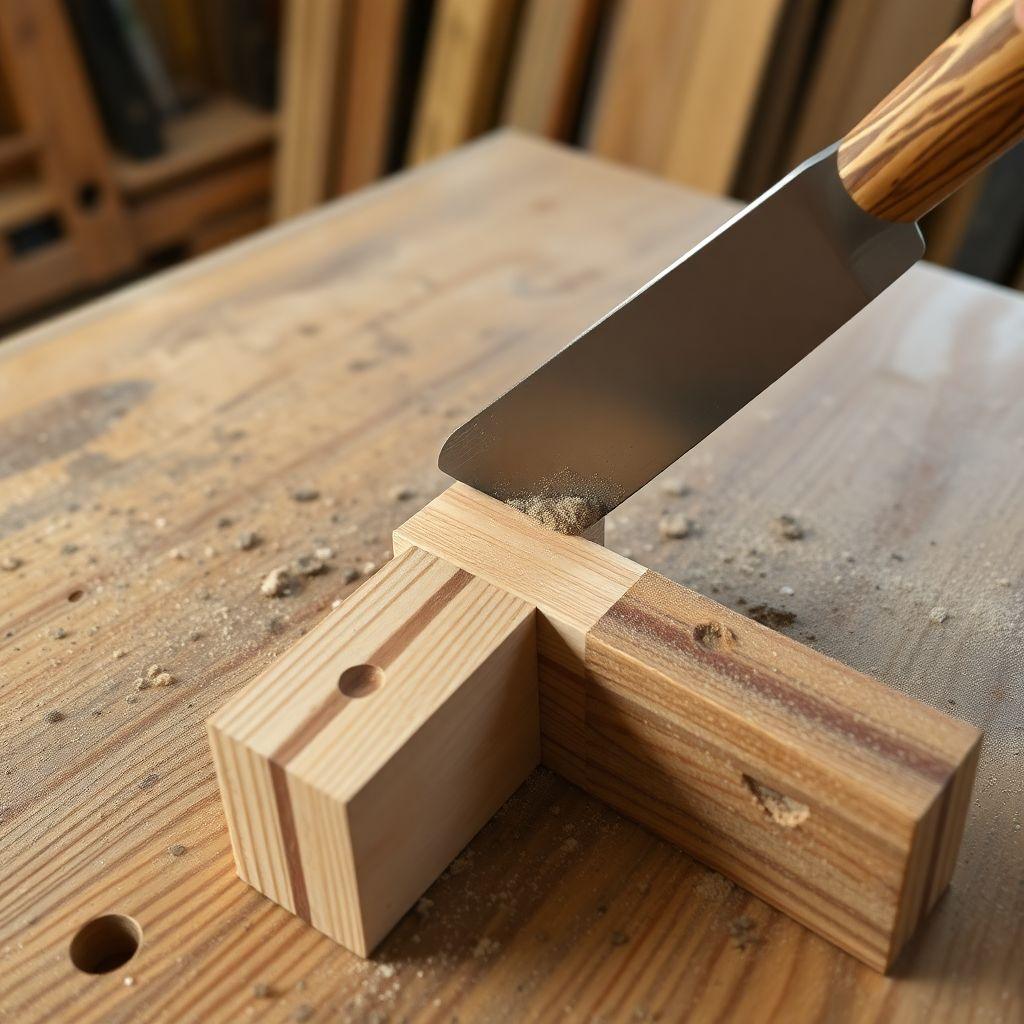
You have two solid options for attaching legs and rungs: mortise-and-tenon or dowels. Both work. They are not equal.
Mortise-and-tenon is the stronger joint for a stool, and it is worth the extra effort. When you sit, the legs take shear force, side-to-side loading that tries to snap the joint at the shoulder. A tenon’s long glue surfaces and its mechanical shoulder resist that far better than a round dowel. If you want a stool that survives being dragged, tipped, and sat on hard for a decade, cut tenons. For the rungs, a 3/4-inch round tenon (just the end of the rung turned or sized to fit a 3/4-inch hole) into a bored socket is the classic and correct approach.
Dowels are faster and need no chisel work, which makes them attractive for a first build. They are perfectly acceptable if you follow two rules. First, use a minimum 3/8-inch dowel diameter for the leg-to-seat joints; anything thinner does not have the glue surface to hold under repeated load. Second, use two dowels per joint where you can, not one, so the joint cannot pivot. Fluted dowels hold glue better than smooth ones. Done right, a doweled stool is strong. Done with a single skinny dowel, it fails.
The tradeoff in one line: dowels save you an hour today, mortise-and-tenon saves you a rebuild in three years. For a stool that gets daily use, spend the hour.
For the rungs, drill the 3/4-inch sockets into the legs before assembly. Position the bottom rung 8 to 10 inches from the floor. That height is where your feet naturally rest, and it also ties the legs together low down where the racking force is greatest, which stiffens the whole stool. If you are building a taller kitchen or bar stool, add the second rung at 20 inches from the floor for a toe rest, as noted earlier.
Step 4: Glue Up the Stool
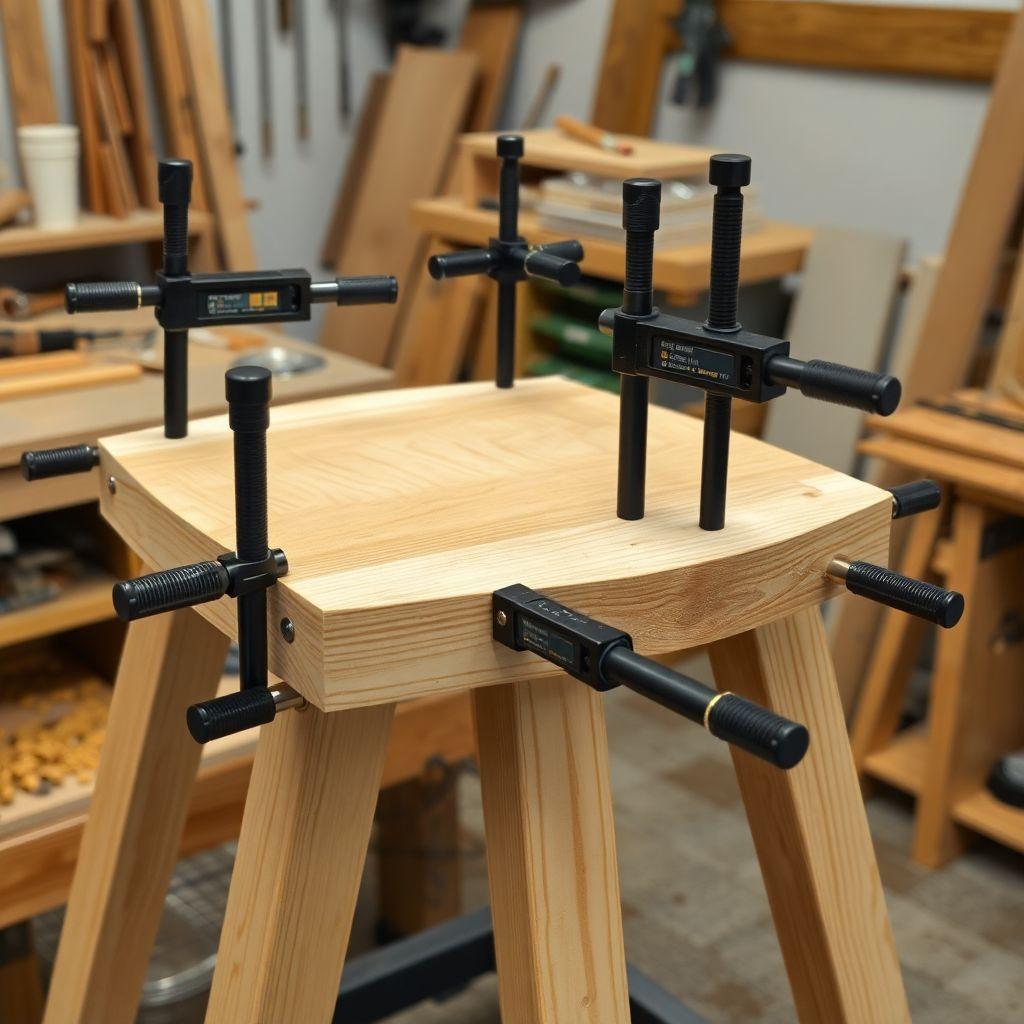
Dry-fit everything first. Assemble the whole stool with no glue, seat the legs and rungs, and confirm the joints close and the stool sits without rocking. Fix any problems now, because you cannot fix them once glue is curing.
Work in a sensible order. Glue each pair of legs to their connecting rungs first, forming two flat leg-and-rung assemblies. Let those set, then glue both assemblies to the seat and add the remaining rungs. Trying to glue all fourteen surfaces at once is a scramble that leaves you with a locked-up, crooked stool.
Apply glue to both mating surfaces, insert the parts, and clamp with bar clamps. Use light, even pressure. You want the joints closed, not crushed. Check for square as you clamp by measuring the diagonals; if the two diagonal measurements match, the assembly is square.
Now the wobble check, and do this before the glue sets. Stand the stool on a known-flat surface, your table saw top or a flat bench, and press each corner in turn. A stable stool has four-point contact and does not rock. If it rocks, one leg is long or set at a slightly different angle. While the glue is still open you have two fixes. Slip a folded piece of paper under the short leg as a shim and clamp, or if the gap is larger, pull the leg, re-drill the socket a hair deeper or at a corrected angle, and reseat it. Catch the wobble now and it disappears. Catch it after curing and you are sanding a leg shorter, which never comes out as clean.
Wipe all squeeze-out with a damp rag before it dries. Dried glue blocks finish and shows up as pale blotches later.
Step 5: Shape and Sand the Seat
A flat, sharp-edged seat is uncomfortable and looks unfinished. Break the edges. At minimum, round over the top perimeter with sandpaper or a router with a roundover bit so nothing digs into the backs of your legs. If you want a more finished result, use a block plane or spokeshave to relieve the front edge into a gentle curve, the same way a real chair seat is shaped.
For a genuinely comfortable seat, scoop a shallow saddle into the top with a spokeshave, gouge, or an angle grinder with a carving disc. Even a slight dish makes a big difference over a long sit. This is optional; a flat seat with rounded edges is perfectly serviceable.
Sand progressively. Start at 120 grit to remove tool marks and level any glue-up ridges, then move to 180 for a smooth surface ready to finish. Sand with the grain, not across it. Knock down the sharp corners of the legs and rungs too, so there are no edges that splinter or catch. Vacuum and wipe with a tack cloth before finishing.
Looking for more chair and stool ideas?
This guide is part of our complete chair and stool plans series — 6 types compared by skill, cost, and build time.
Want 16,000+ woodworking plans?
Ted’s Woodworking has step-by-step plans for every skill level. Browse Ted’s plans.
Step 6: Apply the Finish
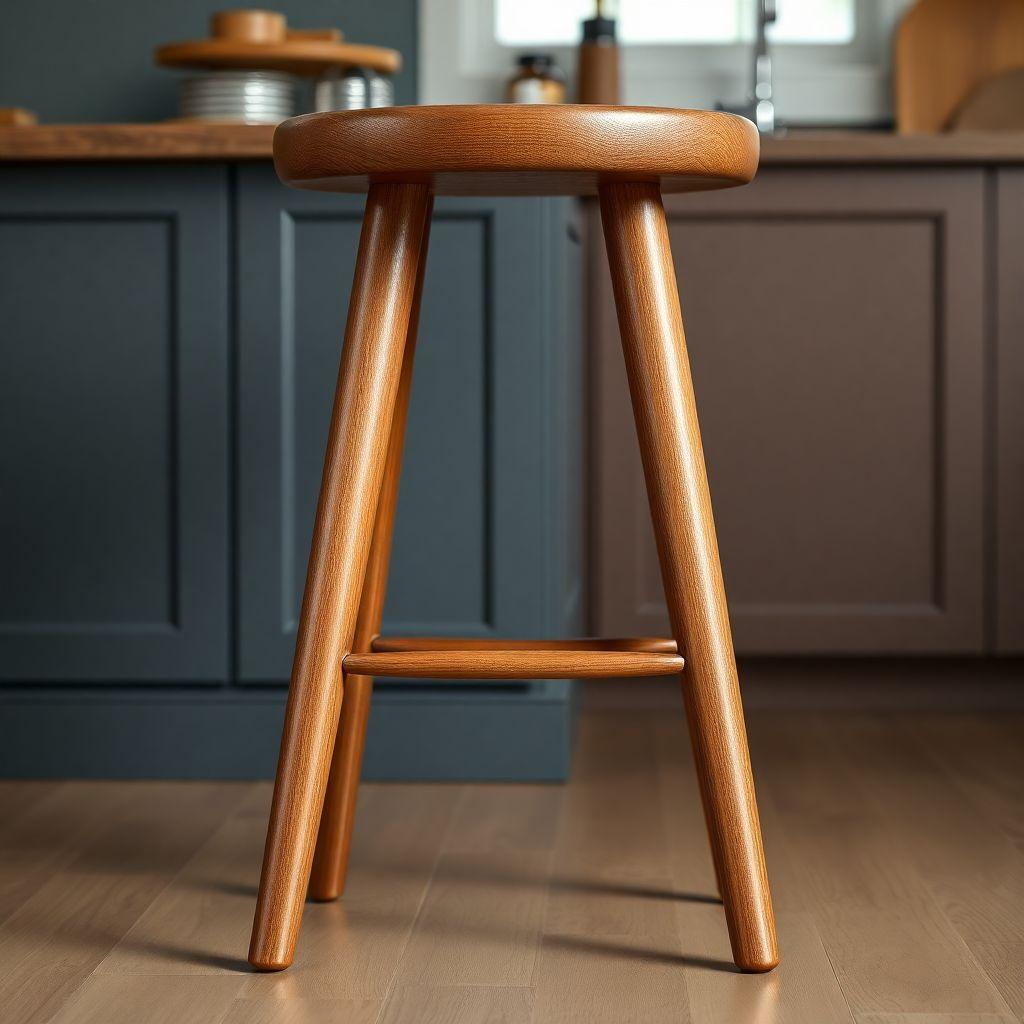
A stool takes more abuse than almost any other piece of furniture. It gets sat on, stood on, scooted, kicked, and dragged. That rules out one common choice: do not paint a stool. Paint chips and scuffs fast on high-traffic seating, and once it chips it looks worse than bare wood. Choose a hard-wearing finish instead.
Two good options:
Polyurethane is the most durable film finish for a stool. It builds a tough protective layer that shrugs off scuffs and moisture. Use a wipe-on or brush-on poly, apply two or three thin coats, and sand lightly with 220 grit between coats. Water-based poly dries clear and fast; oil-based poly adds warmth but takes longer to cure. Either one gives you a surface that holds up for years.
Danish oil plus wax is the choice if you want the wood to feel like wood rather than plastic. Danish oil penetrates and hardens inside the fibers, and a coat of paste wax on top adds slickness and a bit of water resistance. It is less bulletproof than poly and needs occasional re-oiling, but it is easy to repair; you just wipe on more oil. This is the finish for a stool you want to feel good under your hand.
Whichever you pick, finish the entire stool including the underside of the seat and the bottoms of the legs. Sealing all surfaces keeps moisture moving in and out evenly, which prevents the seat from cupping later. Let the finish cure fully before you put the stool into service.
FAQ
How long does it take to build a woodworking stool?
A weekend for a first build. Figure a few hours to mill and glue up the seat, a few more for the leg angles and joinery, and time for glue and finish to cure between sessions. An experienced woodworker can do the joinery in an afternoon, but the curing time sets the real floor at a day or two.
What wood is best for a stool?
Any hardwood. Oak, maple, ash, and poplar are the common, affordable choices and all hold up well. Skip softwoods like pine for the legs and rungs, since they dent easily and the joints crush under repeated load. Poplar is the cheapest hardwood and paints or stains fine if budget is the priority.
Do stool legs really need to be angled?
Yes. Splayed legs, angled 5 to 7 degrees outward, push the footprint wider than the seat so the stool resists tipping. A stool with dead-vertical legs tips the moment you lean to one edge. The splay is the single most important detail for stability.
Are dowels strong enough for a stool, or do I need mortise-and-tenon?
Dowels work if you use them correctly: at least 3/8-inch diameter, two per joint, and fluted for glue. Mortise-and-tenon is stronger and better resists the shear force of sitting, so it is the right call for a stool that gets daily use. For a first build, well-executed dowels are fine.
How do I fix a wobbly stool?
Check for the wobble before the glue sets. Stand the stool on a flat surface and press each corner. If one leg is short, shim it with folded paper, or pull the leg and re-drill the socket slightly deeper or at a corrected angle before reseating. If the stool has already cured, you will have to sand or trim the long leg down, which is harder to do cleanly.
How high should a woodworking stool be?
Eighteen inches for a shop stool or standard chair-height seating. Twenty-four to twenty-six inches for a kitchen counter, and twenty-nine to thirty inches for a bar. Rough rule: subtract 10 to 12 inches from the counter or table height. On any stool taller than 18 inches, add a toe-rest rung around 20 inches from the floor.
Related Articles

“DIY woodworking enthusiast who started with zero experience and a YouTube tutorial.
I build simple, practical projects for my home and share free plans
so other beginners can skip the guesswork.If I can build it, you can too.”