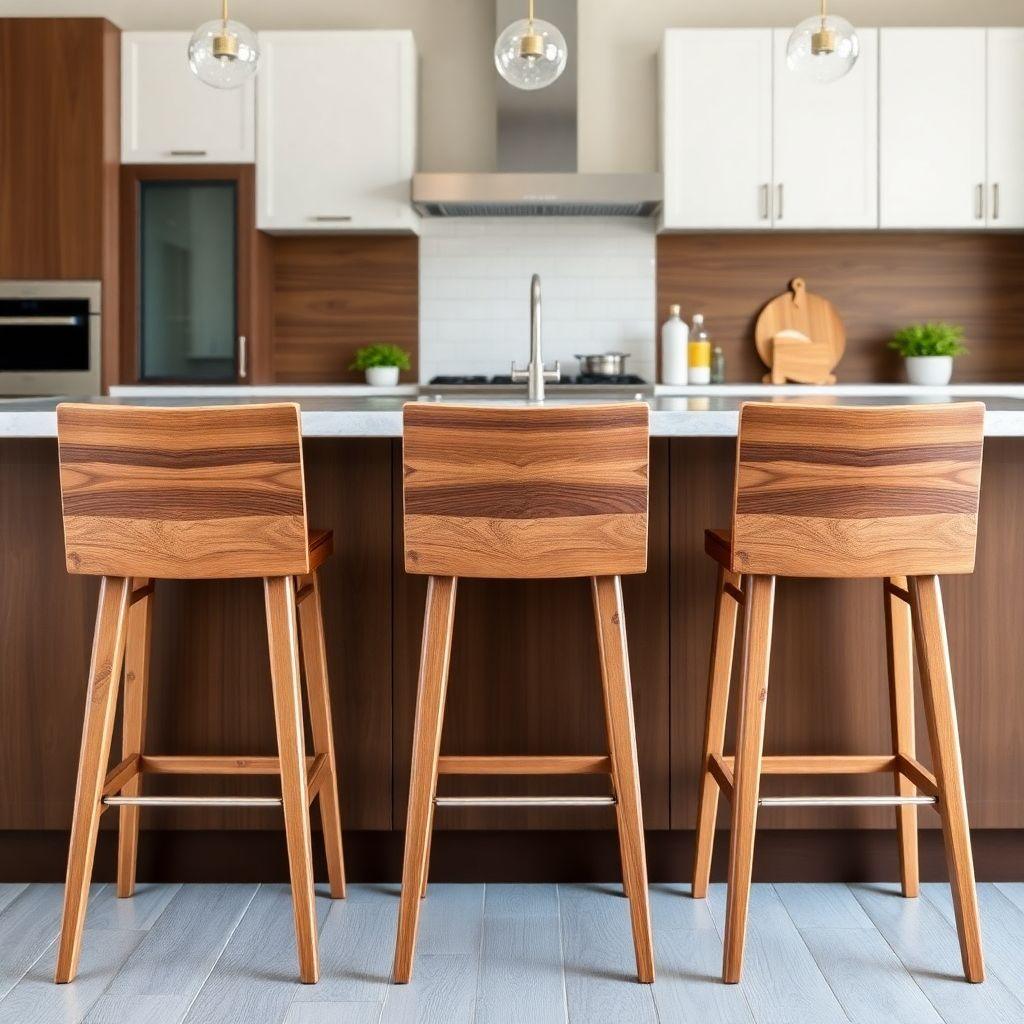
A set of solid wood bar stools runs $150 to $400 in a store. You can build one yourself for about $60 in hardwood and a weekend of shop time. This guide walks through a backless bar stool with tapered legs, a round or square seat, and a footrest that actually sits where your feet want it. No fancy joinery machines required, just a table saw, a drill, and some patience.
By the end you will have a stool that carries weight without wobbling and looks like it cost three times what you spent. This build is part of our complete chair and stool plans series, where we compare six stool and chair types by skill, cost, and build time.
Expect to spend $50 to $70 per stool and roughly 4 to 6 hours of active work for a backless model. Add a back and you add another 3 to 4 hours.
Counter Height vs Bar Height: Measure Your Counter First
Looking for more chair ideas?
This guide is part of our complete chair and stool plans series — compare all options by skill level, cost, and build time.
Want 16,000+ woodworking plans?
Ted’s Woodworking has step-by-step plans for every skill level. Browse Ted’s plans.
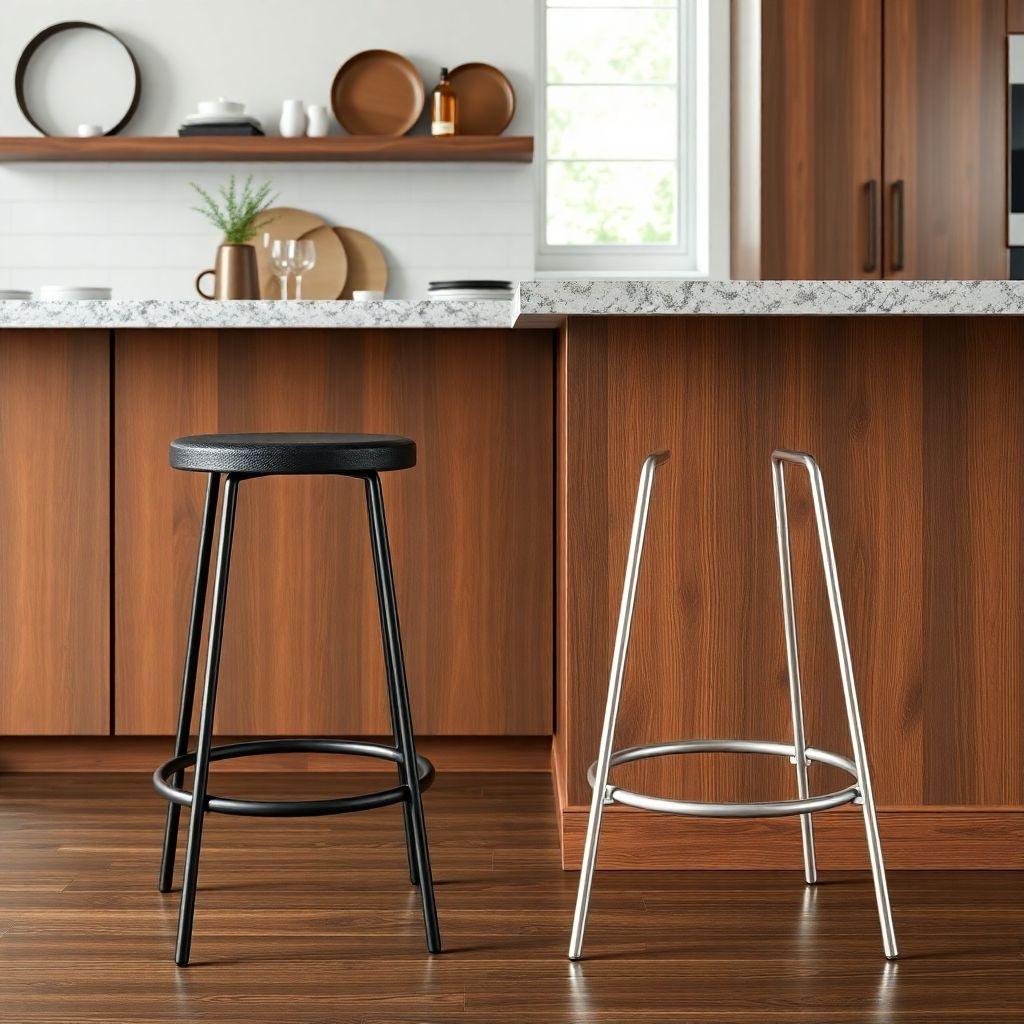
This is where most first builds go wrong. People pick a number off the internet, cut their legs, and end up with stools that are too tall for the counter or too short for the bar. Measure your surface before you cut anything.
There are two standard heights, and they are not interchangeable:
- Counter stool: 24 to 26 inch seat height, made for a standard 36 inch kitchen counter or island.
- Bar stool: 28 to 30 inch seat height, made for a 42 inch home bar or raised counter.
The rule of thumb is to leave 9 to 12 inches between the seat top and the underside of the counter overhang. That gap is what keeps knees from jamming. So measure the finished height of your surface, subtract 10 inches, and that is your target seat height.
This guide builds a 28 inch bar stool. If you have a 36 inch counter instead, cut the legs 4 inches shorter and everything else stays the same.
Materials and Cut List
This cut list is for one backless bar stool with a 28 inch seat height and a 13 inch square seat (or 14 inch round). Multiply everything by the number of stools you want.
| Part | Material | Dimensions | Qty |
|---|---|---|---|
| Seat | 3/4″ hardwood | 13″ × 13″ square (or 14″ dia round) | 1 |
| Legs | 1-3/4″ square hardwood | 27-1/2″ long (before taper) | 4 |
| Rungs | 3/4″ hardwood dowel | 11-1/2″ long | 4 |
| Swivel plate (optional) | steel swivel hardware | 7″ round plate | 1 |
A few notes on wood choice. Maple, oak, and ash are the easiest hardwoods to find at a home center and all take a beating. Walnut looks the best but costs more. Avoid soft pine for the legs, since it dents and the rung joints work loose over time. The 27-1/2 inch leg length already accounts for the 3/4 inch seat thickness landing you at a 28 inch seated height.
Glue, sandpaper (120, 180, 220 grit), and a finish of your choice round out the shopping list. Budget about $50 to $70 per stool depending on the species.
Tools Required
You do not need a full cabinet shop for this. Here is the working set:
- Table saw (for ripping legs to size and cutting tapers)
- Miter saw or crosscut sled (for cutting legs and rungs to length)
- Drill press, or a hand drill with a doweling jig (for the mortise holes)
- 3/4 inch Forstner or spade bit
- Jigsaw (for a round seat)
- Router with a roundover bit
- Clamps, at least four
- Tape measure, square, and a marking pencil
A drill press makes the rung mortises far more accurate than a hand drill. If you only have a hand drill, buy a self-centering doweling jig. Off-angle holes are the number one cause of a wobbly stool.
Step 1: Cut and Taper the Legs
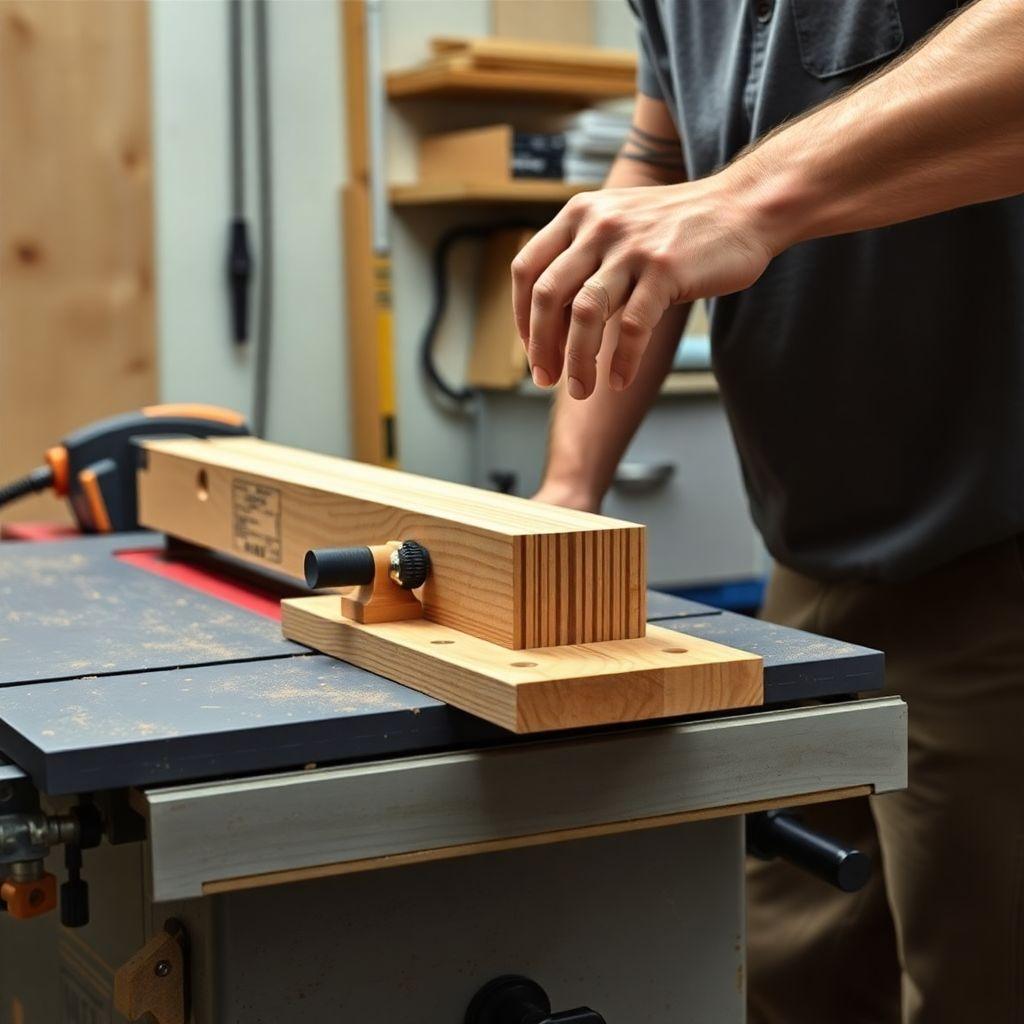
Cut all four legs to 27-1/2 inches. Cut them at the same time against a stop block so they are identical. A stool with one leg 1/16 inch short will rock forever.
Now the taper. Tapered legs are not just for looks, though they do make the stool feel lighter and more refined. They also shave weight and give the base a slight outward stance that improves stability. Taper from 1-1/4 inch at the top down to 3/4 inch at the bottom, on the two inside faces of each leg only. Tapering the inside faces keeps the outer profile straight and the stance splayed.
The simplest way to cut a taper on a table saw is the tape-and-wedge method. Mark your taper line on the leg. Set the leg against a straight scrap board so the taper line runs parallel to the board’s edge, then hot-glue or double-stick tape a thin wedge behind the leg to hold that angle. Run the board and leg together along the fence, and the blade cuts the taper. Flip to the second inside face and repeat.
Go slow, keep your hands clear of the blade, and use a push stick. Sand the taper cuts smooth with 120 grit before moving on.
Step 2: Cut the Footrest Rungs
Cut four rungs from 3/4 inch dowel at 11-1/2 inches each. These do double duty: they lock the legs together and they carry your feet.
Here is the footrest mistake that trips everyone up. The front footrest rung should sit 8 to 10 inches from the floor, not measured down from the seat. People measure down from the seat, forget the seat is 28 inches up, and end up with a footrest floating at 18 inches where nobody’s feet reach. Measure up from the floor. Mark 9 inches up on the legs and that is where your front and side footrest rungs go.
The rear rung can sit an inch or two higher or match the front, your call. Just keep the front rung in that 8 to 10 inch band so it actually functions as a footrest.
Step 3: Drill the Mortises
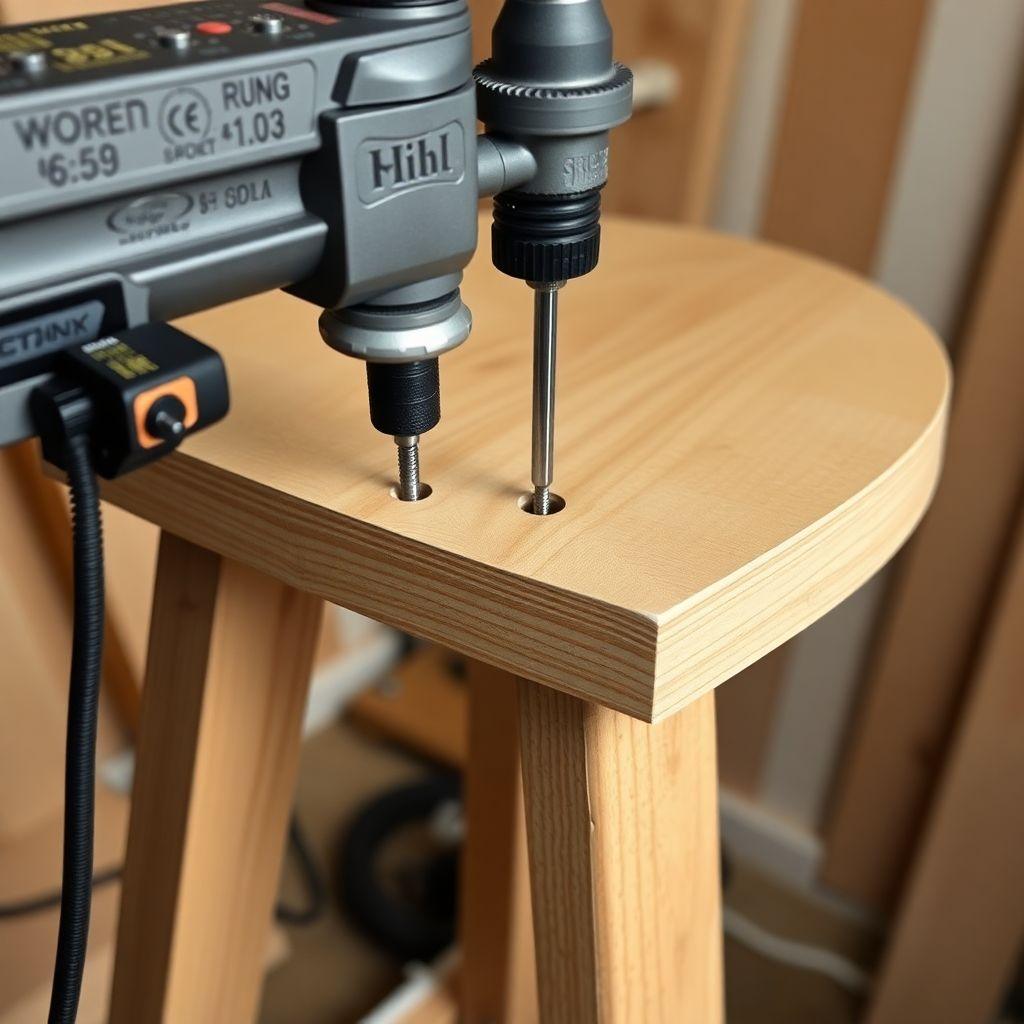
The rungs seat into 3/4 inch holes drilled into the legs. These are your mortises, and their accuracy decides whether the stool wobbles.
Set your drill press depth stop to drill 1 inch deep with the 3/4 inch Forstner bit. Mark each hole center: the side rungs at 9 inches up, the front and rear rungs also at 9 inches (or your chosen rear height). Because the legs splay outward slightly from the taper, the holes need a matching slight angle so the rungs meet the opposite leg square. Tilt the drill press table 3 to 4 degrees, or shim the leg, so the hole angles inward to match the leg stance.
Test-fit each rung before committing to glue. A dowel that bottoms out and holds without slop is what you want. Drill all mortises now while the legs are still loose and easy to handle.
Step 4: Shape the Seat
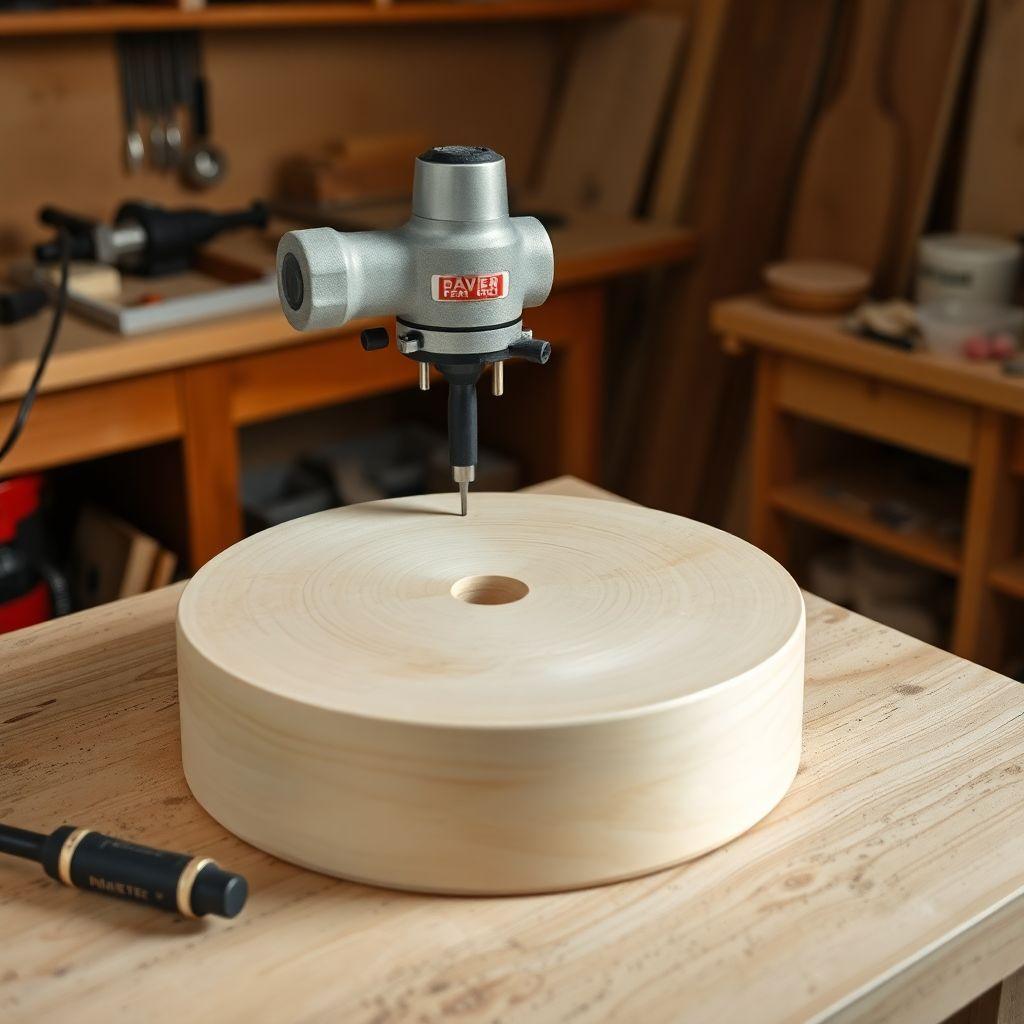
You have three seat options, ranked by difficulty.
Round is the easiest to live with. Mark a 14 inch circle with a compass or a pencil tied to a string, cut it out with a jigsaw, then clean and soften every edge in one pass with a router roundover bit. The roundover is what makes a round seat comfortable and gives it that finished look.
Square is easier to cut, just four straight lines on the table saw, but harder to finish. The corners are sharp and sanding them safely by hand takes time. If you go square, at least knock the corners off at 45 degrees and roundover all the edges.
Saddle shaping, where the seat dishes out to cradle you, is the most comfortable but needs an angle grinder with a carving disc or a power carver to hollow it. Skip this unless you have the tools and want the challenge.
For most builds, cut the round seat, roundover top and bottom edges, then sand through 180 and 220 grit until it is glass smooth.
Optional: Adding a Swivel
If you want the seat to spin, add a swivel plate now before assembly. Center the swivel plate on the underside of the seat, mark the bolt holes, and lag bolt the plate to the seat. The plate must be dead centered or the stool spins off-axis and looks broken every time someone sits down. Then attach the leg base to the lower half of the swivel base. The legs no longer connect to the seat directly, they connect to the swivel.
Step 5: Assemble and Glue
Dry-fit the entire stool first with no glue. Push the rungs into the leg mortises and stand it up. Check for rock on a flat surface and confirm the whole thing sits square. Fix any problems now.
When it fits, glue in stages. Put wood glue in the mortises, seat the front two legs onto their connecting rungs, then the back two legs onto theirs, giving you two H-shaped assemblies. Then join the two halves with the side rungs. Clamp across each pair of legs, check for square with a framing square, and wipe away squeeze-out with a damp rag before it dries.
Let the glue cure for at least a few hours, ideally overnight, before attaching the seat.
Attach the seat by screwing up through corner blocks or metal L-brackets from underneath, or through pocket holes in the top leg ends. Countersink so nothing catches clothing. If you built the swivel version, the seat is already mounted to the swivel plate, so you just bolt the swivel base to the legs.
Step 6: Finish
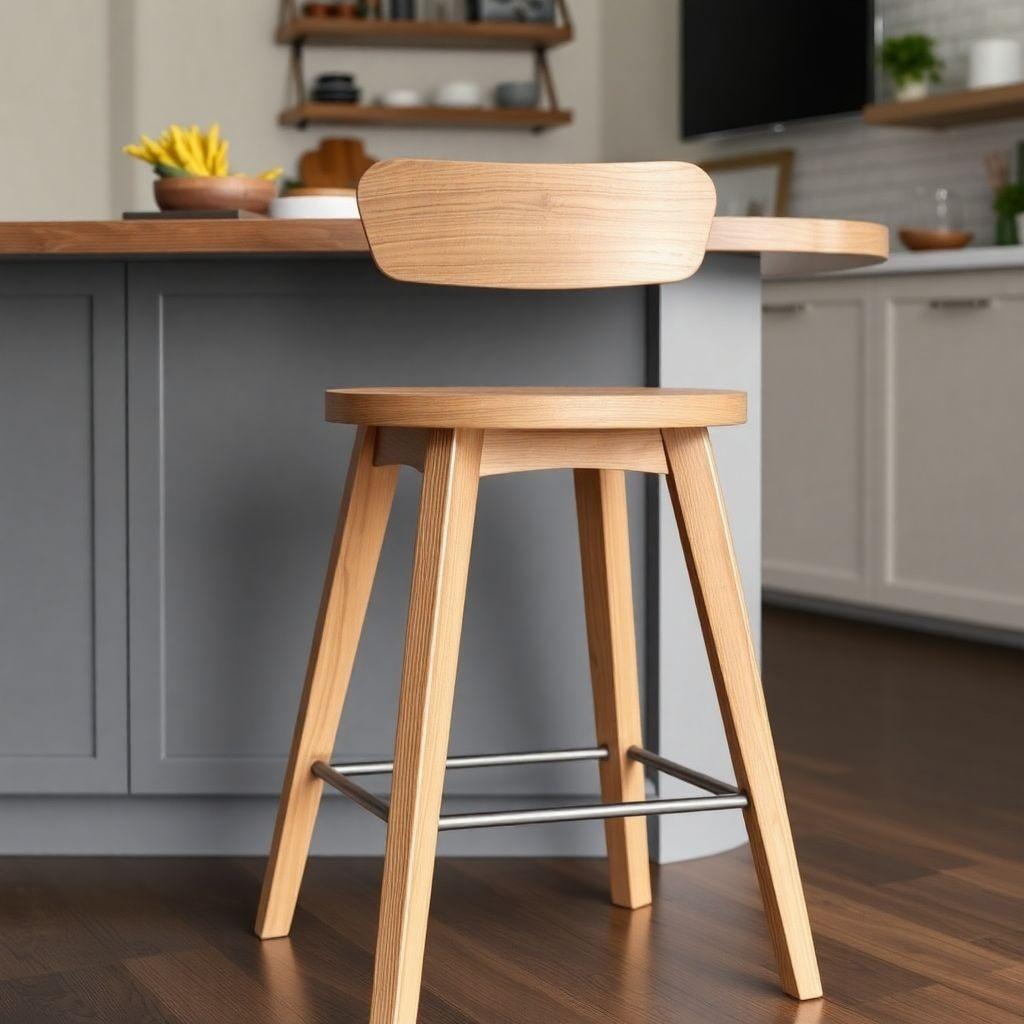
Sand the whole assembled stool one more time at 180 then 220 grit, paying attention to the leg tapers and every edge a hand or leg will touch. Wipe it down with a tack cloth.
For a kitchen stool that will see spills and daily use, a wipe-on polyurethane is the most forgiving choice. Three thin coats, sanding lightly with 320 grit between coats, gives a durable surface that shrugs off water. If you want a more natural feel, a hardwax oil looks great and is easy to repair, but it needs reapplying once a year in a busy kitchen.
Pay extra attention to sealing the footrest rungs and the seat, since those take the most wear. Let the finish fully cure per the can’s directions before putting the stool into service. Rushing this leaves fingerprints baked into the surface.
That is a full bar stool built from four legs, four rungs, and a seat.
Looking for more chair and stool ideas?
This guide is part of our complete chair and stool plans series — 6 types compared by skill, cost, and build time.
Want 16,000+ woodworking plans?
Ted’s Woodworking has step-by-step plans for every skill level. Browse Ted’s plans.
FAQ
What is the difference between a counter stool and a bar stool?
Seat height. A counter stool has a 24 to 26 inch seat for a 36 inch counter or island. A bar stool has a 28 to 30 inch seat for a 42 inch bar. Measure your surface and subtract about 10 inches to find the right seat height before cutting your legs.
How high should the footrest be on a bar stool?
Measure 8 to 10 inches up from the floor, not down from the seat. The most common mistake is measuring down from the seat and ending up with a footrest too high for anyone’s feet to reach comfortably.
Do I need a back on a bar stool?
No. A backless stool is just four legs, four rungs, and a seat, and it is the faster, easier build. Adding a back means mortising in an H-frame and adds 3 to 4 hours of work. For kitchen island and casual bar use, backless is fine and tucks under the counter neatly.
What wood should I use for DIY bar stool plans?
Maple, oak, and ash are strong, affordable, and easy to find. Walnut looks the best but costs more. Avoid soft pine for the legs since it dents and the joints loosen over time.
Can I add a swivel to a wooden bar stool?
Yes. Lag bolt a swivel plate to the center of the seat underside, then attach the legs to the swivel base instead of directly to the seat. The plate must be perfectly centered or the stool spins off-axis.
How much does it cost to build a wooden bar stool?
About $50 to $70 per stool in hardwood, glue, and finish, depending on the species. That is well under the $150 to $400 you would pay for a comparable solid wood store stool.
Related Articles

“DIY woodworking enthusiast who started with zero experience and a YouTube tutorial.
I build simple, practical projects for my home and share free plans
so other beginners can skip the guesswork.If I can build it, you can too.”