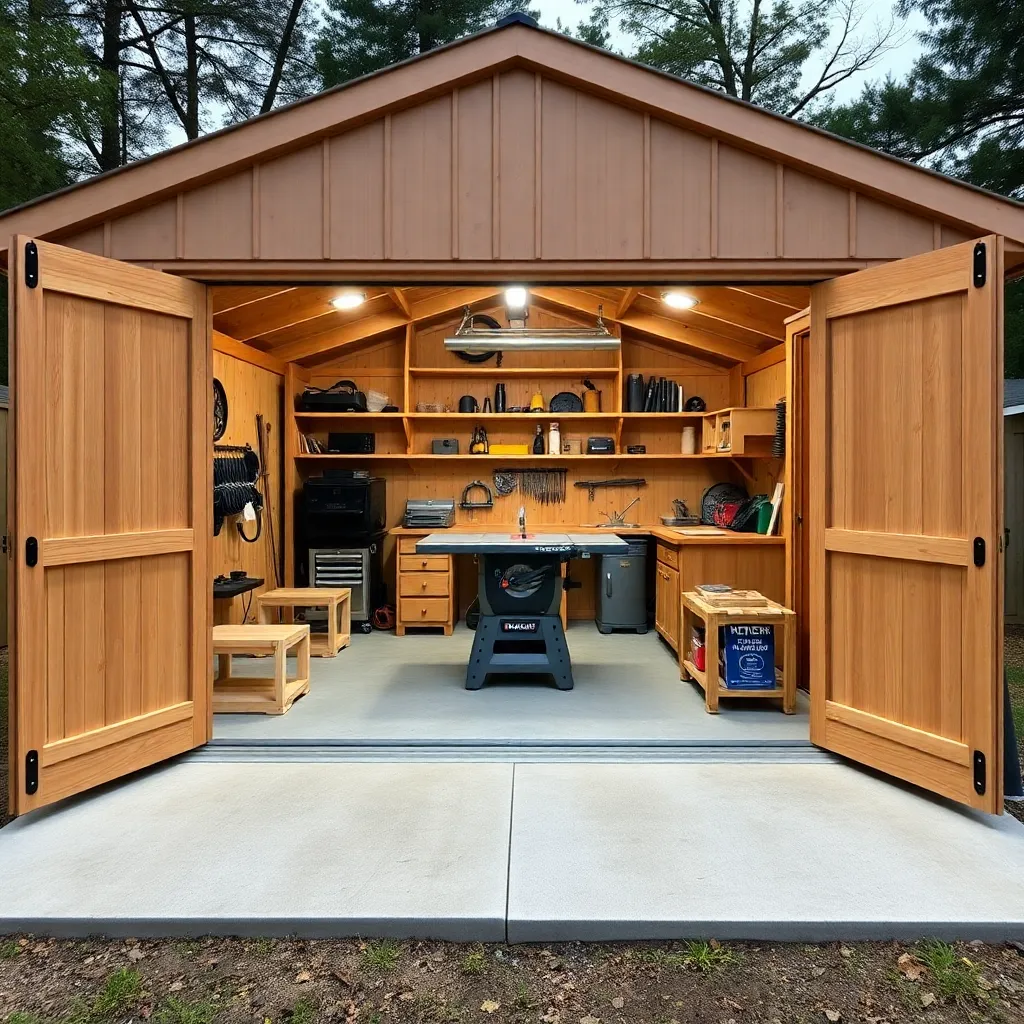
A workshop shed is built for work — not just storage. That means a different set of priorities than a standard utility shed: wide double doors for moving sheet goods and machinery, a concrete slab that carries heavy equipment, a 10-foot ceiling for lumber storage overhead, electrical service for multiple power tools running simultaneously, and natural light positioned to illuminate the main work surface.
This plan covers a 14×20-foot workshop on a floating concrete slab with a 10-foot ceiling, 9-foot double doors, a 60-amp subpanel, exposed rafters with a ventilation ridge, and a dedicated lumber loft above. Total material cost: $5,500–$8,000 depending on electrical and HVAC choices.
Want 16,000+ step-by-step woodworking plans?
Ted’s Woodworking has plans for every skill level — from simple shelves to full bedroom sets. Each plan includes a cut list, material list, and detailed diagrams. Browse Ted’s plans →
Step 1: Slab Design and Site Prep
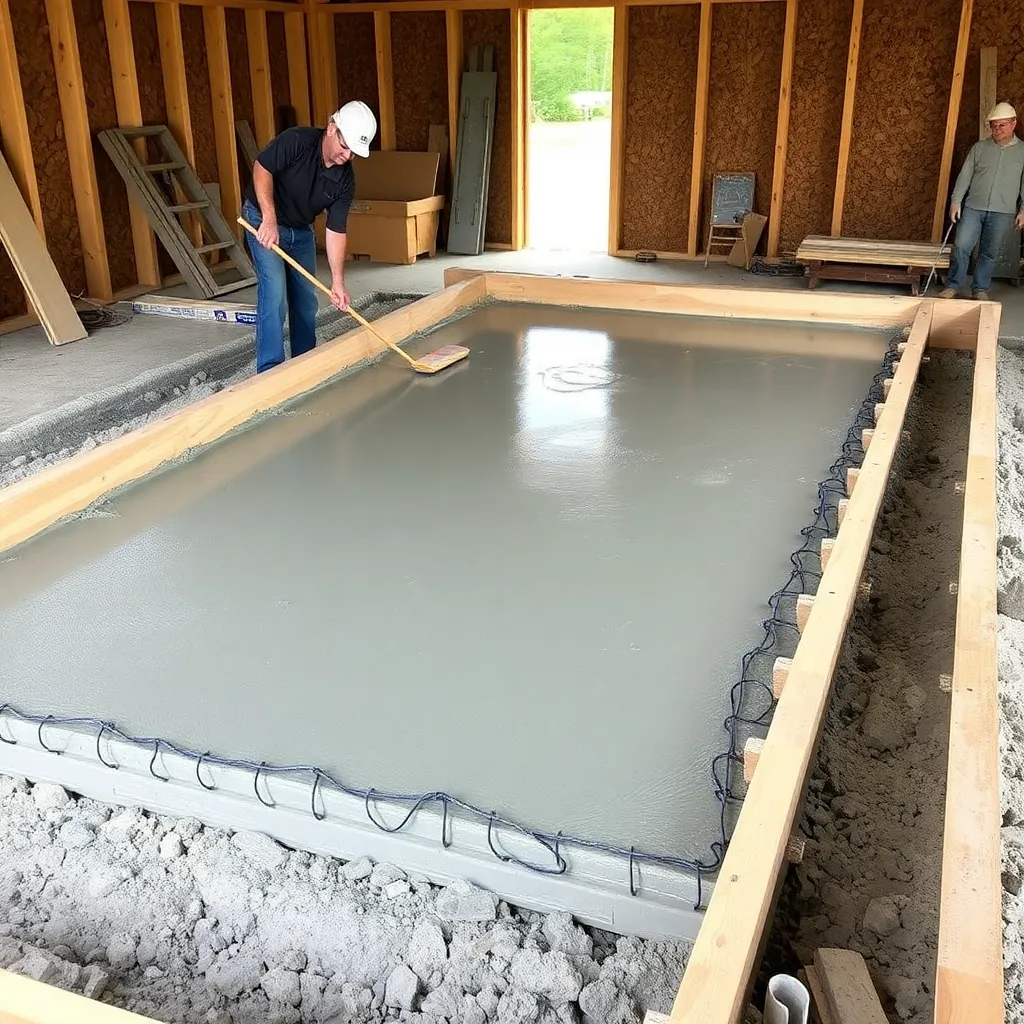
A workshop needs a concrete slab — not a wood floor on skids. Power tools vibrate, fluid can spill, and a heavy table saw on a wood floor creates resonance. A 4-inch floating slab over 6 inches of compacted gravel handles all typical workshop loads. Add 6-mil poly vapor barrier under the slab and wire mesh or fiber reinforcement in the pour.
Mark the 14×20-foot perimeter with stakes and string. Excavate 10 inches deep (4 inches of slab + 6 inches of gravel). Grade the excavated area flat and compact it with a plate compactor. Install 2×4 form boards around the perimeter, staked every 4 feet and leveled with a laser. Pour concrete (3,000 PSI mix) and screed flat, then finish with a bull float and power trowel for a smooth, dust-free surface.
Workshop Shed Specs:
| Element | Spec |
|---|---|
| Footprint | 14 ft × 20 ft |
| Slab | 4″ concrete on 6″ gravel |
| Wall height | 10 ft |
| Roof pitch | 4/12 |
| Doors | 9-ft wide × 8-ft tall double |
| Electrical | 60-amp subpanel, 4 circuits |
| Lighting | (8) 4-ft LED shop fixtures |
| Ventilation | Ridge vent + two gable vents |
Step 2: Frame the Walls
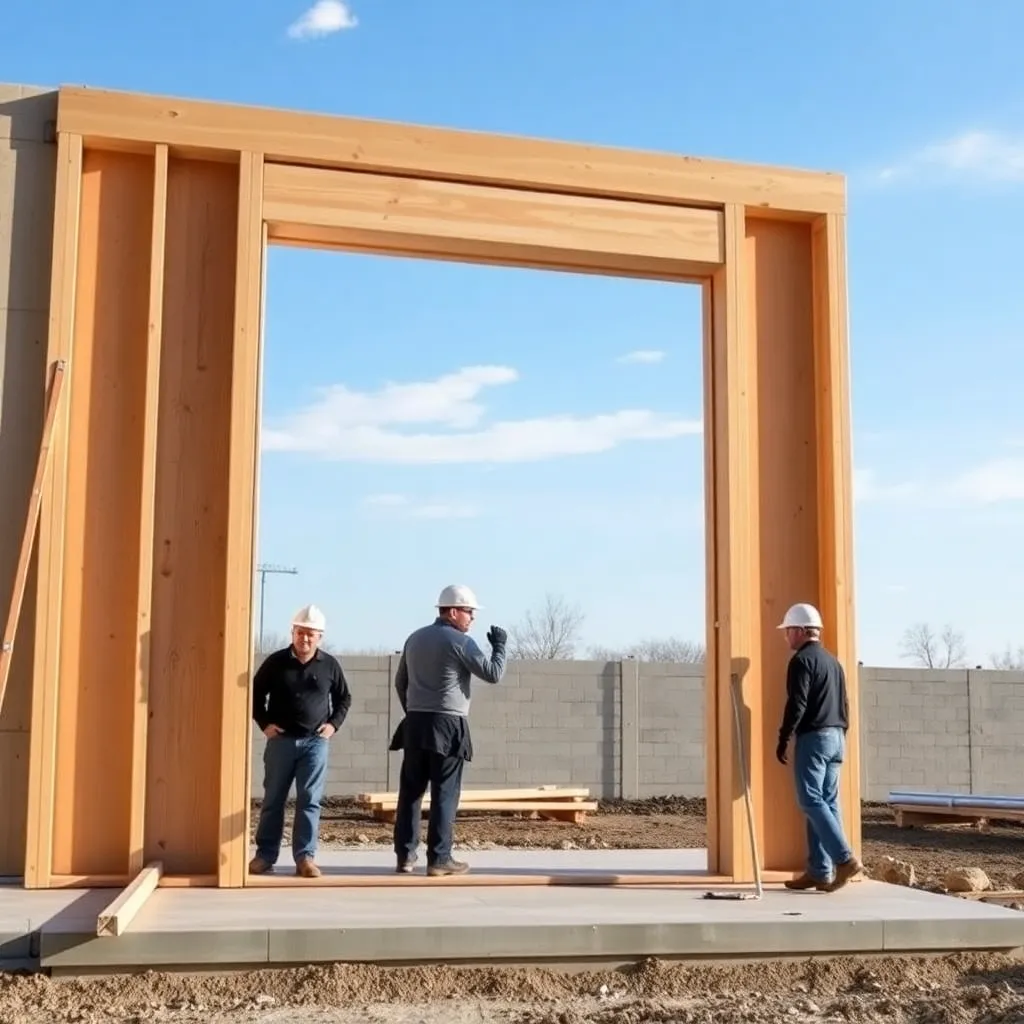
10-foot walls require 10-foot studs — order them pre-cut or cut 12-foot 2×4s to length. Frame the four walls on the slab (use it as your assembly surface) and tip them up one at a time. The 14-foot front wall contains the double-door opening: 9 feet wide, requiring a massive header — use a tripled 2×12 or an engineered LVL beam (3.5×11.25 inches minimum) to carry the roof load over the span without a sagging doorframe.
The rear wall is typically solid or has a small window for cross-ventilation. The two 20-foot sidewalls carry the primary roof loads and should be framed on 16-inch stud centers — don’t go to 24-inch centers on the long walls of a building this size. Add a rough opening for a 36-inch entry door on one sidewall so you have pedestrian access without opening the big doors.
Step 3: Roof Framing — Exposed Rafters
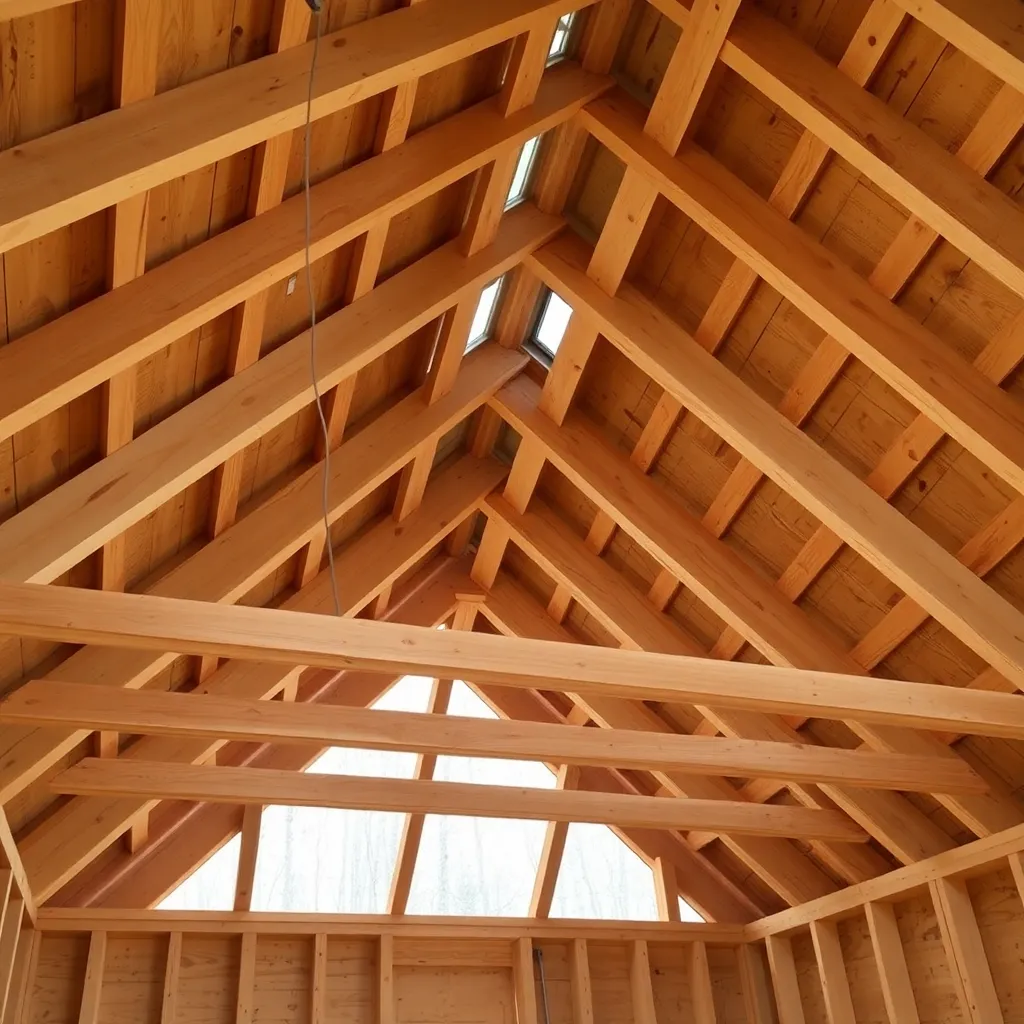
A workshop looks best with exposed rafter construction — the rafters are visible from inside, no ceiling drywall, open volume overhead. This also makes it easy to add hanging clamps, overhead lighting, and lumber storage between the rafters. Use 2×10 common rafters on 24-inch centers for the 14-foot span at 4/12 pitch — this keeps deflection within allowable limits without over-building.
For the ridge, use a 2×12 ridge board supported by a temporary prop until the rafters are set in pairs. At each rafter, cut a bird’s mouth to fit the top plate and install hurricane ties on every rafter-to-plate connection. Add a ridge vent: remove the top 2-inch strip of roof sheathing on both sides of the ridge and install a continuous ridge vent cap — this creates passive stack-effect ventilation that removes heat and sawdust in summer without any powered fans.
Step 4: Electrical Rough-In
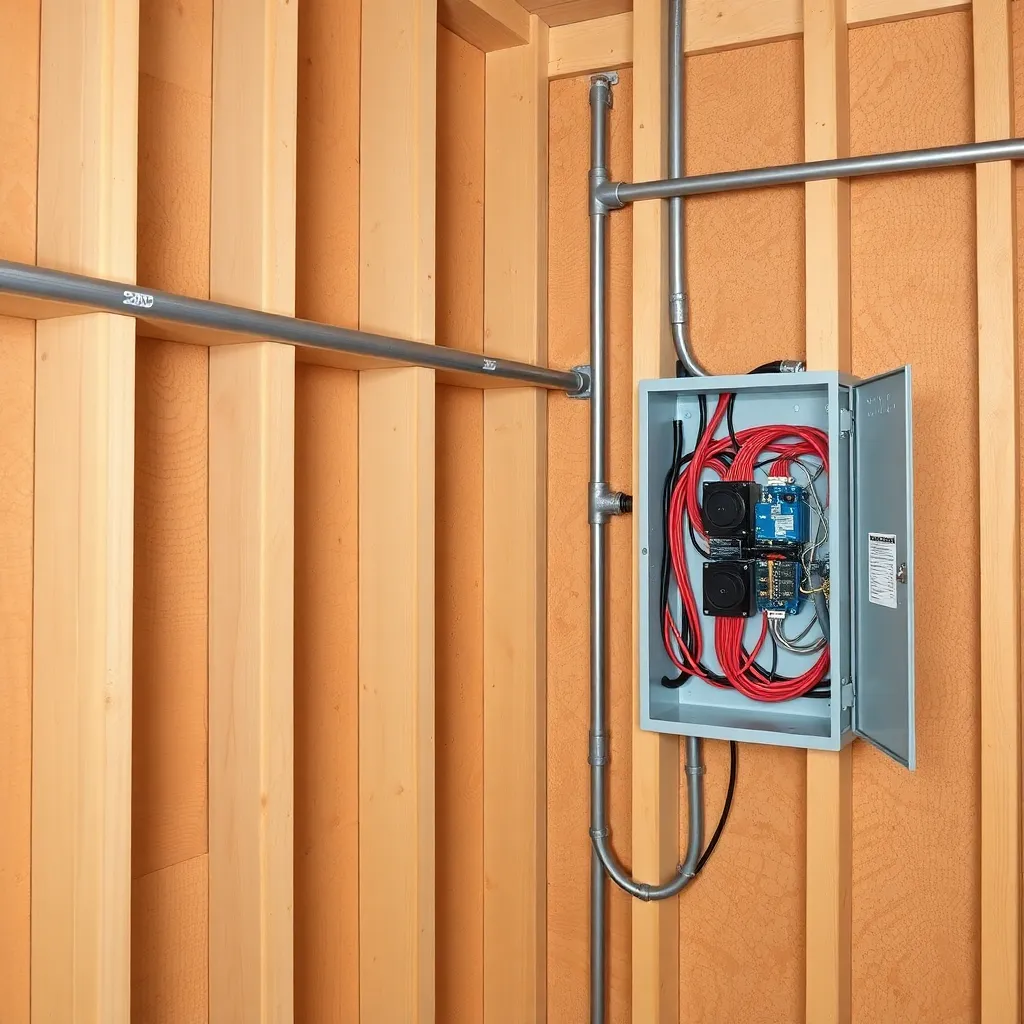
A 60-amp subpanel feeds from the main house panel via 6/3 wire in buried conduit (minimum 18 inches deep to the bottom of the conduit). At the shed, wire the subpanel with:
- Circuit 1: 20-amp for table saw (dedicated)
- Circuit 2: 20-amp for dust collector (dedicated)
- Circuit 3: 20-amp for wall outlets (general tools, chargers)
- Circuit 4: 15-amp for lighting
Install metal conduit (EMT) on all interior wiring — it protects wires from accidental drill punctures and looks professional in a workshop. Surface-mount the conduit along the wall studs rather than running it inside the walls; it’s easier to modify later. Get the rough-in inspected before closing up any walls.
Step 5: Sheathing, Siding, and Roofing
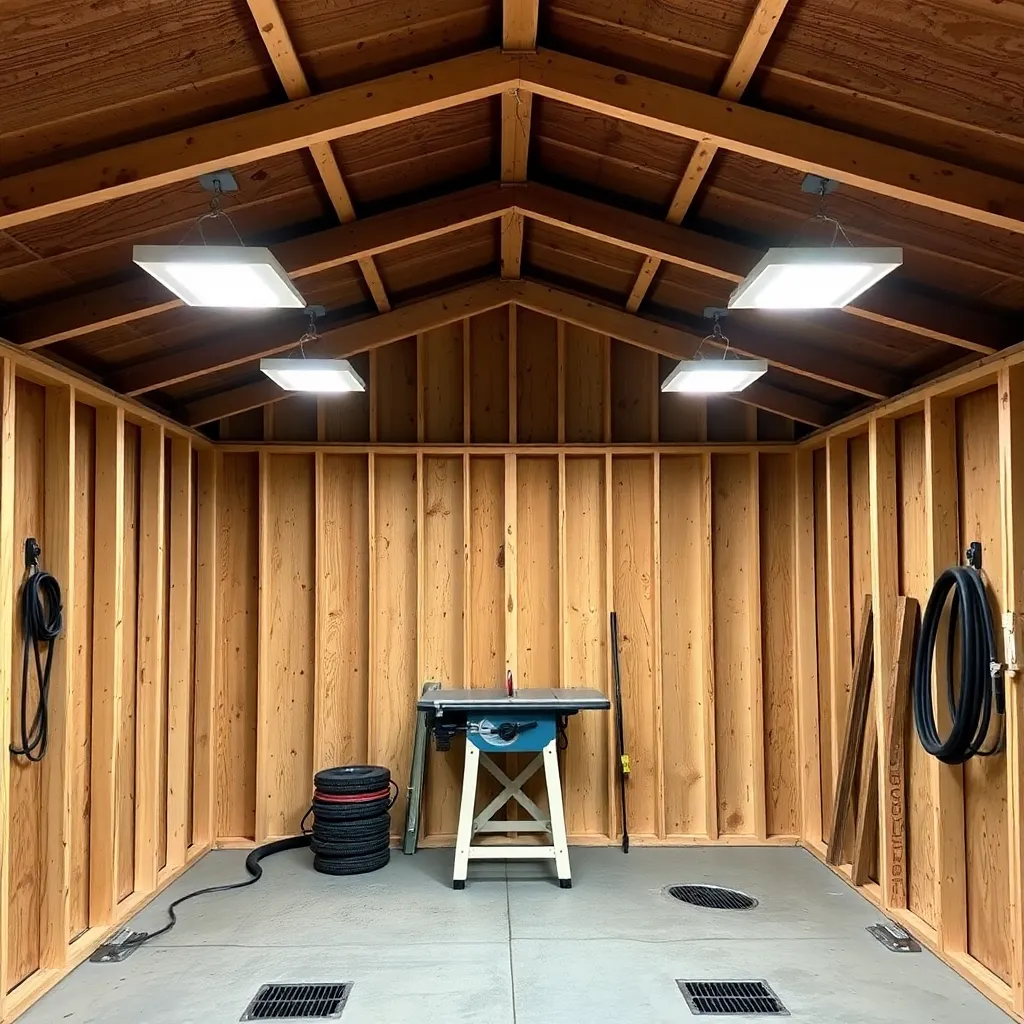
Sheathe the walls with 7/16-inch OSB, then apply your choice of siding. LP SmartSide (engineered wood siding with a textured finish) is the best value for a workshop — it holds paint well, resists moisture, and stands up to the occasional tool impact better than T1-11. Install it with a 1-inch gap between the bottom course and the slab for drainage.
For the roof, sheathe with 5/8-inch OSB over the rafters and apply 30-lb roofing felt. Install metal drip edge on all eaves and rakes. Use architectural (laminated) asphalt shingles — 30-year grade — for the best combination of longevity and cost. Add the ridge vent along the full length of the ridge.
Step 6: Doors, Lighting, and Dust Collection
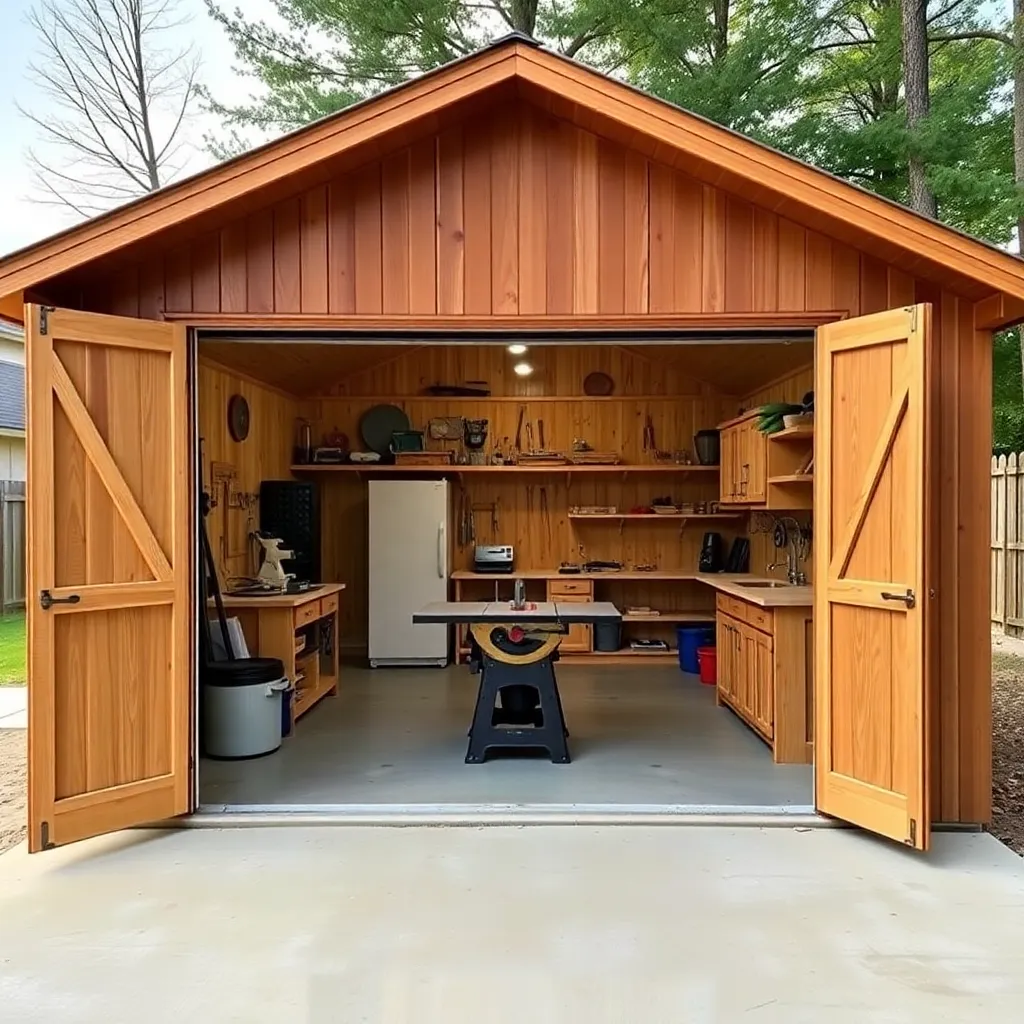
The 9-foot double doors are the most important feature of a workshop shed — size them to pass a full 4×8 sheet of plywood on end. Build them from 2×4 frames with T1-11 panels, reinforced with steel Z-bar horizontal braces and piano hinges. Add door pulls, a bar-latch closure, and a deadbolt on the pedestrian door.
Install 4-foot LED shop fixtures in two rows the length of the shop — 5,000K daylight color temperature gives the truest color rendering for finish work. Mount them on the exposed rafters with hook clips so they can be repositioned. Run 4-inch PVC dust collection pipe from the ceiling along the main work wall with drops over the table saw, router table, and miter saw. The slab, the double doors, and the electrical panel are what make this a real shop — the dust collection is what makes it a pleasure to work in.
Want 16,000+ step-by-step woodworking plans?
Ted’s Woodworking has plans for every skill level — from simple shelves to full bedroom sets. Each plan includes a cut list, material list, and detailed diagrams. Browse Ted’s plans →
Workshop Shed Plans FAQ
Do I need a permit for a 14×20 workshop shed?
280 square feet almost certainly requires a building permit in most jurisdictions — the typical exemption is under 120–200 square feet. A concrete slab, electrical service, and the size of the structure all trigger permit requirements in most areas. Budget time for plan submittal and inspections.
What size subpanel do I need for a workshop shed?
60 amps is the practical minimum for a workshop with a table saw, dust collector, and lighting. 100 amps is better if you plan to run a welder, air compressor, or mini-split heat pump alongside your woodworking tools. The cost difference between a 60-amp and 100-amp subpanel is modest — size it for what you might want in 10 years, not just today.
What concrete thickness do I need for a workshop floor?
4 inches of 3,000 PSI concrete over 6 inches of compacted gravel is sufficient for all typical workshop equipment — table saws, drill presses, lathes, and jointers. A 6-inch slab is worth considering if you plan to roll in a car or park heavy machinery. Add wire mesh or fiber reinforcement regardless of thickness.
What is the minimum ceiling height for a workshop shed?
9 feet is the practical minimum — it allows you to stand a 4×8 sheet of plywood on end with clearance, and you can add overhead storage on the rafters. 10 feet is more comfortable. Anything below 8 feet makes overhead clamps and a drill press feel cramped.
How much does a 14×20 workshop shed cost?
Materials for a 14×20 workshop with slab, framing, roofing, siding, 60-amp electrical, and shop lighting typically run $5,500–$8,000. The slab (roughly $600–$1,000 for materials if you pour it yourself) and electrical (roughly $800–$1,200 for the subpanel, wire, and conduit) are the biggest single-item costs beyond lumber.

“DIY woodworking enthusiast who started with zero experience and a YouTube tutorial.
I build simple, practical projects for my home and share free plans
so other beginners can skip the guesswork.If I can build it, you can too.”