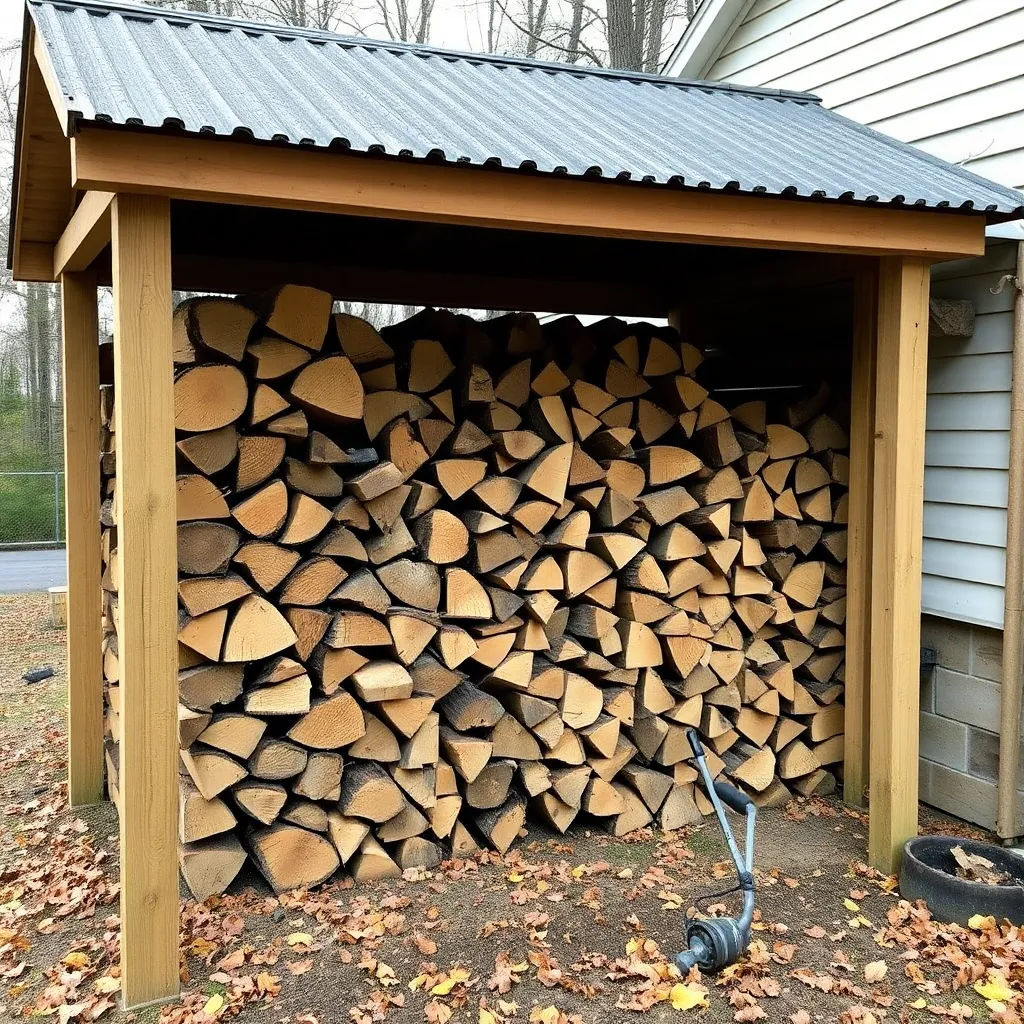
A wood shed solves one specific problem: keeping firewood dry and accessible without cluttering the garage or porch. The basic design is deceptively simple — four posts, a roof, and open sides so air can circulate freely through the stack — but getting the details right makes the difference between firewood that seasons in 8 months and firewood that rots in two years.
This plan covers a 4×8-foot single-cord wood shed on concrete deck blocks, plus a 6×12-foot two-cord version if you heat primarily with wood. Both use pressure-treated 4×4 posts, 2×4 framing, and a corrugated metal roof. Total cost for the single-cord version: under $200 in materials.
Want 16,000+ step-by-step woodworking plans?
Ted’s Woodworking has plans for every skill level — from simple shelves to full bedroom sets. Each plan includes a cut list, material list, and detailed diagrams. Browse Ted’s plans →
Step 1: Size Your Wood Shed for Your Needs
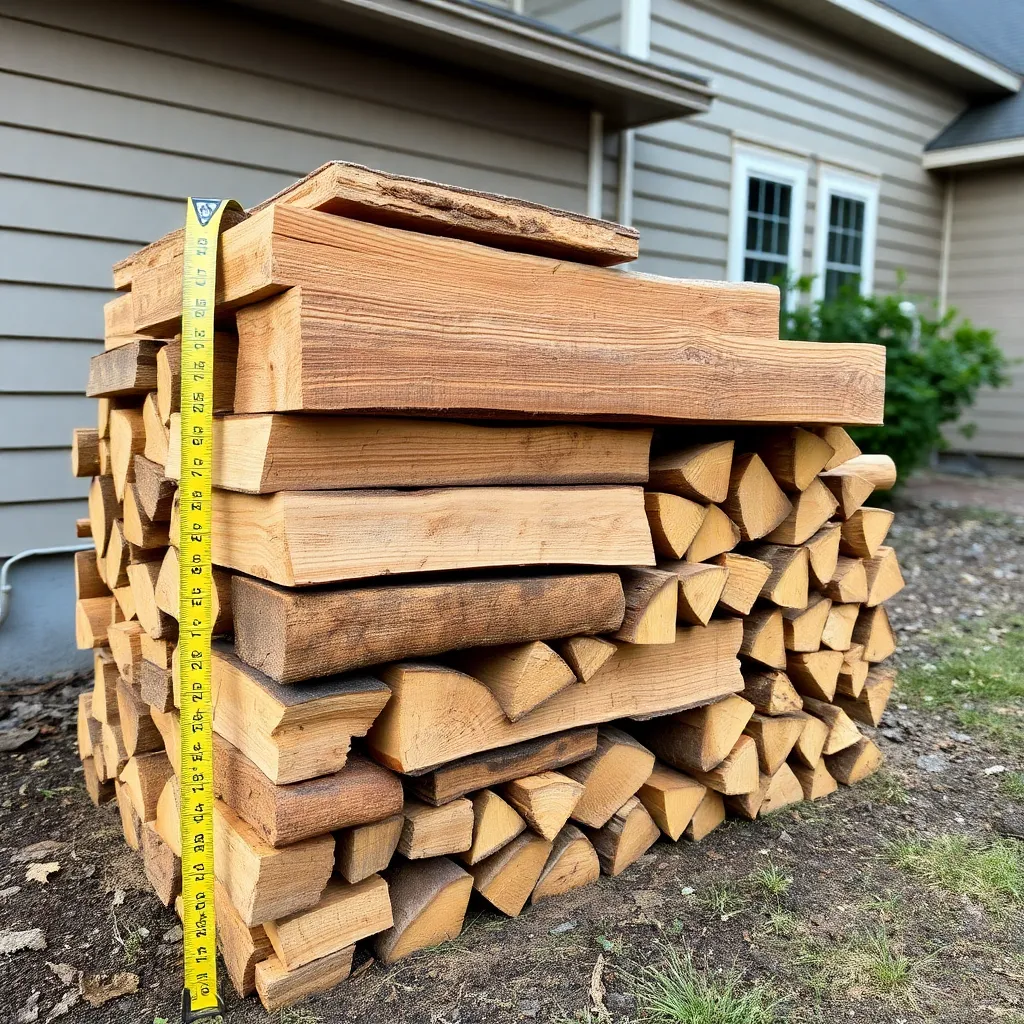
Before cutting any lumber, calculate how much firewood you actually burn. A standard cord measures 4×4×8 feet (128 cubic feet of stacked wood). A single-cord shed stores enough for a part-time wood burner for one season in most climates. If wood is your primary heat source, plan for two cords minimum.
Locate the wood shed close to the house but not directly against it — 3 feet of clearance prevents moisture from wicking from the wood pile to the house siding and discourages insects from using the wood pile as a highway into your walls. Orient the open front away from the prevailing wind — this keeps blowing rain from driving into the stack and allows drying airflow across the face of the pile.
Cut List (4×8 Single-Cord Wood Shed):
| Part | Size | Qty |
|---|---|---|
| Posts | 4×4 PT, 6 ft | 4 |
| Back wall top rail | 2×4, 8 ft | 1 |
| Side top rails | 2×4, 4 ft | 2 |
| Back wall studs | 2×4, 4 ft | 5 |
| Purlins | 2×4, 8 ft | 4 |
| Corrugated metal | 26″ wide, 6 ft | 4 panels |
| Deck blocks | 8×8×4 concrete | 4 |
| Bottom rails | 4×4 PT, 8 ft | 2 |
Step 2: Set the Foundation Posts
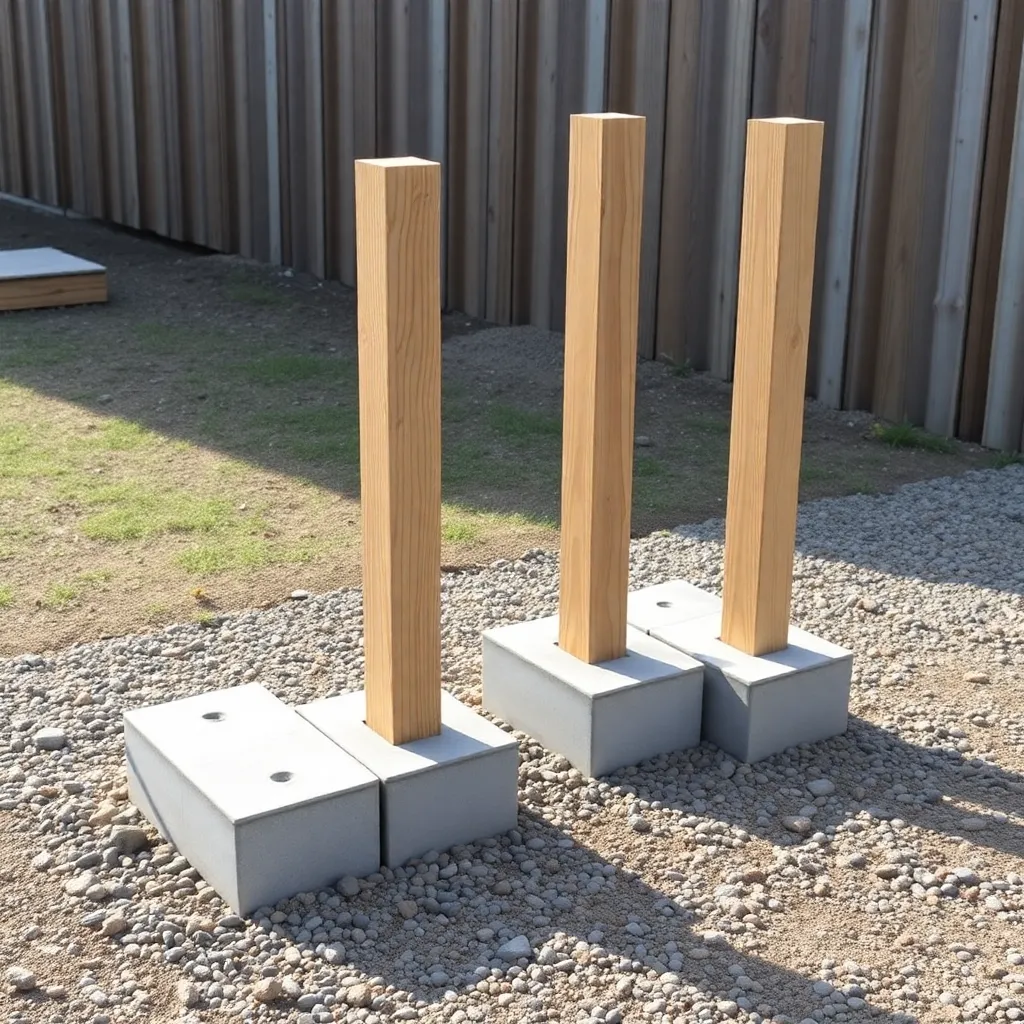
A wood shed needs no poured foundation — concrete deck blocks set on compacted gravel are exactly right. Dig out 4 inches of soil under the four corner post locations, fill with gravel, and set a deck block at each corner. Level all four blocks to each other using a 4-foot level across a long 2×4 — this is the most important step, because out-of-level posts produce a leaning structure.
Cut four 4×4 pressure-treated posts to 6 feet at the rear and 5 feet at the front (the 12-inch height difference creates the roof slope — approximately 3/12 pitch for good drainage). Set each post in its deck block’s center slot. Brace each post plumb temporarily with 2×4 kicker braces nailed to stakes driven in the ground. The rear posts at 6 feet, front posts at 5 feet — double-check that the two rear posts are the same height and the two front posts are the same height before proceeding.
Step 3: Frame the Back Wall
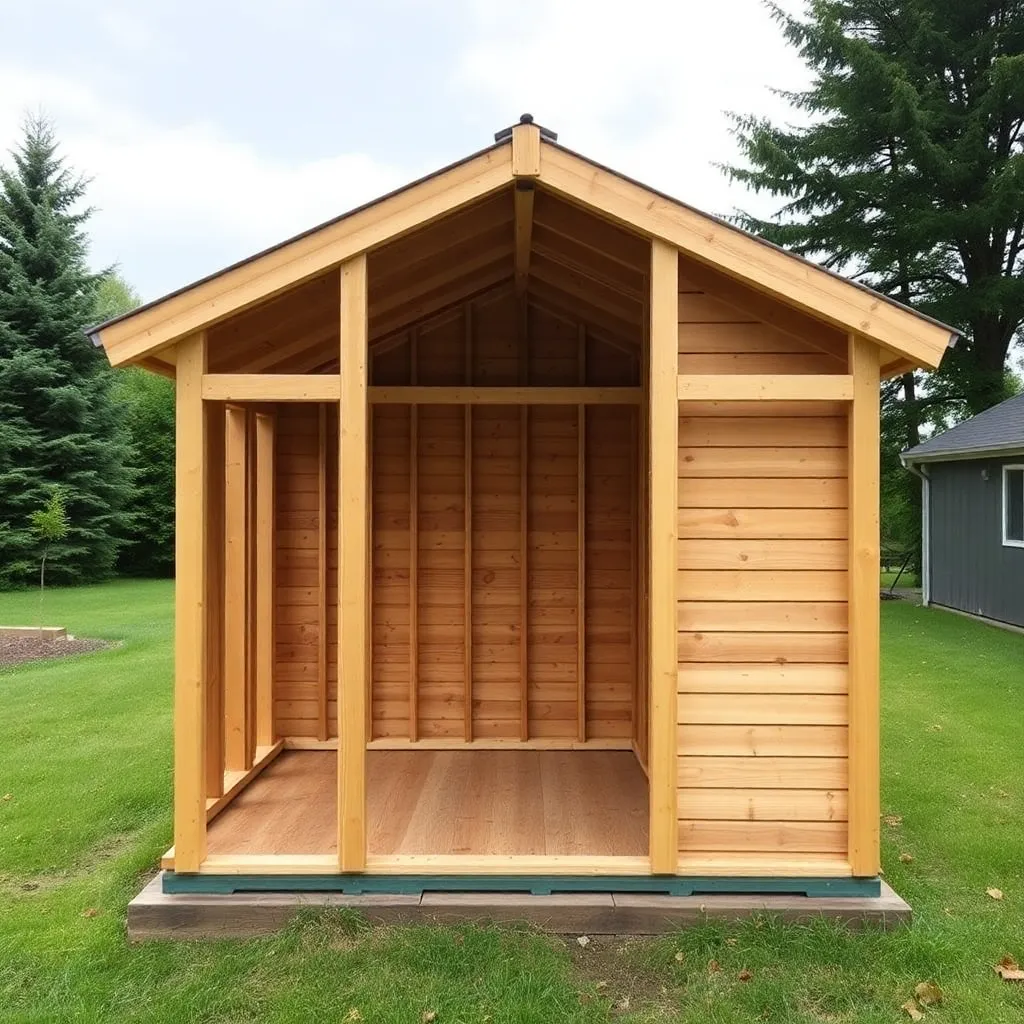
The back wall is the only closed side of the wood shed. Frame it from 2×4 studs to block prevailing weather and give the structure rigidity against racking. Nail a 2×4 horizontal top rail between the two rear posts at their tops. Add vertical 2×4 studs on 16-inch centers — for an 8-foot rear span, that’s 5 studs plus the two posts.
Sheathe the back wall with T1-11 siding, OSB, or simply leave it open and add a sheet of clear corrugated polycarbonate if you want to see the wood from behind. Most builders sheathe the back and paint it to match the house — it’s the most visible side when looking from the yard.
The two side walls are open from front to back — no framing other than the top rail between front and rear posts. This open-side design is intentional: it allows air to move through the ends of the firewood stack, which is where most drying happens. Closing the sides dramatically slows the seasoning process.
Step 4: Install the Roof Purlins and Metal Roofing
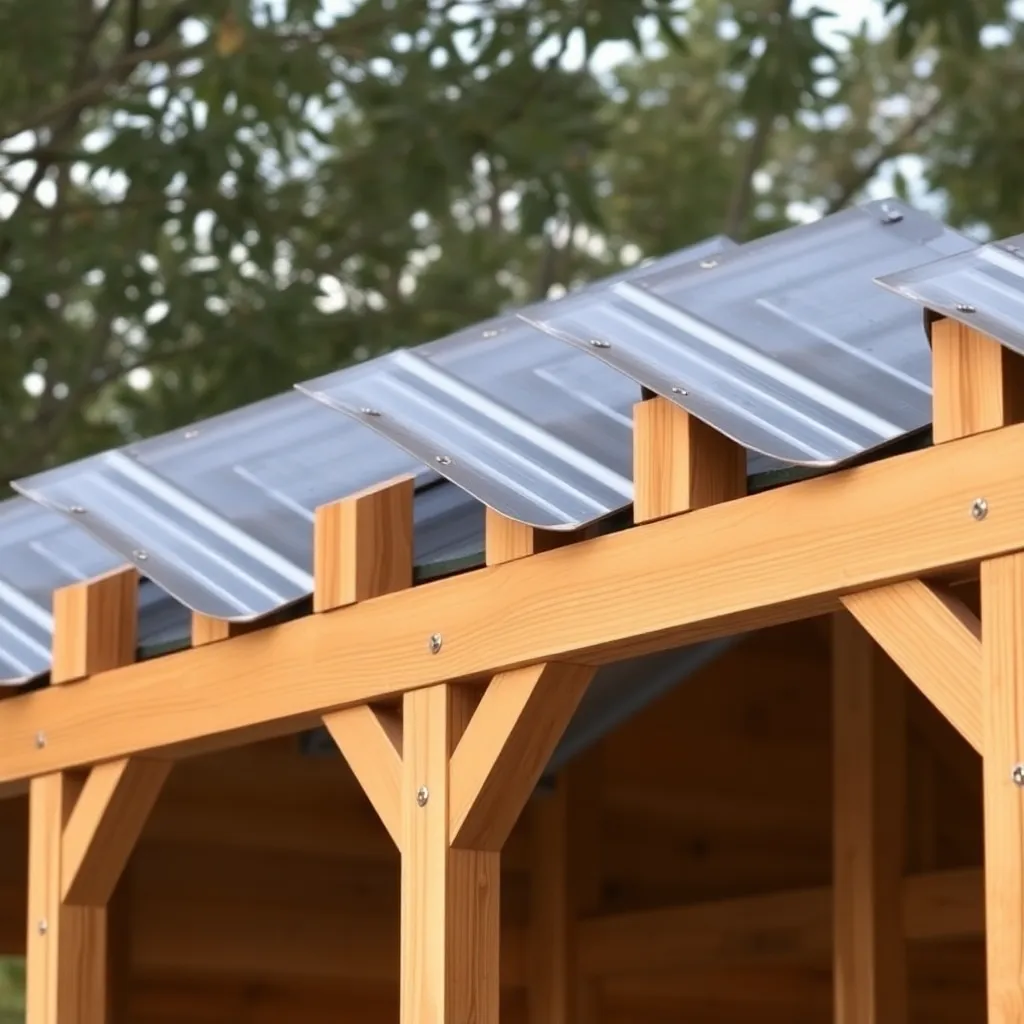
Purlins are the horizontal 2×4 members that span between the front and rear top rails and carry the metal roofing panels. Space them 24 inches on center, running the 4-foot depth from front (low) to rear (high). A 4-foot-deep shed with 3/12 slope needs three purlins plus the top rails themselves — four bearing points for the roofing.
Corrugated galvanized steel roofing panels (26 inches wide, 6 feet long for a 4-foot shed with 12 inches of overhang at the front) are the best choice for a wood shed: they’re cheap, last decades, shed water instantly, and require no maintenance beyond keeping the screws tight. Install panels from one side to the other, overlapping each panel by one full corrugation. Use hex-head roofing screws with rubber washers — they seal the screw holes against water infiltration and can be loosened later if a panel needs replacing.
Step 5: Add the Bottom Rails and Stack the Wood
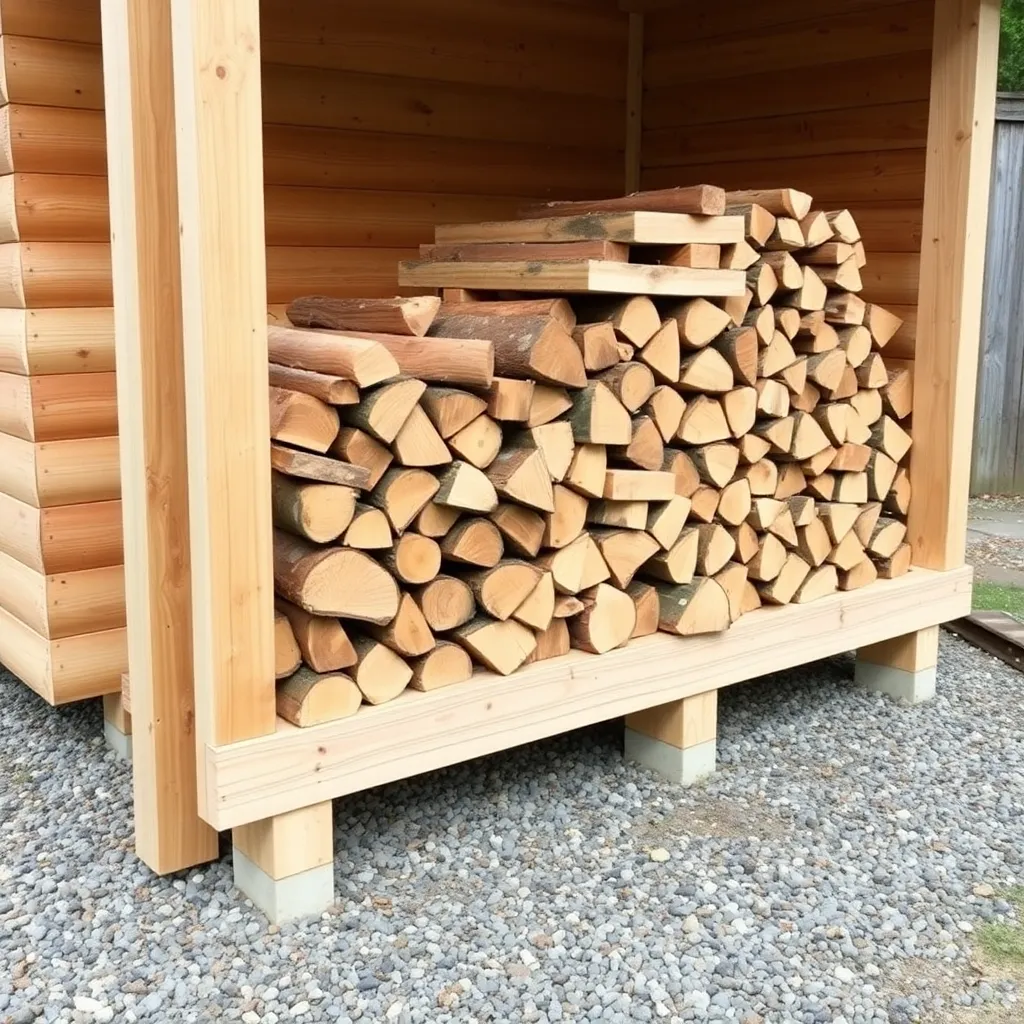
Raise the firewood stack off the ground — ground contact is where firewood rot starts. Nail two 4×4 pressure-treated bottom rails across the width of the shed, one at the front and one at the rear, resting on the gravel. These rails elevate the first course of wood 3.5 inches off the ground, allowing air to circulate under the stack and keeping the bottom logs dry.
Stack wood bark-side down, split face up. Leave the front face of the pile open to the air — resist the urge to tarp the front of the wood. A tarp over the face of a wood pile traps moisture and dramatically slows seasoning. The metal roof is all the rain protection the stack needs; the open sides provide the airflow.
Step 6: Optional Additions for a Two-Cord Version
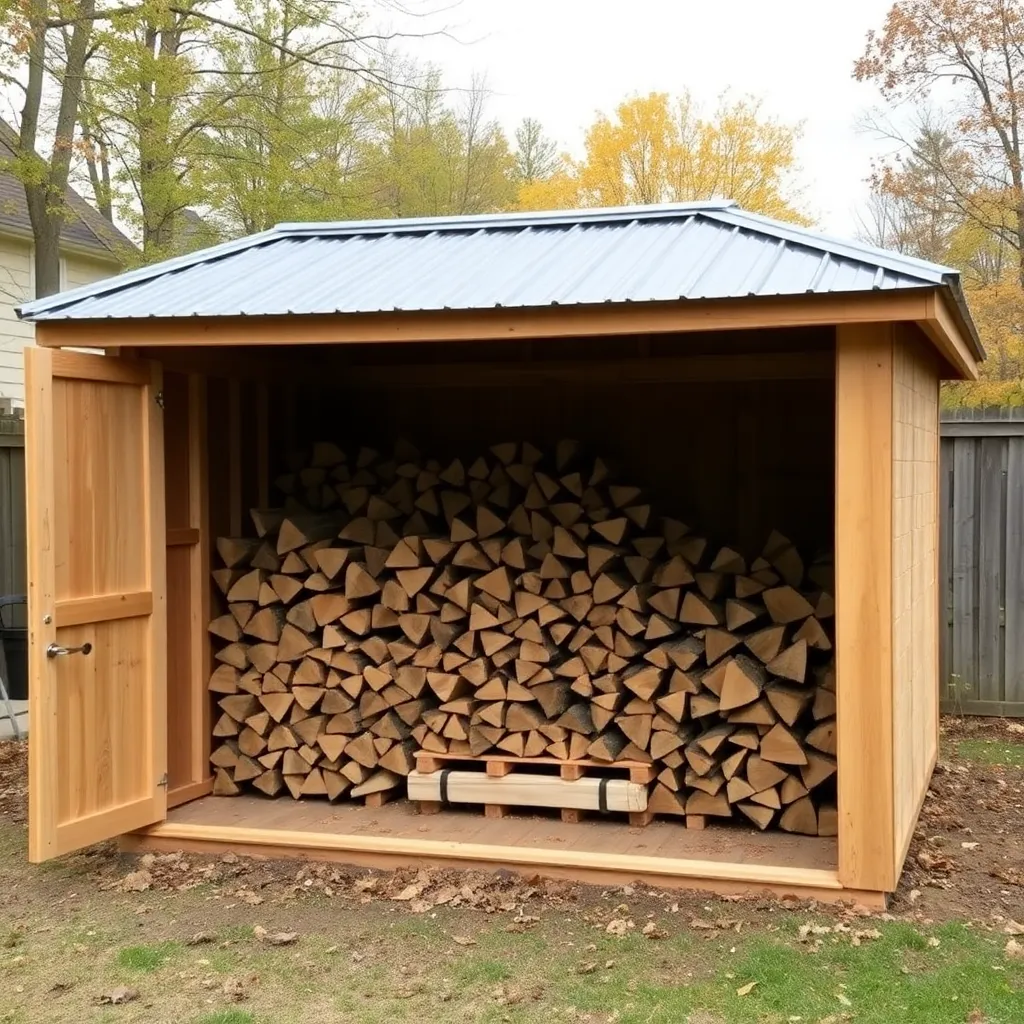
The two-cord version (6×12 feet) uses the same construction method but adds a third bay in the center and a second set of posts at 6 feet. The back wall becomes 12 feet long. You’ll need 8 purlins instead of 4, and 8 panels of corrugated metal (overlapping to cover the 12-foot width). Add a center post between the front posts to provide mid-span support for the front top rail.
Optional additions for either size: a kindling bin at one end (a small box with a 2×4 frame and 1×6 sides, mounted on the front face of the structure), hooks on the inside of the back wall for tools like a maul and splitting wedge, and a “seasoning end” where fresh-cut wood sits for the first season before moving to the main stack.
Want 16,000+ step-by-step woodworking plans?
Ted’s Woodworking has plans for every skill level — from simple shelves to full bedroom sets. Each plan includes a cut list, material list, and detailed diagrams. Browse Ted’s plans →
Wood Shed Plans FAQ
How much firewood fits in a 4×8 wood shed?
A 4×8×4-foot stack holds approximately one cord (128 cubic feet nominal, about 80 cubic feet of actual wood). A cord is enough to heat an average home for one month in cold climates, or a full heating season in mild climates where wood is supplemental.
Should a wood shed have a floor?
No — a solid floor traps moisture under the wood and accelerates rot. Elevated 4×4 rails on gravel provide just enough clearance for air to circulate under the first course without creating a moisture trap. The best “floor” for a wood shed is compacted gravel with landscape fabric underneath.
How long does it take firewood to season in a wood shed?
Hardwood (oak, maple, ash) takes 12–18 months to season properly. Softwood (pine, fir) takes 6–12 months. A well-ventilated wood shed with open sides speeds seasoning by 20–30% compared to a tarped pile. Wood is ready to burn when moisture content drops below 20% — a $20 moisture meter confirms it faster than any visual test.
What is the best wood for building a wood shed?
Pressure-treated lumber for all structural members (posts and bottom rails in contact with the ground). Standard SPF framing lumber for the back wall framing. For roofing, corrugated galvanized steel is more durable than asphalt shingles for this application — wood sheds don’t need to look attractive, they need to last.
How far should a wood shed be from the house?
Minimum 3 feet — far enough to prevent moisture transfer and insect migration from the wood pile to the house structure. Fire codes in some jurisdictions require greater setbacks. Don’t build directly against the house siding even if local codes allow it — the moisture that migrates from green firewood will damage any wood or fiber-cement siding it contacts.

“DIY woodworking enthusiast who started with zero experience and a YouTube tutorial.
I build simple, practical projects for my home and share free plans
so other beginners can skip the guesswork.If I can build it, you can too.”