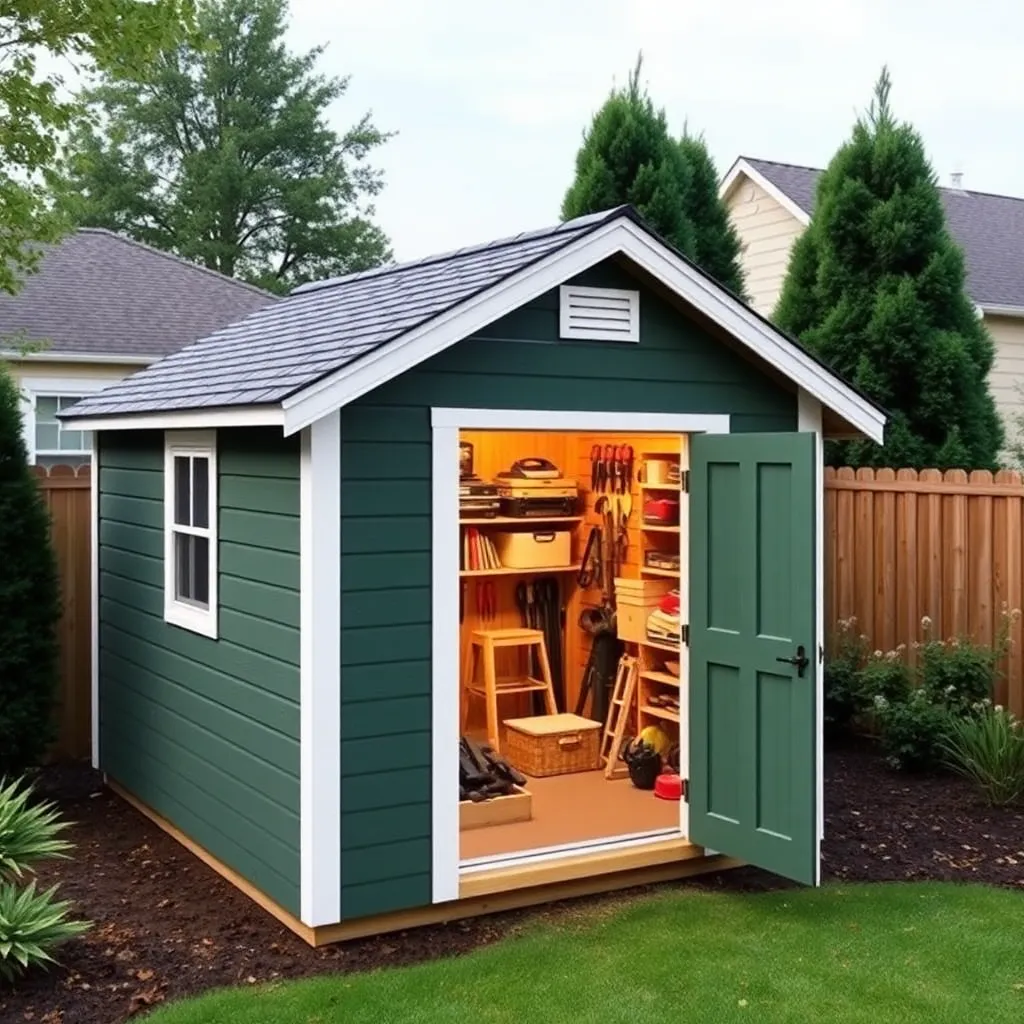
An 8×10-foot shed hits the sweet spot of backyard storage. It’s large enough to swallow a riding mower or zero-turn, two full-size bikes, a wheelbarrow, and a wall of hanging tools — but small enough to fit beside a standard two-car garage or in the corner of an average yard. In most jurisdictions, 80 square feet also stays under the permit threshold that triggers inspections and setback reviews.
This plan uses a pressure-treated skid foundation, 2×4 stud walls on 16-inch centers, 4/12-pitch gable roof, OSB sheathing, and T1-11 plywood siding. No concrete. No specialized tools beyond a circular saw, drill, and framing square. Most builders with basic carpentry skills finish the structure in two full weekends.
Want 16,000+ step-by-step woodworking plans?
Ted’s Woodworking has plans for every skill level — from simple shelves to full bedroom sets. Each plan includes a cut list, material list, and detailed diagrams. Browse Ted’s plans →
Step 1: Site Prep and Foundation
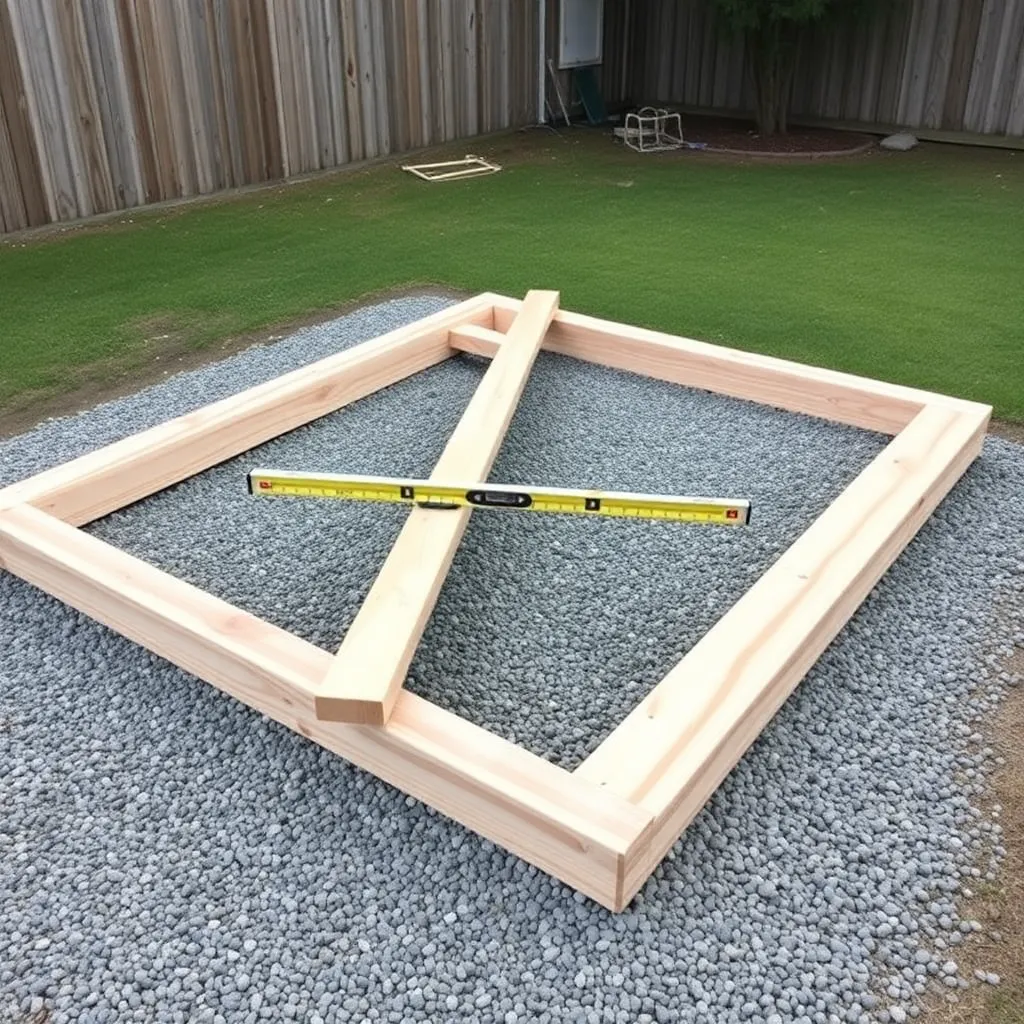
Choose a spot with good drainage — water pooling under a shed accelerates rot on even pressure-treated wood. Slightly sloped ground is better than flat, but avoid steep slopes that require extensive grading. Clear vegetation, remove 4 inches of topsoil, and fill with compacted gravel over landscape fabric.
Set three 4×4 pressure-treated skids on the compacted gravel: two along the 10-foot sides and one down the middle. Use a long 2×4 and a level to confirm all three skids are coplanar — this is the most important step, because a twisted foundation produces a twisted floor frame and twisted walls. Adjust by adding or removing gravel under each skid until all three are level to each other.
Cut List (8×10 Shed):
| Part | Size | Qty |
|---|---|---|
| Skids | 4×4 PT, 10 ft | 3 |
| Floor joists | 2×6 PT, 8 ft | 7 |
| Wall studs | 2×4, 8 ft | 36 |
| Ridge board | 2×6, 12 ft | 1 |
| Rafters | 2×6, 6 ft | 16 |
| Roof sheathing | 1/2″ OSB, 4×8 | 6 |
| Wall sheathing | T1-11, 4×8 | 10 |
| Floor sheathing | 3/4″ PT plywood, 4×8 | 3 |
Step 2: Build the Floor Frame
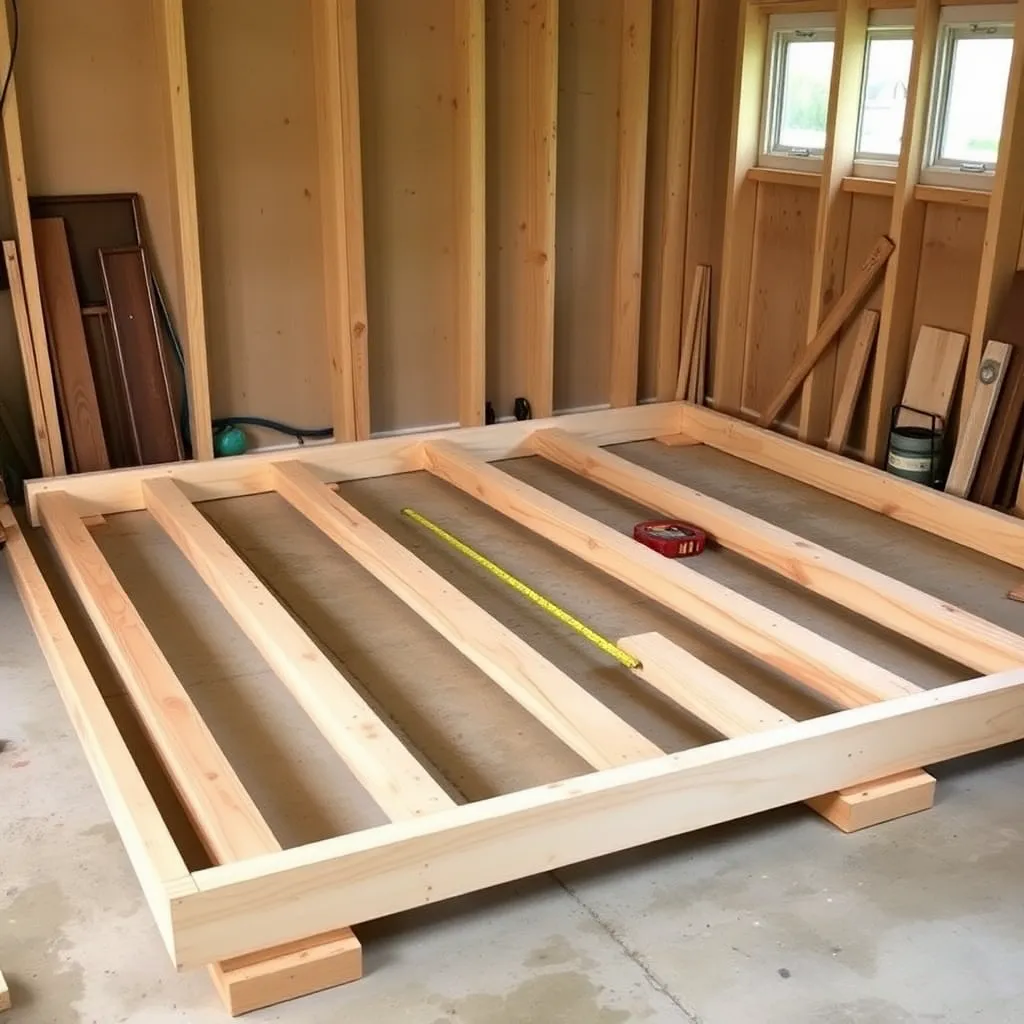
Frame the floor with 2×6 pressure-treated joists spanning the 8-foot width, spaced 16 inches on center. A 10-foot shed takes 7 joists including the two rim joists. Nail the rim joists to the ends of the interior joists with three 3-inch nails at each joint. Check for square by measuring both diagonals — they should match within 1/8 inch. If they don’t, push one corner until they do before nailing anything to the skids.
Sheathe the floor with 3/4-inch pressure-treated plywood. The 8×10 floor takes two full sheets plus a 2×8-foot strip — stagger the joints so no two adjacent panels share a seam. Drive construction screws every 8 inches along each joist. A solid floor is your assembly platform for the wall frames, so invest the time to get it flat and square.
Step 3: Frame and Raise the Walls
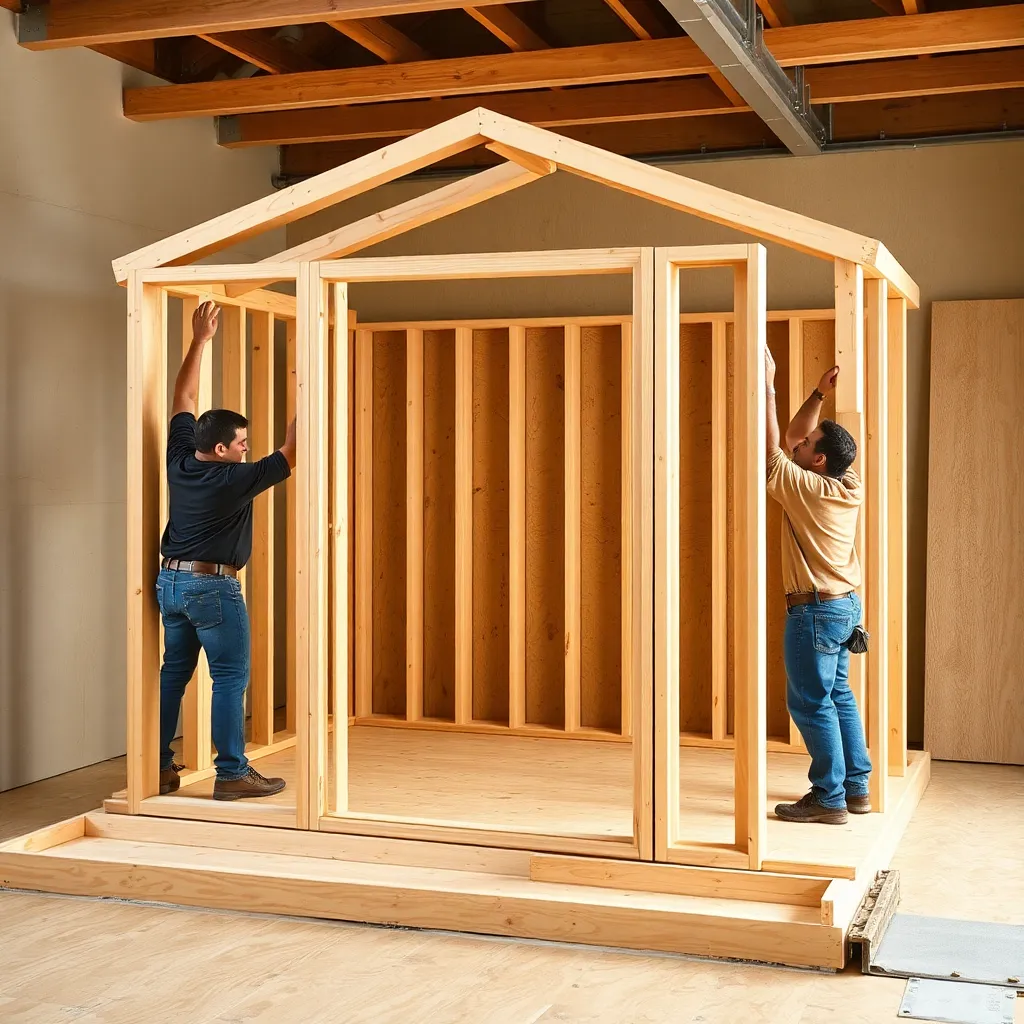
Build all four walls flat on the floor and tip them up one at a time. Start with the two long (10-foot) side walls: a 2×4 bottom plate, double 2×4 top plate, and studs on 16-inch centers. Wall height is typically 7 feet 3 inches — this gives an 8-foot ceiling after accounting for the 3-inch double top plate and the 1.5-inch bottom plate.
Frame the front wall with a 4-foot-wide door opening: double 2×4 king studs on each side, single jack studs bearing the header, a doubled 2×8 header (3 inches of clearance above the door rough opening), and a cripple stud above. The rear wall is solid. Tip each wall up, brace it plumb with a diagonal 2×4 kicker nailed to the floor frame, then connect the top plates at the corners with a double-layer overlap — this ties the walls together.
Step 4: Build and Install the Gable Roof
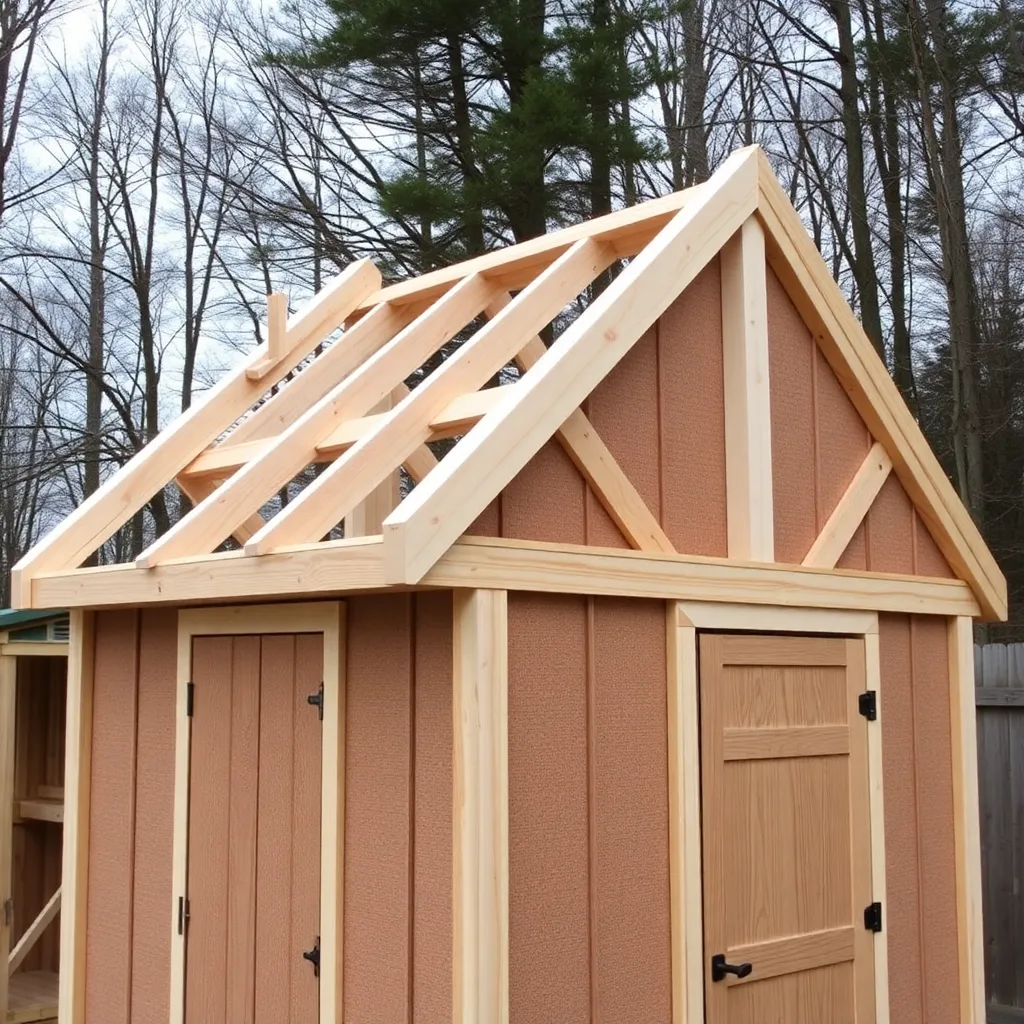
A 4/12-pitch roof on an 8-foot-wide shed rises 16 inches from the wall plate to the ridge. Cut your common rafter length by calculating the hypotenuse: run is 4 feet (half the 8-foot span), rise is 16 inches. Add 12 inches of overhang to each tail. The bird’s mouth notch sits on the top plate — depth of 1.5 inches, width matching the plate thickness.
Install the ridge board at the peak between the two gable end walls. Cut the gable end wall studs to follow the roof slope — they start at zero height at the eaves and increase every 16 inches by the rise-per-foot of the slope (4 inches per foot for 4/12). Set common rafters in pairs on opposite sides of the ridge, 24 inches on center, and hurricane-tie each one to the wall plate. Sheathe the roof with 1/2-inch OSB starting at the eaves, staggering joints.
Step 5: Apply Roofing and Siding
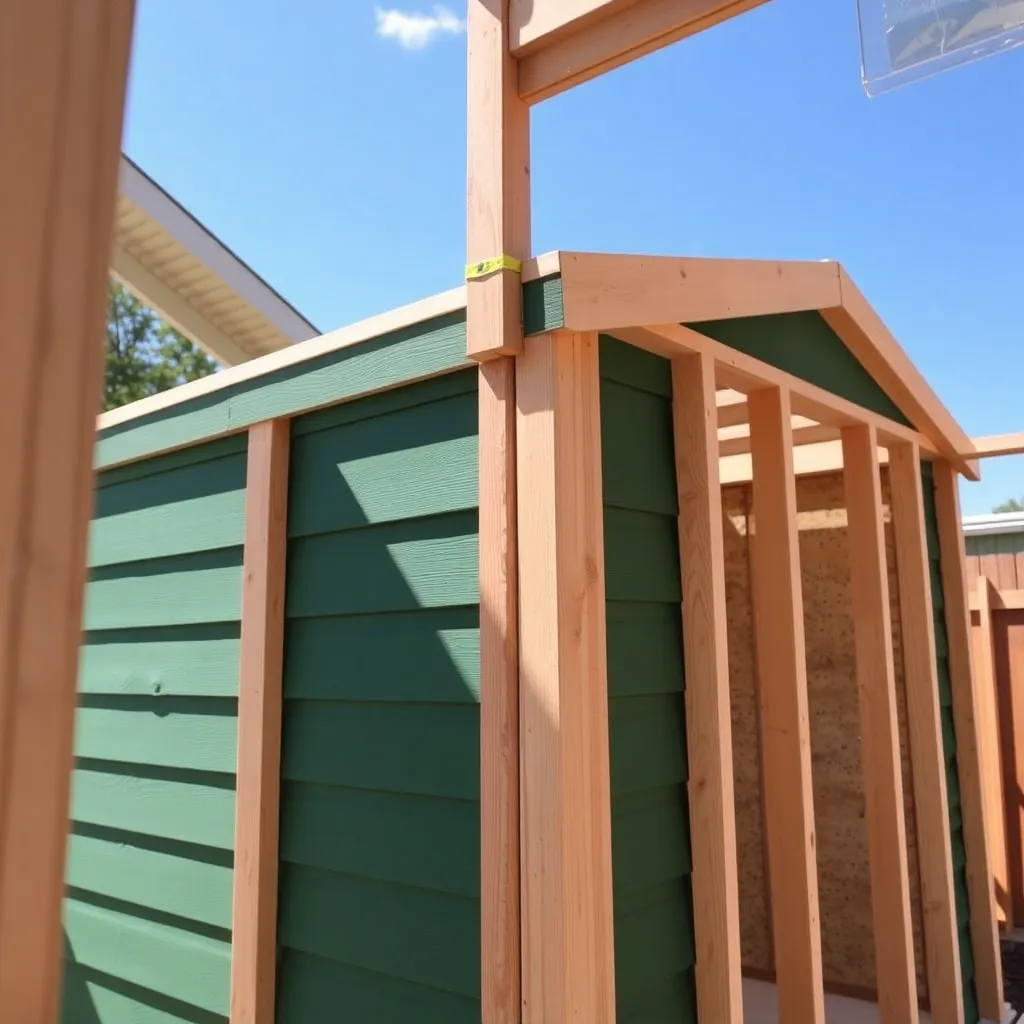
Roll roofing felt (15-lb) over the OSB from the eave to the ridge, overlapping each course by 6 inches. Install drip edge along the eaves first, then the rakes, then the ridge cap. Lay asphalt shingles starting at the eave, nailing with four roofing nails per shingle, staggering the joints by half a shingle width each course. Finish the ridge with pre-bent ridge cap shingles.
For siding, T1-11 panel siding (5/8-inch) installs vertically and covers sheathing and structure in one layer — no separate sheathing needed under it. Run the panels from the bottom plate to the top of the wall, cutting around the door opening. Apply 1×4 cedar trim at all corners, around the door opening, and along the fascia and rake boards. Prime and paint all trim before installation.
Step 6: Hang the Door and Finish
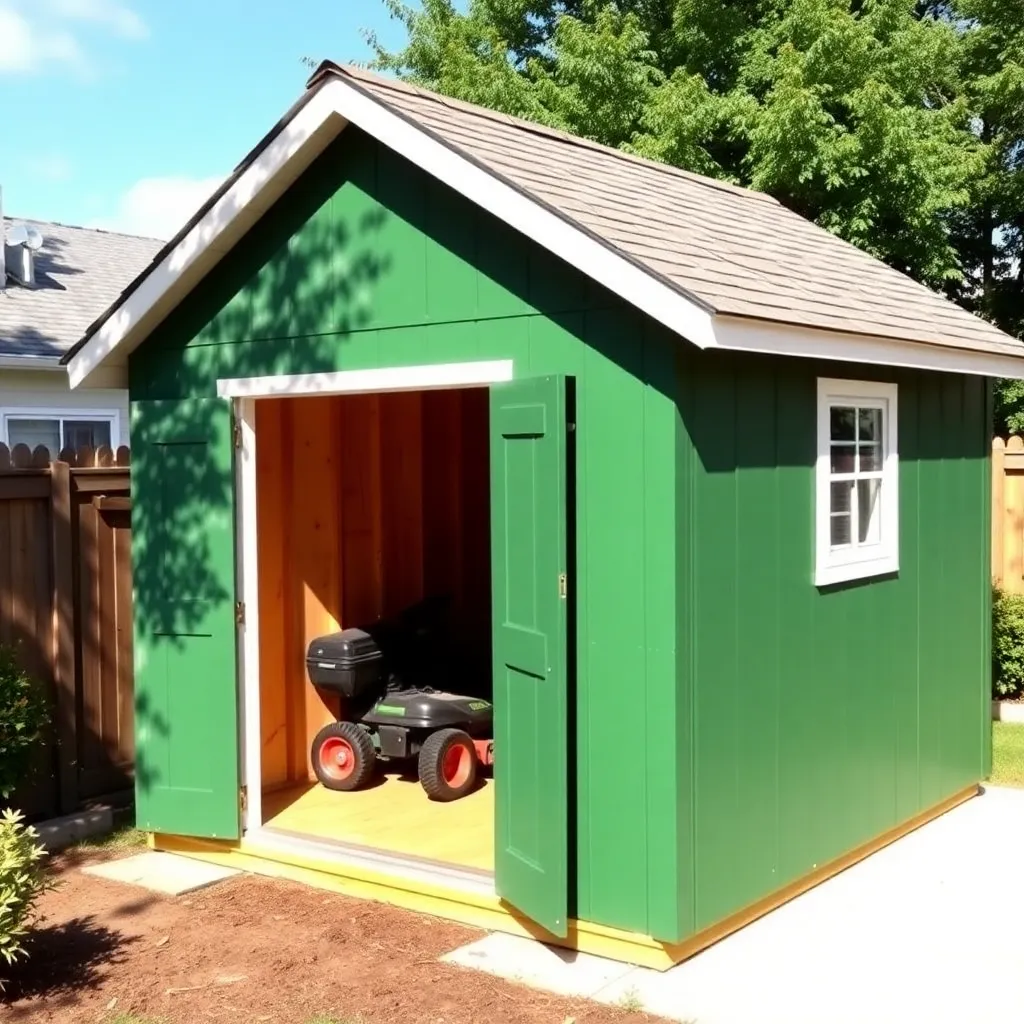
A pre-hung 36-inch outswing exterior door is the easiest installation — slip the frame into the rough opening, shim level and plumb, and nail through the casing. Install weatherstripping around the perimeter. For a simpler (and cheaper) option, build a Z-brace door from 1×6 cedar boards: three horizontal rails, vertical boards spanning the opening, and a diagonal brace running from the bottom hinge corner to the top latch corner.
Caulk every joint where trim meets siding and where the floor meets the bottom wall plates. Apply two coats of exterior paint or solid-color stain. Install a hasp and padlock on the door, add a couple of 1/4-inch J-hooks on the walls for hanging tools, and the shed is ready to load.
Want 16,000+ step-by-step woodworking plans?
Ted’s Woodworking has plans for every skill level — from simple shelves to full bedroom sets. Each plan includes a cut list, material list, and detailed diagrams. Browse Ted’s plans →
Small Shed Plans FAQ
What is the most common small shed size?
8×10 feet is the most popular size for a backyard utility shed — it holds a riding mower, a couple of bikes, and basic garden tools while staying small enough to fit most yards and avoid permit requirements in many jurisdictions. 6×8 feet is the next step down for tight spaces.
Can I build a small shed without a foundation?
Yes — concrete deck blocks on compacted gravel are sufficient for sheds up to 10×12 feet. Pressure-treated skids directly on compacted gravel also work. The key is a level, well-drained base that doesn’t allow water to pool under the floor frame.
How much lumber do I need for an 8×10 shed?
An 8×10 shed requires roughly: 50 linear feet of 4×4 PT skids/posts, 150 linear feet of 2×6 framing, 300 linear feet of 2×4 studs, 10 sheets of T1-11 siding, 6 sheets of OSB roofing, and 3 sheets of 3/4-inch PT plywood for the floor. A full materials list is in the cut list table above.
How long does it take to build an 8×10 shed?
With two people and a full day each weekend, most builders frame, roof, and side an 8×10 shed in two weekends — about 16–20 hours total. Day one: foundation and floor. Day two: walls. Day three: roof framing and sheathing. Day four: roofing, siding, and door.
What is the best siding for a backyard shed?
T1-11 plywood siding is the best value — it’s structural, installs in one step (no separate sheathing), and lasts 20+ years with proper paint maintenance. LP SmartSide is a step up in durability and paintability. Cedar board-and-batten is the most attractive but costs significantly more.

“DIY woodworking enthusiast who started with zero experience and a YouTube tutorial.
I build simple, practical projects for my home and share free plans
so other beginners can skip the guesswork.If I can build it, you can too.”