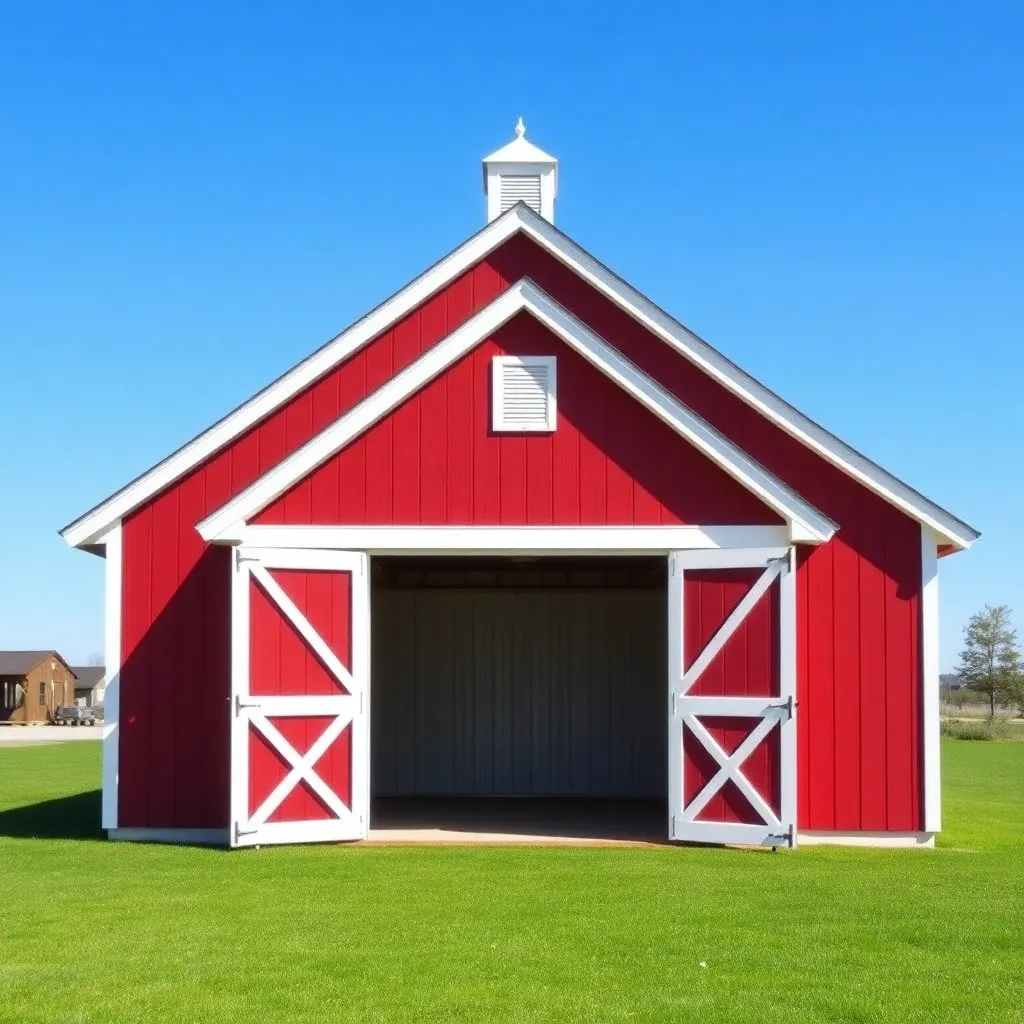
A gambrel roof — the classic two-pitch barn silhouette — is the most storage-efficient roof profile you can put on a backyard shed. The lower slope (typically 60°) rises steeply from the eaves before transitioning to a shallower upper slope (approximately 22°) that carries to the ridge. That geometry creates headroom in the loft that a standard gable roof simply cannot match: a 12-foot-wide gambrel shed delivers a loft you can stand in, not just crawl into.
This plan covers a 12×16-foot gambrel shed on a concrete deck block foundation. The main floor gives you 192 square feet of full-height storage. The loft above the kneewall adds another 96+ square feet for lumber, holiday gear, or seasonal items. Total cost in materials: $2,500–$3,800 depending on your market.
Want 16,000+ step-by-step woodworking plans?
Ted’s Woodworking has plans for every skill level — from simple shelves to full bedroom sets. Each plan includes a cut list, material list, and detailed diagrams. Browse Ted’s plans →
Step 1: Lay Out the Foundation
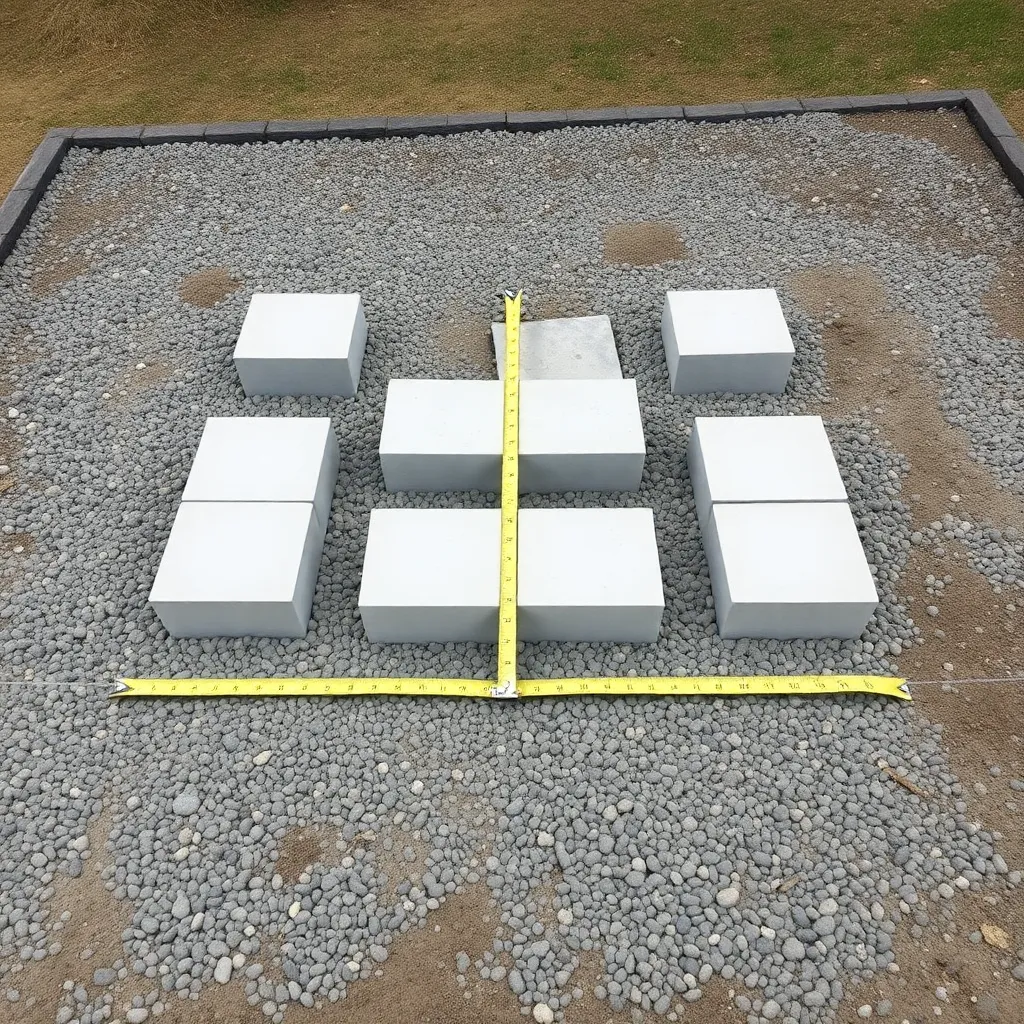
A 12×16-foot gambrel shed is heavy enough to benefit from a more substantial foundation than skids alone. Use 4×4 pressure-treated posts set in concrete tube footings (below frost line) at all four corners and at the midpoints of the long walls — six footings total. Alternatively, use adjustable post bases on concrete deck blocks spaced every 4 feet along the perimeter if you’re in a mild climate.
Snap a chalk line to define the 12×16-foot perimeter and check for square using the 3-4-5 triangle method: mark 3 feet along one side, 4 feet along the adjacent side, and confirm the diagonal is exactly 5 feet. Frame the floor with 2×8 pressure-treated joists on 16-inch centers spanning the 12-foot width. Sheathe with 3/4-inch PT plywood — a 12×16 floor takes six sheets.
Key Dimensions (12×16 Gambrel):
| Element | Measurement |
|---|---|
| Footprint | 12 ft × 16 ft |
| Wall height | 8 ft |
| Lower rafter slope | 60° (approx.) |
| Upper rafter slope | 22° (approx.) |
| Loft floor height | 8 ft from main floor |
| Ridge height | ~14 ft from main floor |
| Loft area | ~96 sq ft |
Step 2: Frame the Walls
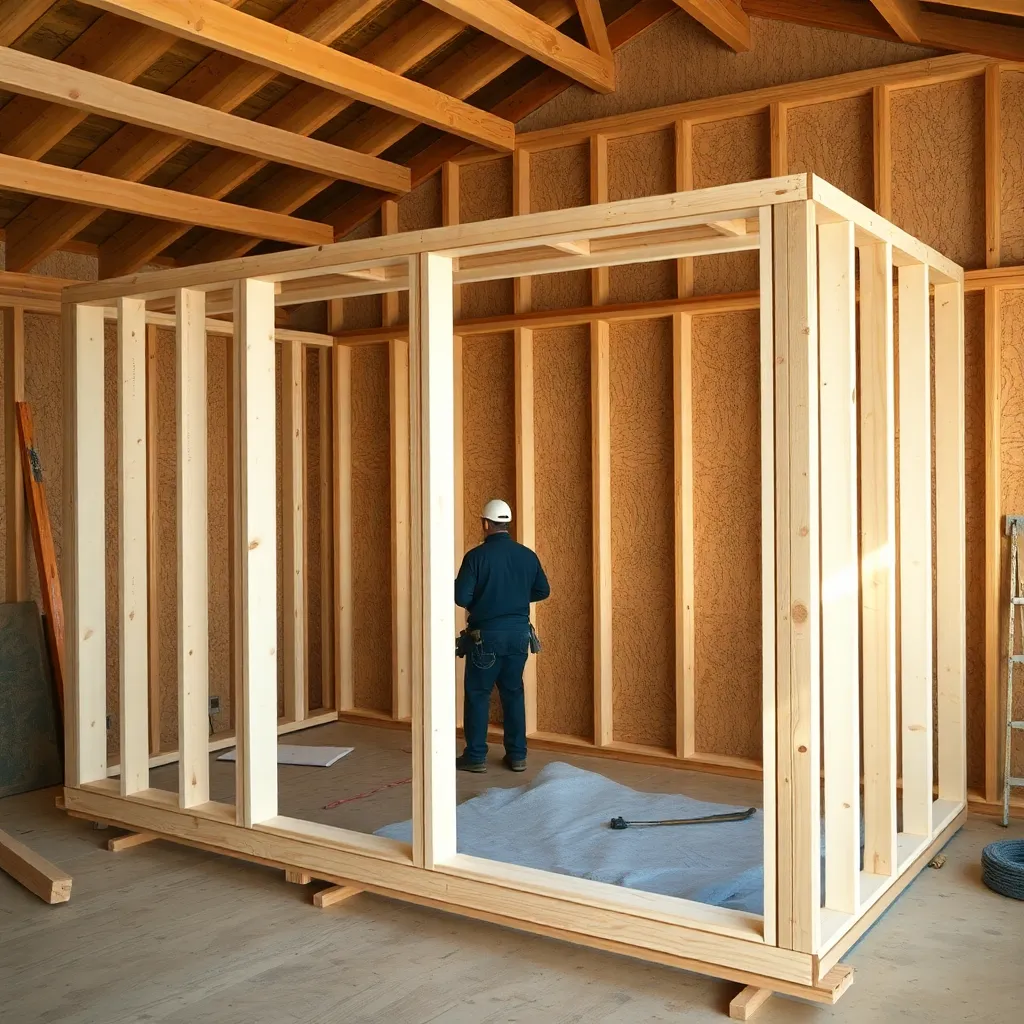
Wall height for a gambrel shed is typically 8 feet — tall enough for comfortable interior movement and for a loft floor above. Frame the four walls from 2×4 studs on 16-inch centers. The 12-foot gable-end walls will receive the gambrel rafter trusses, so frame them with a single top plate (the truss will sit directly on it). The 16-foot long walls get double top plates as usual.
Locate the door on one of the 12-foot gable-end walls. A single 36-inch door is the minimum; many builders prefer 6-foot double doors on a gambrel shed to allow wheelbarrow, mower, and ATV access. Frame the rough opening with double king and jack studs and a 4×6 or doubled 2×12 header for a 6-foot opening.
Step 3: Build the Gambrel Trusses
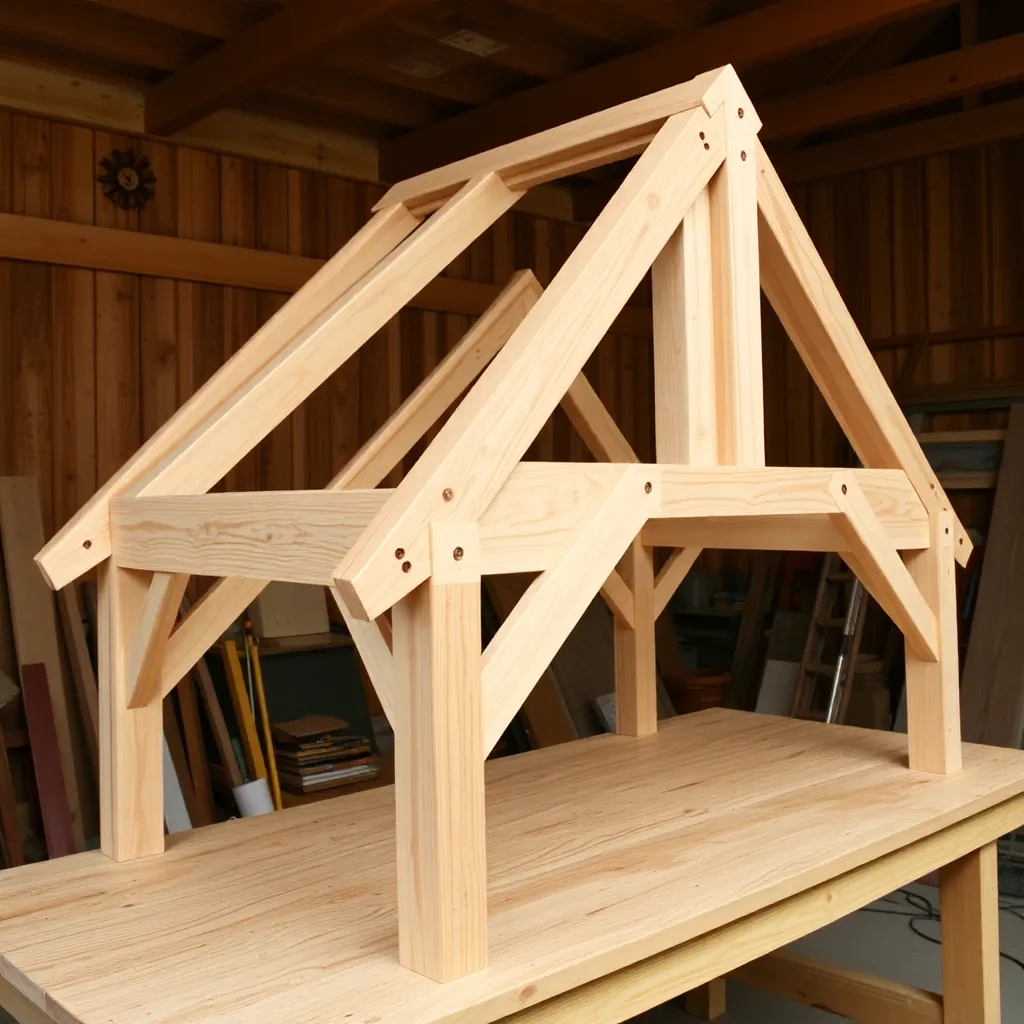
The gambrel roof is built from identical trusses — two upper chords, two lower chords, a horizontal collar tie, and vertical knee posts. Each truss sits on the wall plate and spans the 12-foot width. Lay out the first truss on the shed floor as a template, then clamp it down and use it to cut all subsequent trusses identically.
Lower chord: 2×6, roughly 7 feet long, angled at 60° at the top where it meets the upper chord. Upper chord: 2×6, roughly 6 feet long, angled at 22° at the ridge and 60° at the junction. Collar tie: 2×6 horizontal board that connects the junction of upper and lower chords on both sides — this is the loft floor beam. Gusset plates (1/2-inch plywood) reinforce all joints on both faces. Build 9 trusses for a 16-foot shed at 24-inch spacing plus one for each end.
Step 4: Install Trusses and Sheathe the Roof
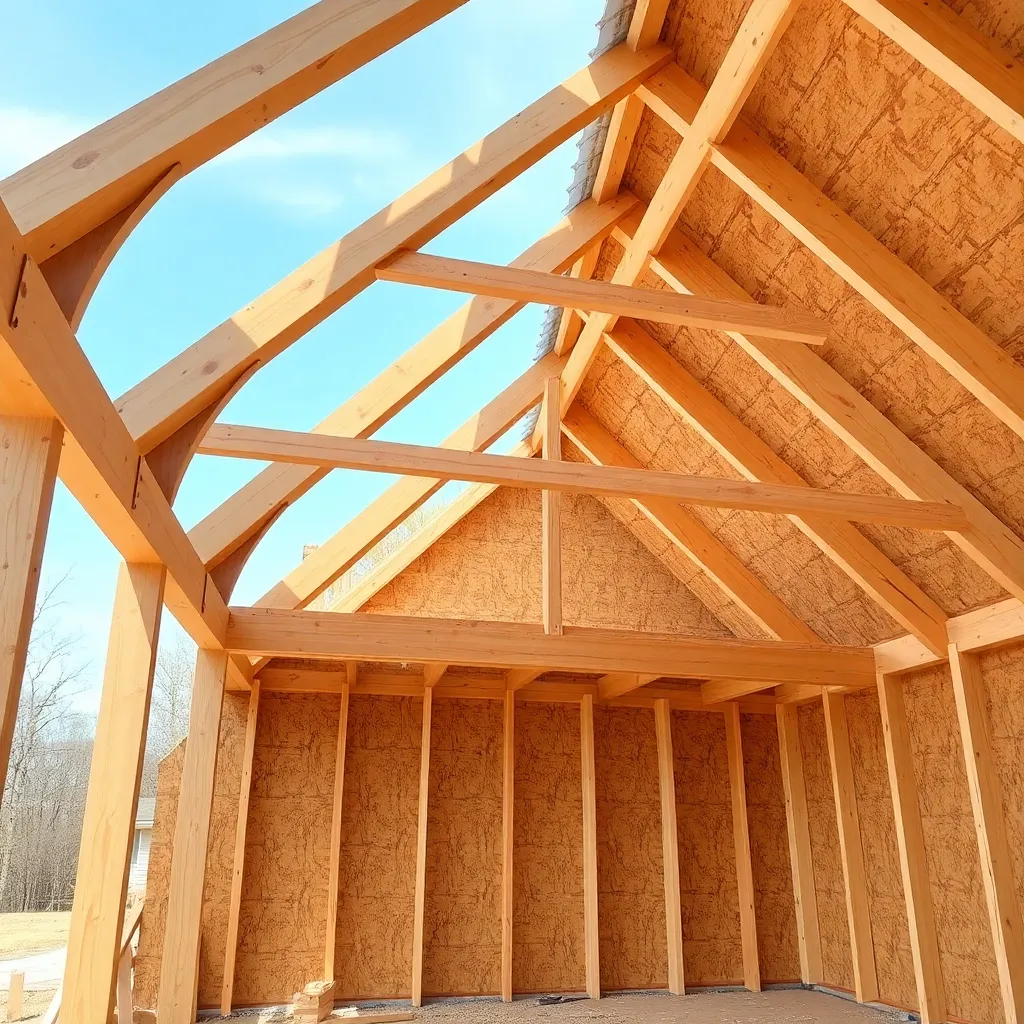
Stand the first truss at the rear gable end, plumb it, and brace it with 2×4 kickers to the floor. Install the second truss at the front gable end, then stretch a string line from ridge to ridge to keep the peak aligned as you add intermediate trusses every 24 inches. Nail each truss to the wall plate with two toenails per side minimum — hurricane ties are strongly recommended in any area with significant wind loads.
Once all trusses are up and braced, sheathe the lower slope with 5/8-inch OSB, starting at the eave and working toward the upper chord. Then sheathe the upper slope. The transition between the two slopes creates an inside corner — use a 2×4 nailing strip at this junction so the OSB has solid backing on both sides. Apply roofing felt and asphalt shingles from the eave up, working one slope at a time.
Step 5: Install the Loft Floor and Stairs
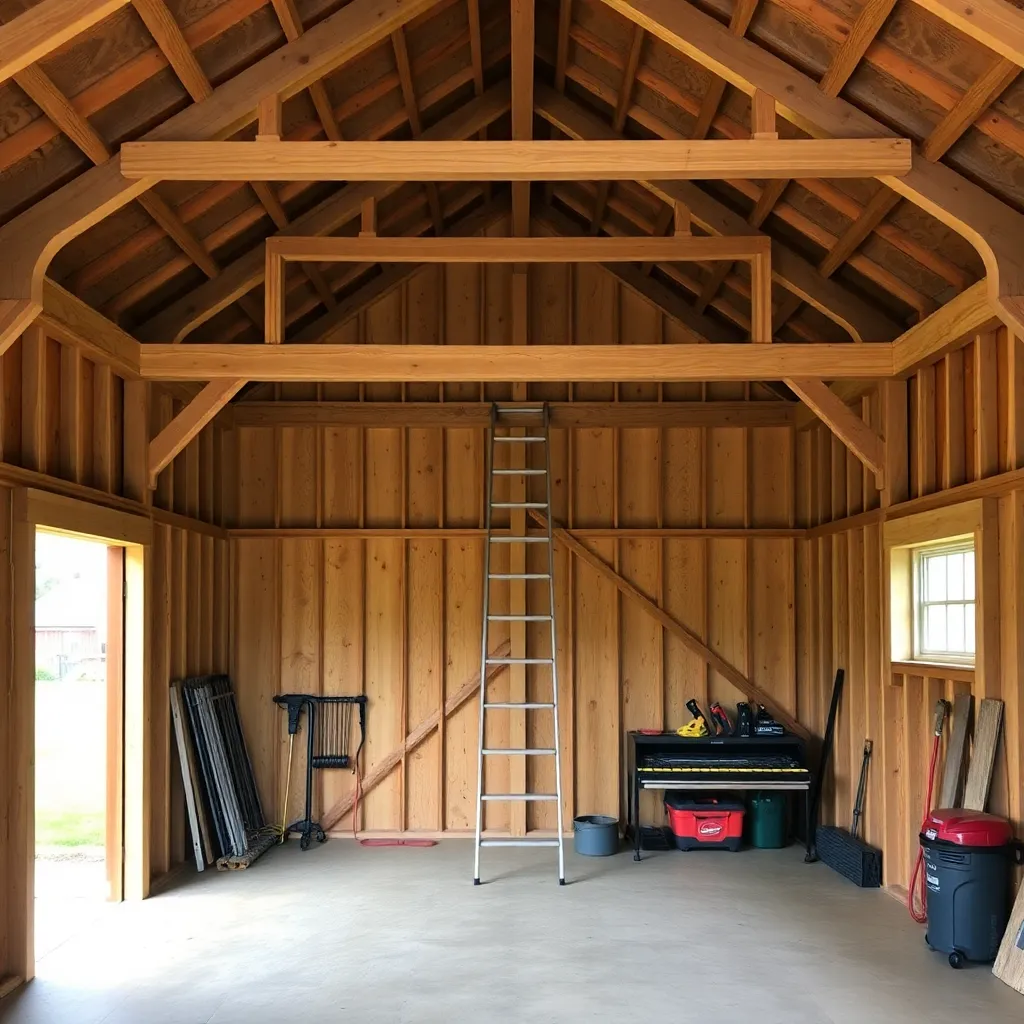
The collar ties on each truss form the loft floor joists. Cover them with 3/4-inch plywood to create the loft deck — this is where you’ll store seasonal items and lumber. Frame a loft access opening (minimum 24×36 inches) near one gable wall and install a simple pull-down stair kit or a fixed ladder. Add a 36-inch guardrail around the perimeter of the loft opening.
If you want to use the loft for working storage rather than just stacking boxes, add kneewalls — short vertical walls at the inside edge of the lower rafters, roughly 3–4 feet high. Kneewalls make the loft more usable by giving the sloped-roof sections a vertical wall to stack against. Frame them from 2×4 studs and sheathe with OSB or T1-11.
Step 6: Siding, Doors, and Trim
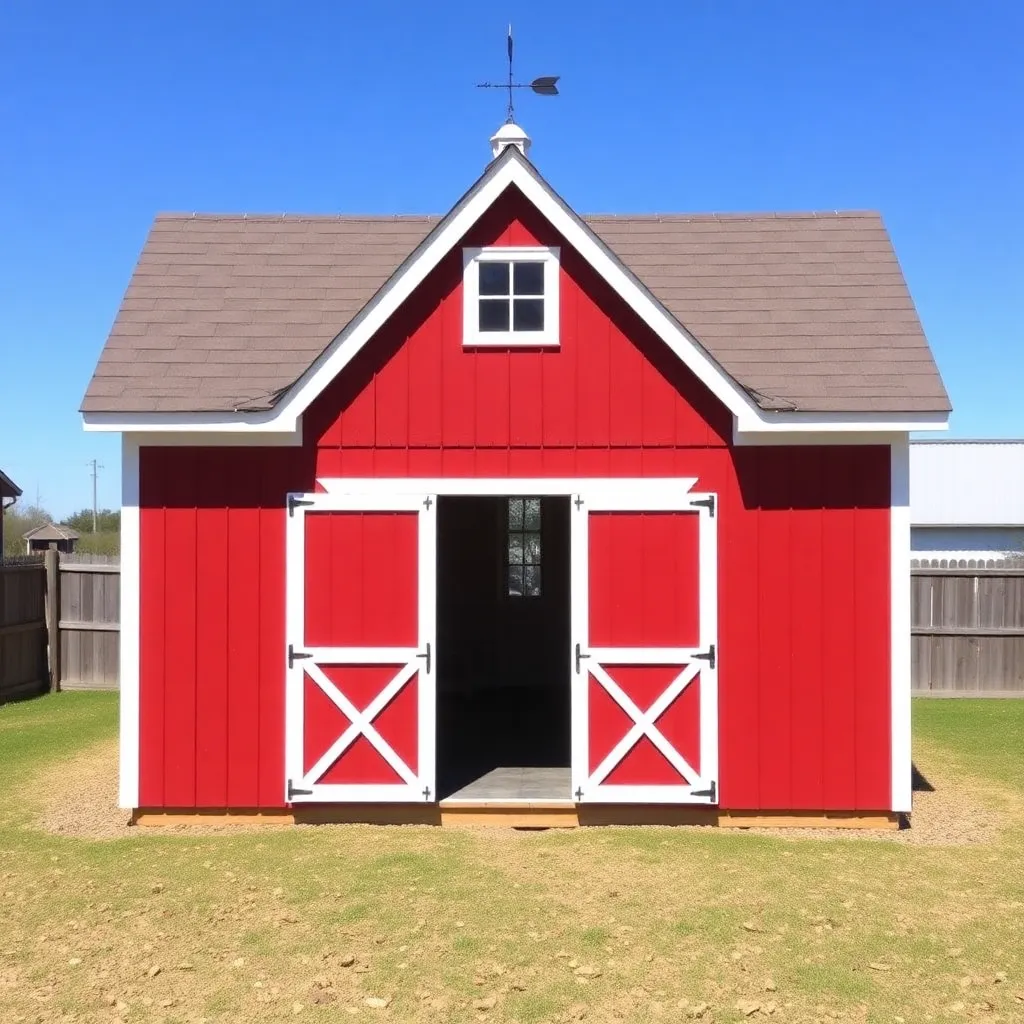
Sheathe the walls with T1-11 siding or OSB-plus-board-and-batten. The barn-style look calls for board and batten: 1×8 cedar boards spaced 1/2 inch apart with 1×2 cedar battens covering the gaps. Paint or stain all siding and trim before installation. Install the door(s), add corner boards at all outside corners, and run fascia boards along the rake and eave.
Add a pair of decorative Z-bar barn-door pulls on the doors, a cupola or weather vane on the ridge for authenticity, and painted trim in a contrasting color for the classic red-and-white barn look. Caulk all joints and apply a final coat of exterior paint.
Want 16,000+ step-by-step woodworking plans?
Ted’s Woodworking has plans for every skill level — from simple shelves to full bedroom sets. Each plan includes a cut list, material list, and detailed diagrams. Browse Ted’s plans →
Gambrel Shed Plans FAQ
How much more storage does a gambrel roof provide versus a gable roof?
A gambrel roof provides 30–50% more usable headroom at the loft level compared to a gable roof of the same wall height. On a 12-foot-wide shed, a gable roof at 4/12 pitch gives about 24 inches of headroom at the loft ridge. A gambrel gives 5+ feet at center — enough to stand fully upright.
Are gambrel roof sheds harder to build than gable sheds?
Yes, but not dramatically. The extra complexity is in building the trusses — you’re cutting two different rafter angles per truss versus one for a gable. Using a template (lay out the first truss and cut all others from it) makes the repetition straightforward. Total additional time compared to a gable shed of the same size: about half a day.
What pitch should a gambrel roof be?
The classic barn gambrel uses a 60° lower slope and a 22° upper slope. These angles maximize headroom while keeping snow load manageable and aesthetic proportions correct. Some builders use 45°/30° for a flatter profile, but this reduces loft headroom significantly.
Do I need a permit for a 12×16 shed?
192 square feet is above the permit-free threshold in many (but not all) jurisdictions, which often exempts structures under 120–200 square feet. Check your local codes. A loft that’s accessible for regular use may also be considered habitable space in some jurisdictions, triggering additional requirements.
How long does it take to build a 12×16 gambrel shed?
Expect 3–4 full weekends for a first-time builder: one weekend for the foundation and floor, one for the walls, one for the trusses and roof, and one for siding, doors, and trim. A second experienced person significantly speeds truss installation and wall raising.

“DIY woodworking enthusiast who started with zero experience and a YouTube tutorial.
I build simple, practical projects for my home and share free plans
so other beginners can skip the guesswork.If I can build it, you can too.”