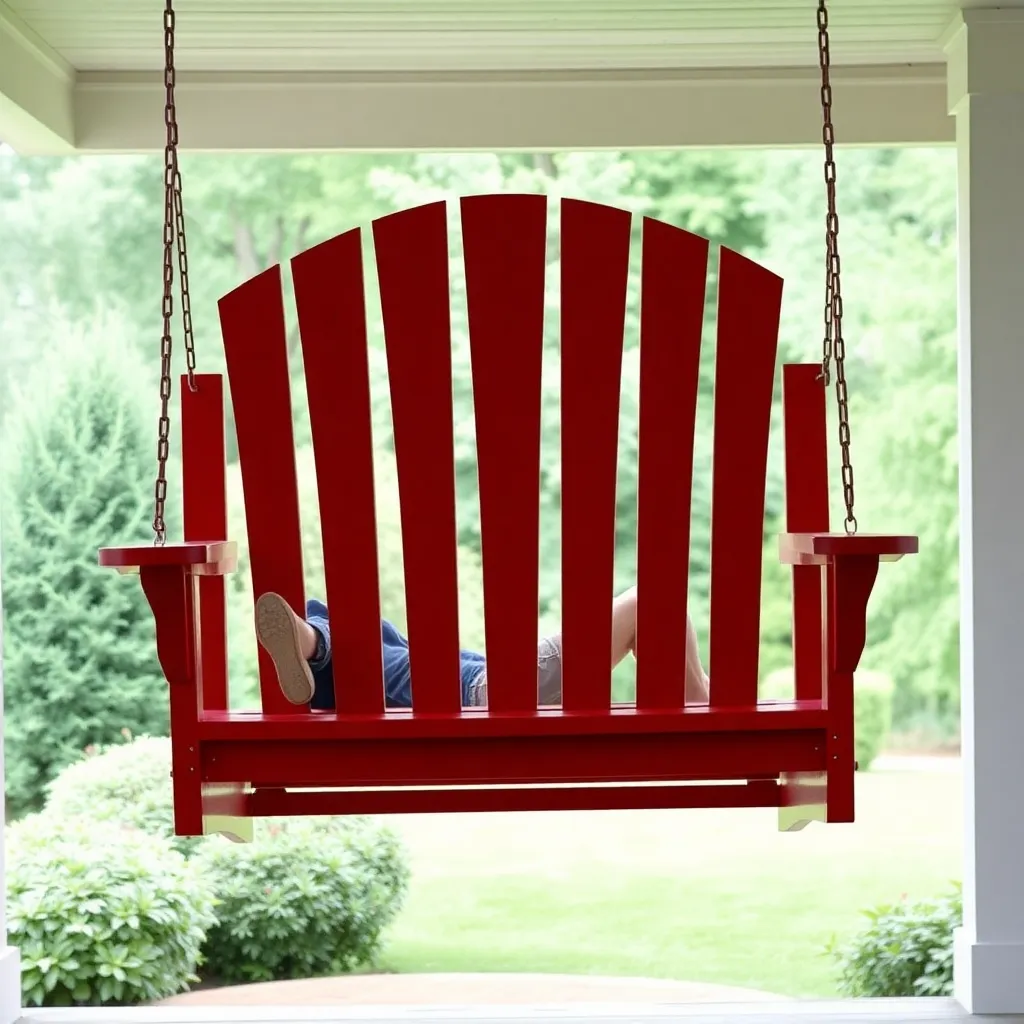
An Adirondack porch swing combines the fan-back design and reclined seating geometry of an Adirondack chair with a hanging swing format. The back slats fan outward from a central bottom point in a distinctive arc; the seat angles backward 5–8 degrees for a deeply comfortable reclined position; the armrests are wide and flat. It’s more complex to build than a classic slat-back swing — the fan-back requires multiple slats cut to different lengths and angles — but it produces a more distinctive, visually striking result.
These Adirondack porch swing plans build a 48-inch fan-back swing in six steps: cut the seat frame, cut the fan-back components, assemble the seat, assemble the back, install the armrests, and hang. Cedar is the recommended material — the grain and warm color suit the Adirondack aesthetic well, and it holds up outdoors without heavy maintenance.
Want 16,000+ step-by-step woodworking plans?
Ted’s Woodworking has plans for every skill level — from simple shelves to full bedroom sets. Each plan includes a cut list, material list, and detailed diagrams. Browse Ted’s plans →
Step 1: Understand the Fan-Back Geometry
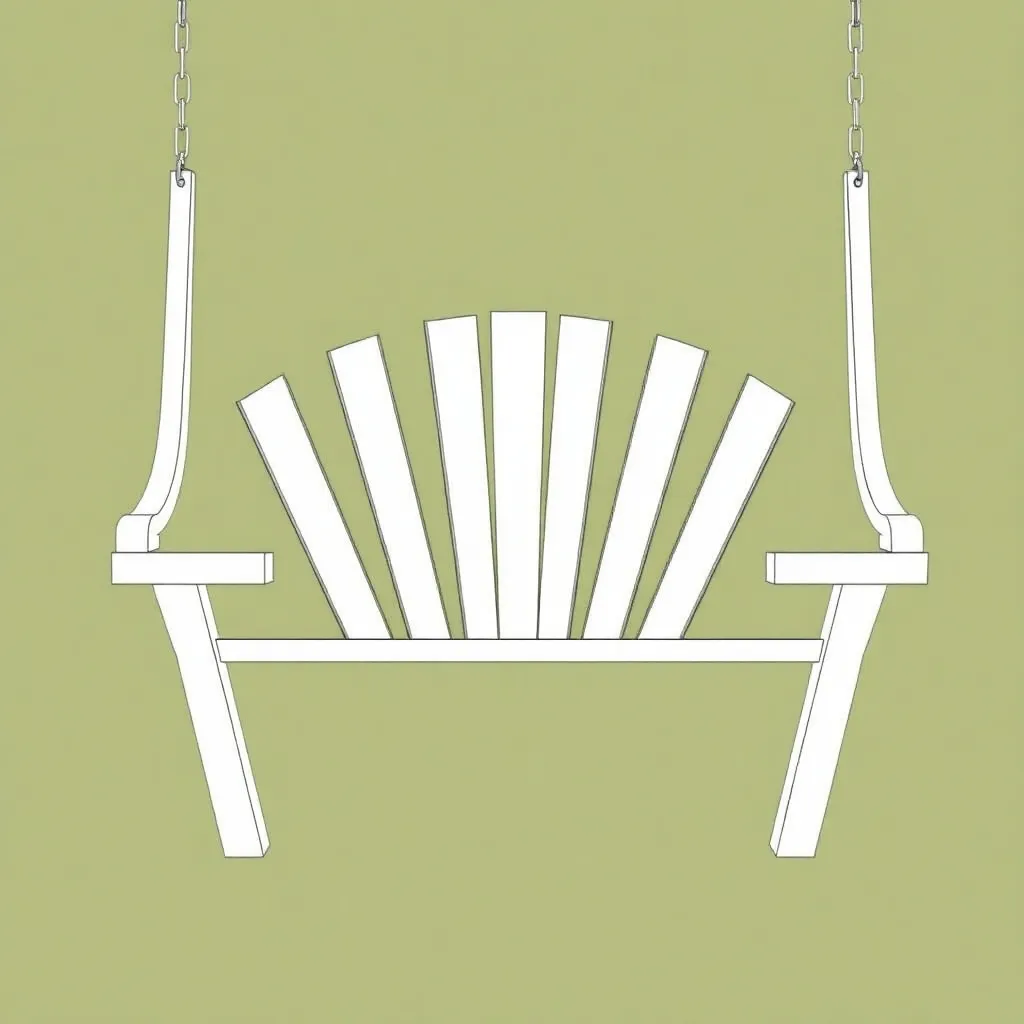
The fan-back is the defining feature. Unlike a standard back with vertical parallel slats of equal height, the fan-back has slats that radiate from a bottom center point like a sunburst, with the center slat tallest and the outer slats progressively shorter.
Fan-back geometry for a 48-inch swing:
- Number of back slats: 9
- Center slat height: 24 inches
- Outer slat height (at each end): 16 inches
- Height reduction per slat step: approximately 1 inch per slat from center outward (center=24″, 2nd=23″, 3rd=21″, 4th=19″, 5th=16″)
- Back spread angle: the slats fan from a single bottom rail point across a 44-inch-wide top rail
Seat geometry:
- Seat boards angle: 5° backward tilt (front of seat higher than back)
- Back angle from vertical: 20–25° recline (more reclined than a classic swing)
- This combination gives the characteristic Adirondack “low and leaned back” feel
Skill note. The fan geometry requires you to mark and cut the bottom end of each slat at a unique angle (so each slat fans correctly from the center point) and the top at a different angle (so all slat tops align along a consistent arc). This is easier than it sounds if you work from templates — cut the center slat first, then progressively shorter and more angled slats outward.
Step 2: Materials and Cut List
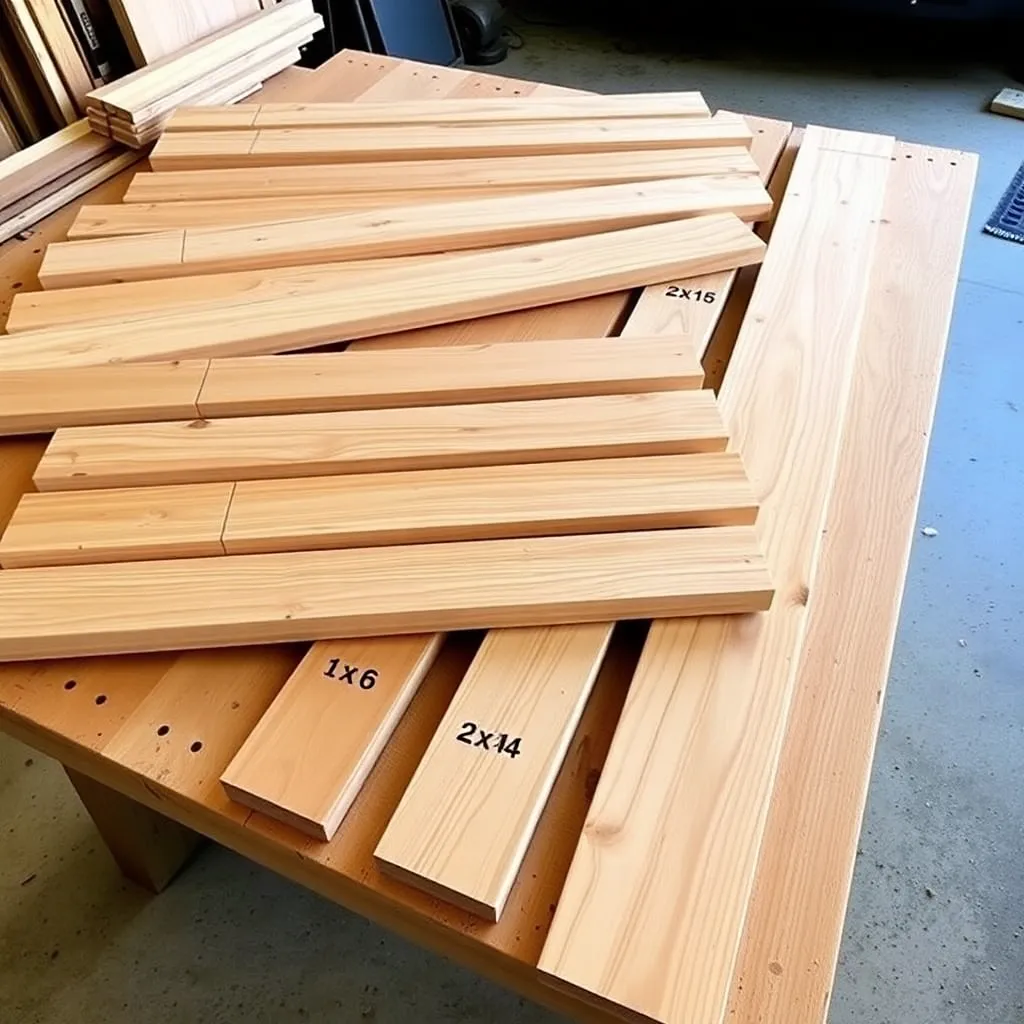
| Part | Qty | Length | Board Size | Notes |
|---|---|---|---|---|
| Seat boards | 4 | 48″ | 1×6 cedar | Angled 5° front-to-back |
| Front seat rail | 1 | 48″ | 2×4 cedar | Front edge of seat |
| Rear seat rail | 1 | 48″ | 2×4 cedar | Rear edge, attaches back |
| Side seat rails | 2 | 22″ | 2×4 cedar | Angled 5° for seat tilt |
| Back bottom rail | 1 | 10″ | 2×4 cedar | Fan pivot point (short center piece) |
| Back top rail | 1 | 44″ | 1×4 cedar | Arc-cut top edge for slat tops |
| Center back slat | 1 | 24″ | 1×4 cedar | Tallest, vertical center |
| Inner back slats | 4 | 23″ / 21″ | 1×4 cedar | Two each side of center |
| Outer back slats | 4 | 19″ / 16″ | 1×4 cedar | Two each side, shortest at ends |
| Back support stiles | 2 | 22″ | 2×4 cedar | Side supports for back assembly |
| Armrests | 2 | 26″ | 1×6 cedar | Wide Adirondack profile |
| Front armrest posts | 2 | 20″ | 2×4 cedar | Taller than classic due to seat tilt |
| Eye bolt hardware | 4 sets | — | 3/8″ forged | 500+ lb working load |
| Exterior screws | 1 box | 1½”, 2″, 2½” | — | Stainless or coated |
Total estimated cost: $80–110 for cedar, $25–40 for hardware.
Step 3: Build the Seat Frame
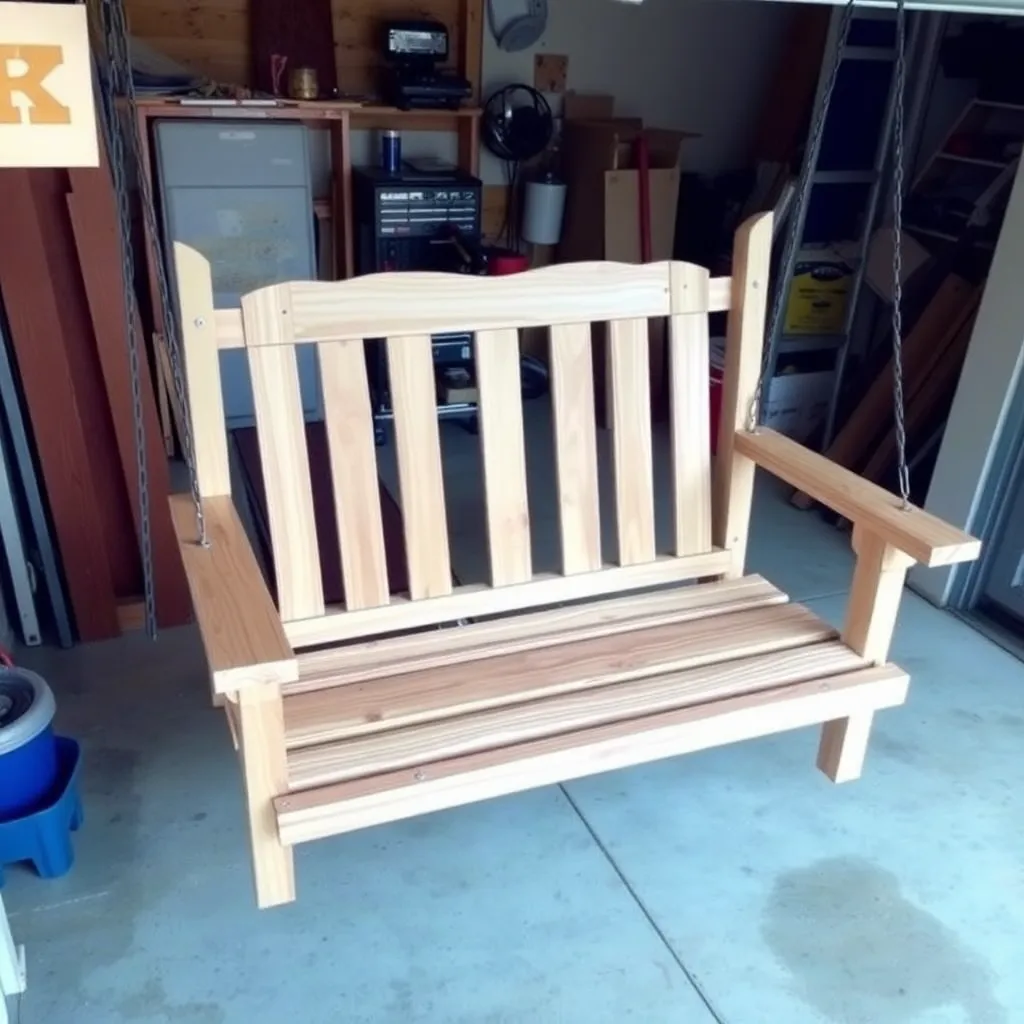
The seat frame in an Adirondack swing is tilted — the front rail sits higher than the back rail, creating the 5° backward tilt that gives the Adirondack its characteristic leaned-back position.
Cut the side seat rails with a taper. The two 2×4 × 22″ side rails run front-to-back. Each needs a taper cut so the front end is taller than the back. At a 5° tilt across 22 inches, the height difference is approximately 2 inches (22″ × tan 5° ≈ 1.9″). The front end of each side rail is full 2×4 width (3½”); the back end is cut to 1½”. This taper makes the seat surface angle backward when the seat boards are laid flat across the rails.
Assemble the seat box. Fasten the front seat rail between the front ends of the two side rails with two 2½” screws per corner. Fasten the rear seat rail between the back ends of the side rails the same way. The assembled seat frame is 48 inches wide × 22 inches deep, with the front rail higher than the rear rail by 2 inches due to the tapered side rails.
Drill eye bolt positions. Mark and drill eye bolt holes on the front and back seat rails: 8 inches from each end on both rails.
Step 4: Assemble the Fan Back
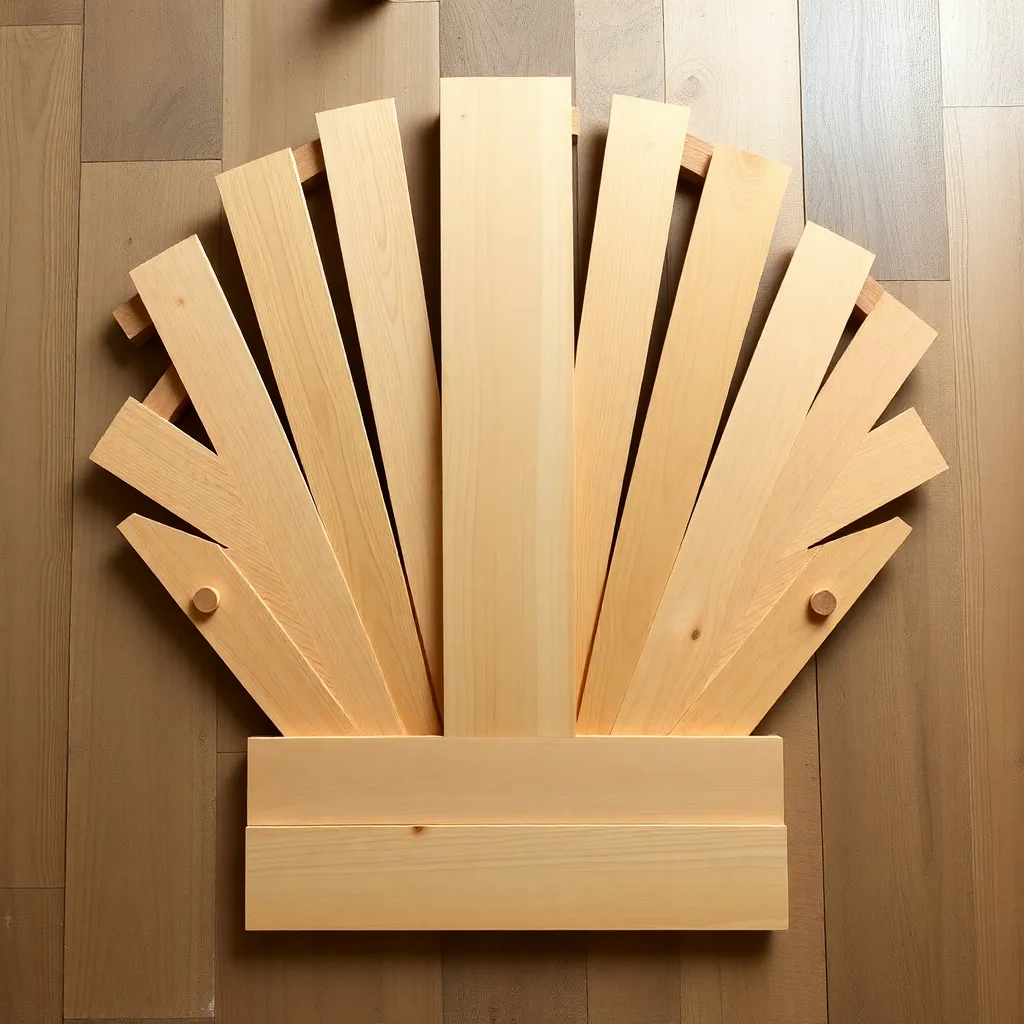
The fan back has a short central bottom rail from which all nine slats fan outward, and a curved top rail that aligns all slat tops.
Cut the back bottom rail. The back bottom rail is a short 2×4 (10 inches) positioned horizontally at the base of the back assembly. All nine slats attach to this rail — the center slat attached to the center of the rail, the flanking slats at progressively greater angles. The rail is narrow (10 inches) because the slat spread happens above it, not at the base.
Cut and angle the back slats. Start with the center slat (24 inches, vertical). Moving outward to each side, each successive slat is shorter and angled further from vertical. To find each angle: divide the total fan spread (44 inches at the top) across 4 slats on each side — each slat steps approximately 5–6° more than the previous. The bottom end of each slat receives an angle cut matching its fan angle (so it sits flat on the bottom rail); the top end receives a corresponding cut so it aligns with the neighboring slats’ tops.
The easiest method: build in place. Temporarily clamp the back bottom rail to the rear seat rail at 20° from vertical. Attach the center slat vertically (two 1½” screws into the bottom rail). Hold each successive slat at the target angle and mark the top and bottom cuts in place, then cut and fasten. This eliminates the need to calculate angles precisely.
Cut the back top rail. After all nine slats are attached at their bottom ends, lay the top rail across their tops, arcing gently to follow the natural fan. Mark where each slat intersects the top rail and fasten with one 1½” screw per slat.
Add back support stiles. Two 2×4 × 22″ stiles run vertically on the outer sides of the back assembly, bridging from the rear seat rail to the back top rail. They provide structural support for the back and attachment points for the armrests. Fasten to the rear seat rail from below and to the back top rail from behind.
Step 5: Install the Wide Adirondack Armrests
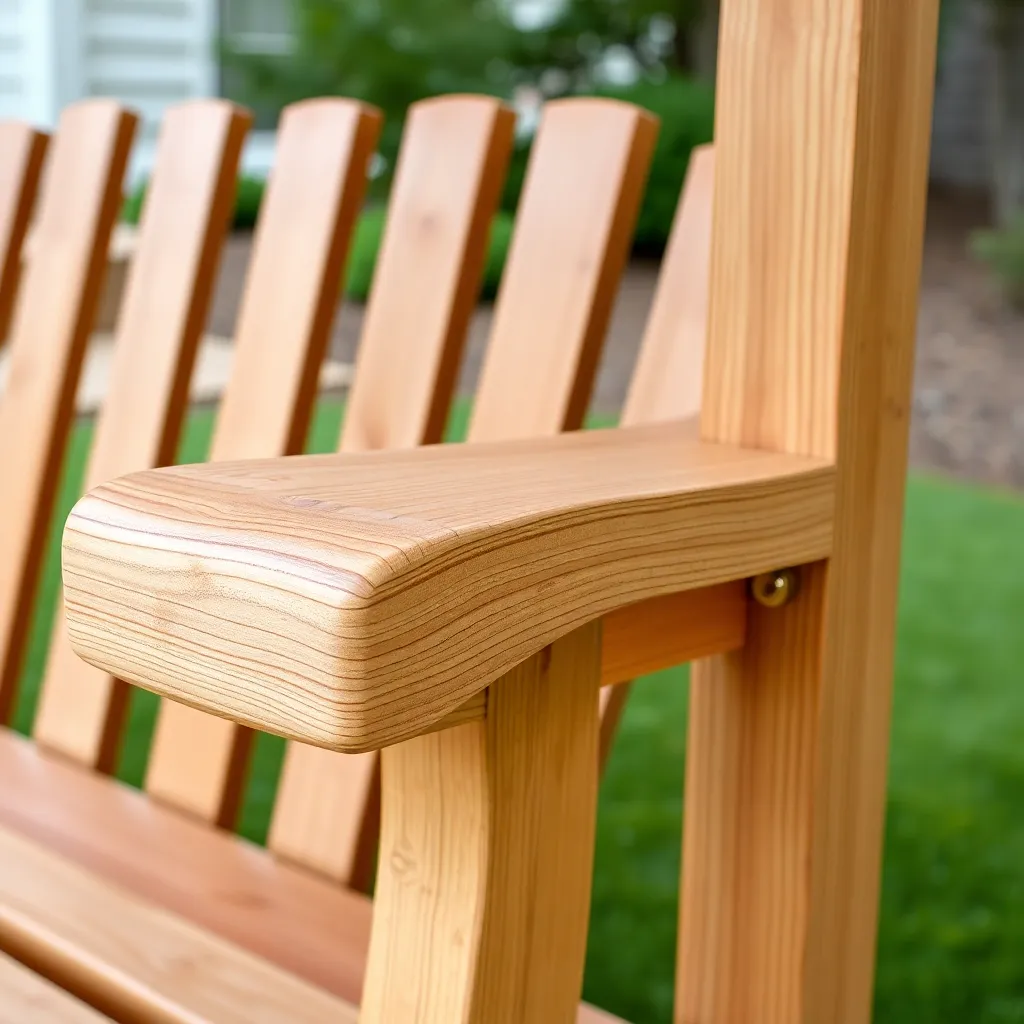
The Adirondack armrest is wider than the classic swing version — 5½ inches (a 1×6 board) versus 3½ inches (a 2×4). The width is a defining visual feature of the Adirondack style and provides a surface for resting a drink.
Cut the armrest profile. The front of the 1×6 armrest board gets a curved or beveled profile cut — a classic Adirondack armrest has a gentle outward curve at the front. Draw the profile freehand, cut with a jigsaw, and sand the curved edge smooth.
Build the front armrest post. Due to the seat tilt and the lower rear of the seat frame, the front armrest post needs to be taller (20 inches) to bring the armrest to a comfortable 8–9 inches above the front seat surface. The post stands at the front corner of the seat frame, on top of the front seat rail.
Attach armrests. Set the armrest board on the post at the front and on the back support stile at the rear. The armrest sits level (not following the seat tilt) — trim the top of the front post if needed to achieve level. Fasten the armrest to the post with two 2½” screws from above; fasten to the back stile with two screws at the rear.
Step 6: Sand, Finish, and Hang
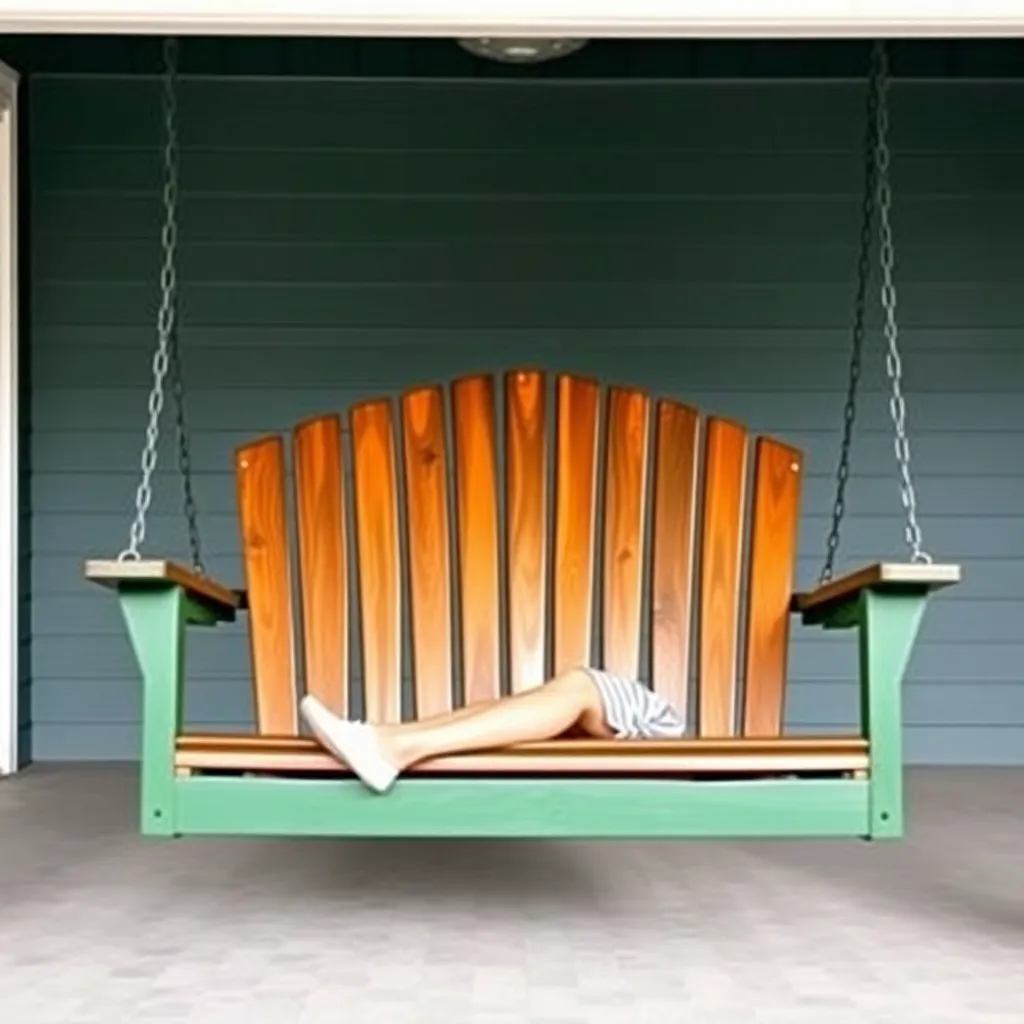
Sand all surfaces. Sand the seat faces with 80-grit (remove mill marks), then 120-grit (smooth finish). Sand the back slats and armrest faces the same. Round all edges with 120-grit — the armrest edges, seat front edge, and the tops of the back slats.
Apply exterior finish. Apply a semi-transparent exterior oil stain to all surfaces. The Adirondack style looks best in traditional colors: weathered grey, barn red, deep forest green, or natural cedar. Two coats on all surfaces, three coats on end grain.
Install eye bolts and hang. Thread 3/8″ eye bolts through the four hanging holes (front rail and back rail, 8 inches from each end). Hang from a structural porch beam using 5/16″ chain or 3/4″ braided nylon rope. Hang the front pair of chains 1–2 inches shorter than the rear pair — this partially compensates for the seat tilt and brings the front edge to a comfortable height.
For more outdoor swing designs, visit our porch swing plans hub.
Want 16,000+ step-by-step woodworking plans?
Ted’s Woodworking has plans for every skill level — from simple shelves to full bedroom sets. Each plan includes a cut list, material list, and detailed diagrams. Browse Ted’s plans →
Adirondack Porch Swing Plans FAQ
Is an Adirondack porch swing comfortable?
More so than a standard upright swing for extended sitting. The 5–8° seat tilt and 20–25° back recline position the body in a natural lounging posture — lower back supported, hips lower than knees, head slightly reclined. It’s not a good design for people who have difficulty getting up from low, reclined positions. For active porch use (getting up and down frequently), a classic upright swing is more practical. For evening relaxation and reading, the Adirondack recline is far more comfortable.
How do you cut the fan-back slats without a protractor?
Build in place. Clamp the back bottom rail at the correct angle against the seat, attach the center slat vertically, and hold each successive slat at your target angle while marking the cut lines directly from the assembled position. Cut to the marks and fasten. This empirical method requires no angle calculations and produces accurate results because you’re fitting each slat to the actual assembled structure rather than to theoretical dimensions.
What wood species works best for an Adirondack swing?
Cedar is the standard for Adirondack furniture — lightweight, rot-resistant, and the straight grain accepts stain cleanly. White oak is the premium alternative: harder, denser, and more resistant to denting from heavy use, but it’s heavier (adds 10–15 lbs) and costs more. Pine works if sealed and painted, but unpainted pine weathers poorly outdoors. Teak is the highest durability option but prices have risen significantly — for a painted swing, there’s no visual benefit over cedar.
How wide should the armrests be on an Adirondack porch swing?
Traditional Adirondack armrests are 5½ inches wide (a 1×6 board). This width is enough to set a drink glass, a book, or a plate with comfortable clearance from the armrest edge. Wider armrests (1×8 or 1×10) are more stable for drinks but start to feel visually heavy. Narrower armrests (a 2×4 at 3½ inches) work but lose the distinctive Adirondack look. Stick to 1×6 for the best balance of function and aesthetic.
Can I build an Adirondack porch swing from a kit?
Partial kits are available that include pre-cut fan-back slats with the angles already made — this is the most time-consuming part of the build. Full swing kits are less common than chair kits. If you buy a kit, verify that it includes the seat frame and hanging hardware specification, since many kits sell only the back slat assembly. Building from scratch using these plans gives you full control over dimensions and hang height.

“DIY woodworking enthusiast who started with zero experience and a YouTube tutorial.
I build simple, practical projects for my home and share free plans
so other beginners can skip the guesswork.If I can build it, you can too.”