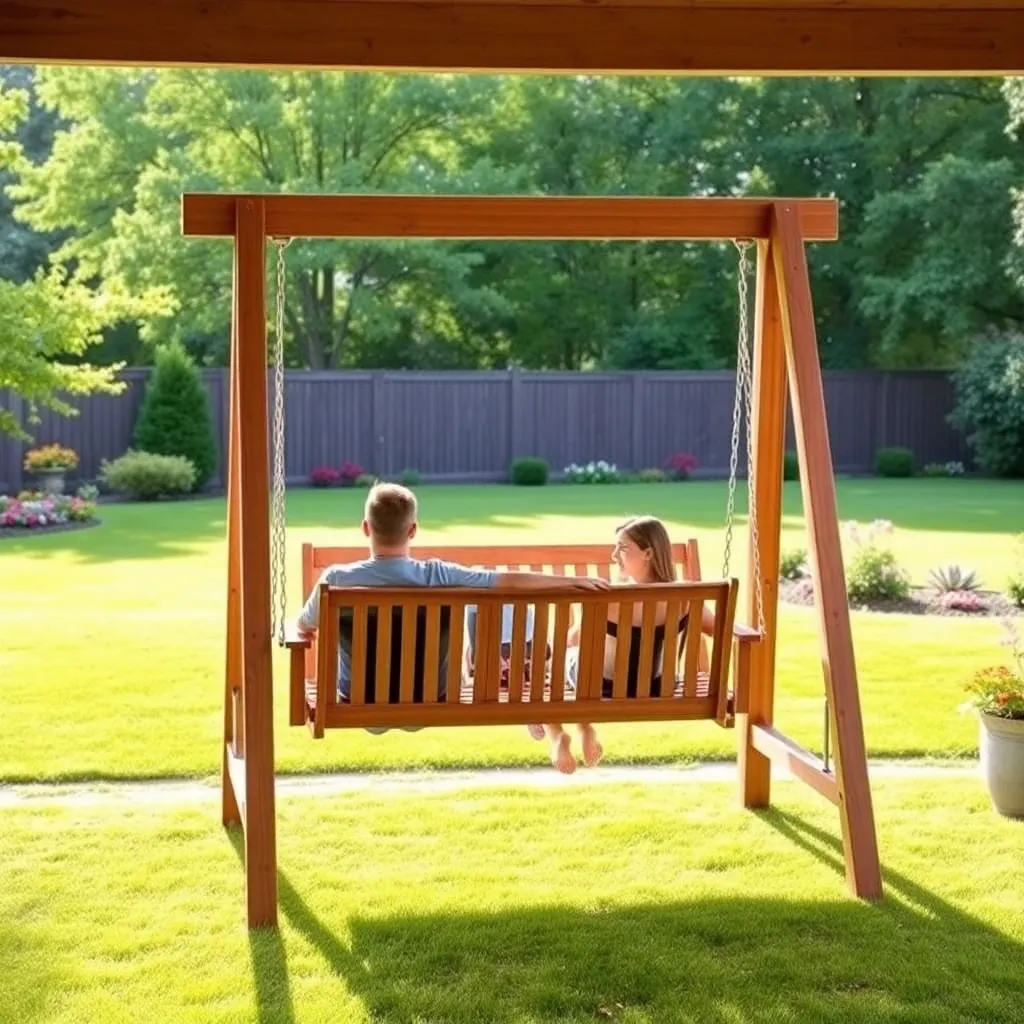
A porch swing with stand is a freestanding assembly that holds a swing without requiring a ceiling beam or covered porch. The stand consists of two A-frame leg assemblies at each end, a horizontal top beam running between them, and diagonal braces that prevent racking. The swing hangs from the top beam exactly as it would from a porch ceiling. The result is a self-contained outdoor swing that can be placed anywhere — a backyard, an open deck, a patio, or a porch without overhead structure.
These porch swing with stand plans build a freestanding A-frame stand for a 48-inch classic swing, using 4×4 posts for the A-frame legs and a 4×6 beam for the top. The overall footprint is 86 inches wide × 48 inches deep, suitable for a standard backyard lawn or patio. The swing itself is a 48-inch classic slat-back seat — plans for the swing are covered in the classic porch swing plans.
Want 16,000+ step-by-step woodworking plans?
Ted’s Woodworking has plans for every skill level — from simple shelves to full bedroom sets. Each plan includes a cut list, material list, and detailed diagrams. Browse Ted’s plans →
Step 1: Plan the Stand Geometry and Load
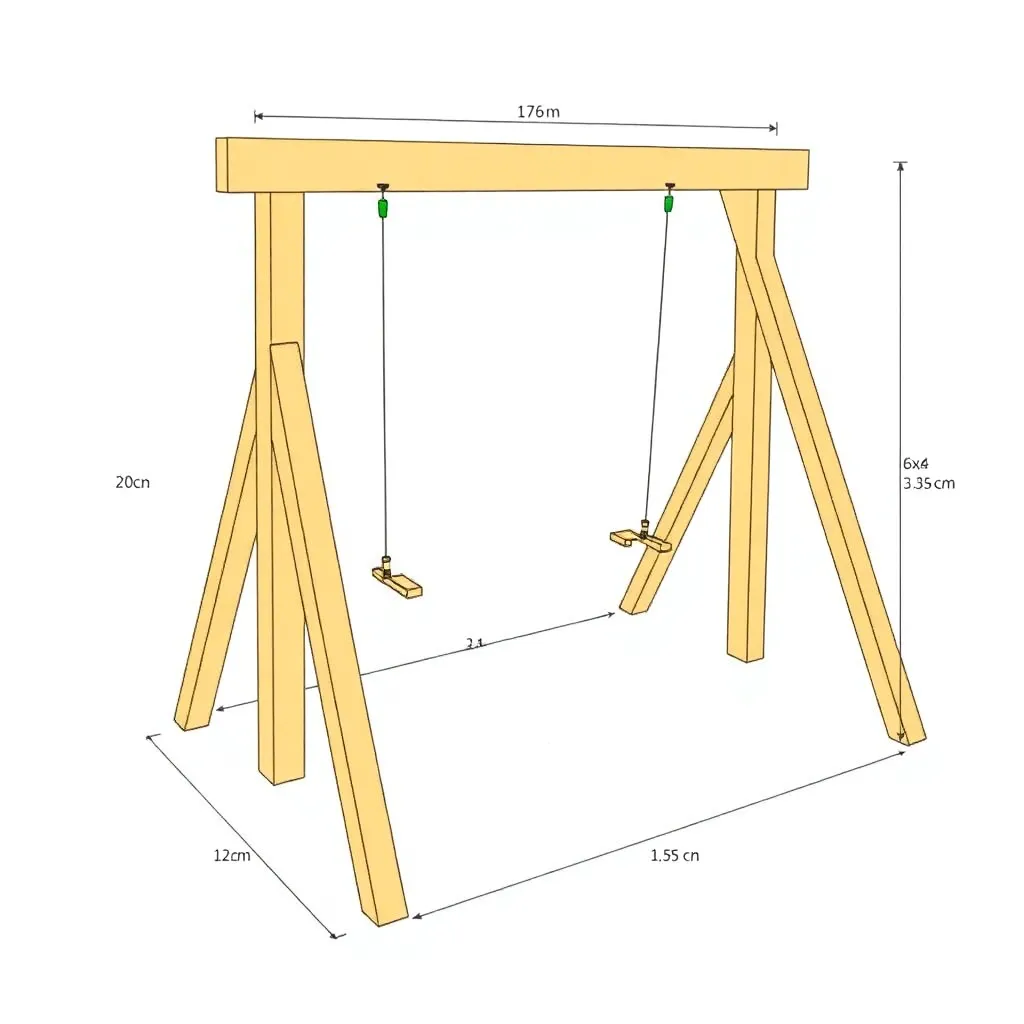
An A-frame stand’s strength and stability come from its geometry — the angle of the A-frame legs, the depth of the footprint, and the quality of the connections at the top apex.
Key dimensions for this build:
- Top beam length: 86 inches (swing + 19 inches clearance per side)
- A-frame leg height (vertical): 88 inches (7 feet 4 inches clear swing height)
- A-frame leg angle: 15° from vertical (each leg angled outward)
- A-frame footprint width: approximately 55 inches per end (two legs splayed 15°)
- Stand depth (front-to-back): 48 inches (matches swing depth)
- Top beam size: 4×6 cedar or Douglas fir
- Leg posts: 4×4 cedar or pressure-treated pine
Load considerations. The stand must carry 600+ pounds at the top beam (two adults on the swing plus dynamic swing forces). The A-frame geometry converts this downward and sideways load into compressive force along the angled legs — the more vertical the legs, the higher the downward load they must carry; the more angled, the higher the horizontal spreading force at the feet. A 15° angle is a proven compromise between stability and reasonable footprint.
Anchoring. A freestanding stand on a lawn should be anchored to prevent tipping. Options: concrete footings poured at each leg base, auger anchors screwed into the ground at each leg base, or ground stakes connected to the leg bases with cable. On a deck or patio, anchor the leg bases to the decking with lag screws or concrete anchors.
Step 2: Materials and Cut List
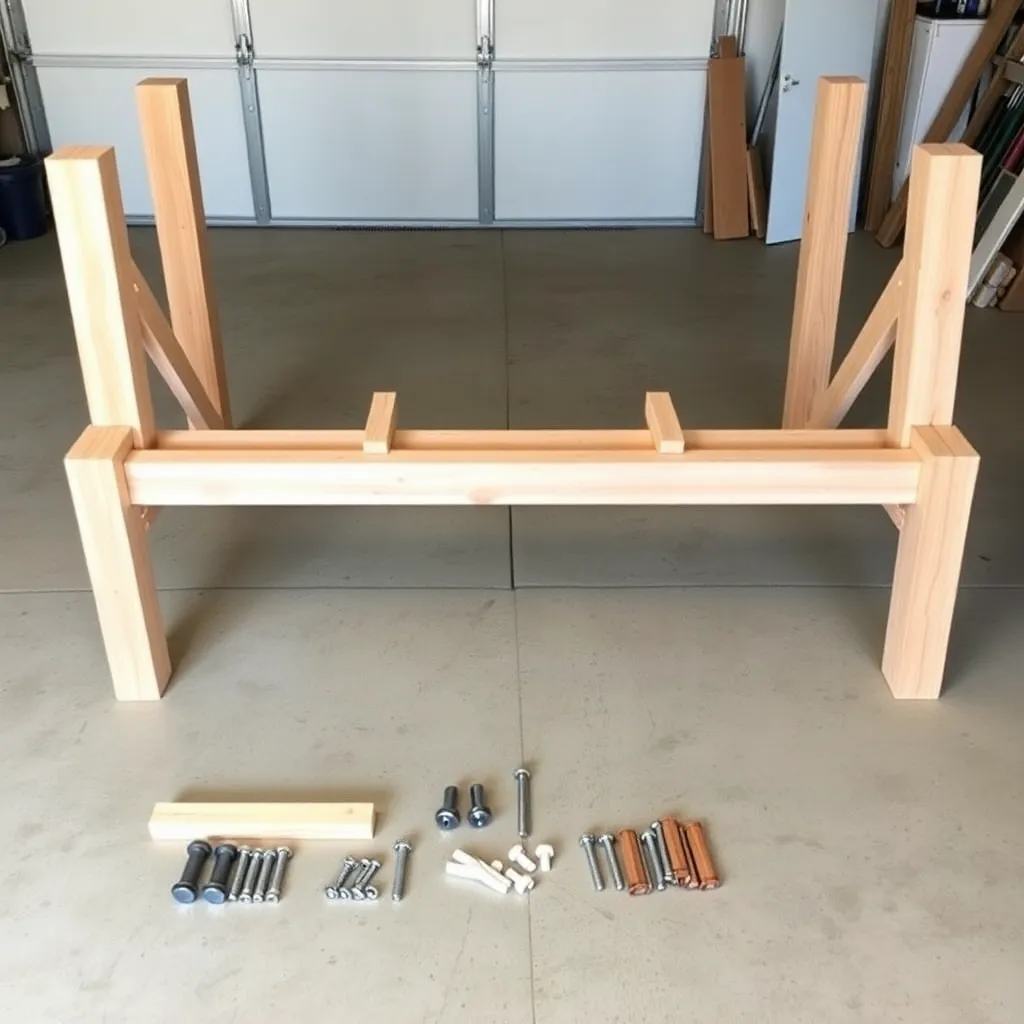
| Part | Qty | Length | Board Size | Notes |
|---|---|---|---|---|
| Top beam | 1 | 86″ | 4×6 cedar/DF | Horizontal, carries swing load |
| A-frame legs | 4 | 96″ | 4×4 cedar | Cut to final length after angle cut |
| Cross braces | 2 | 48″ | 2×6 cedar | Horizontal, connects front-to-back legs |
| Diagonal braces | 4 | 36″ | 2×4 cedar | One per corner, 45° angle |
| Top beam hardware | 2 sets | — | 4×4 post cap | Connect legs to top beam ends |
| Leg base hardware | 4 | — | Post base plate | Anchor legs to ground/footing |
| Swing eye bolts | 2 sets | — | ½” eye bolt | Through top beam for swing hanging |
| Carriage bolts | 16 | ½” × 4″ | — | A-frame apex connections |
| Exterior screws | 1 box | 3″ and 3½” | — | Stainless or coated |
Total estimated cost: $150–220 for lumber (stand only, not including the swing).
Step 3: Build the Two A-Frame Leg Assemblies
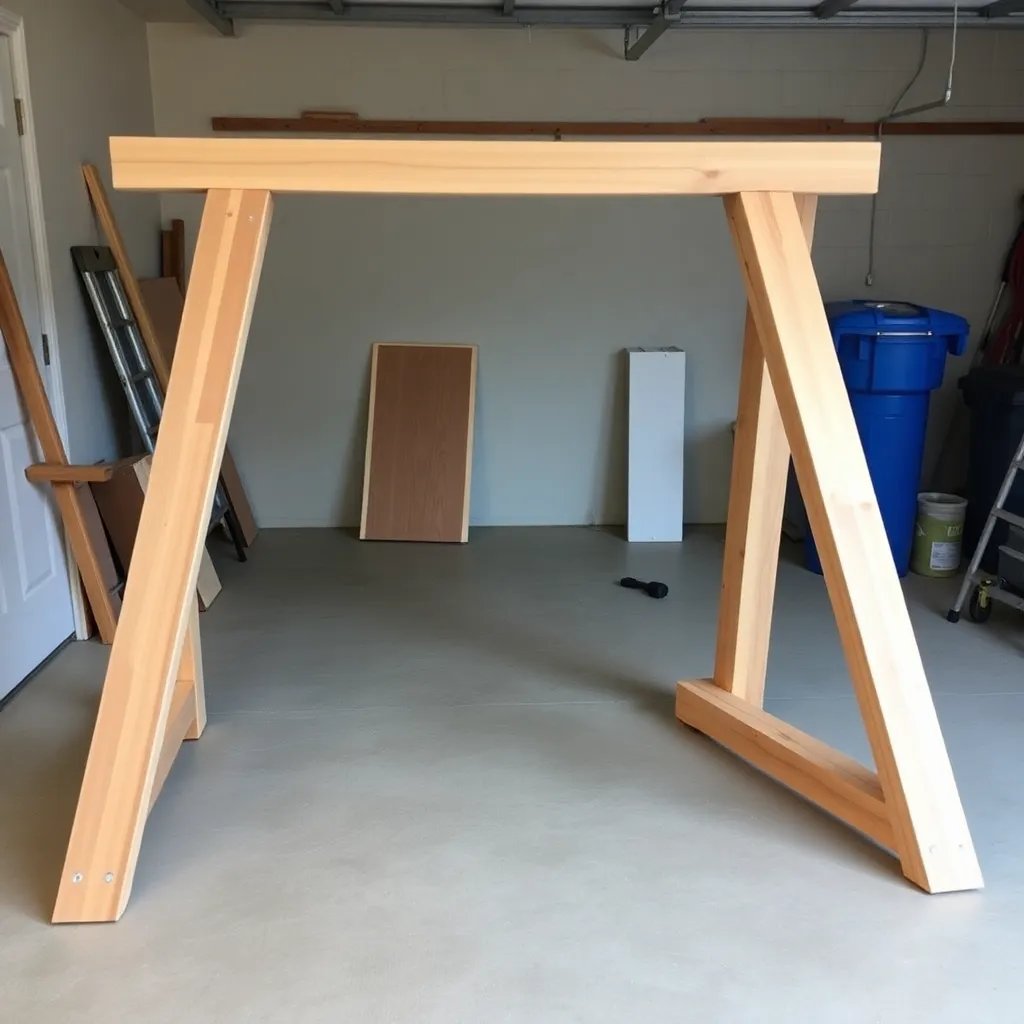
Each A-frame end assembly is two 4×4 posts connected at the top apex with a gusset or post cap, splayed outward at 15° from vertical.
Cut the A-frame legs. Each leg is a 4×4 post. The top end receives a 15° angle cut (angled inward toward the opposing leg at the apex). The bottom end receives a 15° angle cut in the opposite direction (angled outward) so the leg base sits flat on the ground despite the splay. Each finished leg is approximately 88 inches from bottom to apex (measured along the leg face).
Build the apex connection. The two legs of each A-frame meet at the apex. Options for connecting them: (1) a 4×4 post cap hardware piece that bolts through both legs — simplest and strongest; (2) a plywood gusset (¾” exterior plywood, 12″×12″) sandwiched between the two legs and bolted through with two ½” carriage bolts per leg. The top beam will rest on top of this apex assembly and be bolted through.
Add the cross brace. Each A-frame assembly gets a horizontal 2×6 cross brace connecting the two legs at a height of 20–24 inches above the ground — this is the stretcher that prevents the A-frame legs from spreading apart under load. Fasten the cross brace by notching each leg slightly (½” deep × 1½” wide dado) to accept the brace end, and fasten with two ½” carriage bolts per side. The notch prevents the brace from slipping downward.
Step 4: Install the Top Beam
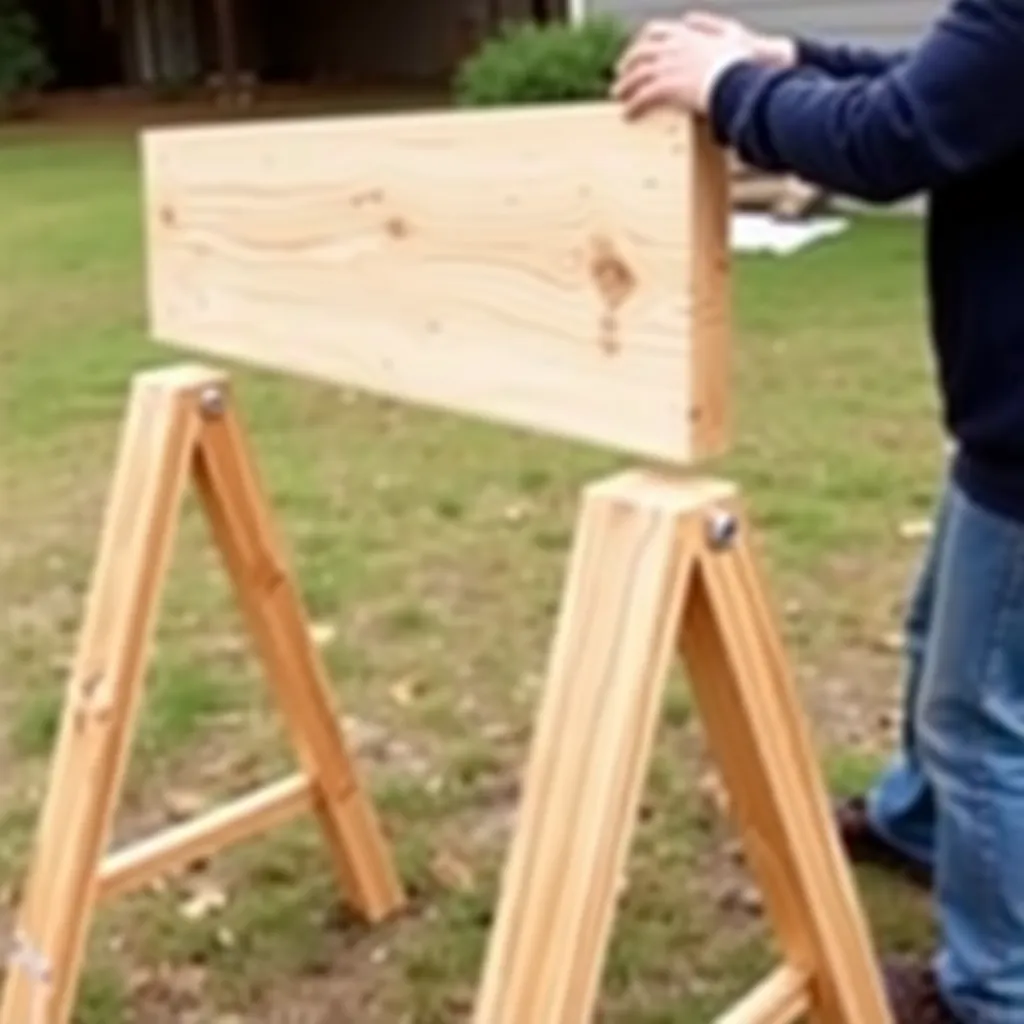
The top beam is a 4×6 spanning the 86-inch distance between the two A-frame apex assemblies. It carries the swing and all dynamic loads from swinging.
Prepare the top beam. Drill two ½” eye bolt holes through the top beam at the swing hanging positions: 19 inches from each end of the beam (matching the 48-inch swing’s 8-inch-from-end eye bolt positions). The eye bolt holes go through the full 4-inch depth of the beam (the 4×6 is installed with the 6″ dimension vertical — the larger dimension vertical gives maximum bending resistance).
Lift and set the beam. With a helper, lift the top beam and set it on top of both A-frame apex assemblies. The beam should overhang each A-frame by 19 inches on each side. Clamp the beam to the apex while fastening.
Fasten the beam. Use the 4×4 post cap hardware to bolt the beam to each apex, or drill through the top of the beam into the apex and drive two ½” × 6″ carriage bolts through the beam and both A-frame leg tops. The connection at each apex needs two bolts minimum — this is the highest-stress joint in the stand.
Install eye bolts. Thread ½” eye bolts through the pre-drilled holes in the top beam, washer and nut below. Tighten securely. These carry the full hanging load of the swing.
Step 5: Add Diagonal Braces and Check Stability
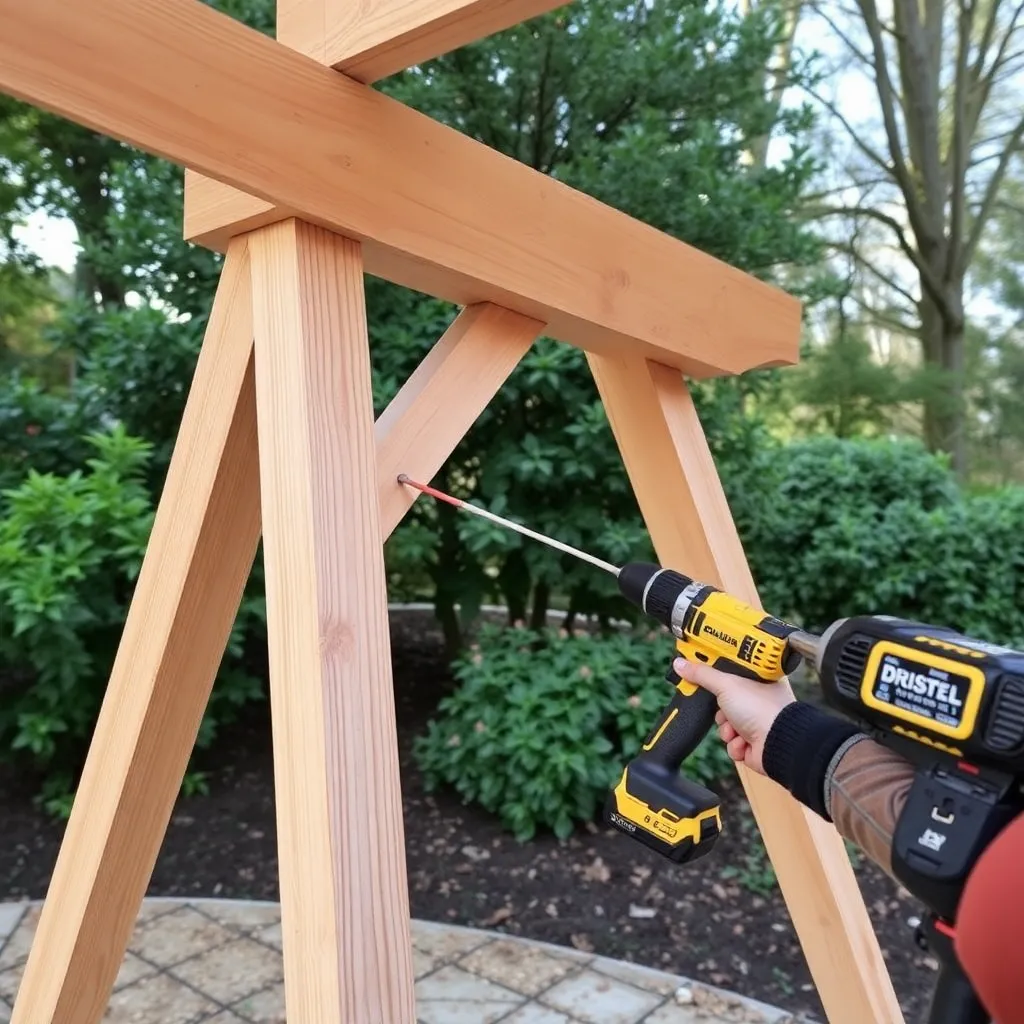
The A-frame legs resist fore-and-aft racking (tipping forward or backward when the swing moves) via the geometry of the A-frame. But lateral racking (tipping sideways) depends on the connection between the two A-frame assemblies through the top beam. Diagonal braces at each corner lock the assembly against lateral racking.
Cut and install diagonal braces. At each of the four corners where the top beam overhangs an A-frame leg, add a diagonal 2×4 brace running from the leg (at about 24 inches below the apex) to the underside of the top beam (at about 12 inches from the A-frame centerline). Cut each brace at the angles needed to fit flat against the leg and flush under the beam. Fasten with two 3″ screws at each end, pre-drilled.
Test stability before hanging the swing. Push the stand from the side, front, and back. There should be no racking movement. If any A-frame leg flexes under lateral pressure, add a second diagonal brace at that corner or increase the brace length.
Anchor to the ground. On grass: drive 24-inch auger anchors at each leg base and connect with galvanized cable to a lag screw in each leg. On concrete or deck: drill through the leg base plates and fasten with concrete anchors or 3/8″ lag screws into decking joists below.
Step 6: Hang the Swing and Set the Height
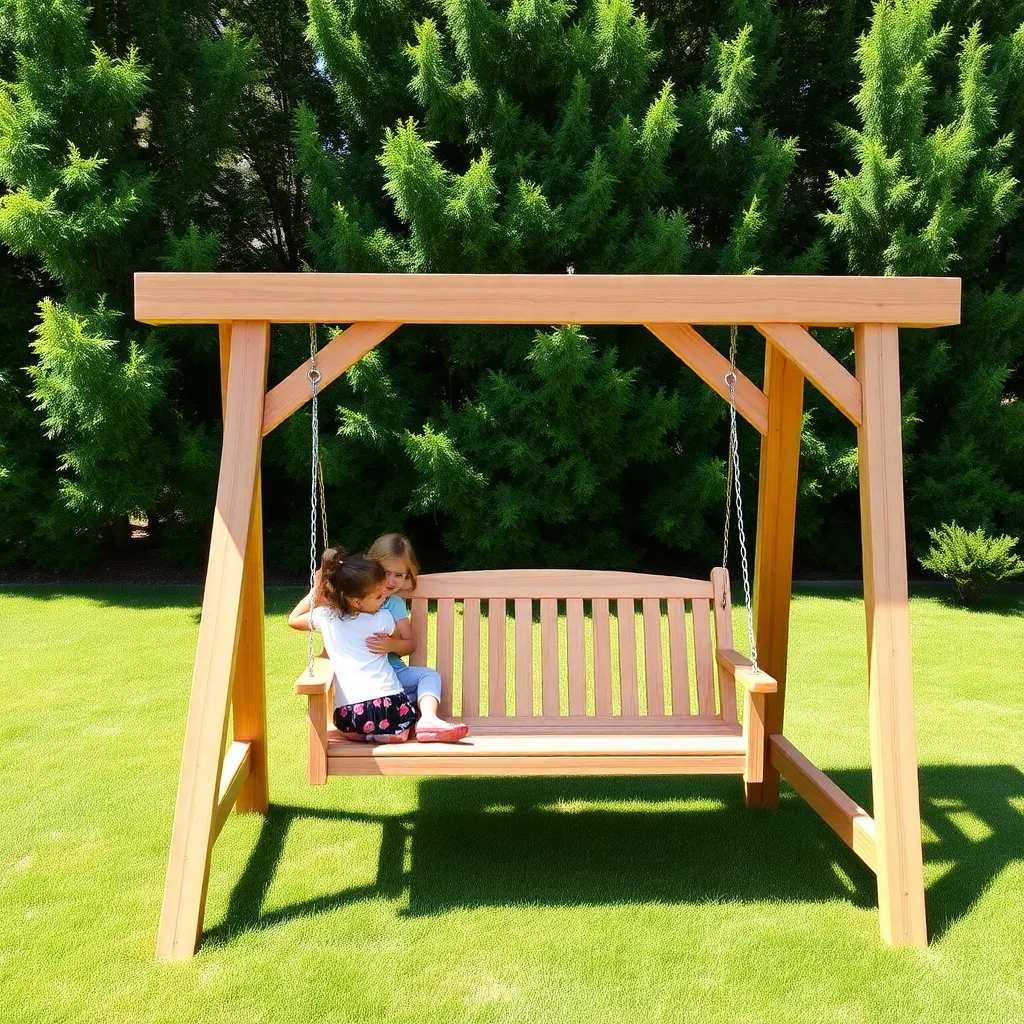
Build or attach the swing. Build the 48-inch classic swing from the classic porch swing plans and install its four eye bolts. Or attach an existing swing.
Cut rope or chain to length. Target hang height: 17–19 inches from ground to swing seat when loaded. Measure from the top beam eye bolt to the swing eye bolt and cut rope or chain to that length, adding 6 inches for connections.
Attach and adjust. Connect rope or chain using galvanized quick links at both the top beam eye bolts and the swing eye bolts. Load the swing with approximate body weight (sit on it) and check: seat height, level (front-to-back and side-to-side), and swing clearance. Adjust chain length by adding or removing links; adjust rope length by re-knotting.
For more outdoor swing designs, visit our porch swing plans hub.
Want 16,000+ step-by-step woodworking plans?
Ted’s Woodworking has plans for every skill level — from simple shelves to full bedroom sets. Each plan includes a cut list, material list, and detailed diagrams. Browse Ted’s plans →
Porch Swing With Stand Plans FAQ
How deep does the A-frame footprint need to be?
The stand depth (front-to-back) should equal or exceed the swing travel arc. For a standard 48-inch swing hung at 7-foot height, the swing arc extends about 24–30 inches forward and backward from the rest position. A stand depth of 48 inches gives comfortable clearance. Shallower stands are less stable against fore-and-aft tipping — do not go below 36 inches of stand depth for a full-size swing.
What lumber should I use for the A-frame posts?
4×4 cedar works well for the leg posts where the stand isn’t in contact with the ground. If the leg bases will sit directly on soil or concrete, use pressure-treated 4×4 for the bottom 12 inches or use post base hardware to keep the wood clear of the ground. Douglas fir is a good alternative to cedar for the top beam — it has higher bending strength for the same size, which matters for the long 86-inch span.
How do I keep the stand from tipping when someone sits down suddenly?
Ground anchoring is the primary protection. With proper auger anchors or concrete footings at each leg base, the stand resists tipping forces well above what a person can produce by sitting down quickly. Unanchored stands on hard surfaces can rock if the person swings vigorously — always anchor before regular use. Adding 20 pounds of sandbag weight to each leg base cross brace is a temporary solution for unanchored stands on a deck.
Can a freestanding swing stand be moved?
Yes, but it requires partial disassembly. The top beam and A-frame assemblies typically separate at the apex connection, making it possible to transport in a truck bed. A fully assembled stand is approximately 86 inches wide, 48 inches deep, and 9 feet tall — too large to move as a unit except by dragging across a lawn. Design the apex connection for disassembly (bolts rather than permanent screws) if you want to relocate seasonally.
How much does a DIY porch swing stand cost compared to buying one?
A DIY cedar A-frame stand costs $150–220 in materials. Ready-made metal porch swing stands run $150–350 depending on quality, with the lower-end versions using thin-wall steel that rusts and flexes. A DIY wood stand built correctly outlasts the metal alternatives by 10–15 years and can be repaired with standard lumber if a member is damaged. The labor investment is 4–6 hours for the stand, separate from the swing itself.

“DIY woodworking enthusiast who started with zero experience and a YouTube tutorial.
I build simple, practical projects for my home and share free plans
so other beginners can skip the guesswork.If I can build it, you can too.”