Finding room for creativity often starts with the simple act of making space in your garage or spare corner. Beginners quickly learn that a well-organized workspace and reliable hand tools set the stage for safer, smoother woodworking. Once you master the basics, even your first modest project reflects the satisfaction of craftsmanship. This guide highlights practical steps and reveals how focusing on quality tools and careful preparation leads to results you can proudly display in any home.
Table of Contents
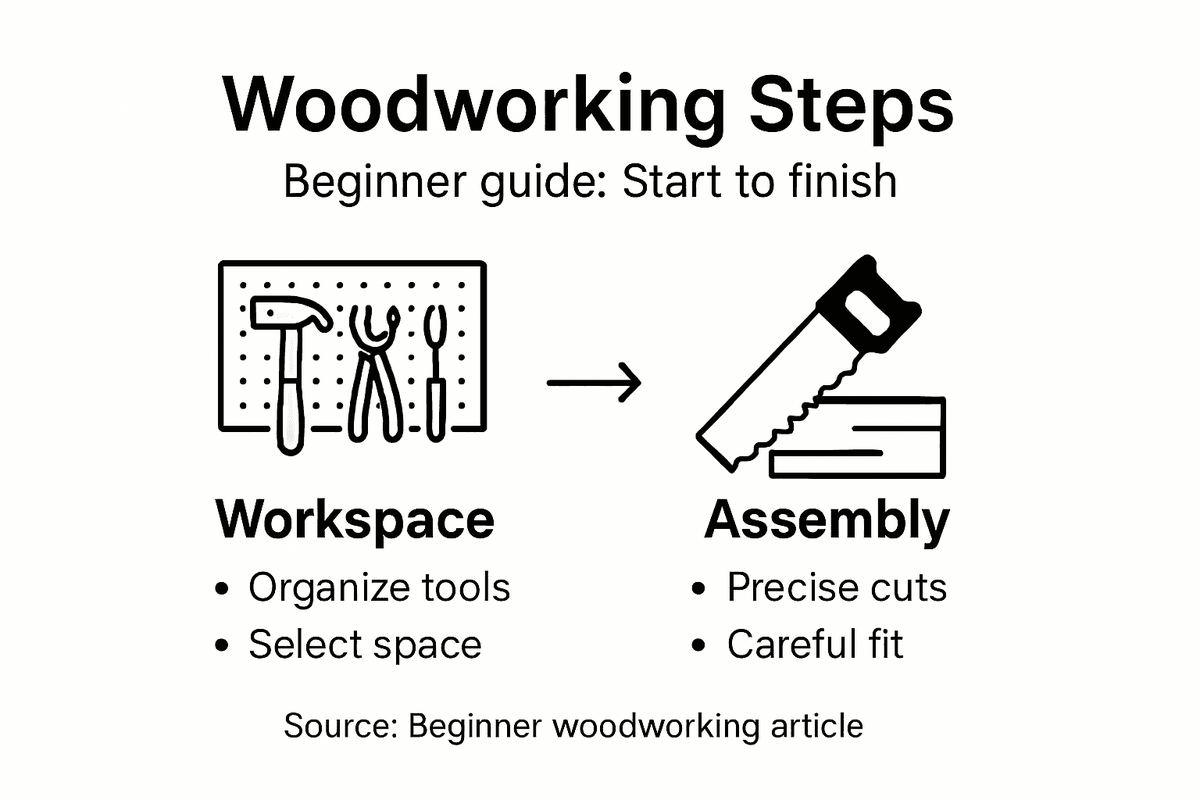
- Step 1: Assess Your Workspace and Tools
- Step 2: Select and Prepare Wood Materials
- Step 3: Practice Safe Measuring and Cutting
- Step 4: Assemble Your Project with Precision
- Step 5: Verify and Finish Your Craft
Quick Summary
| Important Insights | Explanation |
|---|---|
| 1. Assess Your Workspace Properly | Evaluate space, light, and ventilation to create a safe and organized woodworking environment. |
| 2. Choose the Right Wood Type | Understand hardwoods and softwoods to select the best material for your projects based on skill level and purpose. |
| 3. Measure Twice, Cut Once | Always double-check your measurements and mark your cuts clearly to avoid errors and material waste. |
| 4. Dry Assembly Before Gluing | Test fit all pieces without glue first to ensure alignment and address any issues before final assembly. |
| 5. Inspect Before Finishing | Thoroughly check your assembled project for gaps or imperfections before applying the finish, ensuring a professional look. |
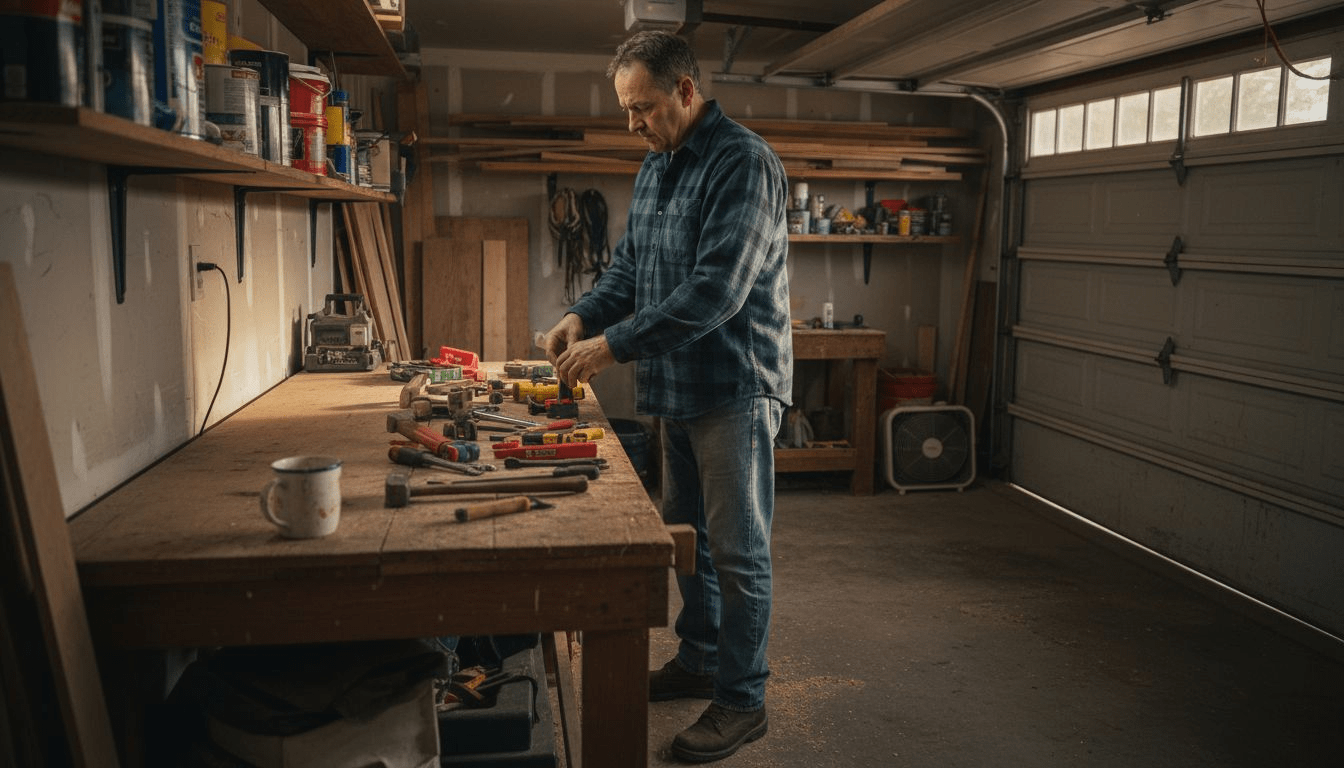
Step 1: Assess Your Workspace and Tools
Before you build your first project, take time to evaluate what you have and what you need. Your workspace and tools set the foundation for everything that comes next. A well-organized setup makes the learning process smoother and safer.
Start by examining your available space. Do you have a garage, basement, spare room, or outdoor area where you can dedicate time to woodworking? You don’t need a massive workshop to begin. Many beginners work in modest spaces with a single workbench. What matters is having enough room to move safely and store materials without clutter.
Evaluate your current light and ventilation. Natural light is ideal, but a few affordable work lights make any space functional. Good air circulation matters, especially when you start using finishes like stains or polyurethane. Poor ventilation creates health risks and makes the work unpleasant.
Now assess your tools. When starting out, focus on basic hand tools and measuring equipment rather than expensive power tools. Here’s what you should look for:
- A hand saw for basic cuts
- A hammer and a mallet for joints
- A tape measure and combination square for accurate marking
- Chisels in varying widths for detail work
- A block plane or hand plane for smoothing edges
- Clamps to hold wood steady while you work
- Sandpaper or a sanding block for finishing
Check your tools for damage or dullness. A dull saw or blade makes the work harder and more dangerous. If you inherit old tools or find bargains at yard sales, sharpen or replace worn components first.
Consider creating a simple checklist of tools you own versus tools you need to acquire. Prioritize what your first projects actually require. You’ll gradually build your collection as you take on more complex work.
Start small with quality hand tools rather than filling your shop with expensive equipment you won’t use yet.
Pro tip: Visit your local woodworking shop or community college to see actual tool collections in action—this helps you understand which tools feel right in your hands and which ones matter most for your budget.
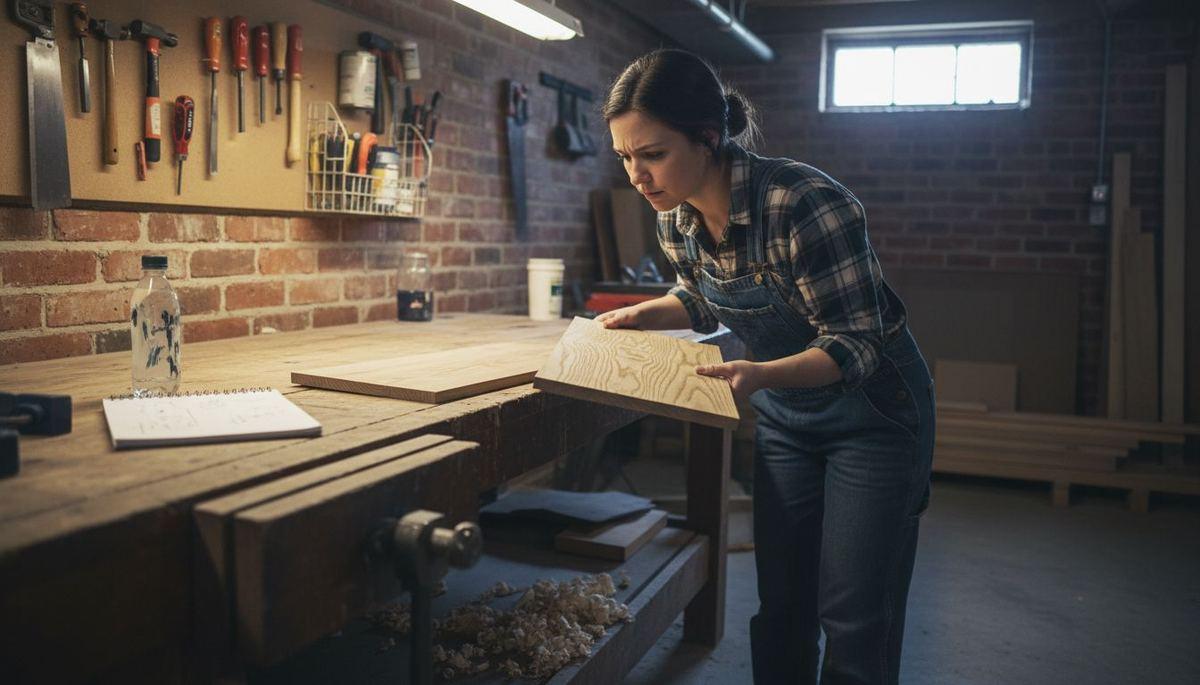
Step 2: Select and Prepare Wood Materials
Choosing the right wood and preparing it properly determines whether your project succeeds or fails. This step bridges the gap between planning and building, setting you up for smooth construction and professional results.
Start by understanding the two main wood categories. Hardwoods like oak, maple, and walnut are dense and durable, perfect for visible furniture pieces. Softwoods like pine and cedar are easier to work with and more affordable, making them ideal for learning projects. When selecting wood, understanding hardwoods and softwoods helps you make choices that match your skill level and project goals.
Here’s a comparison of hardwoods and softwoods to help choose the best material for your first project:
| Wood Type | Typical Examples | Workability | Best Used For |
|---|---|---|---|
| Hardwood | Oak, Maple, Walnut | Harder to cut and sand | Visible furniture, high durability |
| Softwood | Pine, Cedar | Easier to work with | Practice pieces, affordable builds |
Examine the grain direction before you begin cutting. Grain runs in one dominant direction across the board, and cutting against it causes splintering and tear-out. Always sand and cut with the grain whenever possible.
Look for defects that affect usability. Check for these common issues:
- Knots that are loose or missing
- Cracks that run deep into the wood
- Cupping or warping that makes boards uneven
- Discoloration from mold or water damage
- Dents that affect your finished appearance
Once you have good wood, prepare the surface before assembly. Start by cleaning off any dust or surface dirt. Then sand progressively, moving from coarse grits (80-120) to fine grits (180-220). This creates a smooth foundation for joints and finishes.
Measure your materials accurately before cutting. Slight variations compound across a project, turning a well-designed piece into one that doesn’t fit together. Double-check your measurements against your plans.
Proper wood preparation eliminates half the headaches you’ll encounter during assembly and finishing.
Pro tip: Store your prepared wood flat and indoors for at least a week before building, allowing it to acclimate to your workshop’s humidity and temperature—this prevents warping after your project is complete.
Step 3: Practice Safe Measuring and Cutting
Accuracy and safety go hand in hand when measuring and cutting wood. Sloppy measurements waste material and create frustration, while careless cutting techniques lead to injuries. This step teaches you how to do both right.
Start with your measuring tools. Use a tape measure for longer distances and a combination square for marking angles and checking edges. Always measure twice before making any cut. This simple habit catches mistakes before they become permanent.
When marking cut lines, use a sharp pencil or marking knife. A clear, visible line guides your saw and reduces mistakes. Mark on the side of the wood you’ll cut away, not on your final piece.
Proper safety gear and tool handling protect you from the most common woodworking injuries. Before cutting, set up your safety routine:
- Wear safety glasses to protect from flying debris
- Use work gloves when handling rough wood
- Tie back long hair and remove loose clothing
- Keep your work area clear of clutter and obstacles
- Never rush or work when tired or distracted
When using a hand saw, maintain a firm grip and steady rhythm. Let the saw do the work instead of forcing it. Your body position matters too—stand with your feet shoulder-width apart for balance and control.
For powered tools, always read the manual first. Keep your hands away from the blade path. Use clamps to hold wood steady rather than holding it with your hands.
Stop immediately if something feels wrong. If a tool binds or kicks back, release it and step away. No project is worth a trip to the emergency room.
The most dangerous moment in woodworking is when you think you know what you’re doing and stop paying attention.
Pro tip: Create a simple checklist of safety steps to complete before each cutting session, and keep it posted at your workbench—this builds safe habits automatically so you don’t have to think about them.
Step 4: Assemble Your Project with Precision
Assembly is where your project comes together, and precision here determines whether your finished piece looks professional or amateur. Taking time to align parts carefully and check everything twice pays off in a sturdy, beautiful result.
Before you apply any glue, do a dry assembly. Lay out all pieces and connect them without adhesive to test the fit. This catches problems before they’re permanent. Check that joints align properly and corners are square using your combination square.
When you’re satisfied with the fit, use clamps and adhesives correctly to secure your joints. Apply glue sparingly to both surfaces being joined. Too much glue creates mess and weak joints. Too little creates gaps.
Follow this assembly sequence to stay organized:
- Apply glue to the first joint
- Connect the two pieces and align them carefully
- Clamp firmly without over-tightening
- Check that corners remain square
- Wipe away excess glue immediately with a damp cloth
- Move to the next joint and repeat
As you work, constantly verify alignment and squareness. Use your measuring tools to check diagonal distances. If both diagonals are equal, your frame is square. Clamps can shift pieces, so recheck after tightening.
Allow glue to cure fully before removing clamps. Most wood glues need 24 hours, but check your product’s instructions. Removing clamps too early weakens joints and ruins your work.
Assembly is not a race. Every minute you spend checking alignment now saves frustration later when you’re finishing.
Pro tip: Number your pieces and joints beforehand with a pencil—this simple system prevents confusion during assembly and ensures you connect parts in the correct order without mistakes.
Step 5: Verify and Finish Your Craft
Finishing transforms a raw wooden project into something beautiful and durable. This final stage protects your work from damage while showcasing the wood’s natural character. Taking time to inspect and correct imperfections before finishing separates amateur builds from quality craftsmanship.
Start by examining your assembled project under good light. Look for gaps, uneven surfaces, or visible glue drips. Sand any rough spots and use filler if needed for small gaps. Your goal is a surface that feels smooth to the touch.
Once the structure is perfect, prepare surfaces through sanding and cleaning before applying any finish. Begin with medium-grit sandpaper to remove imperfections, then progress to fine-grit for a polished feel. Wipe away all dust with a damp cloth before finishing.
Choose your finish based on the project’s purpose and location:
For easy reference, here is a summary of popular wood finishes and their advantages:
| Finish Type | Appearance | Protection Level | Ideal Applications |
|---|---|---|---|
| Oil Finish | Enhances grain | Moderate | Table tops, décor pieces |
| Stain | Adds color | Low to moderate | Cabinets, furniture bases |
| Polyurethane | Glossy or satin | High | Floors, high-use items |
| Lacquer | Smooth, glossy | Moderate to high | Display furniture, trim work |
- Oil finishes highlight wood grain and are easy to apply
- Stains add color while letting the wood show through
- Polyurethane provides maximum protection for high-use pieces
- Lacquer creates a smooth, glossy appearance
Apply your chosen finish according to product instructions. Most finishes need multiple thin coats rather than one thick coat. Sand lightly between coats for better adhesion. Allow proper drying time between applications.
After the final coat cures completely, conduct a thorough final inspection to verify quality. Check for drips, dust particles, or uneven color. Correct any issues before considering the project complete.
The finish is what people see first and touch most often. Patience during this stage transforms good projects into pieces you’ll be proud to display.
Pro tip: Keep your first finished project in a visible place in your home—it serves as motivation for your next build and reminds you how far you’ve progressed as a woodworker.
Build Your Woodworking Confidence with Step-by-Step Plans
Mastering woodworking tips for beginners means overcoming challenges like tool selection, wood preparation, measuring safety, and precise assembly. These critical skills can feel overwhelming when starting out but they are essential for building beautiful and durable projects. If you want to move beyond basic how-tos and gain hands-on experience with clearly detailed instructions, there is a solution waiting for you.
Explore beginner-friendly projects in our Tables Archives where you can practice fundamental techniques while crafting stunning furniture. RealWoodworkPlans.com provides easy-to-follow woodworking plans designed to strengthen your skills and reduce costly mistakes. Don’t let uncertainty hold you back. Visit our homepage now to find inspiring projects and expert guidance that will accelerate your learning and build your confidence today.
Frequently Asked Questions
What woodworking tools do I need to start as a beginner?
To start woodworking, focus on basic hand tools like a hand saw, hammer, tape measure, chisels, and clamps. Assemble this essential toolkit before beginning your first project to ensure you have everything you need.
How can I determine the right type of wood for my first project?
Select wood based on your project goals and skill level. For beginners, softwoods such as pine are more forgiving and easier to work with, while hardwoods like oak offer durability for visible furniture pieces. Choose wood that matches your comfort and confidence level.
What safety measures should I take when woodworking?
Always wear safety glasses and gloves to protect yourself from debris and rough edges. Establish a clear work area free from clutter, and adhere to proper tool handling techniques to prevent injuries while measuring and cutting.
How do I ensure my projects are square and align correctly during assembly?
To check for squareness, measure the diagonals of your assembled frame; if they are equal, you have a square assembly. Constantly verify alignment before securing pieces with clamps and glue to maintain the integrity of your project.
What finishing techniques should I use to protect my woodworking projects?
Choose a finish based on the intended use of your project, such as oil for enhancing grain or polyurethane for maximum durability. Apply multiple thin coats, sanding lightly between each, and allow proper drying time to achieve a professional-looking finish.
How can I improve my woodworking skills over time?
Practice regularly by starting with simpler projects and gradually progressing to more complex builds. Keep a checklist of tools and techniques you’ve mastered, aim to incorporate at least one new skill into each project, and reflect on your learning to continuously improve.
Recommended
- 7 Inspiring Woodworking Project Ideas 2026 for DIY Skill-Building
- Furniture Making Terminology: Key Concepts for DIY Success
- How to Build Coffee Table: Step-by-Step DIY Guide
- Wood Milling Explained: Shaping Better Projects

“DIY woodworking enthusiast who started with zero experience and a YouTube tutorial.
I build simple, practical projects for my home and share free plans
so other beginners can skip the guesswork.If I can build it, you can too.”