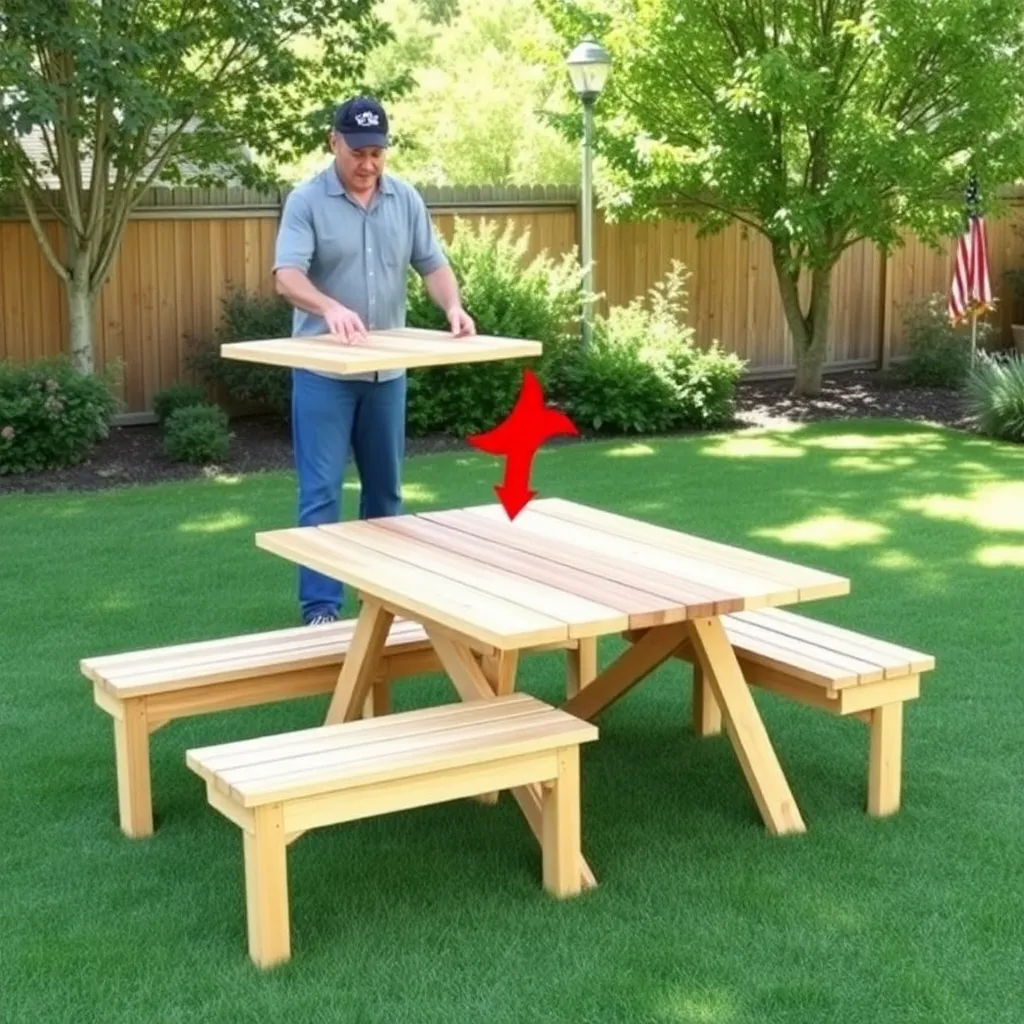
A foldable picnic table does something a standard picnic table can’t: it converts from a full dining table to two separate benches in under a minute, with no tools and no disassembly. Push the seat boards inward and the table top rises; pull them outward and the top folds flat between two benches. The same piece of furniture handles backyard meals, deck seating for parties, and flat storage against a garage wall during winter.
These foldable picnic table plans build the classic convertible design — two hinged seat-and-leg assemblies connected by a central table board system. The folding mechanism uses four pivot points and is self-supporting in both positions. Built from 2×6 and 2×4 cedar, it weighs about 65 pounds and can be moved and converted by one person.
Want 16,000+ step-by-step woodworking plans?
Ted’s Woodworking has plans for every skill level — from simple shelves to full bedroom sets. Each plan includes a cut list, material list, and detailed diagrams. Browse Ted’s plans →
Step 1: Understand the Folding Mechanism Before You Cut
The foldable picnic table works through geometry, not complex hardware. Two identical side assemblies — each a seat board with angled support legs — pivot inward to raise a central tabletop section and outward to lower it. Getting the pivot points in the right position is what makes the mechanism work smoothly, so read through this overview before cutting anything.
The three main components:
- Two side assemblies: Each consists of two seat boards, two angled legs, and a horizontal foot brace. These are mirror images of each other.
- Two center table boards: These are the tabletop surface. They’re connected at the center to a pivot board that links the two side assemblies together at the top.
- Four pivot bolts: Two on each side, connecting the side assembly’s leg top to the center table board. These bolts allow the side assemblies to rotate from bench position (flat) to table position (angled inward) and back.
In bench position: The side assemblies are spread outward. The seat boards are at bench height (17 inches). The center table boards hang vertically between the two benches, folded flat.
In table position: The side assemblies are pushed inward and upward. The seat boards become the benches at table height (about 17 inches), and the center table boards are now horizontal at 30 inches — the table surface.
The key measurement: the pivot bolt sits exactly 11 inches from the top of the leg, measured along the leg’s face. This is what determines the table height and bench height relationship. Do not change this without recalculating both heights.
Step 2: Materials and Cut List
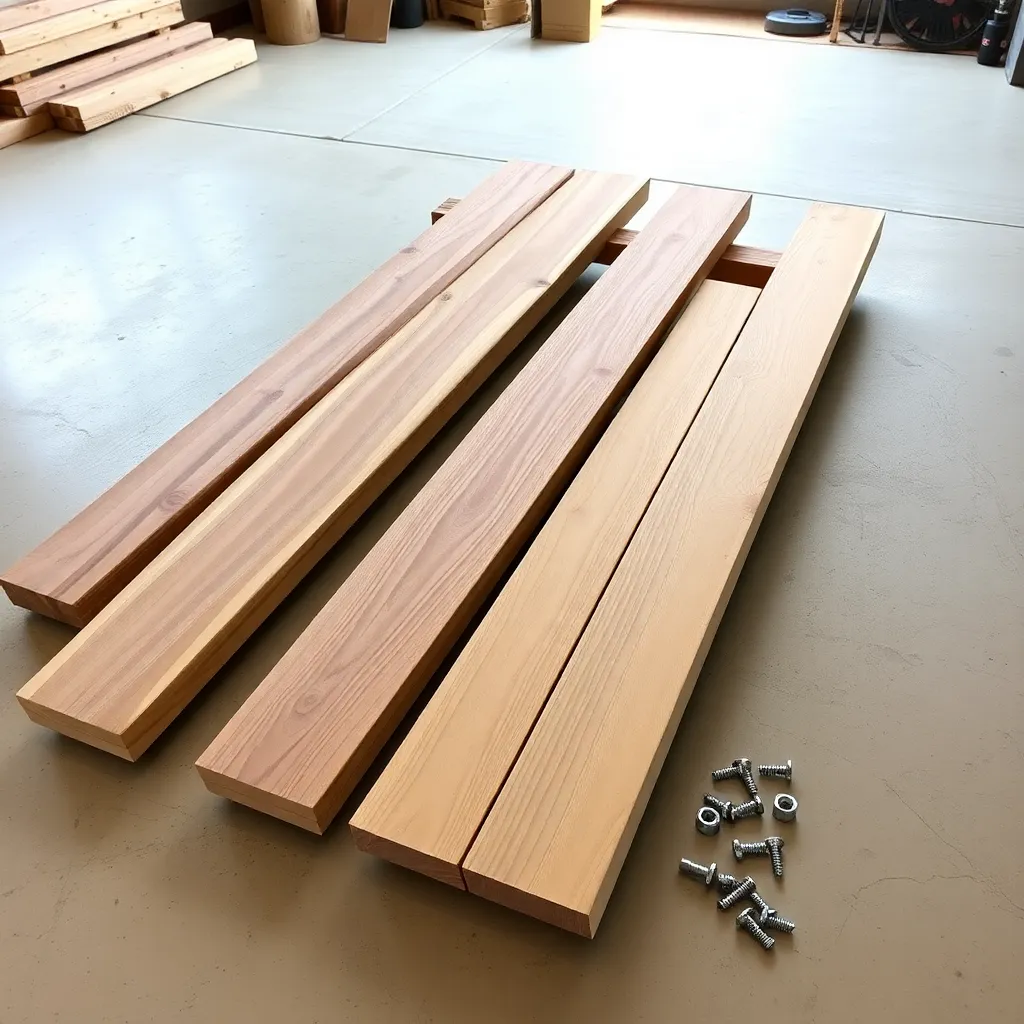
Western red cedar is the best choice for a foldable table that will be moved frequently — it’s significantly lighter than pressure-treated pine (about 23 lbs/cubic foot vs 35 lbs) while remaining rot-resistant outdoors. The weight difference matters on a table you’ll convert and reposition regularly.
| Part | Qty | Length | Board Size | Notes |
|---|---|---|---|---|
| Seat boards | 4 | 72″ | 2×6 cedar | Two per side assembly |
| Center table boards | 2 | 28″ | 2×6 cedar | The folding tabletop |
| Outer legs | 4 | 32″ | 2×4 cedar | Both ends cut at 22° |
| Inner legs | 4 | 28″ | 2×4 cedar | Both ends cut at 22° |
| Foot braces | 2 | 14″ | 2×4 cedar | Connects leg bases on each side |
| Seat support cleats | 4 | 14″ | 2×4 cedar | Under seat boards, connect legs to seats |
| Center pivot board | 1 | 28″ | 2×4 cedar | Connects two center table boards at hinge point |
| Carriage bolts (pivot) | 4 | ⅜” × 3½” | — | One per pivot point, with washers and wing nuts |
| Exterior screws | 1 box | 2½” and 3″ | — | Stainless or coated |
| Exterior screws | 1 box | 1¾” | — | For seat cleat attachment |
Total estimated cost: $130–185 depending on cedar grade and region.
Step 3: Build the Two Side Assemblies
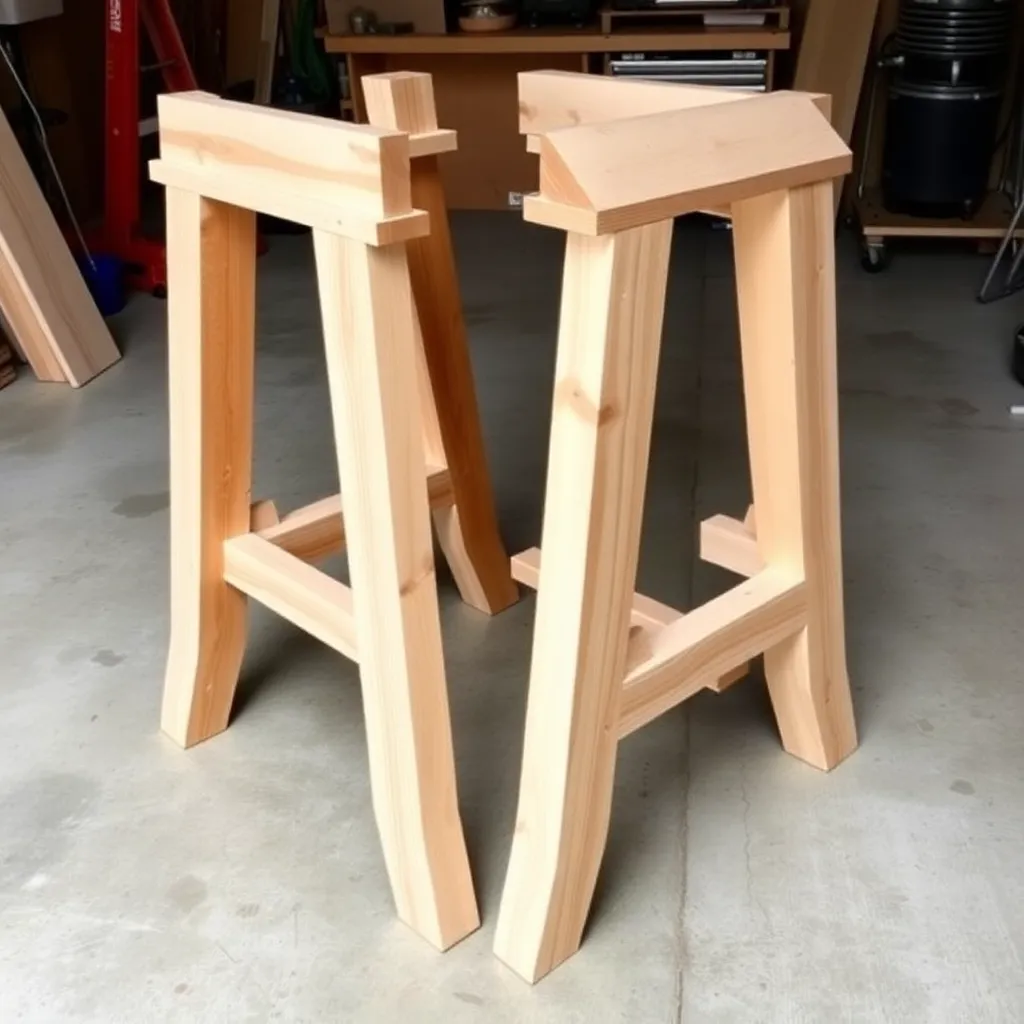
Each side assembly is built flat on the ground, then stood up. Both assemblies are identical — build them simultaneously to ensure they match.
Cut the legs. Each side assembly uses two outer legs (32 inches) and two inner legs (28 inches), all cut with 22-degree bevels on both ends in the same direction (parallel cuts, not opposing). The different lengths create the angled V-shape of the leg assembly when stood upright. Cut all eight legs at once — stack them in pairs and run the saw through both simultaneously to get identical angles.
Assemble the leg pairs. Each side has one outer and one inner leg forming a V-shape, with the tops meeting at a point and the bottoms spread apart. Lay one outer and one inner leg on the ground in a V, with the tops touching. The spread at the bottom should be approximately 30 inches outside to outside. Connect the bottoms with a 14-inch foot brace, fastened with two 3″ screws into each leg end.
Attach the seat support cleats. The 14-inch 2×4 seat support cleats connect horizontally between the outer and inner leg of each V, at 17 inches from the ground (bench height). These cleats are what the seat boards will be screwed to. Use two 3″ screws per cleat end — four screws per cleat, eight per side assembly. Check that cleats are level before tightening.
Fasten the seat boards. Lay two 72-inch 2×6 seat boards across the two seat support cleats of one side assembly. Space them with a ½-inch gap between boards. The outer edge of the outer board should align with the outer face of the outer leg; the inner edge of the inner board sits at the pivot point position. Fasten with two 1¾” screws per board per cleat — eight screws total per side assembly.
Build the second side assembly as an exact mirror image. When you stand both assemblies up side by side, they should be identical in height, leg spread, and seat board position.
Step 4: Build the Center Table Board Assembly
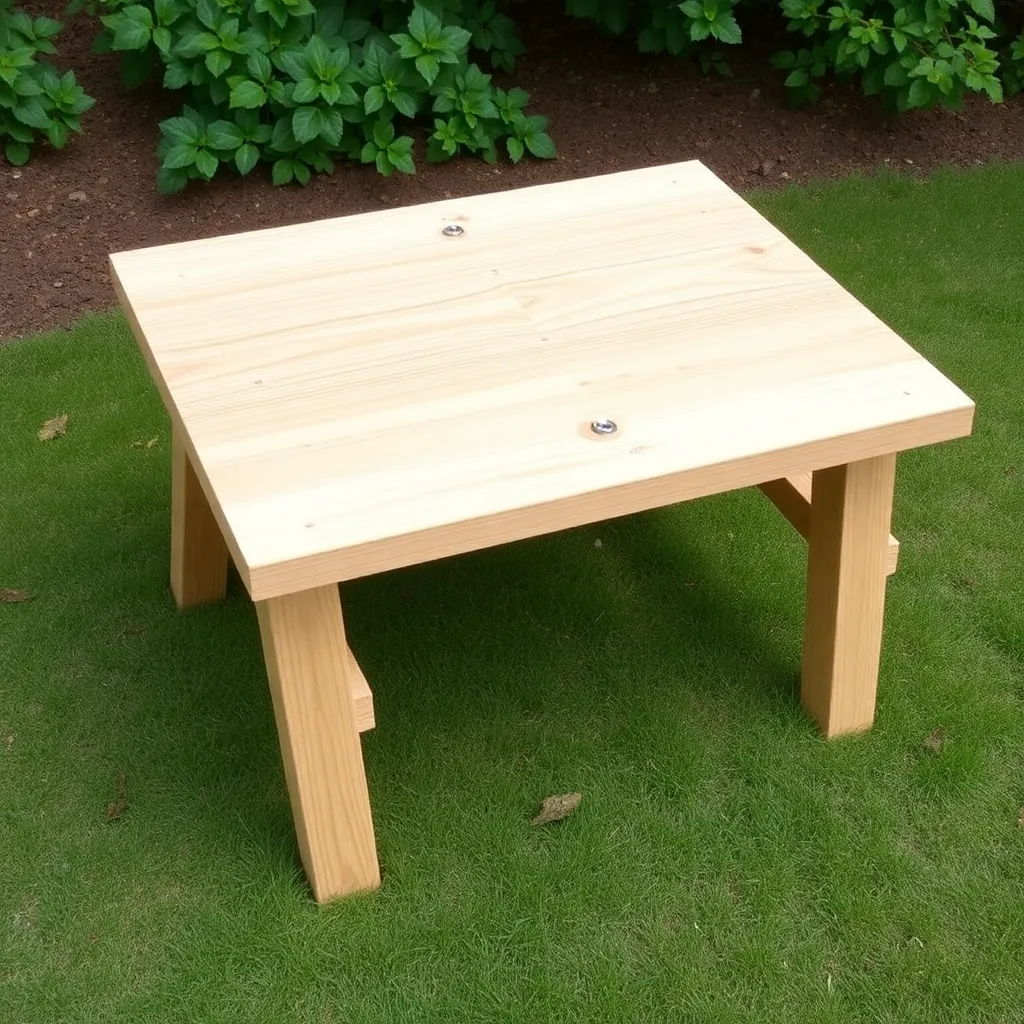
The center table board assembly is the hinge point of the entire mechanism. Two 28-inch 2×6 boards connected to a central 2×4 pivot board fold flat in bench mode and open flat in table mode.
Assemble the center boards. Place the two 28-inch 2×6 boards side by side with a ½-inch gap between them, face up on a flat surface. The combined width of both boards plus the gap is approximately 12½ inches — this becomes the table surface width at the center of the table.
Attach the pivot board. Center the 28-inch 2×4 pivot board across the underside of both center table boards, perpendicular to them. The pivot board’s ends will be the connection points to the two side assemblies. Fasten through the pivot board into each table board with two 2½” screws per board — four screws total. The pivot board should be flush with or slightly below the table board faces on the underside.
Mark the pivot bolt position. On each end of the pivot board, mark the pivot bolt hole location: 1½ inches from the end and centered on the board’s width (1¾ inches from each edge). Drill a ⅜” hole at each mark — these are the holes where the carriage bolts connect the center assembly to the side assemblies.
Step 5: Connect the Assemblies With Pivot Bolts
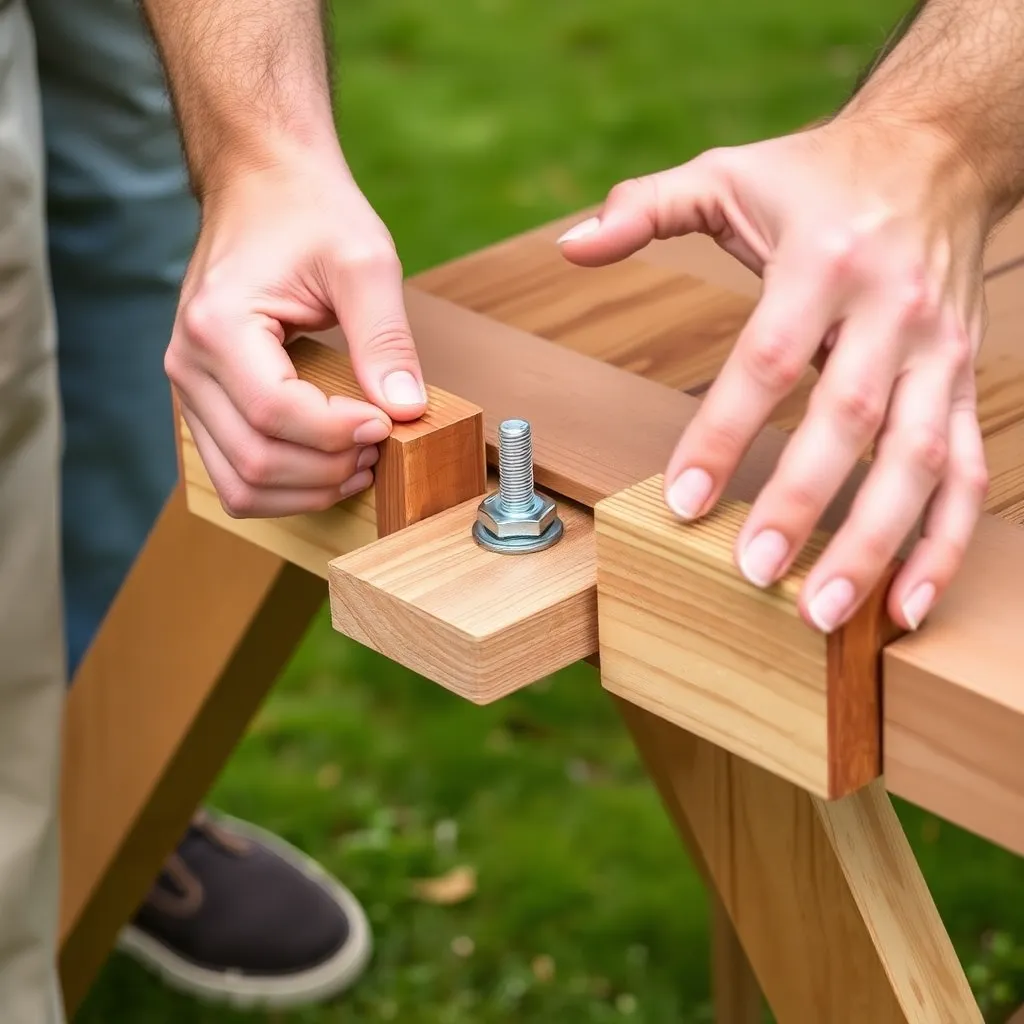
This is the step that brings the mechanism to life. The four carriage bolts connect the two side assemblies to the center table board assembly and allow the rotation that converts bench to table.
Position the center assembly between the side assemblies. Stand both side assemblies upright, parallel, with the inner seat board edges facing each other. Set the center table board assembly vertically between them (in bench position — folded down flat). The pivot board ends should align with the inner face of each side assembly’s inner leg, at a point 11 inches below the top of the inner leg.
Drill through and bolt. At the marked pivot point on each inner leg (11 inches from the top), drill a ⅜” hole through the leg and through the pivot board end behind it — both simultaneously while everything is clamped in position. Insert a ⅜” × 3½” carriage bolt through the leg from the outside, through the pivot board, and add a washer and wing nut on the inside. Tighten the wing nut until the pivot moves smoothly but without slop — not too tight (binds), not too loose (wobbles).
Repeat on the second side. Same process: drill through the inner leg and pivot board end, insert carriage bolt, add washer and wing nut.
Test the mechanism. With both pivot bolts installed, stand the table upright and push the two side assemblies inward toward each other. The center table boards should rise and become horizontal as the side assemblies angle inward. Pull the side assemblies outward to return to bench mode. If the mechanism binds or doesn’t move smoothly, check that both pivot bolts are at the same height on their respective legs.
Step 6: Final Adjustments and Finish
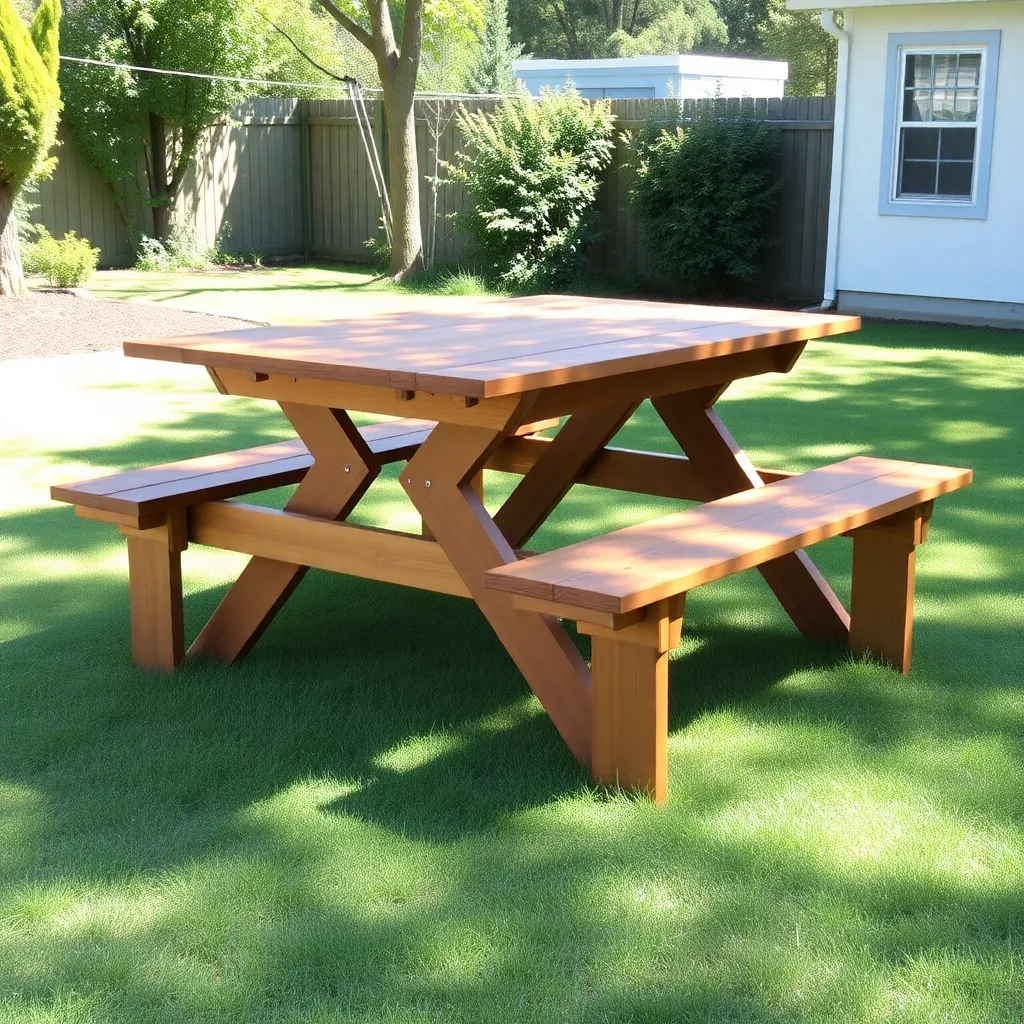
Add a table-position stop. In table mode, the side assemblies need something to prevent them from folding too far inward and collapsing. A simple solution: drill a ¼” hole through the inner leg and the seat support cleat at the point where the table is level, and insert a removable pin or bolt. When the table is opened to the correct angle, insert the pin to lock it in place. Some builders use a chain attached between the two side assemblies to limit inward travel — hook-and-eye hardware from the hardware store works perfectly for this.
Sand all surfaces. Use 80-grit to remove mill marks and rough spots, then 120-grit for a smooth finish on all seat and tabletop surfaces. Pay attention to the edges of the seat boards — sharp edges become uncomfortable quickly on a table used for long meals.
Finish the cedar. Apply a UV-blocking semi-transparent exterior oil stain to all surfaces, including the end grain cuts on the center table boards and leg ends. Cedar weathers quickly when the end grain is exposed — sealing it extends the table’s lifespan significantly. Apply one coat before assembly if possible (easier to reach all surfaces), then touch up after final assembly.
Storage position. In storage, fold the table to bench mode and stand it upright on its foot braces against a garage or shed wall. The 72-inch seat boards become the vertical dimension; the folded table footprint is approximately 14 inches deep — narrow enough to store in front of most garage wall shelving.
For more outdoor furniture designs, visit our picnic table plans hub.
Want 16,000+ step-by-step woodworking plans?
Ted’s Woodworking has plans for every skill level — from simple shelves to full bedroom sets. Each plan includes a cut list, material list, and detailed diagrams. Browse Ted’s plans →
Foldable Picnic Table Plans FAQ
How does a foldable picnic table work?
A convertible picnic table uses four pivot bolts connecting two bench assemblies to a central tabletop section. When you push the bench assemblies inward, the geometry lifts the center section to table height and the bench boards drop to bench height. The entire mechanism is passive — gravity and the pivot points do the work. No latches, no springs, no tools. Converting takes about 30 seconds once you’ve done it a few times.
What is the weight limit of a foldable picnic table?
A well-built cedar convertible picnic table handles 600–800 pounds of distributed load in table mode. The limiting factor is the pivot bolt connections — four ⅜” carriage bolts through cedar legs. In bench mode (fully open), each bench side handles about 300 pounds. For heavy-duty use, upgrade to ½” carriage bolts and use 2×6 boards for the legs instead of 2×4.
Can one person convert the foldable picnic table?
Yes — one person can convert the table by standing at one end and pushing both side assemblies simultaneously, or by pushing one side while steadying the other with a knee. The table weighs about 65 pounds, so it stays in position while you work the mechanism. First-time conversion is easier with a helper until you get the feel for how much force is needed.
How much space does a foldable picnic table need?
In table mode, the footprint is approximately 72 inches long by 58 inches wide — the same as a standard picnic table. In bench mode (fully open), the width increases to about 72 inches side to side (the full bench spread). In storage (folded flat, standing upright), the footprint is 72 inches tall by 14 inches deep by 28 inches wide — stands flat against a wall.
What wood is best for a foldable picnic table?
Cedar is the best choice — lighter than pressure-treated pine by about 30%, which matters on a table you’ll convert and move regularly, while remaining naturally rot-resistant outdoors. If weight isn’t a concern and budget is tight, pressure-treated pine works fine with the same dimensions. Avoid MDF or untreated pine — both deteriorate quickly outdoors.
Can I make a foldable picnic table longer or shorter than 6 feet?
Yes, with caveats. The seat boards can be any length — 4 feet makes a compact two-person table, 8 feet seats eight. The center table boards and pivot board lengths stay fixed (they determine the table width, not the length). The leg lengths and pivot bolt positions don’t change with table length. The main risk with longer tables (8+ feet) is flex in the center table boards — add a third center board or use 2×8 boards for the center section on tables over 7 feet.

“DIY woodworking enthusiast who started with zero experience and a YouTube tutorial.
I build simple, practical projects for my home and share free plans
so other beginners can skip the guesswork.If I can build it, you can too.”