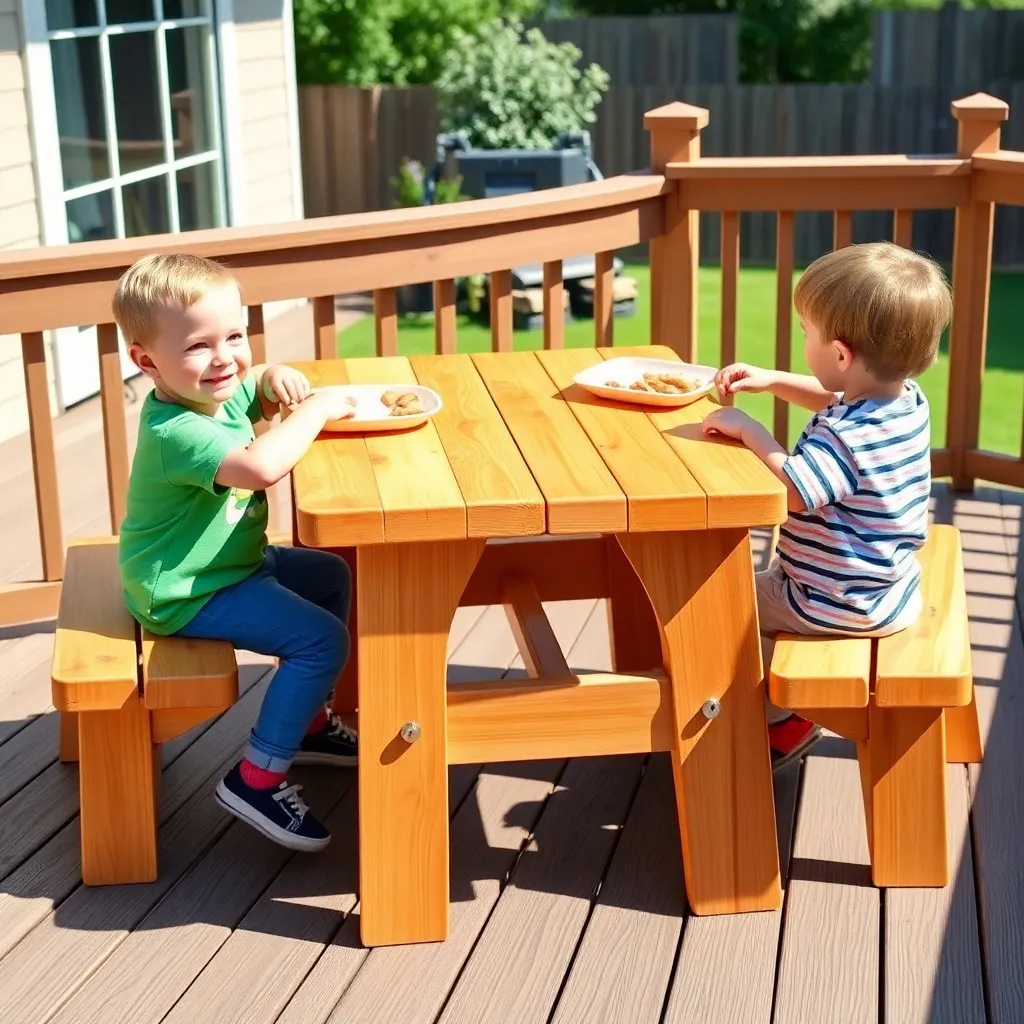
A kids picnic table scaled to the right dimensions makes outdoor meals, crafts, and play completely different for young children — they can sit comfortably, reach the surface without straining, and climb in and out independently. An adult table is simply too tall: a toddler’s feet dangle, their elbows barely clear the edge, and the whole experience is awkward. A properly sized kids table turns outdoor time into something they actually want to use.
These kids picnic table plans build a 36-inch long table with a 20-inch table height and 11-inch bench height — proportioned for children ages 2 through 8. Built from untreated cedar so there are no chemical concerns for kids who touch, lick, and sit on everything, and sized to fit on a deck, patio, or in a playroom without taking over the space.
Want 16,000+ step-by-step woodworking plans?
Ted’s Woodworking has plans for every skill level — from simple shelves to full bedroom sets. Each plan includes a cut list, material list, and detailed diagrams. Browse Ted’s plans →
Step 1: Choose the Right Size for Your Children’s Ages
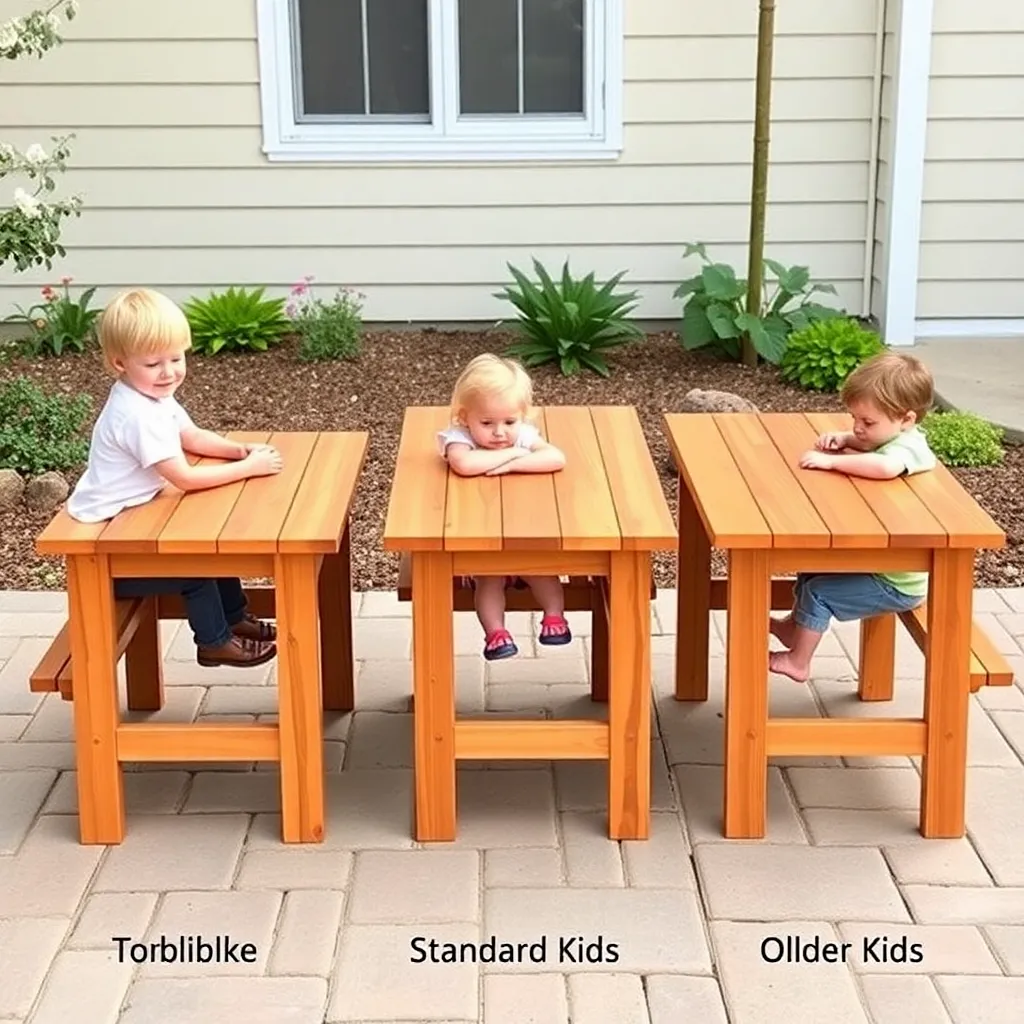
Kids grow fast and a table that fits a 3-year-old perfectly is cramped for a 7-year-old. These plans use a medium size that works well across the 2–8 age range, but the dimensions can be adjusted at the cutting stage for older or younger children.
Standard dimensions for this build (ages 2–8):
- Table length: 36 inches (seats 4 young children)
- Table width: 36 inches total (including bench overhangs)
- Table height: 20 inches
- Bench height: 11 inches
- Bench seat depth: 9 inches
Size adjustments by age:
| Age Range | Table Height | Bench Height | Table Length |
|---|---|---|---|
| 1–3 years (toddler) | 16–18″ | 8–10″ | 24–30″ |
| 2–8 years (this plan) | 20″ | 11″ | 36″ |
| 5–12 years (older kids) | 22–24″ | 13–14″ | 48″ |
Choosing lumber. Use untreated cedar for a kids table — cedar heartwood is naturally rot-resistant without the chemical preservatives used in pressure-treated lumber. Children handle the wood constantly, and the light color and smooth grain of cedar finishes nicely with a child-safe exterior oil or left unfinished to weather naturally. Select boards with tight, straight grain and no large loose knots; kids tables take a lot of abuse and knots can pop out under impact.
Step 2: Materials and Cut List
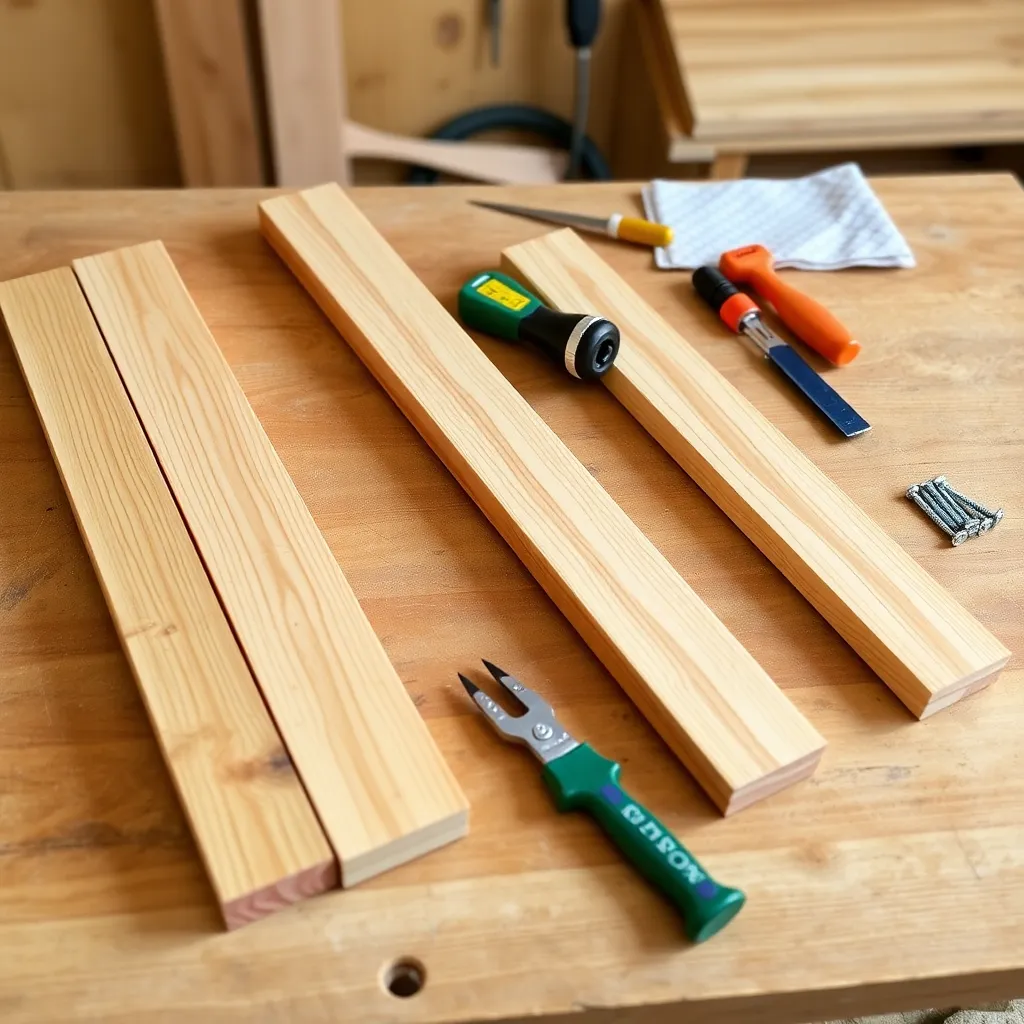
This build uses 1×6 and 1×4 cedar boards rather than the heavier 2× lumber used in adult picnic tables — the lighter lumber keeps the table at a manageable weight (about 25 pounds) and the proportions correct for a smaller table.
| Part | Qty | Length | Board Size | Notes |
|---|---|---|---|---|
| Tabletop boards | 3 | 36″ | 1×6 cedar | 90° end cuts |
| Bench boards | 4 | 36″ | 1×6 cedar | Two per bench |
| Leg boards | 4 | 22″ | 1×4 cedar | Both ends at 30° parallel |
| Top frame braces | 2 | 18″ | 1×4 cedar | Connects leg assemblies under tabletop |
| Leg spreader | 1 | 36″ | 1×4 cedar | Bottom crosspiece between assemblies |
| Bench cleats | 2 | 10″ | 1×4 cedar | Supports bench boards on each side |
| Carriage bolts | 4 | ¼” × 2″ | — | At leg crossing points |
| Exterior screws | 1 box | 1¼” and 2″ | — | Stainless or coated |
Total estimated cost: $45–70 depending on cedar grade and region.
Tools needed: Circular saw or handsaw, drill/driver, tape measure, speed square, clamps.
Step 3: Cut the Legs and Build the Two Leg Assemblies
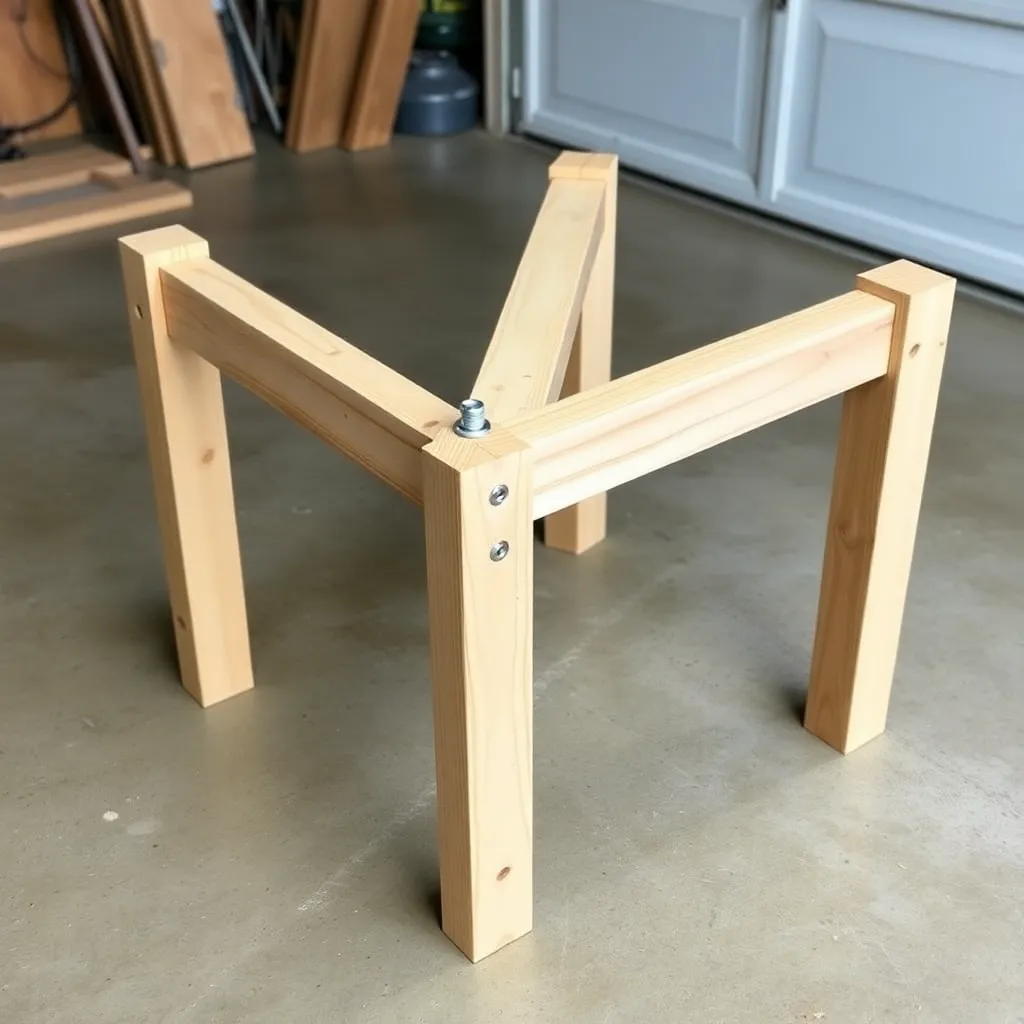
The leg assembly follows the same X-frame pattern as an adult picnic table, just smaller and using 1×4 boards instead of 2×6. Each leg assembly is two boards crossing in an X, held at the crossing point with a carriage bolt.
Cut the leg boards. Each of the four leg boards is 22 inches long with both ends cut at 30 degrees in the same direction (parallel cuts). The 30-degree cut is identical to an adult picnic table — only the board length changes. Set your circular saw or miter saw to 30 degrees, cut a test scrap, then cut all four legs.
Form the X-frames. Lay two leg boards on a flat surface crossing in an X. The crossing point should be 14 inches from the ground when the assembly is stood upright — this puts the top of the X at the right height to support the 20-inch tabletop. Adjust the crossing point by sliding the boards against each other until the measurement is correct, then clamp.
Mark and drill the bolt hole. Clamp both boards firmly at the crossing point and drill a ¼” hole through both simultaneously. Insert a ¼” × 2″ carriage bolt, add a washer and nut on the back, and tighten until the joint is firm but not so tight the boards crack. The carriage bolt is the structural pivot of the leg assembly — use a bolt, not a screw.
Attach the bench cleats. The 10-inch 1×4 bench cleat connects the two legs horizontally at 11 inches from the ground (bench height). Position the cleat on the inside faces of both legs, check that it’s level, and fasten with two 2″ screws into each leg — four screws per cleat.
Build the second leg assembly as a mirror image. Set both upright side by side to confirm they match in height and spread.
Step 4: Install the Top Frame and Spreader
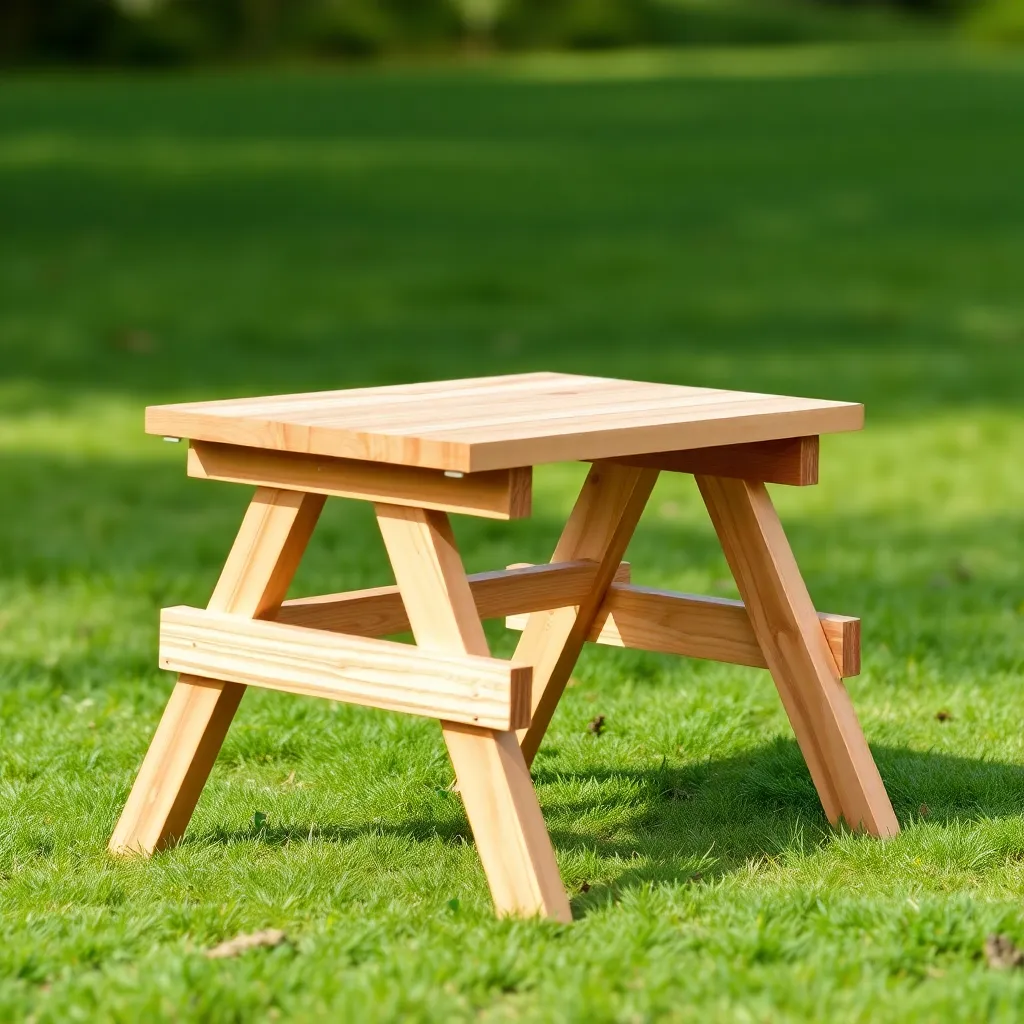
The top frame braces and leg spreader connect the two leg assemblies into a rigid base before the tabletop boards go on.
Space the leg assemblies. Stand both leg assemblies upright, 27 inches apart (outside face to outside face). This spacing positions the legs correctly under the 36-inch tabletop with appropriate overhang on each end.
Attach the top frame braces. Lay an 18-inch 1×4 brace across the top of both leg assemblies, resting in the V-notch where the legs cross. The brace sits flat, perpendicular to the leg boards. Drive two 2″ screws down through the brace into each leg top — four screws per brace. With both braces in place, the two leg assemblies are now locked in parallel.
Add the leg spreader. The 36-inch 1×4 spreader connects the bottom of both leg assemblies on the inside, running parallel to the tabletop direction. Center it (18 inches from each end) and fasten with two 2″ screws into the inside face of each leg base. The spreader keeps the legs from splaying outward and is what makes the finished table feel solid rather than wobbly.
Step 5: Install the Tabletop and Bench Boards
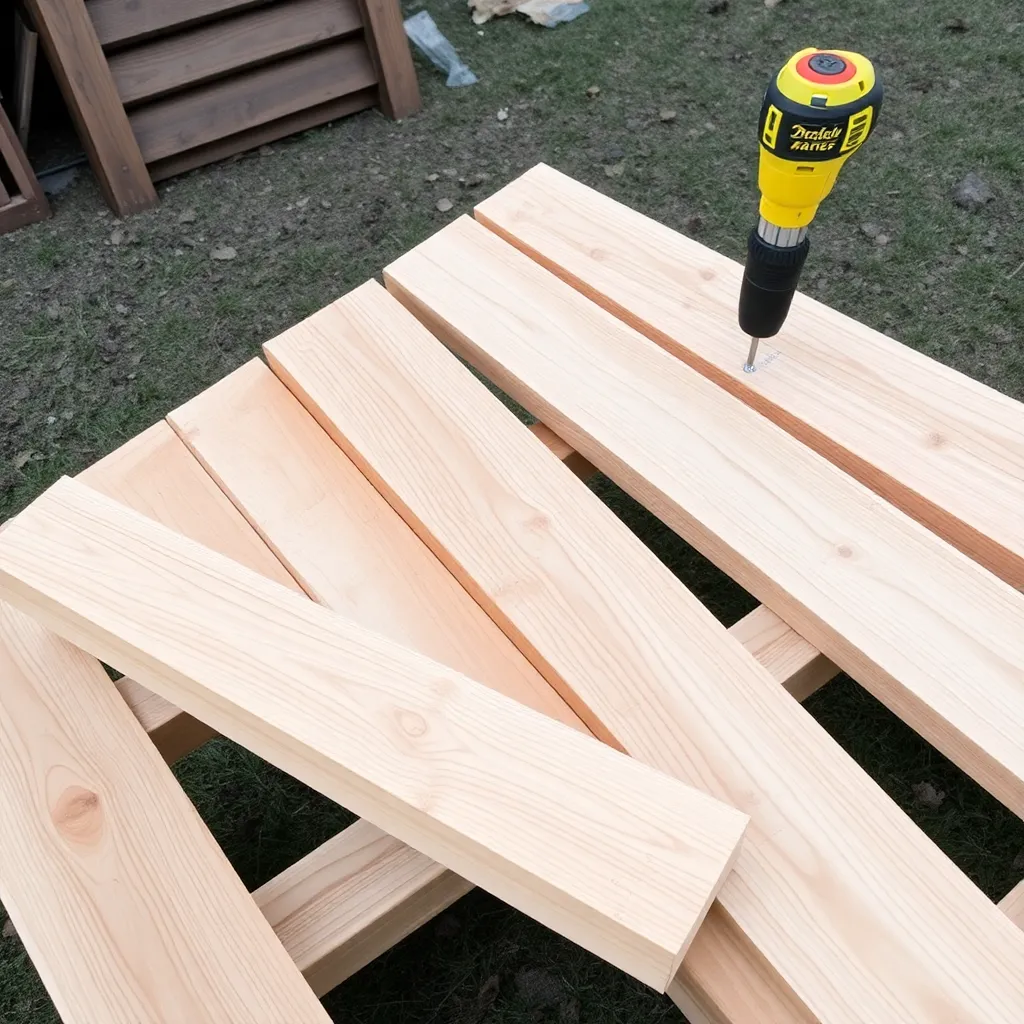
With the base complete, the tabletop and bench boards go on quickly. The process is the same as an adult table — boards laid perpendicular to the leg assemblies, spaced for drainage and wood movement, fastened with exterior screws.
Install the three tabletop boards. Lay the three 36-inch 1×6 boards across the two top frame braces, centered side to side. Use a ¼-inch spacer (a 16d nail works perfectly) between each board. The outer boards should overhang the outer frame brace by about 1 inch on each side. Fasten each board with two 1¼” screws per brace — twelve screws total across the three boards. Pre-drill to avoid splitting the thinner 1× boards.
Install the bench boards. Lay two 1×6 boards across the bench cleat on each side of the table, one per bench side. The outer edge of the outer board should align with the outer face of the leg assembly. Use a ¼-inch gap between the two bench boards on each side. Fasten with two 1¼” screws per board per cleat.
Check for square and stability. Set the finished table on a flat surface and press down on each corner — it should not rock. If it rocks, identify which leg is long and trim a small amount from that leg’s foot with a handsaw. On uneven outdoor surfaces, place a plastic furniture glide under the short leg rather than trimming.
Step 6: Sand and Finish for Young Children
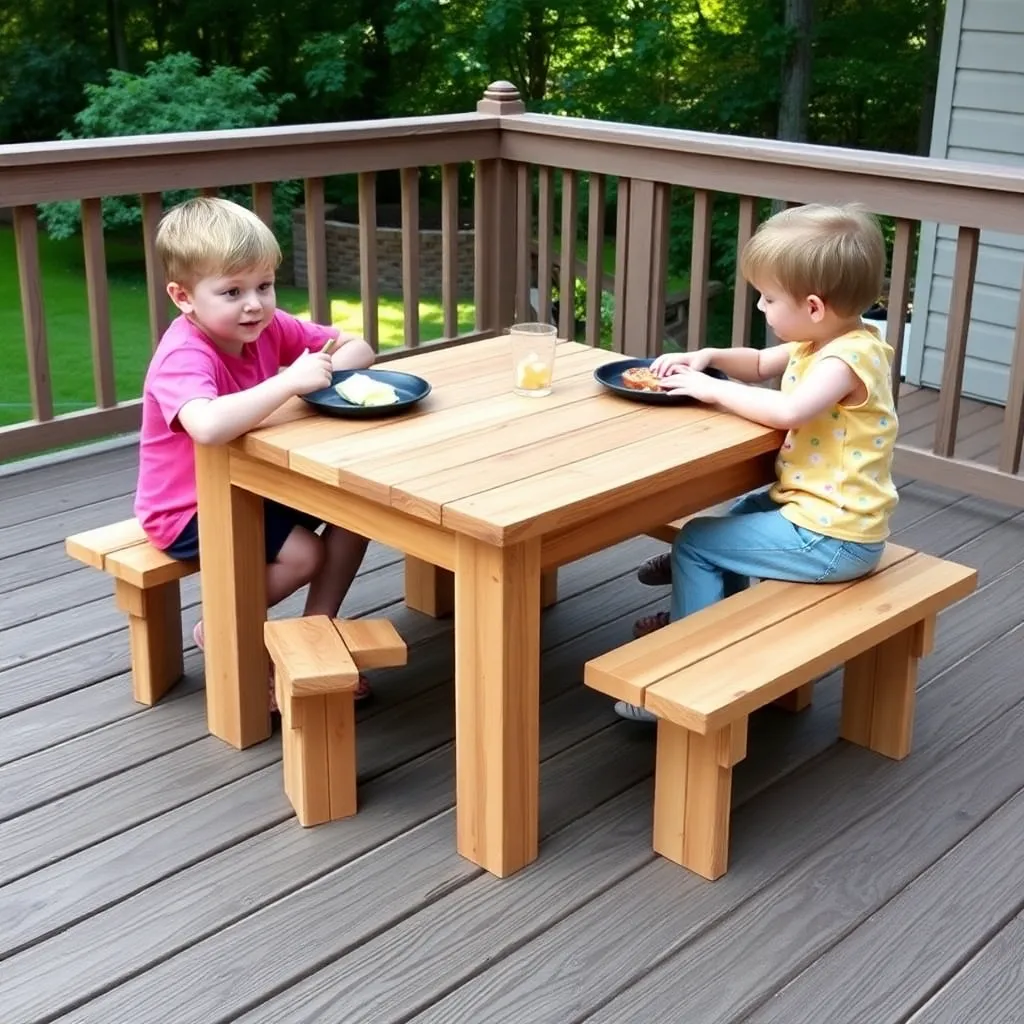
A kids table needs more careful surface preparation than an adult table — children sit close, run their hands over every surface, and occasionally chew on things. Take extra time here.
Sand thoroughly. Start with 80-grit to remove mill marks and any rough spots, then move to 120-grit across all flat surfaces, and finish with 180-grit on any edges and corners children will contact. Round every sharp corner and edge with the sandpaper — run it in a circular motion at each corner until you feel a smooth radius rather than a sharp edge. This is the most important safety step.
Finish options for a kids table:
- Unfinished cedar (simplest): Cedar weathers to a soft silver-grey outdoors. No finish means no finish to chip, peel, or transfer to little hands. The surface remains smooth for several seasons before needing a light sanding to remove weathering roughness. This is the most common choice for outdoor kids tables.
- Child-safe exterior oil (best durability): A food-safe finishing oil (pure tung oil, linseed oil, or a commercial “child safe” exterior wood finish) penetrates the cedar and protects it without forming a film that can chip. Apply two coats, letting the first dry fully before the second. Reapply every 1–2 years.
- Exterior paint: If you want color, use an exterior-grade latex paint — no lead, no VOCs after curing. Bright colors (red, yellow, green) make the table more visually engaging for young children. Paint the underside and ends of all boards, not just the visible surfaces, to prevent moisture entry.
For more outdoor furniture plans in multiple sizes, visit our picnic table plans hub.
Want 16,000+ step-by-step woodworking plans?
Ted’s Woodworking has plans for every skill level — from simple shelves to full bedroom sets. Each plan includes a cut list, material list, and detailed diagrams. Browse Ted’s plans →
Kids Picnic Table Plans FAQ
What height should a kids picnic table be?
Table height should match the child’s seated elbow height plus 2–4 inches for comfortable working clearance. For toddlers (ages 1–3), 16–18 inches is correct. For the common 2–8 age range, 20 inches works well for most children. For older kids ages 5–12, 22–24 inches is appropriate. When in doubt, err on the side of slightly taller — children can always lean forward to work, but can’t add height if the table is too short.
How long does it take to build a kids picnic table?
About 2–3 hours for someone who has built furniture before, or 3–4 hours for a first-time builder. The kids table is simpler than an adult version because it uses lighter 1× lumber (easier to handle solo), shorter boards (fewer long cuts), and fewer total pieces. It’s a good first woodworking project for a parent who wants to learn the process before building the full adult version.
Is pressure-treated wood safe for a kids picnic table?
Modern pressure-treated lumber (post-2004, using copper-based ACQ or CA preservatives rather than the older arsenic-based CCA) is considered safe for residential use including children’s outdoor furniture by the EPA. However, cedar is the better choice for a kids table: it requires no chemical treatment, looks better, is lighter and easier to work with, and you’ll feel better about small children handling it constantly. The modest cost difference between untreated cedar and pressure-treated pine for a small table like this is not worth the peace-of-mind trade-off.
Can I build a kids picnic table with a handsaw?
Yes — all cuts in this plan are either 90 degrees (straight crosscuts) or 30 degrees (angled leg cuts). A handsaw makes clean 90-degree cuts easily. For the 30-degree leg cuts, a miter box handsaw or a Japanese-style pull saw gives the most accurate results without a power saw. The 1×4 and 1×6 boards used in this plan are thin enough that a sharp handsaw moves through them quickly. Total hand-cutting time for all pieces: about 30–40 minutes.
How many children does a 36-inch kids picnic table seat?
Four young children seat comfortably at a 36-inch table — two per bench side. Children ages 2–5 average about 8–10 inches of shoulder width, so 36 inches easily accommodates two per side with elbow room. For larger groups or older children (ages 6–10), build the 48-inch version instead: extend all 36-inch tabletop and bench boards to 48 inches and use 36-inch top frame braces instead of 18-inch braces. No other dimensions change.
How do I keep a kids picnic table from tipping over?
The X-frame leg design is inherently stable — the base is wider than the top, so tipping is very difficult under normal use. The main tipping risk is a child standing on one bench while the opposite bench is unweighted. Add stability with a wider leg spread (increase the bottom spread of each leg assembly from 30 to 34 inches) or fasten the leg spreader to a deck surface with a screw-in furniture anchor. For a table used on grass, drive two 8-inch landscape stakes through pre-drilled holes in the leg spreader into the ground.

“DIY woodworking enthusiast who started with zero experience and a YouTube tutorial.
I build simple, practical projects for my home and share free plans
so other beginners can skip the guesswork.If I can build it, you can too.”