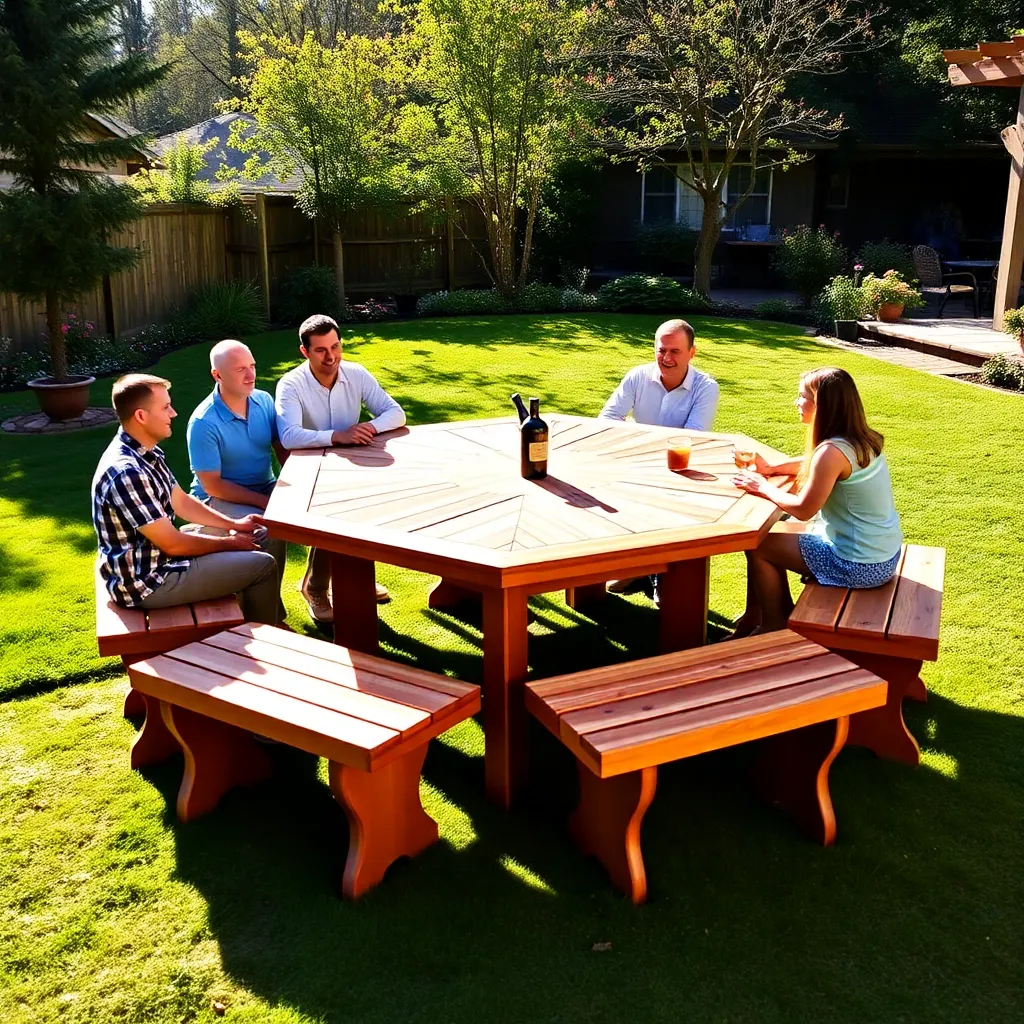
A hexagonal picnic table seats six people with no bad seats. Every position has the same amount of bench space, the same distance to the center, and the same view of every other person at the table. No one is wedged into a corner, no one is marooned at the end. For families that eat together regularly, it’s the most sociable outdoor table shape available.
The hex table is more involved to build than a rectangular design — every cut involves a 30-degree angle — but nothing here requires skills beyond what a confident beginner with a miter saw can execute. The geometry is consistent and forgiving: once you understand that every angle in the build is either 30 or 60 degrees, the whole project clicks into place.
These plans build a hexagonal picnic table 72 inches across flat sides, seating six adults with 24 inches of bench space each, from cedar with a central support post and six attached bench sections.
Want 16,000+ step-by-step woodworking plans?
Ted’s Woodworking has plans for every skill level — from simple shelves to full bedroom sets. Each plan includes a cut list, material list, and detailed diagrams. Browse Ted’s plans →
Step 1: Understand Hexagonal Geometry Before You Cut
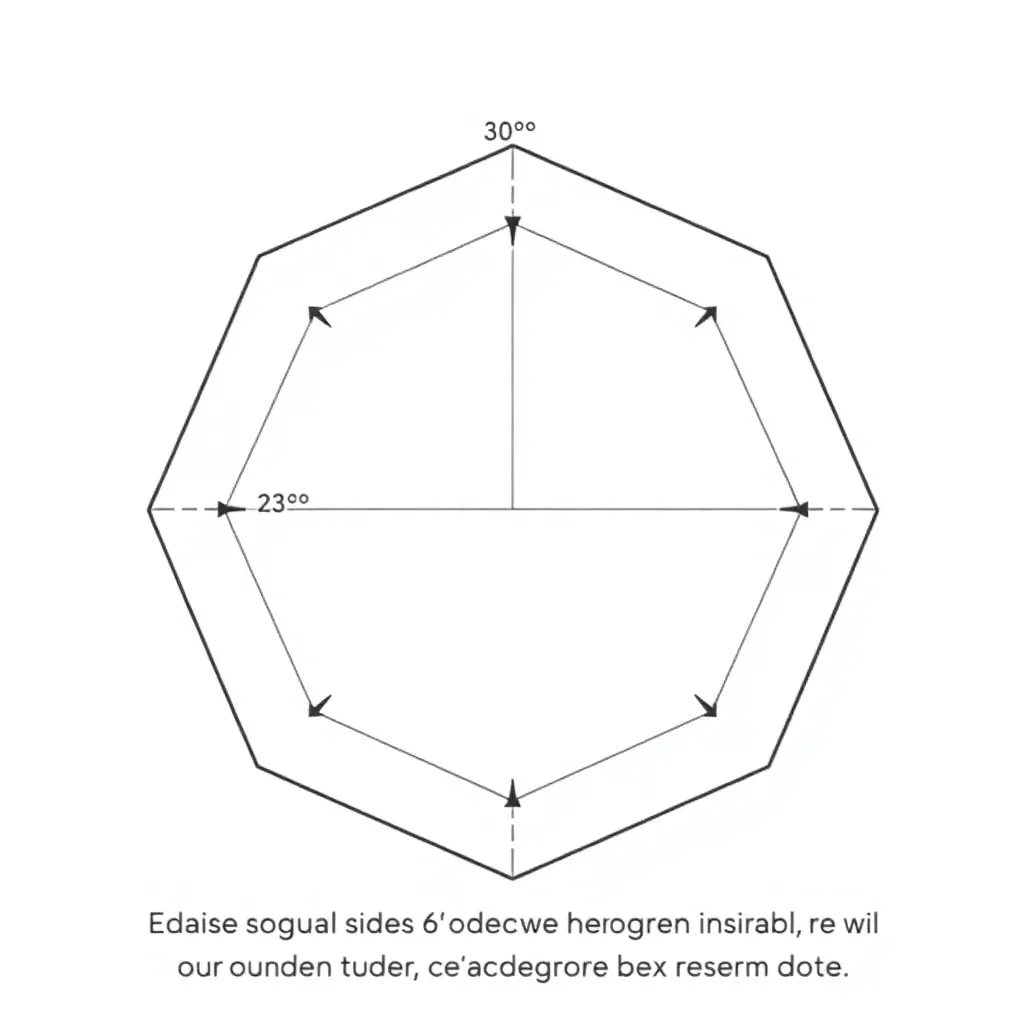
Every cut in a hexagonal picnic table traces back to one fact: a regular hexagon has six equal sides and six interior angles of 120 degrees. When you cut a miter at the end of a board to form one side of the hexagon, you’re cutting at 30 degrees from square (90 − 60 = 30). This single angle governs the entire build.
The angles you’ll use:
- 30 degrees: All miter cuts on tabletop boards, bench boards, and frame members where boards meet at the hexagon corners
- 60 degrees: The interior angle at each corner of the assembled hexagon (the result of two 30-degree miters meeting)
- 90 degrees: End cuts on the center post, support cleats, and leg pieces
The three structural zones:
- Tabletop: Six trapezoidal sections radiating from center, assembled into a hexagonal top
- Center support: A 4×4 post or hub assembly that the tabletop sections sit on
- Bench sections: Six bench platforms attached to the perimeter, one per side, each with two legs
Quick sanity check before cutting: Set your miter saw to 30 degrees and cut a test miter on a scrap. Flip the scrap end-for-end (keeping the same face up) and mate the two cut ends together — you should get a 60-degree inside corner. This is exactly what every tabletop board joint will look like. If it doesn’t close flush, re-check your saw angle before cutting real lumber.
Step 2: Materials and Cut List
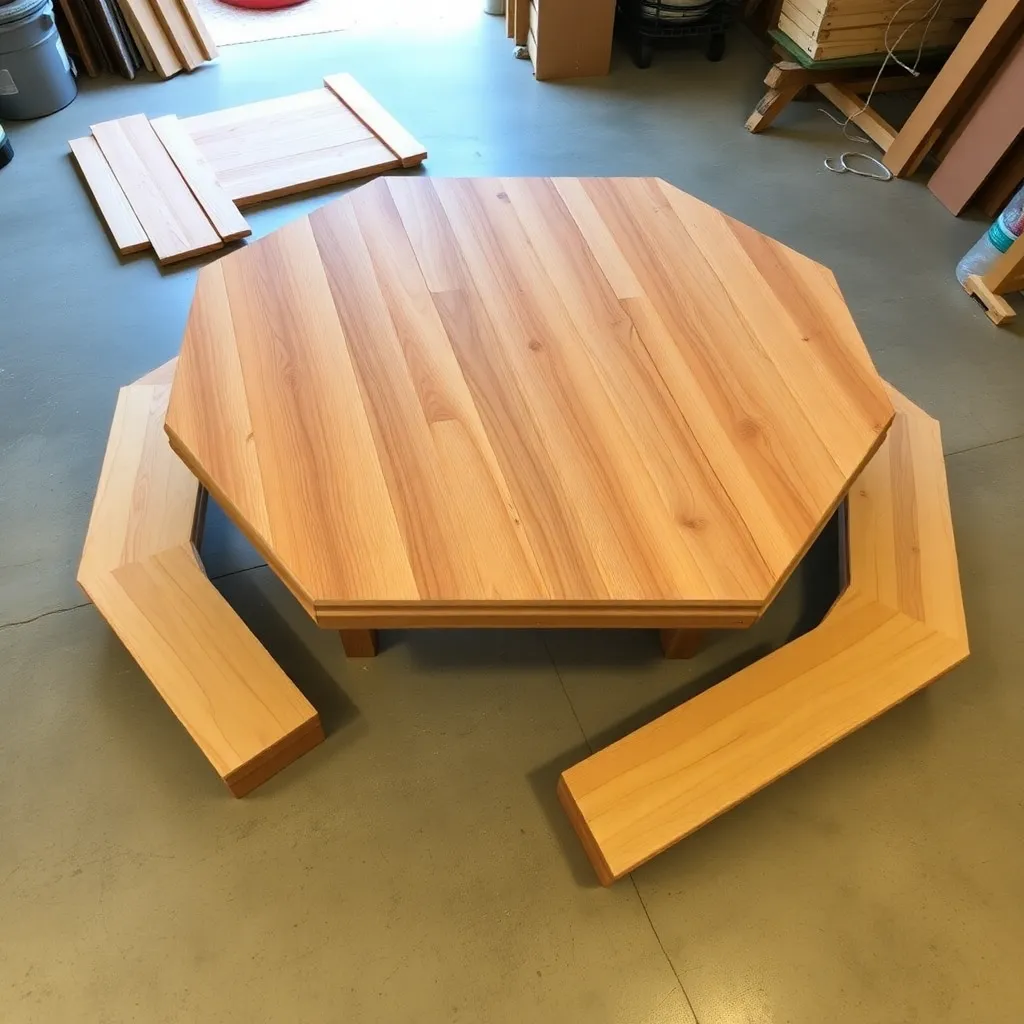
A hexagonal table of this size uses more lumber than a 6-foot rectangular table, and the miter cuts create offcuts you can’t reuse. Order 15% extra board footage to account for waste at the angled cuts.
| Part | Qty | Length | Board Size | Miter |
|---|---|---|---|---|
| Tabletop outer boards | 6 | 36″ | 2×6 cedar | 30° both ends, opposing |
| Tabletop inner boards | 6 | 18″ | 2×6 cedar | 30° both ends, opposing |
| Tabletop center hexagon | 1 | 10″ across flats | ¾” ext. plywood | Cut to hex shape |
| Center post | 1 | 26″ | 4×4 cedar | 90° both ends |
| Center post top plate | 1 | 12″×12″ | ¾” ext. plywood | Square, connects post to top |
| Bench boards (outer) | 6 | 30″ | 2×6 cedar | 30° both ends, opposing |
| Bench boards (inner) | 6 | 15″ | 2×6 cedar | 30° both ends, opposing |
| Bench support frames | 6 | 14″ | 2×4 cedar | 90° cuts |
| Bench legs | 12 | 16″ | 2×4 cedar | Top: 30° bevel; bottom: flat |
| Leg cross braces | 6 | 22″ | 2×4 cedar | 30° both ends |
| Exterior screws | 2 boxes | 2″ and 2½” | — | Stainless or coated |
| Lag screws | 12 | ¼” × 3″ | — | Leg-to-bench connections |
Total estimated cost: $185–255 depending on cedar grade and region.
Tools required: Miter saw (essential — hand cuts at 30 degrees are too imprecise for tight joints), circular saw, drill/driver, tape measure, speed square, clamps.
Step 3: Build the Six Tabletop Sections
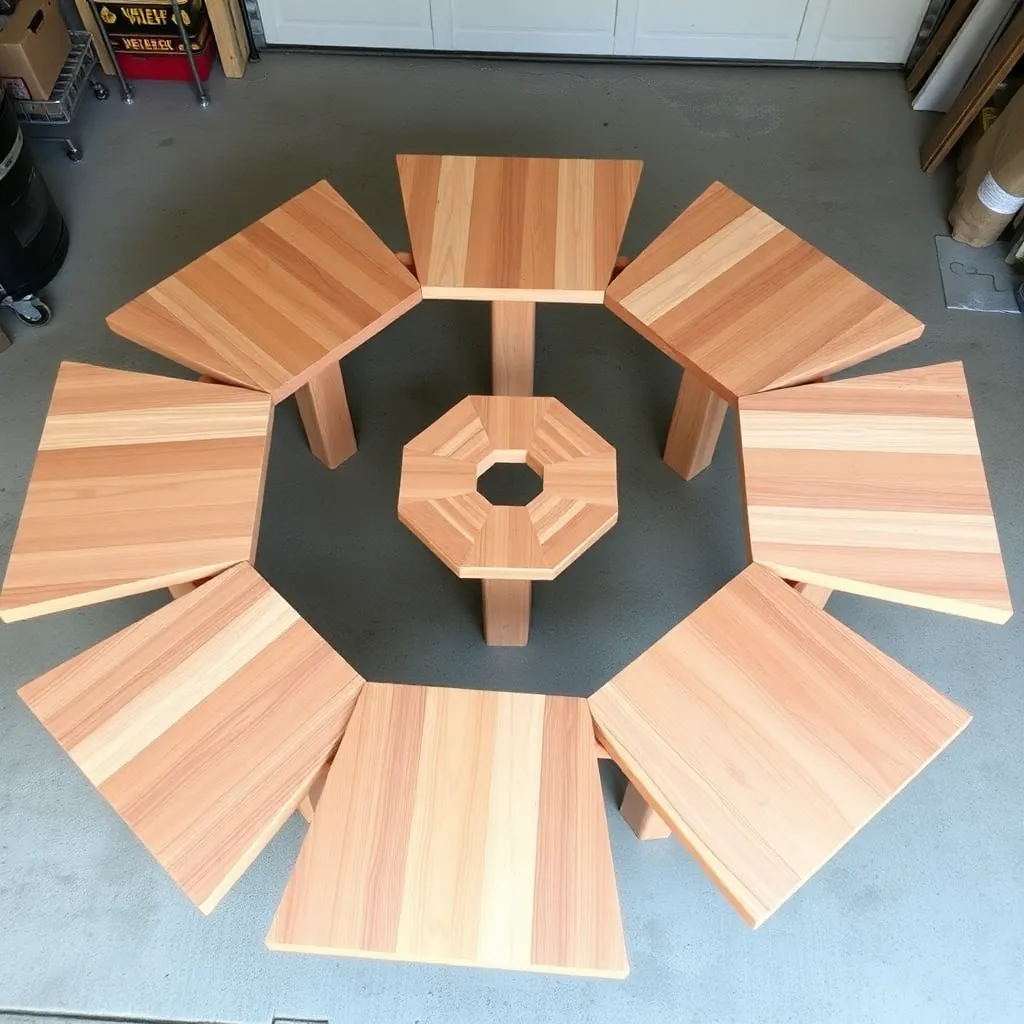
The tabletop is built in six identical trapezoidal sections that fit together around a central plywood hexagon. Building them identically is critical — any variation multiplies around the six sides and produces a top that doesn’t close correctly.
Cut all tabletop boards first. For each of the six sections, you need one outer board (36 inches, 30° opposing miters) and one inner board (18 inches, 30° opposing miters). “Opposing miters” means the two ends angle in opposite directions — like a trapezoid, wide at one end and narrow at the other. Set your miter saw to 30 degrees, cut one end of all 12 boards, then flip each board end-for-end and cut the second end. Cut all 12 boards before assembling anything — this keeps the angle consistent across all pieces.
Cut the center plywood hexagon. A regular hexagon with 10-inch flat-to-flat measurement has sides of approximately 5.77 inches. Mark it on ¾” plywood by drawing a circle with 5.77-inch radius (the circumscribed radius) and marking six points equally spaced around the circumference. Connect adjacent points with straight lines. Cut with a jigsaw. This small hexagon fills the center gap where the six inner boards meet.
Assemble the six sections. Lay one outer board and one inner board face-up on a flat surface, with the narrow (inner) end of the outer board mating against the wide (outer) end of the inner board. The two boards together form one trapezoidal section. Fasten them face-to-face with two 2½” screws driven at an angle from the outer board into the inner board end. Build all six sections identically.
Dry-fit the tabletop. Arrange the six sections in a ring around the center plywood hexagon, with all inner ends touching the hexagon edges. The outer ends form the hexagonal perimeter. Check that all joints close flush — any gap means one section’s miter is slightly off. Identify and trim the offending board before proceeding.
Fasten the tabletop. Once the dry fit confirms everything closes properly, apply exterior glue to all mating surfaces and reassemble. Drive 2″ screws through adjacent sections at each perimeter corner joint. Screw down through each section into the center plywood hexagon from above. Add 2″ screws from below through the plywood hexagon up into each inner board. Let glue cure for 4 hours.
Step 4: Build and Install the Center Post
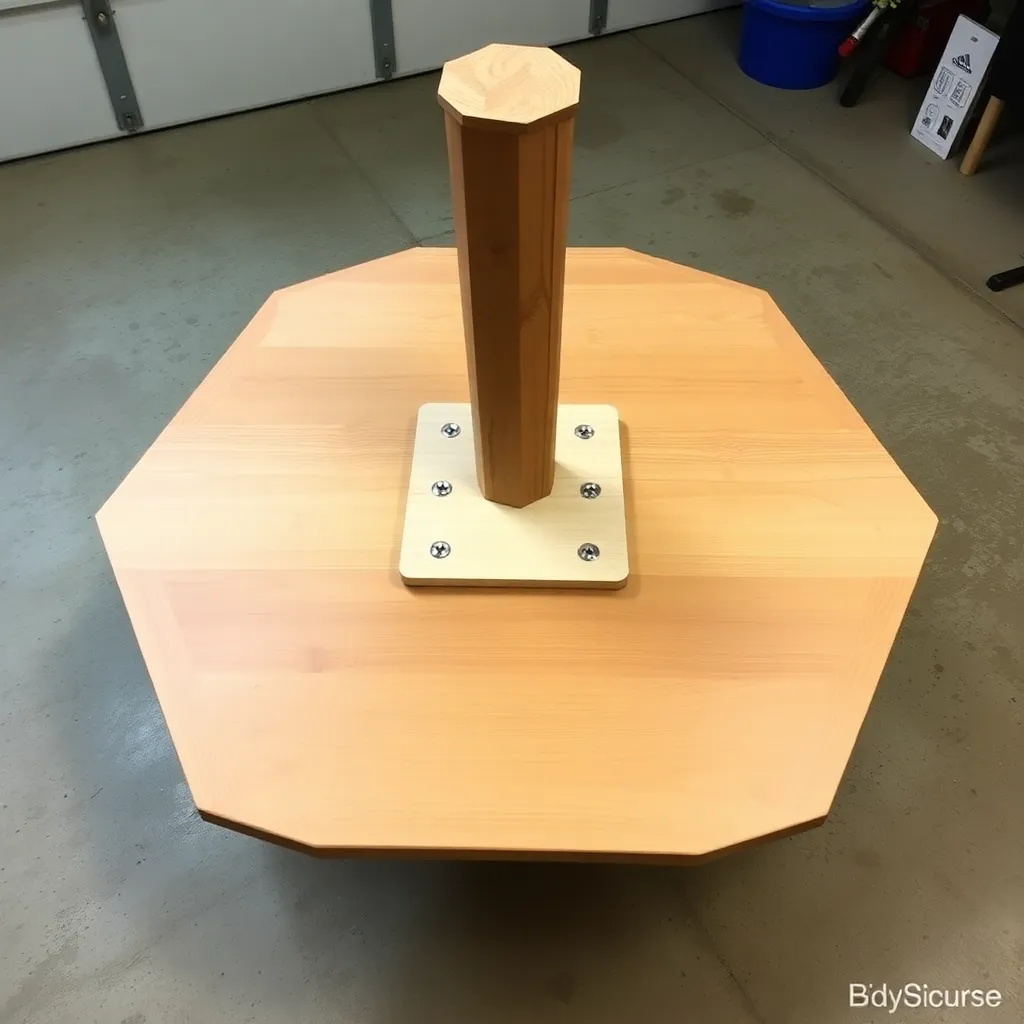
The center post is a 4×4 cedar column that carries the tabletop and transfers the load to the ground. It’s shorter than it looks — the table height is 30 inches, but the post is only 26 inches because the tabletop thickness (1.5 inches) and the top plate (¾ inch) account for the rest.
Cut the post to length. Cut the 4×4 to exactly 26 inches with square (90-degree) cuts on both ends. This length assumes ground contact at the base — if you’re installing on a deck with a post base, adjust the length to account for the hardware height.
Build the top plate connection. Cut a 12×12-inch square from ¾” plywood. Center this plate on the top of the 4×4 post and fasten with four 2½” screws driven from above. The plate provides a wider fastening surface for connecting the post to the tabletop underside.
Mark and fasten the tabletop. Flip the assembled tabletop face-down on a padded surface. Find the center of the underside (measure diagonals to locate it). Center the top plate over this point and fasten with eight 2″ screws — one per section, driven through the plate into the underside of each inner board. This distributes the load evenly across all six sections rather than concentrating it at the center hexagon alone.
Stand the table. With the post attached to the underside of the tabletop, stand the assembly upright. The table will be wobbly until the bench sections are added — they’re what stabilizes the perimeter. Support the table temporarily against a wall or with sawhorses while you build the bench sections.
Step 5: Build and Attach the Six Bench Sections
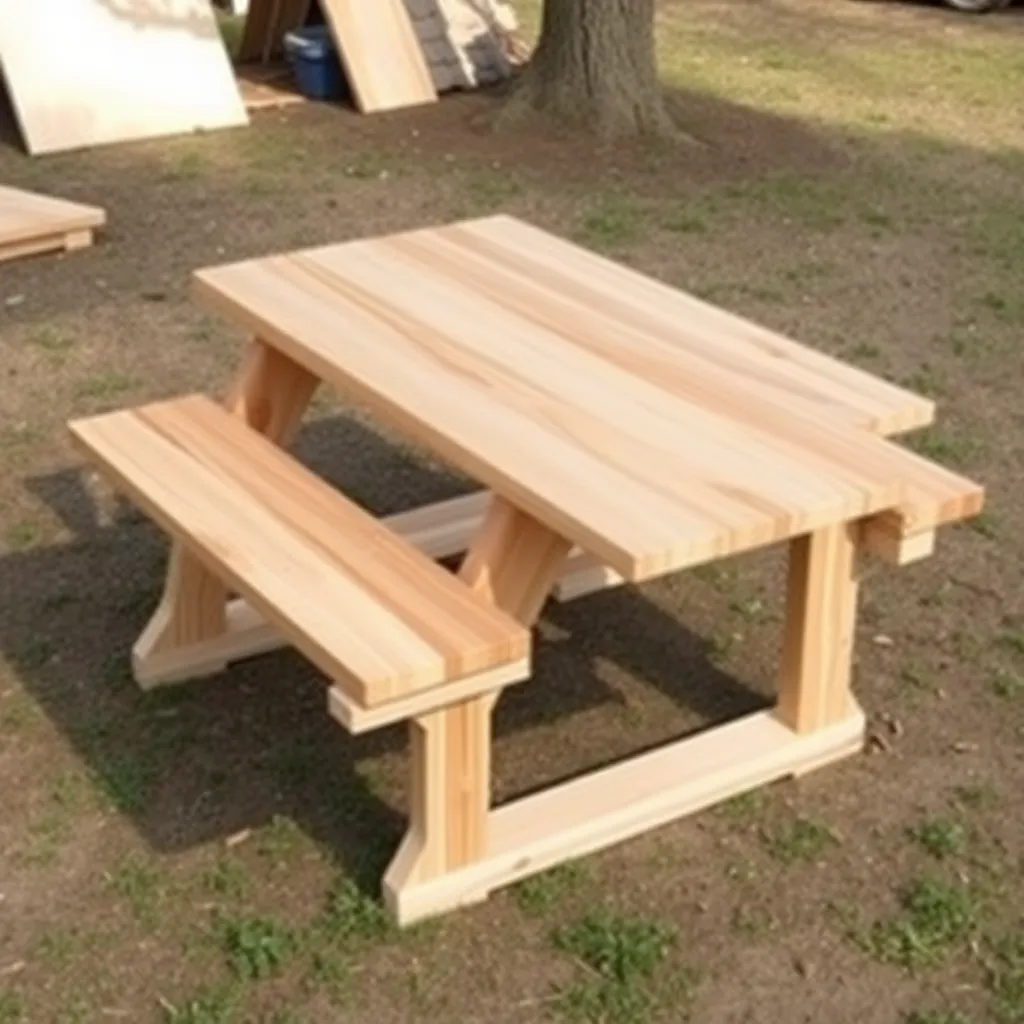
Six bench sections, one per side of the hexagon, transform the table from a top-heavy column into a stable, fully functional piece of furniture. Each bench section consists of two bench boards, a support frame, and two legs.
Build the bench support frames. Each 14-inch 2×4 support frame connects the two bench boards (outer and inner) on each side. Cut six frames to 14 inches with 90-degree cuts. Fasten the outer bench board (30 inches, 30° opposing miters) to the top of the frame with two 2″ screws. Fasten the inner bench board (15 inches, 30° opposing miters) flush with the inner edge of the frame. The frame becomes the structural backbone of each bench section.
Cut and attach the bench legs. Each bench section gets two 2×4 legs, 16 inches tall, with a 30-degree bevel on the top (to mate with the angled bench underside) and a flat 90-degree cut on the bottom. Fasten each leg to the outer end of the bench support frame with two ¼” × 3″ lag screws — pre-drill to prevent splitting. The legs extend outward from the table center, creating the characteristic splayed-leg silhouette of a hexagonal picnic table.
Add leg cross braces. A 22-inch 2×4 cross brace connects the two legs of each bench section horizontally, near the leg bottoms, preventing the legs from spreading under load. Cut both ends at 30 degrees (opposing) to match the leg angles. Fasten with two 2½” screws into each leg face.
Attach bench sections to the tabletop. Position each bench section against its corresponding side of the hexagonal tabletop, with the inner bench board flush against the tabletop outer edge. The bench inner board sits at bench height (17 inches from the ground when the table is set correctly). Fasten through the inner bench board into the tabletop outer board with three 2½” screws per section — this connection locks the bench to the table and triangulates the entire structure into rigidity.
Step 6: Final Assembly Check and Finish
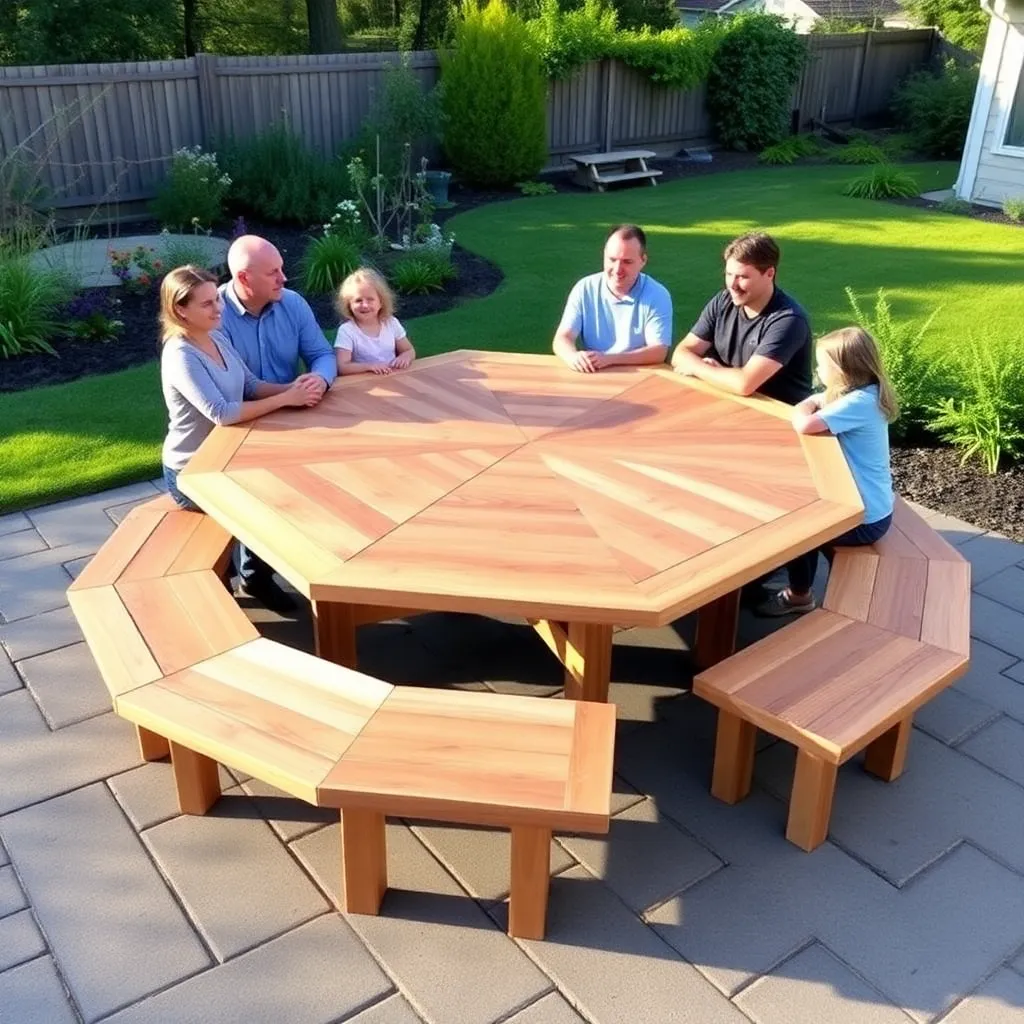
Level and adjust. Set the completed table on a flat surface and check for rocking. All six leg ends should contact the ground simultaneously. If the table rocks, identify the long leg by pressing each corner down and noting which diagonal pair lifts. Trim the offending leg(s) by small amounts — ⅛ inch at a time — until the table sits flat.
Sand all surfaces. Use 80-grit to remove mill marks and rough spots, 120-grit across all flat surfaces, and 180-grit on seat and tabletop surfaces. Round the sharp miter-cut edges at each perimeter corner — these are the spots people will brush against when sitting down, and a sharp 30-degree miter edge is uncomfortable. A few passes with folded 120-grit sandpaper around each corner is sufficient.
Apply exterior finish. A UV-blocking semi-transparent exterior oil stain (Cabot, TWP, or similar) applied to all surfaces protects the cedar and maintains its warm color. Pay extra attention to the miter-cut end grain at every perimeter corner — end grain absorbs water fastest and benefits from two coats. Apply with a brush, working into all the angled joints. Let dry fully (24 hours) before use.
For more outdoor table designs and plans, visit our picnic table plans hub.
Want 16,000+ step-by-step woodworking plans?
Ted’s Woodworking has plans for every skill level — from simple shelves to full bedroom sets. Each plan includes a cut list, material list, and detailed diagrams. Browse Ted’s plans →
Hexagonal Picnic Table Plans FAQ
What angle do you cut a hexagonal picnic table?
All miter cuts in a hexagonal picnic table are 30 degrees. This single angle produces every angled joint in the build — the tabletop board miters, the bench board miters, and the bench leg bevels. The interior angle at each assembled corner is 60 degrees (two 30-degree miters meeting). A miter saw set to 30 degrees handles every angled cut in the project; the only other angle used is 90 degrees for square cuts on posts and structural members.
How many people does a hexagonal picnic table seat?
A hexagonal picnic table 72 inches across flat sides (the size in these plans) seats six adults, one per side. Each person gets approximately 30 inches of bench space — more than the 24-inch minimum for comfortable seating. A smaller hex table 60 inches across flat sides seats six but more snugly (about 25 inches per person). For six people who want generous elbow room, 72 inches is the right size.
Is a hexagonal picnic table stable?
Yes — a hexagonal picnic table with six attached bench sections is exceptionally stable. The six outward-angled leg pairs create a base footprint approximately 96 inches across, far wider than the tabletop. The bench sections themselves provide triangulating rigidity that a standard rectangular table (with bench boards parallel to the table) can’t match. A well-built hex table won’t tip under any realistic outdoor use.
How much lumber does a hexagonal picnic table take?
A 72-inch hexagonal picnic table requires approximately 120–140 linear feet of 2×6 and 2×4 cedar, plus two quarter-sheets of ¾” exterior plywood. The miter cuts generate significant offcuts — plan on 15–20% waste compared to a rectangular table where most cuts are square. Buying slightly longer boards and planning your cut order minimizes waste.
Can I build a hexagonal picnic table without a miter saw?
Technically yes, but practically it’s very difficult. A miter saw makes consistent 30-degree cuts in seconds; a circular saw with a miter guide can make the same cuts but requires careful setup for each cut and is prone to slight variations that compound across twelve tabletop boards. A hand saw with a miter box can cut 30 degrees but is slow and tiring for this volume. If you don’t own a miter saw, this is a good project to justify the purchase — a basic 10-inch compound miter saw costs $100–150 and pays for itself on projects like this.
How long does a hexagonal picnic table take to build?
Plan for 6–8 hours spread over one or two days: 2 hours cutting all boards, 2 hours assembling the tabletop (including glue cure time), 2 hours building and attaching the six bench sections, and 1–2 hours sanding and finishing. The glue cure time (minimum 4 hours) is the natural breaking point between a two-day build — glue up the tabletop at the end of day one, finish the base and bench sections on day two.

“DIY woodworking enthusiast who started with zero experience and a YouTube tutorial.
I build simple, practical projects for my home and share free plans
so other beginners can skip the guesswork.If I can build it, you can too.”