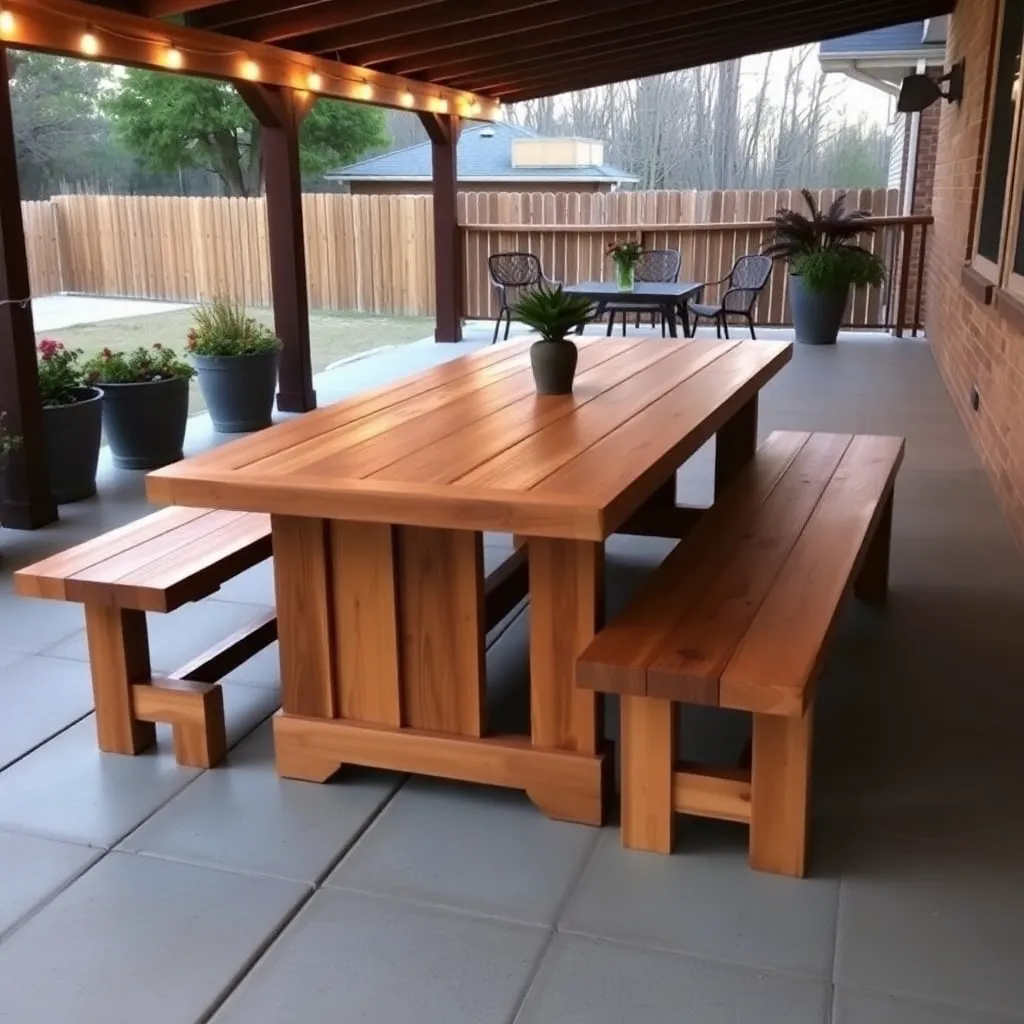
A farmhouse picnic table looks nothing like a standard picnic table. Where the classic design has angled legs and attached bench planks, the farmhouse version has straight vertical legs, a box frame base, thick 2×8 tabletop boards, and detached benches that can be moved independently. The result is outdoor furniture that reads as a dining table rather than a utility table — appropriate for a covered patio, an outdoor dining room, or a backyard entertainment space where the table is a visual anchor, not just a surface to eat on.
These farmhouse picnic table plans build a 72-inch table with a 2×8 tabletop, straight 4×4 leg posts, and two separate 66-inch bench seats. The table seats six to eight adults; the detached benches can be pulled out for guests or pushed under the table when not in use. Built from cedar, this table is heavier and more substantial than a classic picnic table, and it’s built to stay in one place rather than be moved seasonally.
Want 16,000+ step-by-step woodworking plans?
Ted’s Woodworking has plans for every skill level — from simple shelves to full bedroom sets. Each plan includes a cut list, material list, and detailed diagrams. Browse Ted’s plans →
Step 1: Plan the Design and Choose Your Lumber
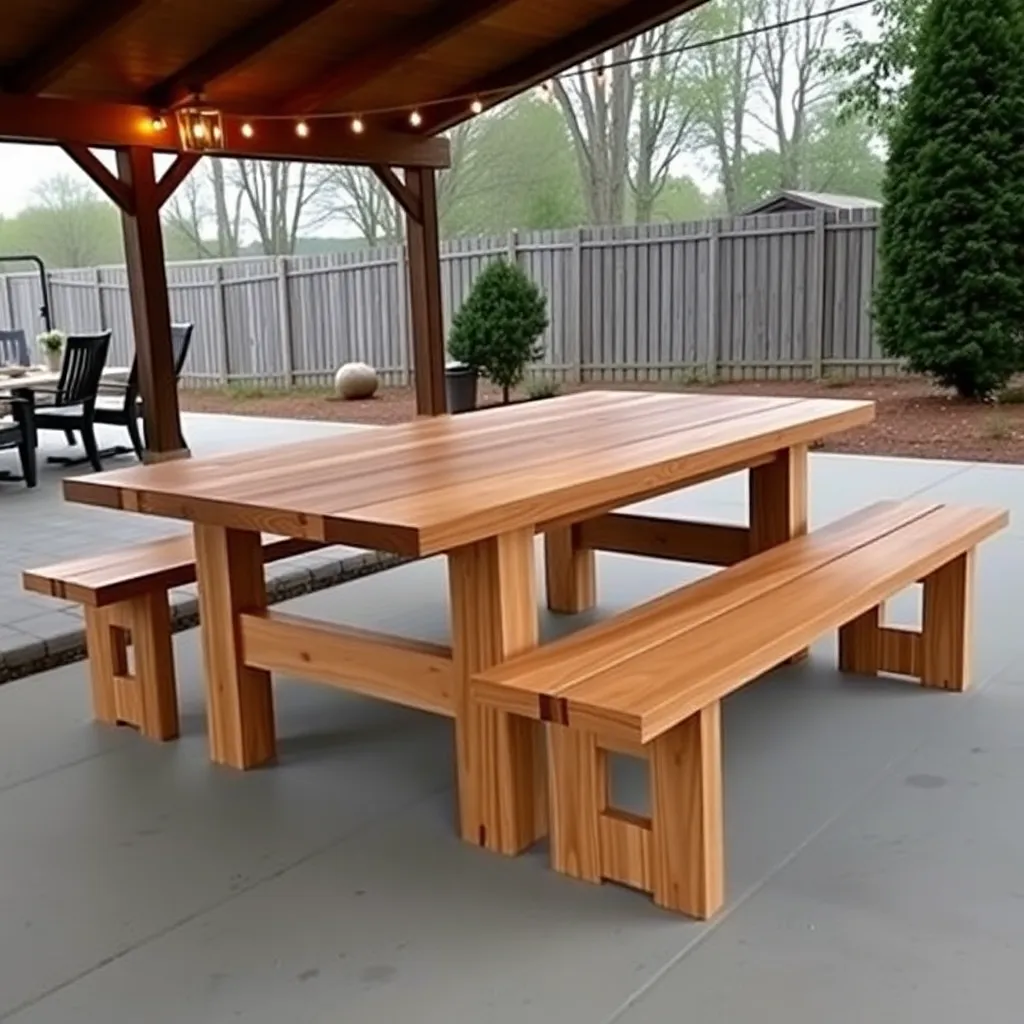
The farmhouse table’s structural difference from a classic picnic table is fundamental: instead of crossing angled leg boards that create an A-frame, this design uses four straight 4×4 posts joined by horizontal apron boards into a rigid box frame. Think of it as an outdoor version of a traditional farm dining table.
Key dimensions for this build:
- Tabletop length: 72 inches (6 feet)
- Tabletop width: 36 inches (three 2×8 boards)
- Table height: 30 inches
- Leg post height: 28¼ inches (tabletop adds 1¾”)
- Bench length: 66 inches
- Bench height: 18 inches
- Bench width: 11 inches (one 2×12 or two 2×6 boards)
Lumber selection. Cedar is the best choice for a farmhouse table that will live outdoors year-round — naturally rot-resistant, lighter than pressure-treated pine, and the straight-grained look of clear cedar suits the farmhouse aesthetic better than the knottier appearance of pine. For the 4×4 leg posts, select pieces that are straight and free of large knots at the mortise locations. For the 2×8 tabletop boards, choose boards with consistent grain and color — they’ll be the most visible part of the finished table.
Finish planning. A farmhouse table that’s left unfinished weathers to grey, which some people love. For a maintained appearance, plan to apply a semi-transparent exterior oil stain before assembly. The straight-grained cedar takes stain beautifully and a warm brown or grey-brown tone suits the farmhouse aesthetic well.
Step 2: Materials and Cut List
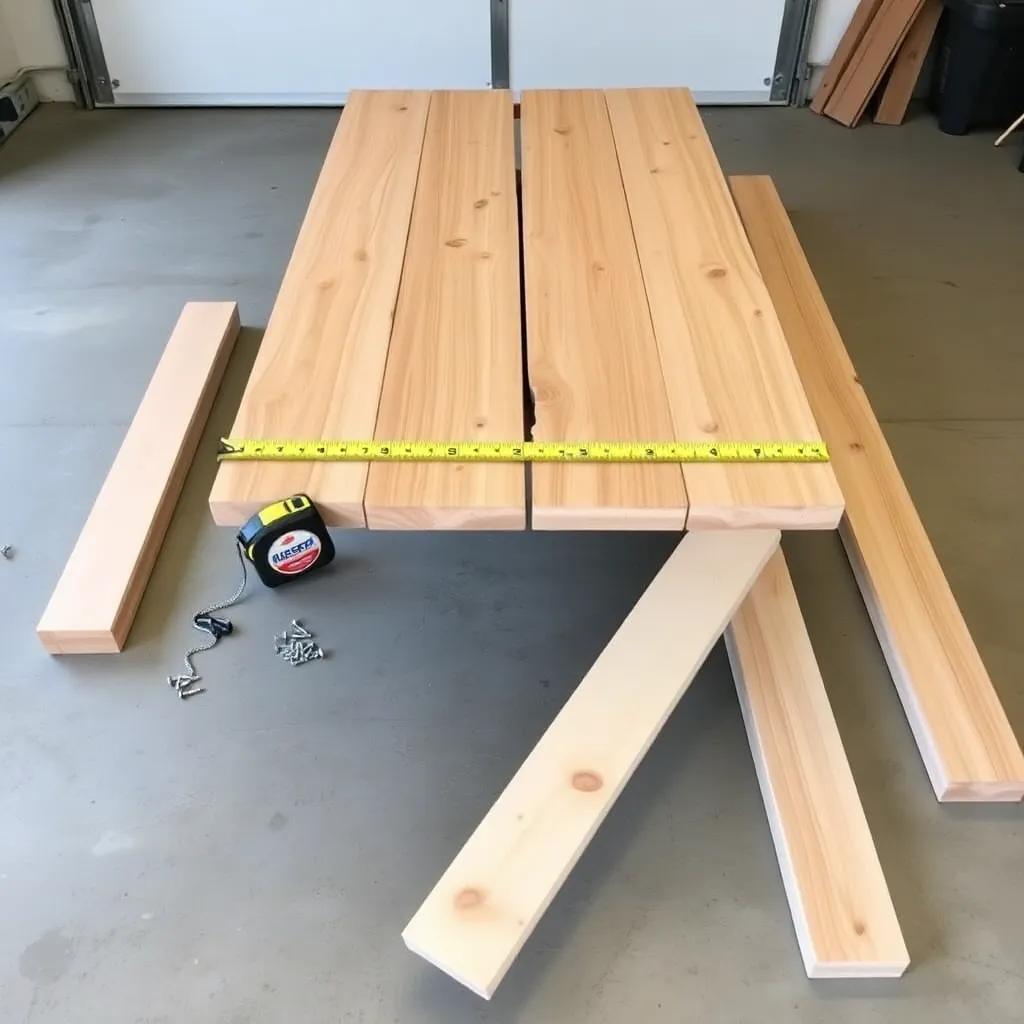
| Part | Qty | Length | Board Size | Notes |
|---|---|---|---|---|
| Tabletop boards | 3 | 72″ | 2×8 cedar | 90° end cuts |
| Leg posts | 4 | 28¼” | 4×4 cedar | 90° both ends |
| Long aprons | 2 | 65″ | 2×4 cedar | Run between leg pairs, length direction |
| Short aprons | 2 | 29″ | 2×4 cedar | Run between leg pairs, width direction |
| Tabletop cleats | 2 | 29″ | 2×4 cedar | Underside bracing, keep top flat |
| Bench tops | 2 | 66″ | 2×12 cedar | Or two 2×6 per bench |
| Bench legs | 8 | 16¼” | 2×4 cedar | 90° both ends |
| Bench aprons (long) | 4 | 56″ | 2×4 cedar | Two per bench |
| Bench aprons (short) | 4 | 7″ | 2×4 cedar | Two per bench |
| Lag screws | 16 | ⅜” × 3½” | — | Leg-to-apron connections |
| Exterior screws | 2 boxes | 2½” and 3″ | — | Stainless or coated |
| Pocket hole screws | 1 box | 1½” | — | Optional tabletop board joinery |
Total estimated cost: $165–230 depending on cedar grade and whether you use 2×12 or paired 2×6 for bench tops.
Tools needed: Circular saw or miter saw, drill/driver, pocket hole jig (optional but recommended), tape measure, speed square, clamps, router with roundover bit (optional).
Step 3: Build the Table Base Frame
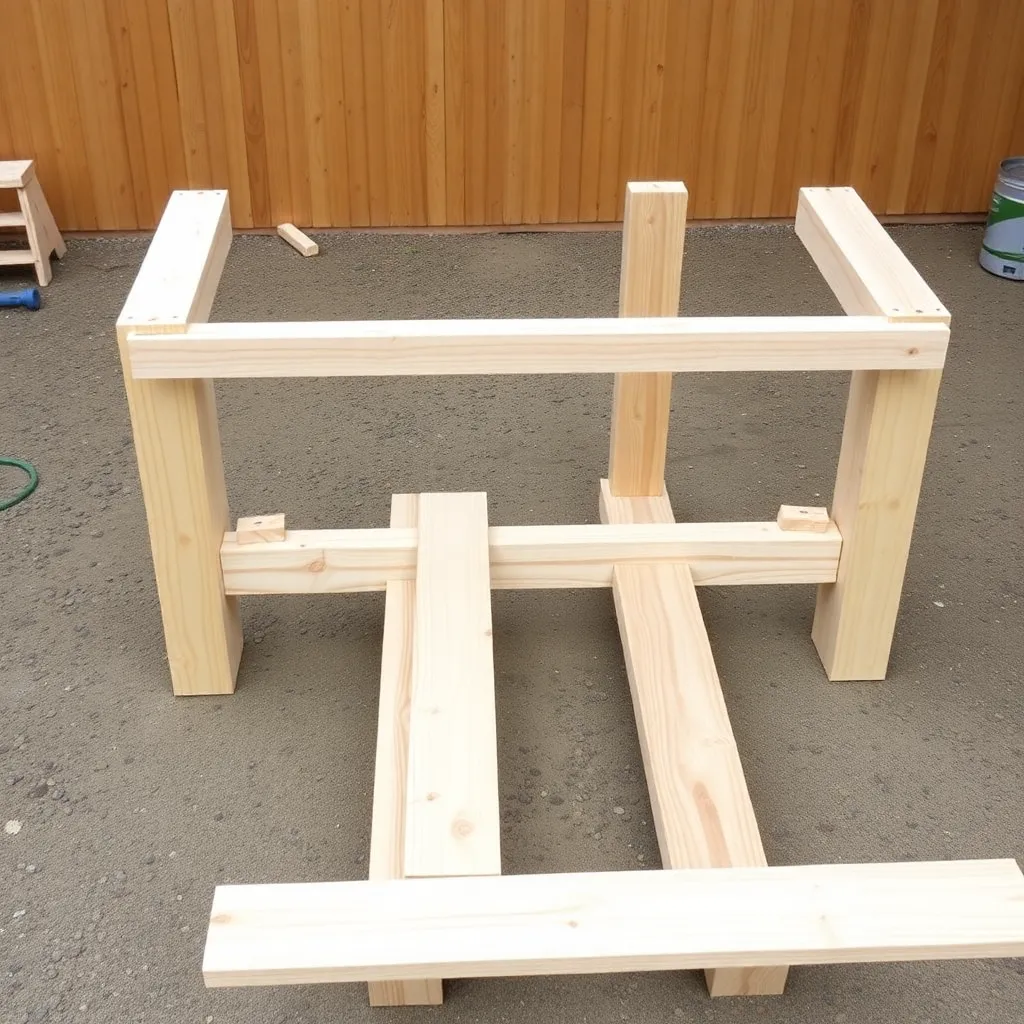
The table base is two identical end assemblies (each a pair of 4×4 legs joined by a short apron) connected by two long aprons running the length of the table. Building it in this order — end assemblies first, then connect them — keeps the assembly manageable solo.
Build the two end assemblies. Each end assembly is two 4×4 leg posts joined by a 29-inch short apron. The apron connects the inside faces of the two legs, flush with the top of the legs. Position the apron so its top edge is flush with the leg tops — the tabletop will sit directly on top of the apron and leg assembly.
Fasten each apron-to-leg connection with two ⅜” × 3½” lag screws driven through the apron face into the leg — pre-drill through the apron with a ⅜” bit and into the leg with a ¼” bit to prevent splitting. Two lag screws per connection, four per end assembly. This is the highest-stress joint in the table — don’t substitute screws here.
Space the two legs of each end assembly 29 inches apart (outside face to outside face). This spacing creates a 26-inch inside clearance — enough knee room for adults seated at the table ends.
Connect the end assemblies with long aprons. Stand both end assemblies upright, 65 inches apart (outside face to outside face of the end assemblies). The two 65-inch long aprons bridge between the end assemblies, connecting the outside faces of the legs along the table’s length. Fasten with two lag screws per apron end — four lag screws per long apron, eight total for both long aprons.
Check square and add diagonal bracing if needed. Measure the two diagonals of the assembled base — they must be equal. If the base racks slightly out of square, clamp it into square and add a temporary diagonal brace before the screws fully seat. Once the lag screws are fully tightened the base will hold square on its own.
Step 4: Build and Attach the Tabletop
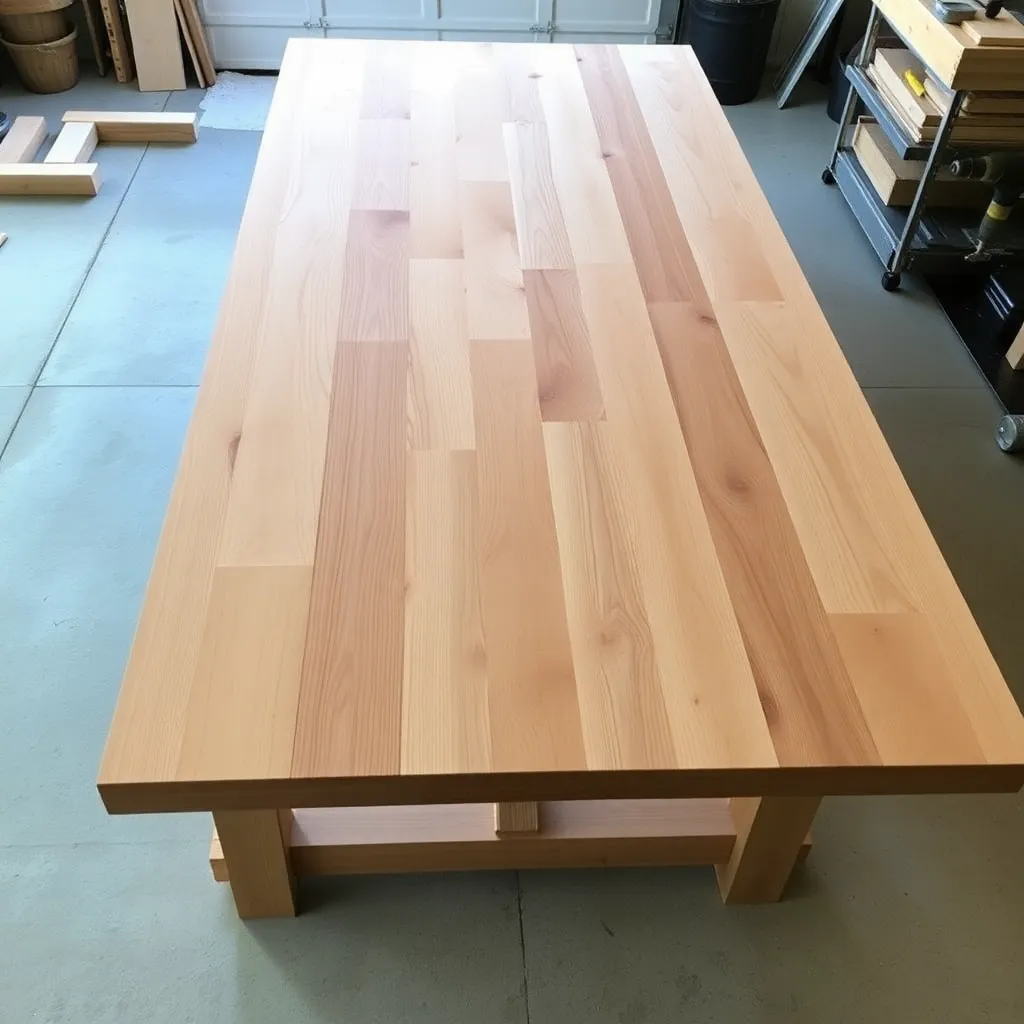
Three 2×8 cedar boards, 72 inches long, create a 22½-inch wide tabletop surface (three boards at 7¼” actual width = 21¾” plus two ¼” gaps = 22¼” total). This width is narrower than a standard picnic table but proportioned correctly for a farmhouse dining table — wide enough for place settings plus serving dishes without feeling cramped.
Prepare the tabletop boards. Arrange the three boards face-up on a flat surface and select the face and orientation of each board for best appearance — the most attractive grain faces up, any slight bow is oriented crown-up (bowed upward at the center) so it will flatten under clamp pressure and fastening. Mark the boards 1, 2, 3 in order so you can reassemble them the same way.
Join the boards (optional pocket holes). For the flattest, most durable tabletop, join the three boards edge-to-edge with pocket hole screws before attaching to the base. Set a pocket hole jig to ¾” material (though these are 1½”-thick boards, the pocket hole is driven at an angle through one board into the adjacent board’s edge). Drive two pocket screws per board per foot of length — approximately 12 pocket screws total across both joints. Alternatively, skip the pocket holes and rely on the tabletop cleats to hold the boards flat.
Add tabletop cleats. Two 29-inch 2×4 cleats run perpendicular to the tabletop boards on the underside, spaced about 18 inches from each end of the table. Fasten through each cleat into each tabletop board with two 2½” screws — six screws per cleat, 12 total. These cleats keep the tabletop flat as the wood moves seasonally and provide additional fastening points for attaching the top to the base.
Attach the top to the base. Flip the tabletop face-down, set the base upside down on top of it, and center the base on the top (equal overhang on all sides). Drive 2½” screws up through the base aprons into the tabletop — four screws per long apron, two per short apron. Also drive screws through the tabletop cleats into the base aprons where they cross. Flip the completed table upright.
Step 5: Build the Two Detached Benches
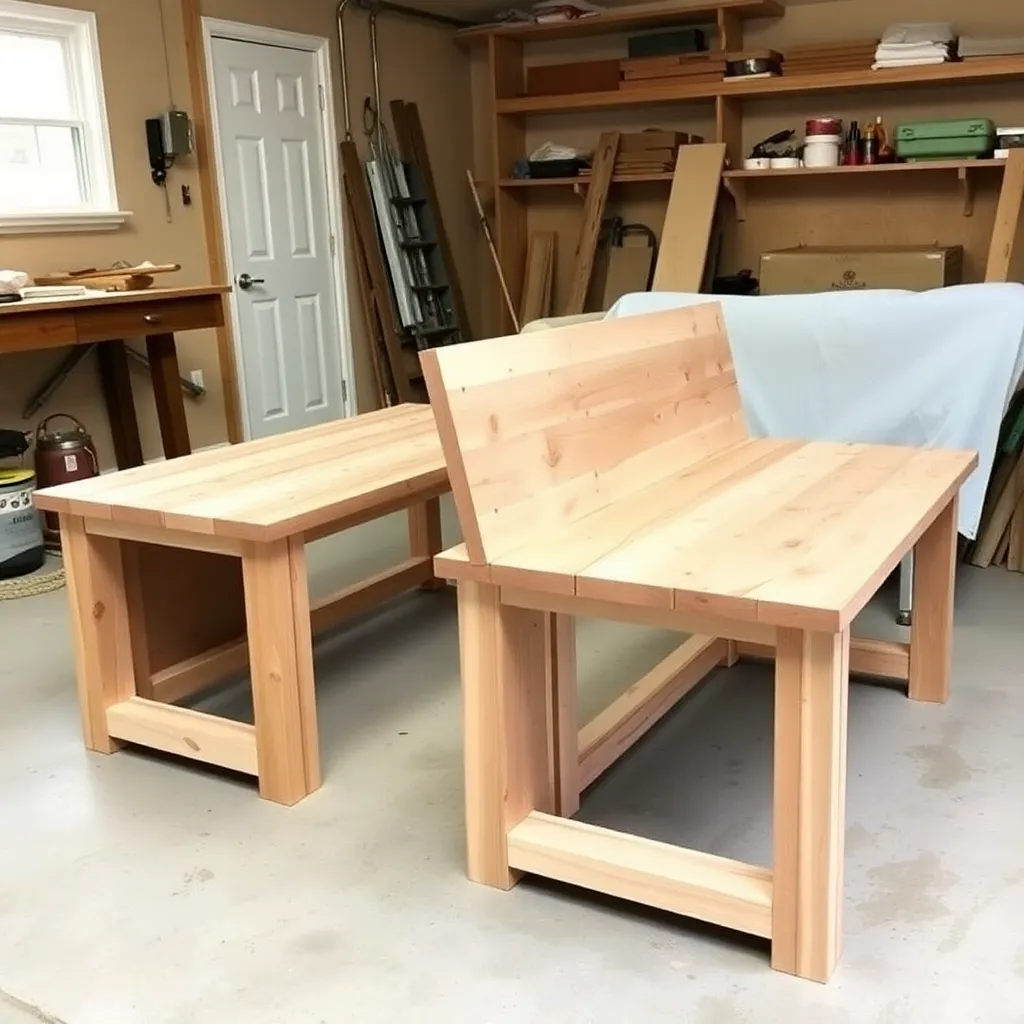
Each bench is a miniature version of the table: four leg posts, two long aprons, two short aprons, and a bench top. At 18 inches height and 66 inches length, they tuck under the table edges when not in use and pull out as needed.
Build the bench end assemblies. Each bench end assembly is two 2×4 legs (16¼” tall) joined by a 7-inch short apron. The same lap joint used on the table — apron flush with leg tops, two lag screws per connection — applies here. Space the two legs of each end assembly 7 inches apart outside to outside (the bench width, minus overhangs).
Connect end assemblies with long aprons. Two 56-inch long aprons per bench connect the two end assemblies. Same process as the table base: stand the end assemblies 56 inches apart, fasten the long aprons with two lag screws per end.
Add the bench top. A single 2×12 board (or two 2×6 boards with a ¼-inch gap) forms the bench seat. The bench top overhangs 5 inches beyond each end assembly at both ends of the bench. Fasten through the bench top down into the apron tops with 3″ screws — three screws per long apron, equally spaced. If using two 2×6 boards, fasten each board independently with two screws per apron.
Build the second bench identically. Both benches should be the same height — measure from the bottom of the leg to the top of the bench surface on both and trim any discrepancy before declaring them done.
Step 6: Sand, Finish, and Set Up
Sand the table and benches. Use 80-grit to remove mill marks across all flat surfaces, then 120-grit for a smooth finish. The tabletop gets an extra pass at 150-grit — it’s the surface that gets the most contact and scrutiny. Round all sharp edges with sandpaper or a router and ¼-inch roundover bit: the tabletop edges, bench seat edges, and the top corners of the leg posts.
Apply exterior finish. A semi-transparent exterior oil stain or penetrating exterior finish protects the cedar and gives it a consistent color. Apply to all surfaces including the underside of the tabletop and the insides of the base frame — surfaces you can’t easily reach after the table is placed and loaded. Two coats on all end grain (the cut ends of all boards). Let dry 24 hours before use.
Set the table in place. The completed farmhouse picnic table weighs 80–100 pounds — get help moving it to its final location. For a covered patio installation, anchor the leg base to the concrete with four concrete anchors through holes drilled in the leg bottoms — this prevents the table from sliding on smooth concrete under load. For a deck installation, screw through the apron into a decking board at each end.
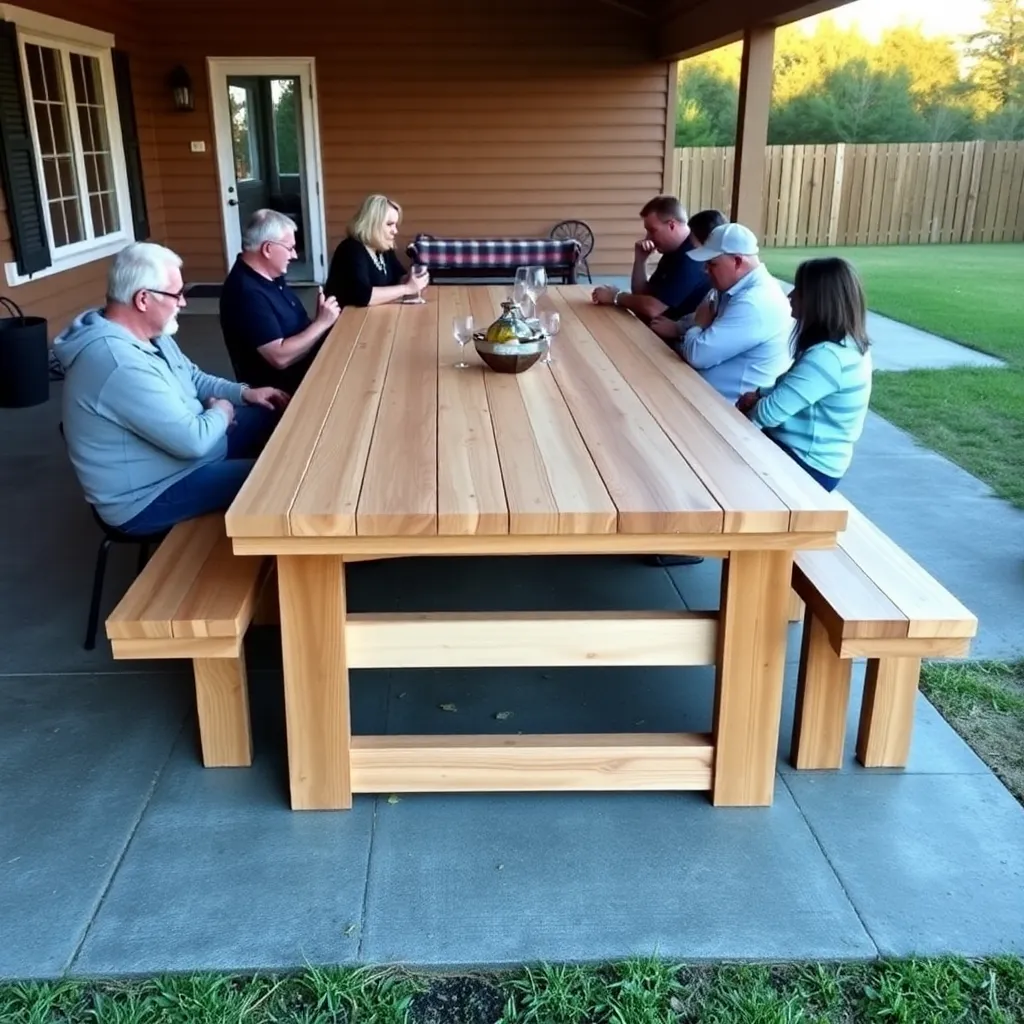
Arrange the benches. Each bench slides under the table overhang when not in use, leaving the table clear for other activities. The 66-inch bench length positions the bench ends about 3 inches inside the table ends — a proportioned relationship that looks intentional rather than mismatched.
For more outdoor furniture designs, visit our picnic table plans hub.
Want 16,000+ step-by-step woodworking plans?
Ted’s Woodworking has plans for every skill level — from simple shelves to full bedroom sets. Each plan includes a cut list, material list, and detailed diagrams. Browse Ted’s plans →
Farmhouse Picnic Table Plans FAQ
What is the difference between a farmhouse picnic table and a regular picnic table?
A classic picnic table uses angled crossing legs with attached bench planks — functional, portable, and quick to build. A farmhouse picnic table uses straight vertical 4×4 leg posts with a box frame base and detached benches — heavier, more furniture-like in appearance, better suited for a permanent patio or covered outdoor dining space. The farmhouse design has a higher material cost and takes longer to build, but produces a table that reads as outdoor dining furniture rather than a utility table.
Why use detached benches instead of attached benches?
Detached benches offer three practical advantages: they can be repositioned for different group sizes and seating arrangements, they allow people to sit on the bench ends (not possible with attached benches that stop at the table legs), and they can be stored separately or rearranged to create seating-only configurations for events. The trade-off is that detached benches can be moved and scattered — if you want benches that stay put and are always available, attached benches are simpler.
What size tabletop boards should I use for a farmhouse picnic table?
2×8 boards (7¼” actual width) are the standard for a farmhouse picnic table — three boards produce a 22-inch wide top that’s proportioned correctly for place settings and a centerpiece. 2×6 boards (5½” actual) require four boards for the same width and produce more visible joints. 2×10 boards (9¼” actual) allow a two-board top that shows even fewer joints but requires careful board selection to avoid warping. All three work; 2×8 is the best balance of aesthetics, availability, and stability.
How heavy is a farmhouse picnic table?
A cedar farmhouse picnic table of this size (72″ × 36″) weighs 80–100 pounds. The pressure-treated pine equivalent weighs 110–130 pounds. Weight matters for two reasons: moving the table for cleaning or repositioning requires two people, and the anchor requirements for a windy location are more significant than for a lighter table. Factor in the two benches (25–35 pounds each) and the total outdoor dining set weighs 130–170 pounds.
Can I use pressure-treated lumber for a farmhouse picnic table?
Yes, and it’s a common choice for the leg posts and base frame where ground contact risk is highest. A hybrid approach — pressure-treated 4×4 posts and aprons for the structural base, cedar 2×8 for the tabletop and bench seats — gives rot resistance where it matters most while keeping the visible surfaces in the better-looking, more workable cedar. If you go all pressure-treated, wait 2–3 months for the lumber to dry before applying stain.
How do I keep the wide tabletop boards from cupping?
Three practices prevent cupping: (1) select boards that are already flat and straight, not bowed; (2) install the two perpendicular tabletop cleats on the underside, which act as mechanical flat-keepers; (3) finish both the top face and the underside of all tabletop boards — a board finished on one side and bare on the other will always cup toward the unfinished face as moisture absorption is uneven. If a board cups slightly despite these measures, add a screw through the cleat into the board at the high point to pull it flat.

“DIY woodworking enthusiast who started with zero experience and a YouTube tutorial.
I build simple, practical projects for my home and share free plans
so other beginners can skip the guesswork.If I can build it, you can too.”