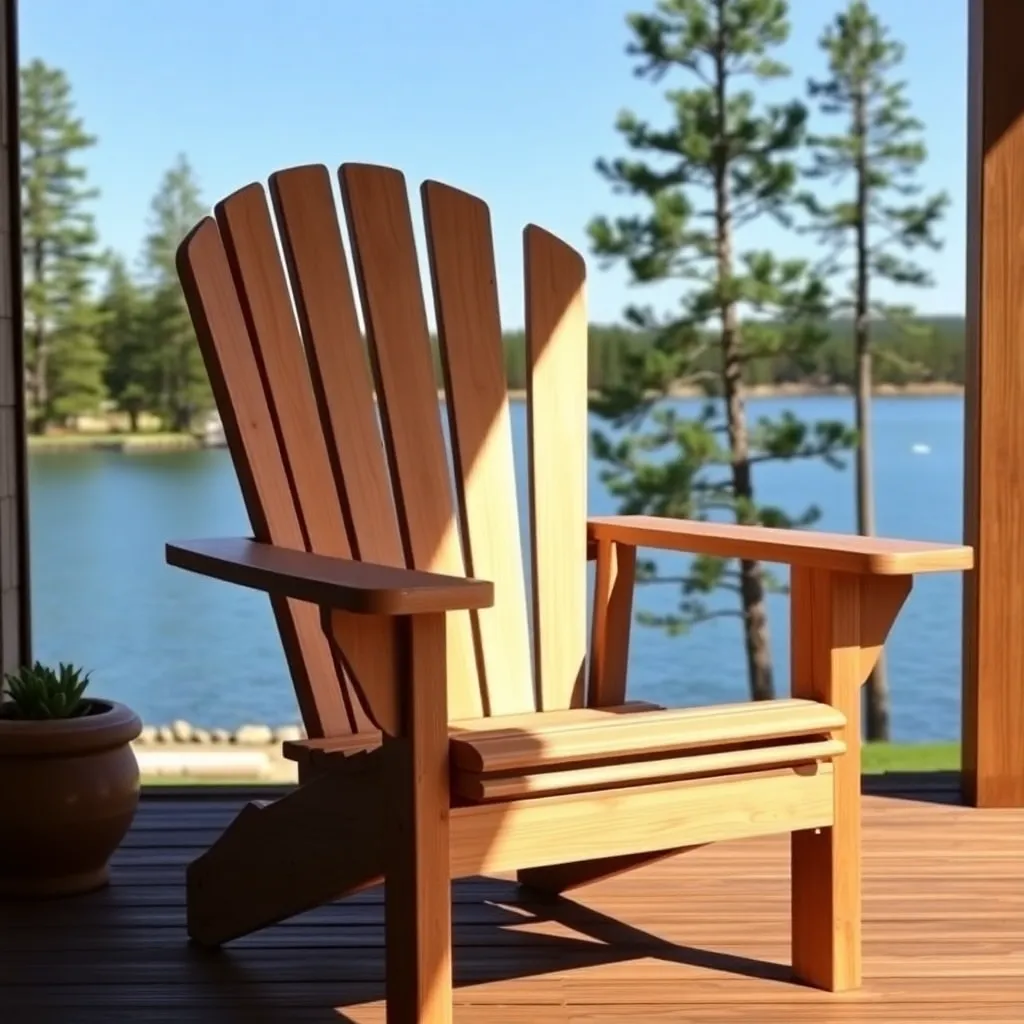
The classic Adirondack chair is defined by five features: a reclined seat at 15–20°, a fan-shaped back with radiating slats, a low 13–15 inch seat height, wide flat armrests, and angled front legs that support the armrests. Every version you’ve ever seen at a garden center or lakehouse porch traces back to this same design, first built in the Adirondack Mountains of New York in the early 1900s.
These classic Adirondack chair plans build a single-seat chair from cedar 1×6 and 1×4 boards — no plywood, no glue, just solid lumber and exterior screws. Finished dimensions: 32 inches wide × 35 inches deep × 37 inches tall. Seat height: 14 inches. Armrest height: 25 inches. Build time: 5–7 hours.
Want 16,000+ step-by-step woodworking plans?
Ted’s Woodworking has plans for every skill level — from simple shelves to full bedroom sets. Each plan includes a cut list, material list, and detailed diagrams. Browse Ted’s plans →
Step 1: Understand the Geometry Before You Cut
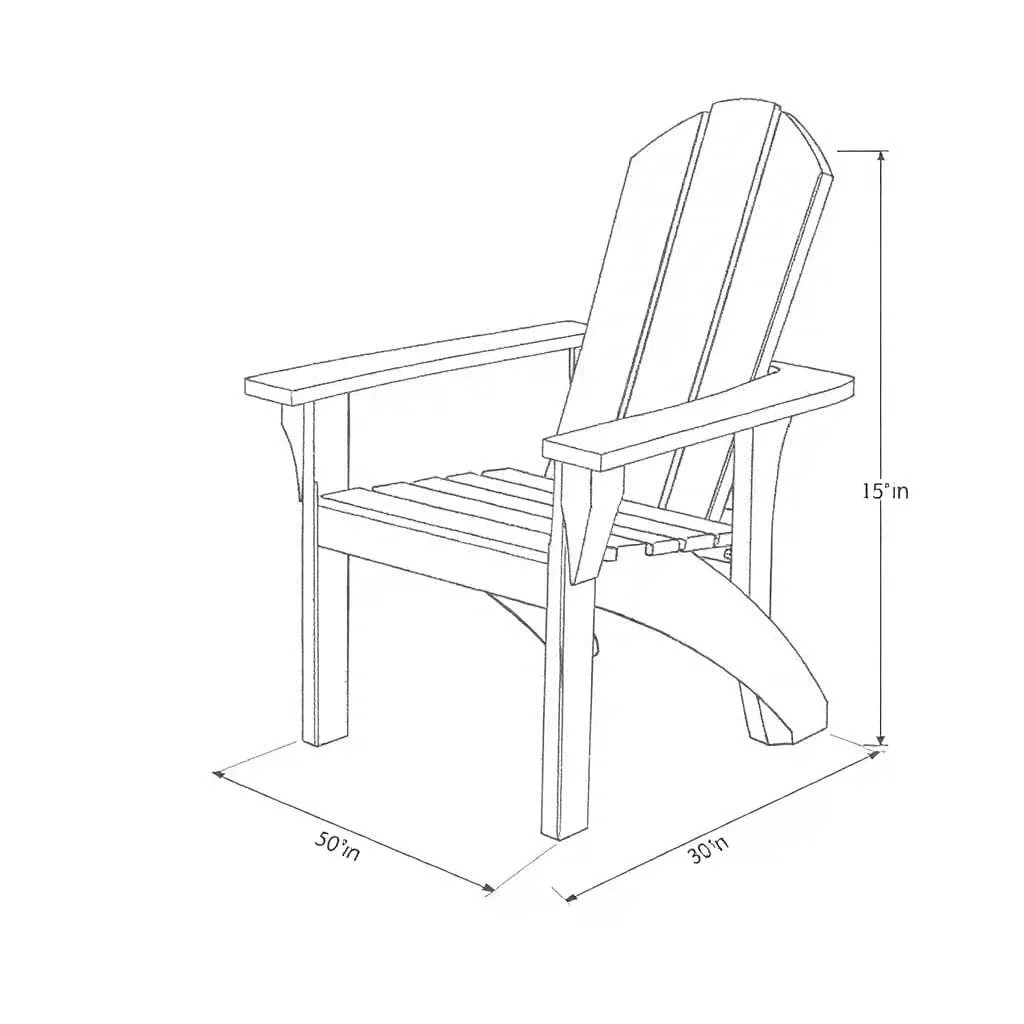
The Adirondack chair’s comfort comes from its geometry, not its cushions. Getting the angles right is more important than precise cuts — a chair with correct angles is comfortable; one with incorrect angles is not.
Key angles and dimensions:
- Seat angle: 15° from horizontal (seat slopes backward)
- Back angle: 25–30° from vertical (back reclines backward)
- Front leg angle: 5° forward lean (creates stability and armrest slope)
- Rear leg angle: 15° rearward lean (matches seat angle)
- Seat height (front): 14 inches from ground
- Seat height (rear): 10 inches from ground (due to 15° slope over 20″ seat depth)
- Back slat count: 7 slats (center slat widest, outer slats narrowest)
- Armrest width: 5½ inches (1×6 actual width)
Template approach. Cut one set of parts (two rear legs, two front legs, seat boards, back slats) and test-assemble before cutting duplicates. The rear leg is the most complex piece — it’s an angled board with a notch cut for the seat boards to rest on. Getting this piece right first saves rework.
Step 2: Materials and Cut List
| Part | Qty | Length | Board Size | Notes |
|---|---|---|---|---|
| Rear legs | 2 | 36″ | 1×6 cedar | Angled top, notch for seat at 15° |
| Front legs | 2 | 21″ | 1×4 cedar | 5° angle at top and bottom |
| Armrests | 2 | 28″ | 1×6 cedar | Curved front profile, flat rear |
| Armrest supports | 2 | 10″ | 1×4 cedar | Connect front leg to armrest |
| Seat boards | 5 | 21″ | 1×4 cedar | Spaced evenly across seat |
| Seat support brace | 1 | 21″ | 1×4 cedar | Front stretcher between rear legs |
| Back bottom rail | 1 | 21″ | 1×4 cedar | Base of fan assembly |
| Back center slat | 1 | 36″ | 1×4 cedar | Tallest, center |
| Back inner slats | 4 | 34″ / 31″ | 1×4 cedar | Two pairs, progressive height |
| Back outer slats | 2 | 27″ | 1×4 cedar | Shortest, outermost |
| Back top rail | 1 | 24″ | 1×4 cedar | Curved top edge, arc cut |
| Stretcher | 1 | 21″ | 1×4 cedar | Between rear legs at seat level |
| Exterior screws | 1 box | 1½” and 2½” | — | Stainless or coated |
Total estimated cost: $45–70 for cedar, $10–15 for hardware.
Step 3: Cut the Rear Legs
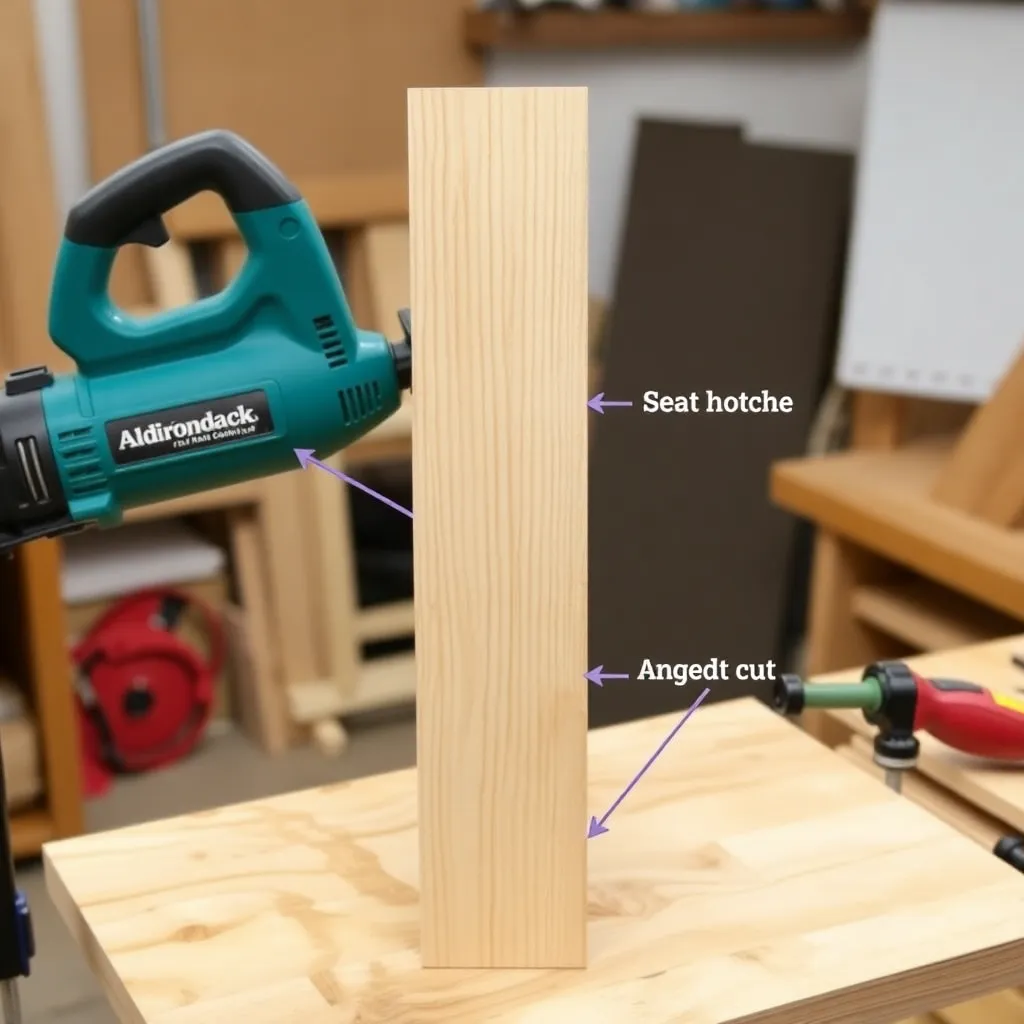
The rear legs are the most complex pieces in the chair. Each is a 1×6 board with an angled top end (that supports the back), a seat notch (where the seat boards rest), and an angled bottom that sits flat on the ground despite the board’s backward lean.
Mark the rear leg. Start with a straight 1×6 × 36″ board. Mark:
- Bottom end: 15° angle cut so the leg base sits flat when the board leans back at 15°
- Seat notch: 3½” wide × ¾” deep dado cut at 15° into the face of the leg, positioned 14 inches above the ground when the leg is at rest angle — this is where the front seat board rests
- Top end: cut at 30° from vertical (the back recline angle) to create a flush surface for the back assembly
Cut in order. Bottom angle first (this establishes the baseline), then measure the seat notch position from the bottom, then cut the seat notch, then cut the top angle. Use a jigsaw or circular saw for the angled cuts, a chisel for cleaning the notch.
Make two identical legs. After cutting the first leg, use it as a template to mark the second. Stacking the boards and cutting through both simultaneously is efficient but requires firm clamping.
Step 4: Cut Front Legs, Armrests, and Seat Boards
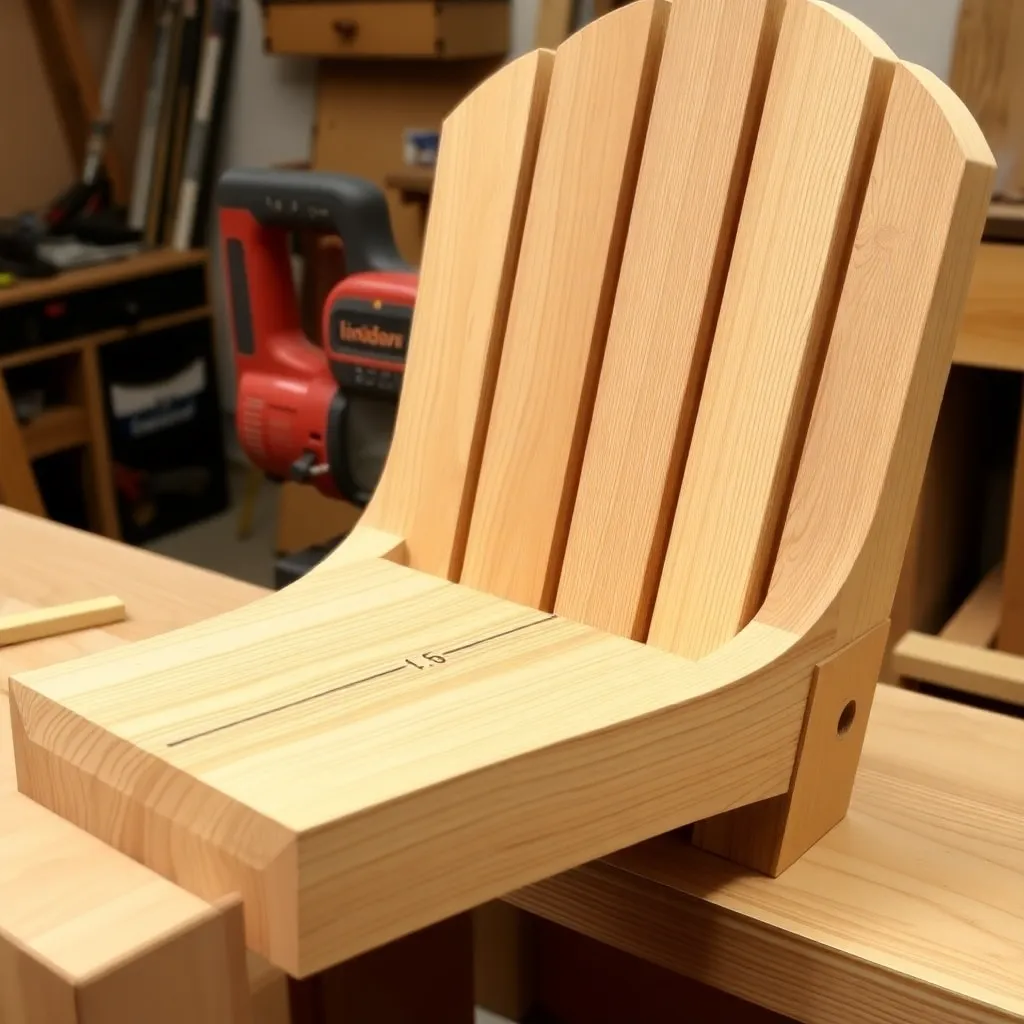
Front legs. Each front leg is a 1×4 × 21″ board with 5° angle cuts at both ends — both cuts parallel, leaning the same direction, so the leg has a slight forward lean when installed. The top end connects to the armrest underside; the bottom end sits on the ground.
Armrests. The armrest is a 1×6 × 28″ board. The front end gets a profile cut — the classic shape is a gentle convex curve that tapers to a blunted point, like the nose of a boat. Draw the profile freehand, cut with a jigsaw, and sand smooth. The rear end is straight, resting on top of the rear leg.
Armrest supports. Two 1×4 × 10″ pieces act as gussets between the front legs and armrests. They add lateral rigidity and prevent the armrest from flexing downward at the front.
Seat boards. Five 1×4 × 21″ boards, all straight crosscuts. These are the easiest parts — cut five identical pieces.
Back slats. Seven slats in progressive heights: one center at 36″, two at 34″, two at 31″, two at 27″. The 1° to 3° fan angle between adjacent slats is established during assembly, not by angling the cuts — all slats have straight top and bottom cuts at 90°.
Step 5: Assemble the Chair
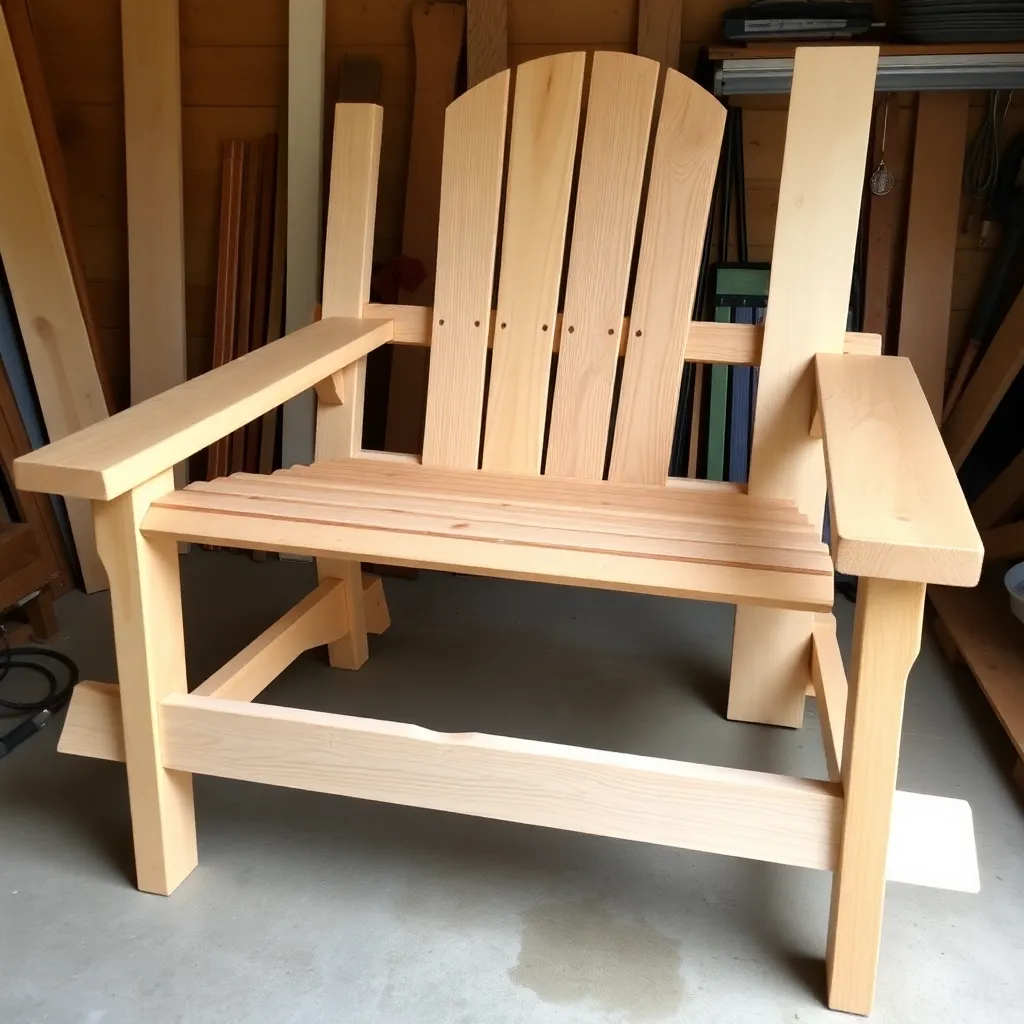
Assembly order matters: rear legs first, then seat, then back, then front legs and armrests.
Connect rear legs. Lay both rear legs flat on the ground, parallel, 21 inches apart (outside to outside). Connect them at the bottom with the stretcher (21″ 1×4) and at seat level with the seat support brace, both using two 2½” screws per end. The leg assembly now stands as a U-shape.
Install seat boards. Set the seat boards across the rear legs, resting in the seat notches. Space them evenly (approximately ¼” gap between boards) with the front seat board flush with the front edge of the notches and the rear seat board near the back leg face. Fasten each board to each leg with two 1½” screws, pre-drilled.
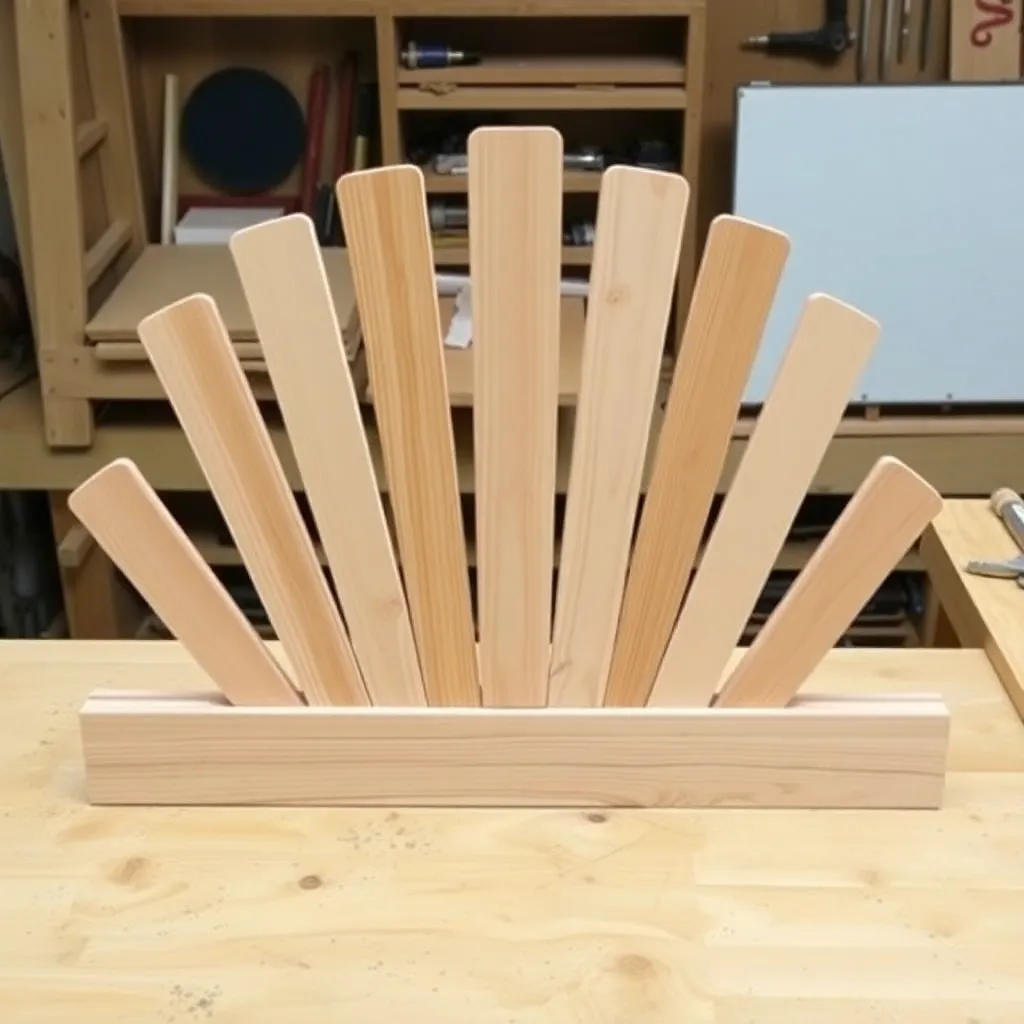
Build the fan back. Lay the back bottom rail (21″ 1×4) on a flat surface. Position the center slat vertically centered on the rail. Fan the two inner slats outward at approximately 5° each side of center, and the outer slats at approximately 10° each side. Fasten each slat to the rail with two 1½” screws at the base. Lay the top rail across the slat tops in a gentle arc and fasten with one screw per slat. The assembled fan back is rigid enough to handle as a unit.
Attach the back assembly. Tip the fan back unit into the rear of the chair at 25–30° from vertical. The back bottom rail rests on the rear seat board. Fasten the bottom rail to the rear legs with two screws per side. Fasten the outer back slats to the rear legs near the top with two screws each — these lock the back angle.
Install front legs. Stand a front leg at each front corner of the seat. The top of each front leg butts against the underside of the armrest overhang location; the bottom of each leg sits on the ground 2–3 inches forward of the front seat board edge. Fasten through the seat support brace and stretcher into the front leg with two 2½” screws per leg.
Attach armrests. Lay each armrest flat on top of the rear leg and front leg assembly. The rear end rests on the rear leg top; the front end overhangs the front leg. Fasten the armrest to the rear leg top with two 2½” screws from above. Fasten the armrest support gusset (connecting front leg to armrest underside) with two screws at each end.
Step 6: Sand, Finish, and Set Out
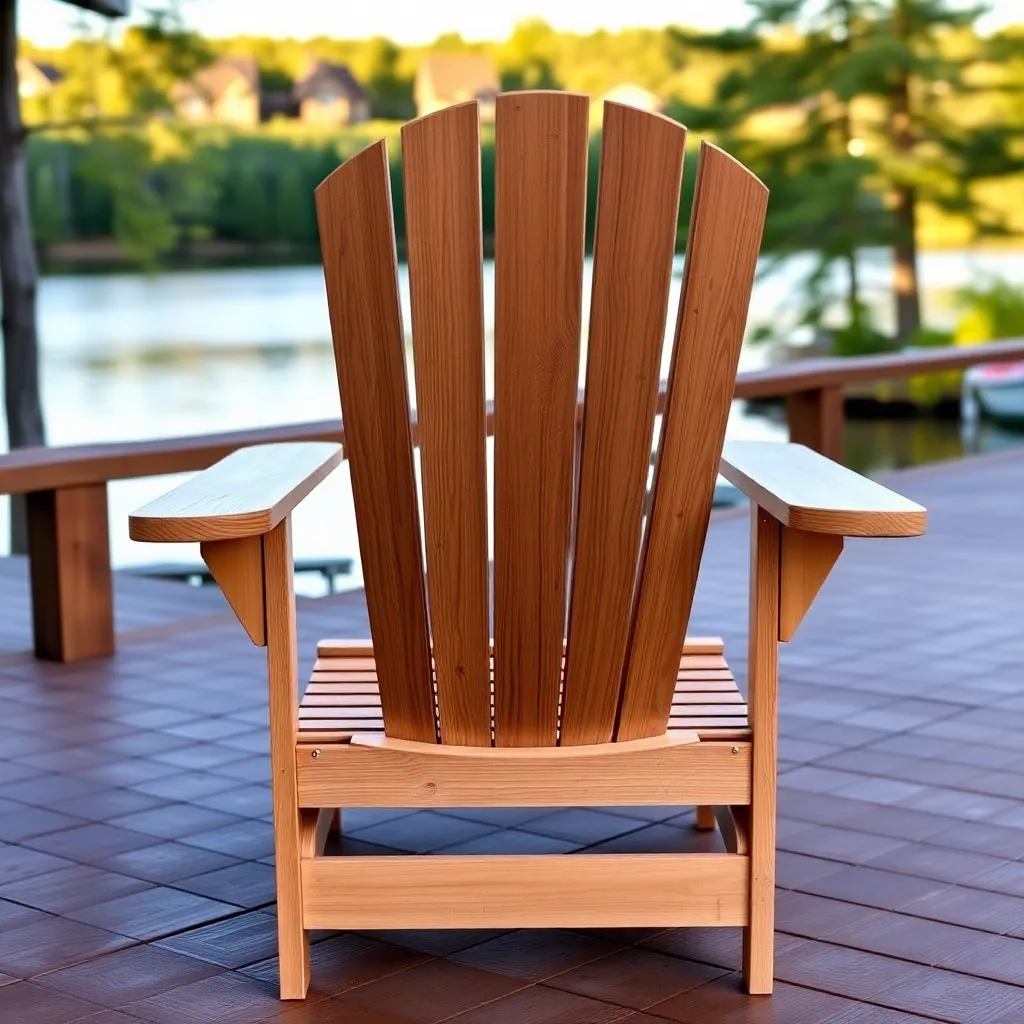
Sand all surfaces. 80-grit to remove mill marks from all faces; 120-grit for seat, armrests, and back slats (all contact surfaces). Round all edges — especially the front edge of all seat boards and the armrest edges and front profile. The back slat tops get a light round as well (you’ll see them when looking down at the chair from above).
Apply exterior finish. Two coats of semi-transparent exterior oil stain on all surfaces including undersides and end grain. Three coats on the exposed end grain of all slat tops and board ends. Let dry 24 hours before use.
Final check. Set the finished chair on a flat surface and sit in it — the seat should be stable with no rocking, the armrests should be level and at a comfortable height for relaxed sitting (25 inches from the ground), and the back angle should feel genuinely reclined without feeling like you’re falling backward. If the chair rocks, trim the high leg bottom with a hand plane or sandpaper on a flat surface.
For more Adirondack designs, visit our Adirondack chair plans hub.
Want 16,000+ step-by-step woodworking plans?
Ted’s Woodworking has plans for every skill level — from simple shelves to full bedroom sets. Each plan includes a cut list, material list, and detailed diagrams. Browse Ted’s plans →
Classic Adirondack Chair Plans FAQ
What is the correct seat angle for an Adirondack chair?
15° from horizontal is the standard — comfortable for extended sitting, low enough to give the Adirondack its distinctive reclined look, and not so reclined that getting up is difficult. Some builders go to 18° for a more lounging feel; 20° is the maximum before the chair starts to feel like a recliner. The back angle (25–30° from vertical) is paired to the seat angle — increase one and you should increase the other to maintain a consistent feel.
How do I cut the curved armrest profile without a template?
Draw the profile directly on the board freehand with a pencil. The classic armrest nose is an elongated point — draw a center line down the middle of the front 6 inches of the 1×6 board, then draw equal gentle curves from each long edge of the board down to the center line tip. Cut with a jigsaw and smooth with a sanding block. The exact curve doesn’t matter much — any consistent shape that removes the sharp corners works. Save the first armrest you cut as a template for subsequent chairs.
How far apart should the back slats be on an Adirondack chair?
Approximately ½” to ¾” between slats. The fan geometry means the gaps are slightly wider at the top than at the bottom. Don’t try to calculate exact spacing for the fan — position the slats visually, check the fan angle looks even from the front, and fasten when the spacing looks right. The center slat is always vertical; each slat fans approximately 5° further from center than the last.
Can I build an Adirondack chair without a jigsaw?
The rear leg notch and the armrest profile are the two cuts most dependent on a jigsaw. The notch can be made with a circular saw (make a series of parallel plunge cuts, then clean with a chisel); the armrest profile can be made with a coping saw or even a utility knife and sandpaper for a rounded instead of curved profile. A jigsaw speeds these cuts significantly, but neither is strictly jigsaw-only.
How much does it cost to build a pair of Adirondack chairs?
Two cedar classic Adirondack chairs: $90–140 in lumber plus $20–30 in hardware, plus $15–25 for a quart of exterior stain. Total: $125–195 for a matching pair. A comparable pair of cedar Adirondack chairs from a garden center runs $200–400, and the quality is often lower (thinner boards, softwood plugs at screw holes). Building your own produces a heavier, thicker chair for roughly half the cost of mid-range commercial alternatives.

“DIY woodworking enthusiast who started with zero experience and a YouTube tutorial.
I build simple, practical projects for my home and share free plans
so other beginners can skip the guesswork.If I can build it, you can too.”