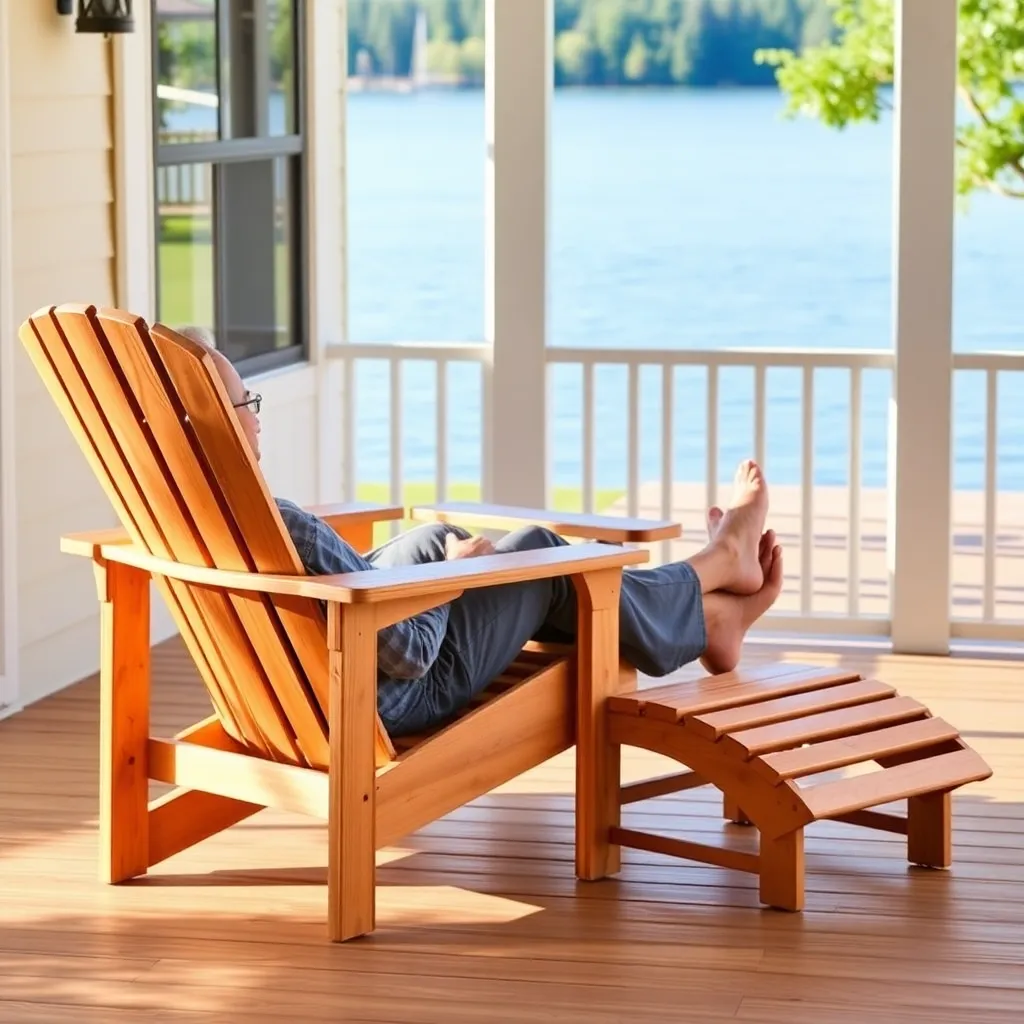
An Adirondack ottoman — also called an Adirondack footrest — is a low angled platform that sits in front of an Adirondack chair and supports your legs at the same angle as the seat. When you sit in the chair and rest your feet on the ottoman, your whole body is in one continuous reclined position: seat angled back at 15°, legs angled up at 15° on the ottoman, back reclined. It’s the difference between outdoor relaxation and outdoor lounging.
These Adirondack ottoman plans build a footrest that matches the standard Adirondack chair in width (21 inches) and angle (15°). It uses leftover materials from a chair build: a few 1×4 and 1×6 boards, exterior screws, and two hours of work. Build it from the same cedar as your chairs for a matching set.
Want 16,000+ step-by-step woodworking plans?
Ted’s Woodworking has plans for every skill level — from simple shelves to full bedroom sets. Each plan includes a cut list, material list, and detailed diagrams. Browse Ted’s plans →
Step 1: Plan the Ottoman Dimensions
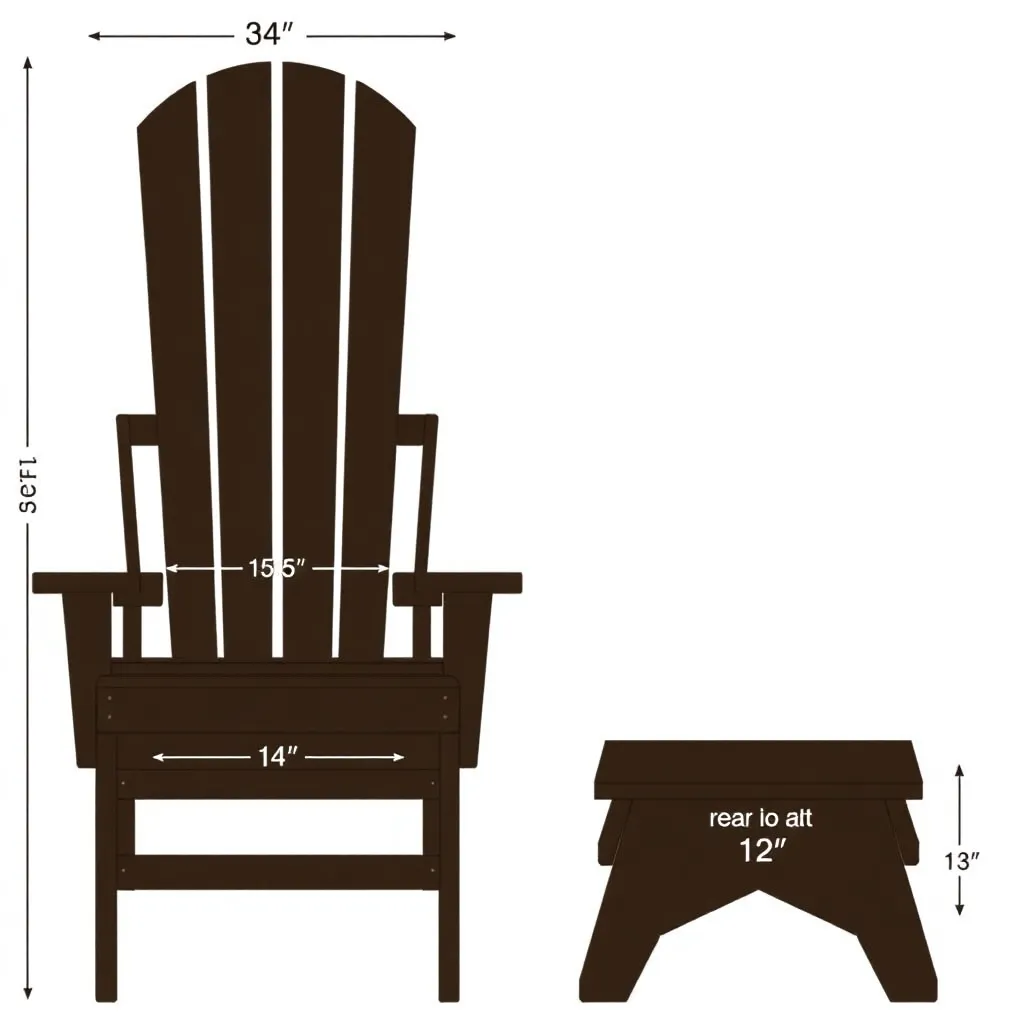
The ottoman needs to match three things from the chair: the seat width (so it lines up visually), the seat angle (so the leg rest angle matches the seat angle), and the seat height at the front edge (so the ottoman top is at approximately the same level as the front of the chair seat when positioned correctly in front of the chair).
Key dimensions:
- Ottoman width: 21 inches (matches chair seat width)
- Ottoman length (front-to-back): 20 inches
- Ottoman surface height (front edge): 7 inches from ground
- Ottoman surface height (rear edge): 12 inches from ground
- Ottoman angle: 15° (matches chair seat angle)
- Leg height (front): 7 inches
- Leg height (rear): 12 inches
- Number of slats: 4 (same spacing as chair seat boards)
Positioning. The ottoman sits approximately 6–8 inches in front of the chair. When you’re seated in the chair and extend your legs, your heels rest on the ottoman surface and your calves are supported by the angled surface. The ottoman should not be pushed so close that it prevents getting in and out of the chair.
Step 2: Materials and Cut List
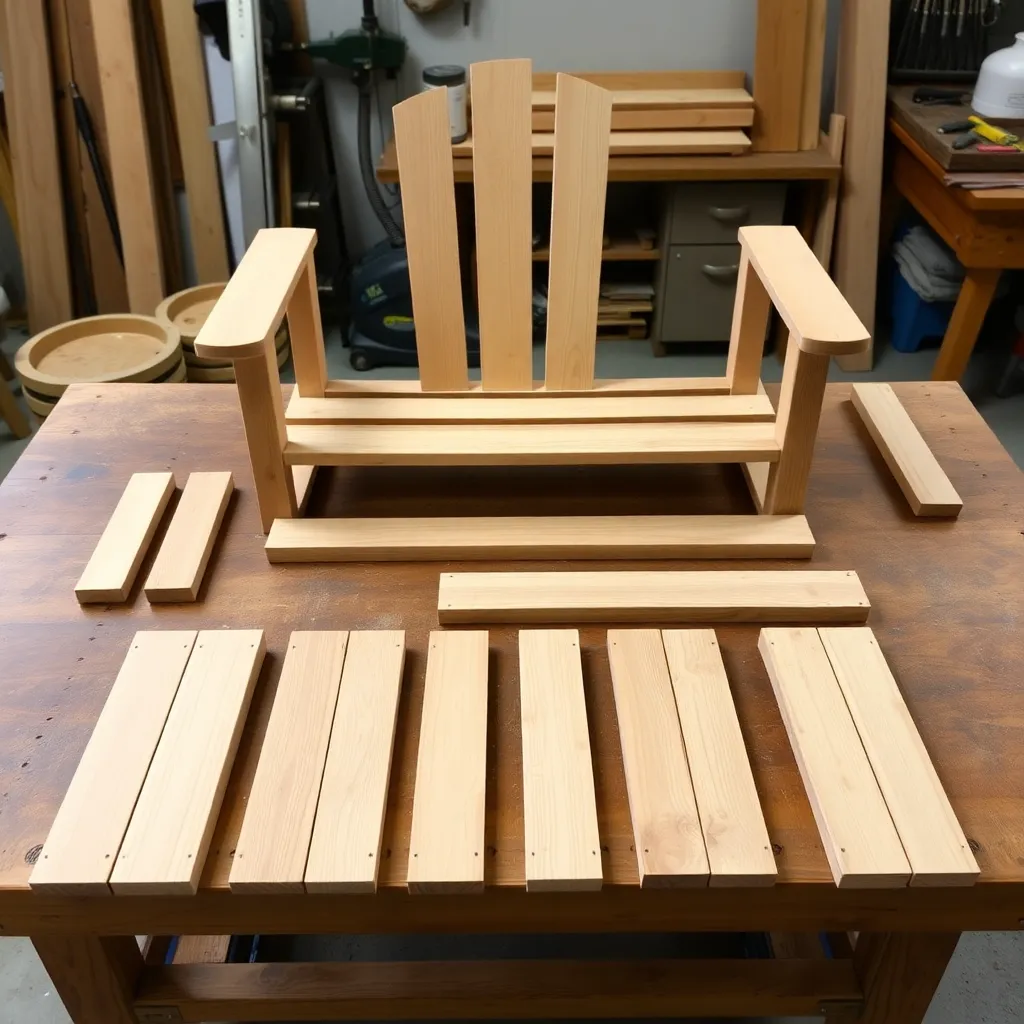
| Part | Qty | Length | Board Size | Notes |
|---|---|---|---|---|
| Slats | 4 | 21″ | 1×4 cedar | Evenly spaced across ottoman length |
| Front legs | 2 | 7″ | 1×4 cedar | 15° angle cut at top |
| Rear legs | 2 | 12″ | 1×4 cedar | 15° angle cut at top |
| Side rails | 2 | 20″ | 1×4 cedar | Connect front to rear legs, carry slats |
| Front stretcher | 1 | 19″ | 1×4 cedar | Between front legs |
| Rear stretcher | 1 | 19″ | 1×4 cedar | Between rear legs |
| Exterior screws | 1 box | 1½” and 2½” | — | Stainless or coated |
Total estimated cost: $15–25 in cedar (mostly from offcuts of a chair build), $5 in hardware.
Step 3: Cut the Legs and Rails
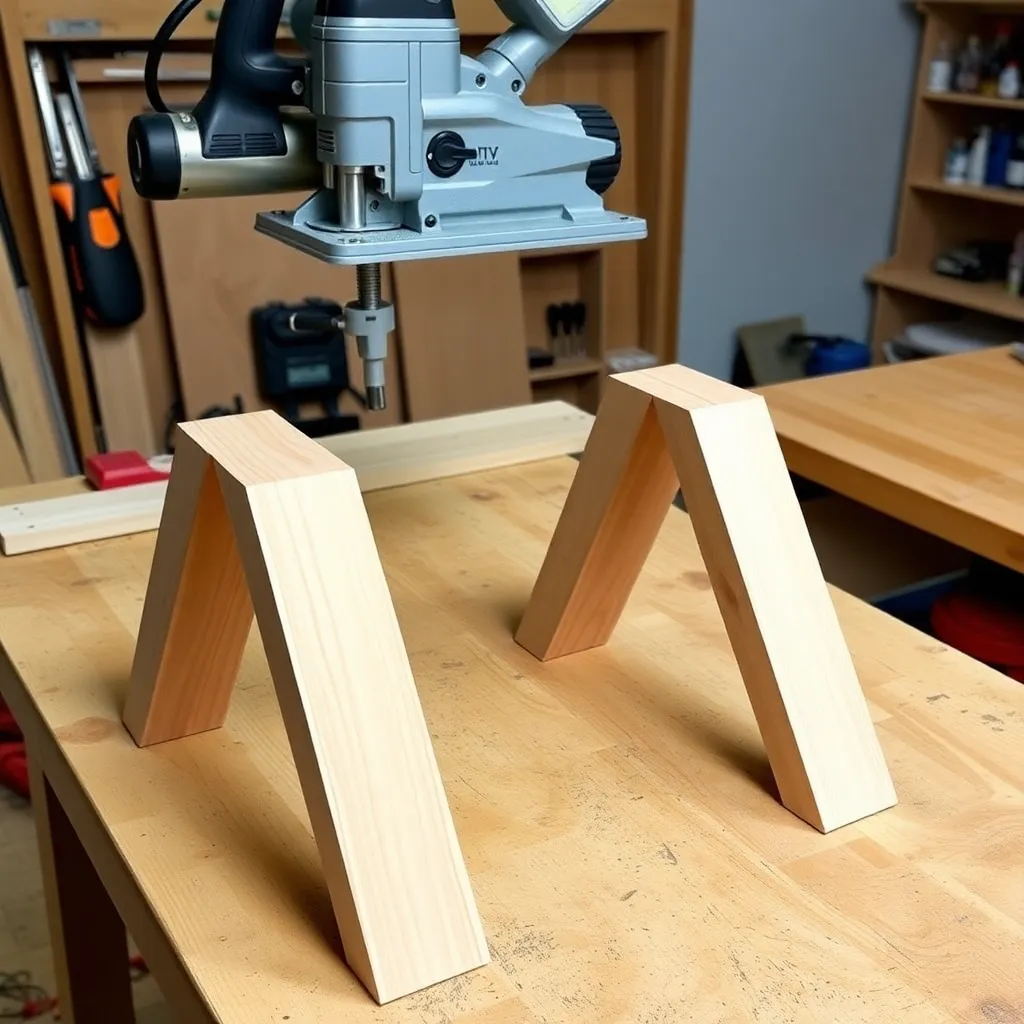
Cut the front legs. Two 1×4 × 7″ pieces. The top end of each front leg receives a 15° angle cut so the side rail rests flat on the leg top at the ottoman’s sloped angle. The bottom end is a 90° flat cut.
Cut the rear legs. Two 1×4 × 12″ pieces. Same 15° top angle cut as the front legs. The rear legs are simply taller — they create the elevation difference that gives the ottoman its angle.
Cut the side rails. Two 1×4 × 20″ pieces. The side rails run from the front leg tops to the rear leg tops, creating the angled surface on which the slats will rest. No angle cuts needed on the rails themselves — the leg heights create the angle automatically.
Test fit before fastening. Lay both side rails across the front and rear legs on a flat surface. The rails should slope upward from front to rear at approximately 15° — the same angle as the chair seat. If the angle looks right, proceed to fastening.
Step 4: Build the Ottoman Frame
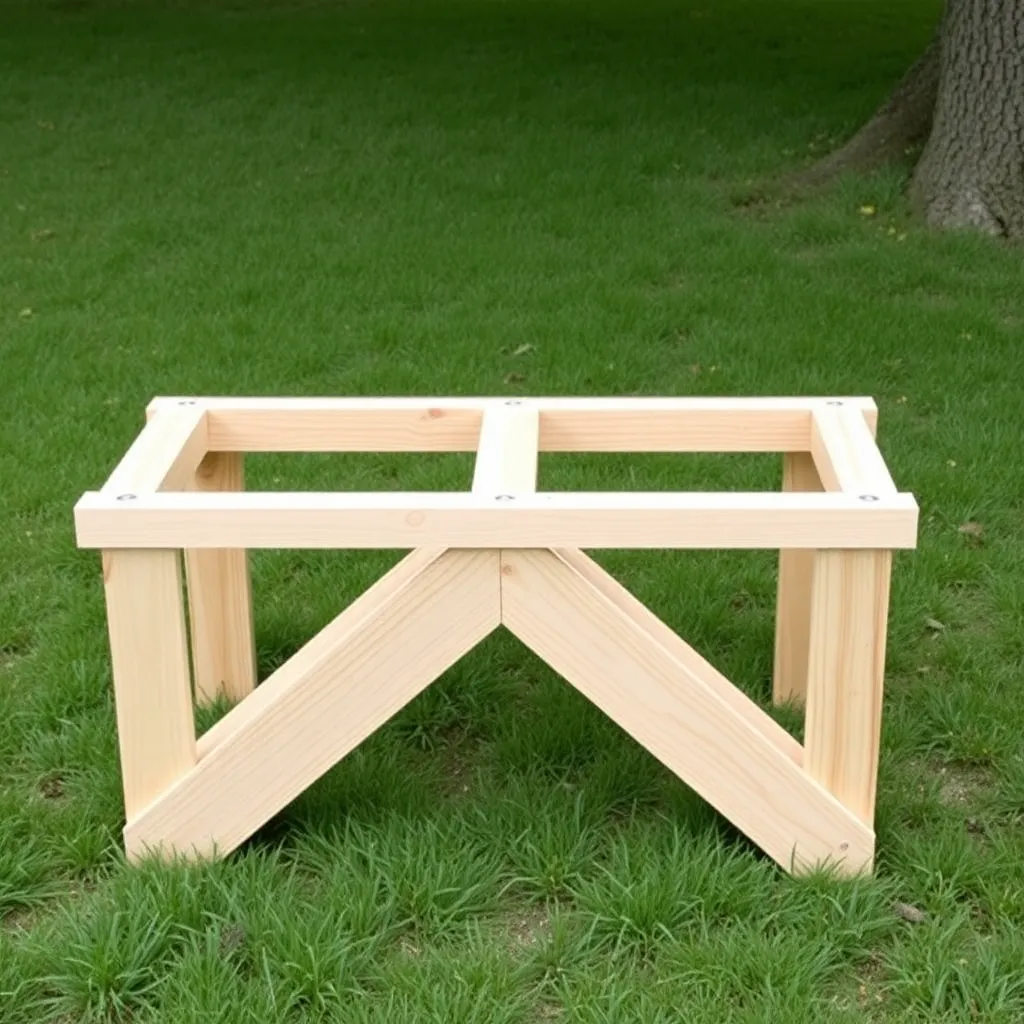
Fasten side rails to legs. Each side rail connects to one front leg and one rear leg. Drive two 2½” screws through the side rail face into the top of each leg. Pre-drill to prevent splitting the leg end grain. The assembled frame is a simple angled rectangle — stable front-to-back because of the differing leg heights.
Add stretchers. The front stretcher (19″ 1×4) runs between the two front legs, connecting them at ground level. The rear stretcher connects the two rear legs at ground level. Both stretchers add lateral rigidity that prevents the ottoman from racking sideways when loaded. Fasten each stretcher to both legs with two 2½” screws per end.
Check stability. Set the frame on a flat surface and press down on both front corners and both rear corners — there should be no rocking. If one corner is high, trim the corresponding leg bottom with a hand plane or sandpaper on a flat surface.
Step 5: Install the Slats
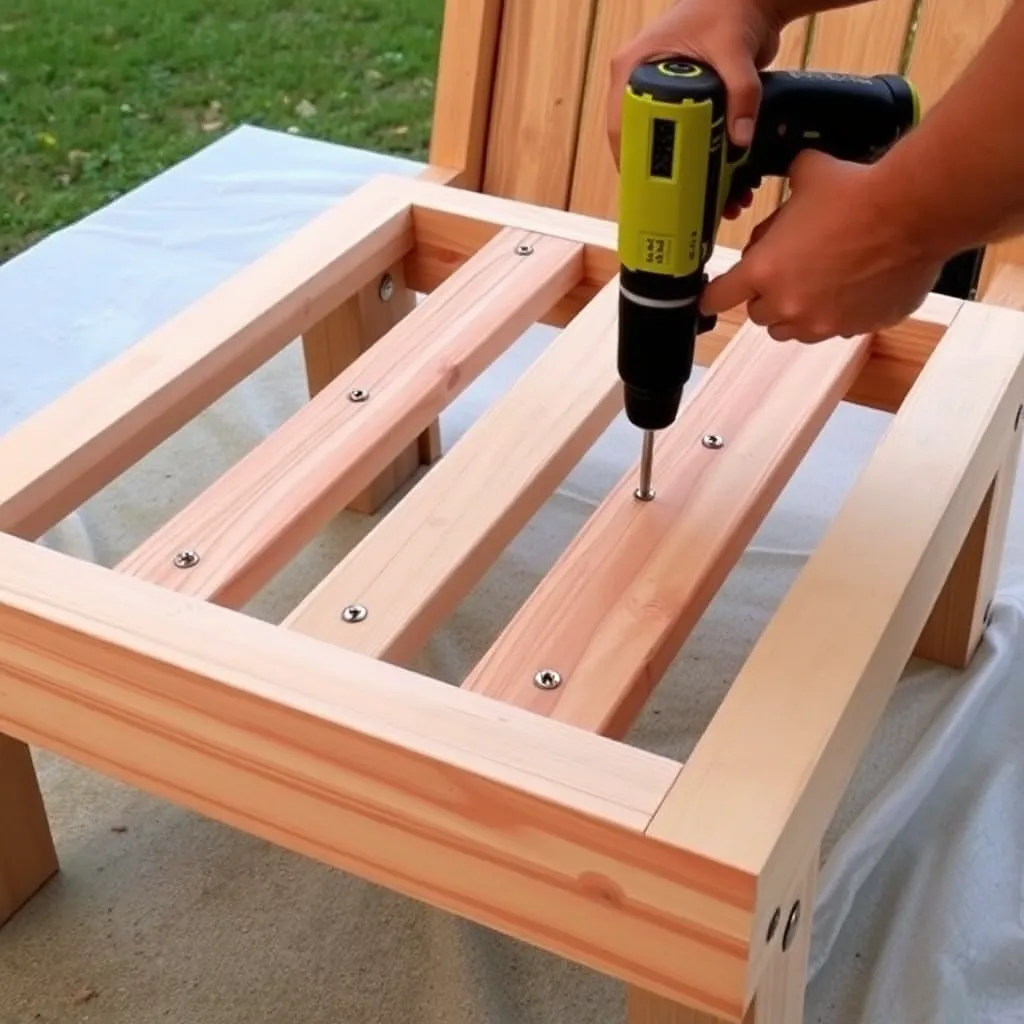
Four 1×4 × 21″ slats lay across the side rails, creating the surface your feet will rest on.
Space the slats. The four slats at 3½” actual width total 14 inches across a 20-inch rail length, leaving 6 inches of gap distributed across 5 spaces (two ends plus three inter-slat gaps). Equal spacing = approximately 1¼” per gap. Start with the rear slat flush with the rear end of the side rails, the front slat flush with the front end, and the two middle slats evenly distributed between them.
Fasten the slats. Two 1½” screws per slat per rail — four screws total per slat. Pre-drill all holes. Drive screws flush with the slat surface; countersinking slightly improves appearance.
Sand the surface. After all slats are fastened, sand the top surface of all slats with 80-grit then 120-grit. Round the front edge of the front slat (where heels will rest) generously — this edge takes the most wear and a sharp edge becomes uncomfortable quickly.
Step 6: Finish and Pair With Your Chair
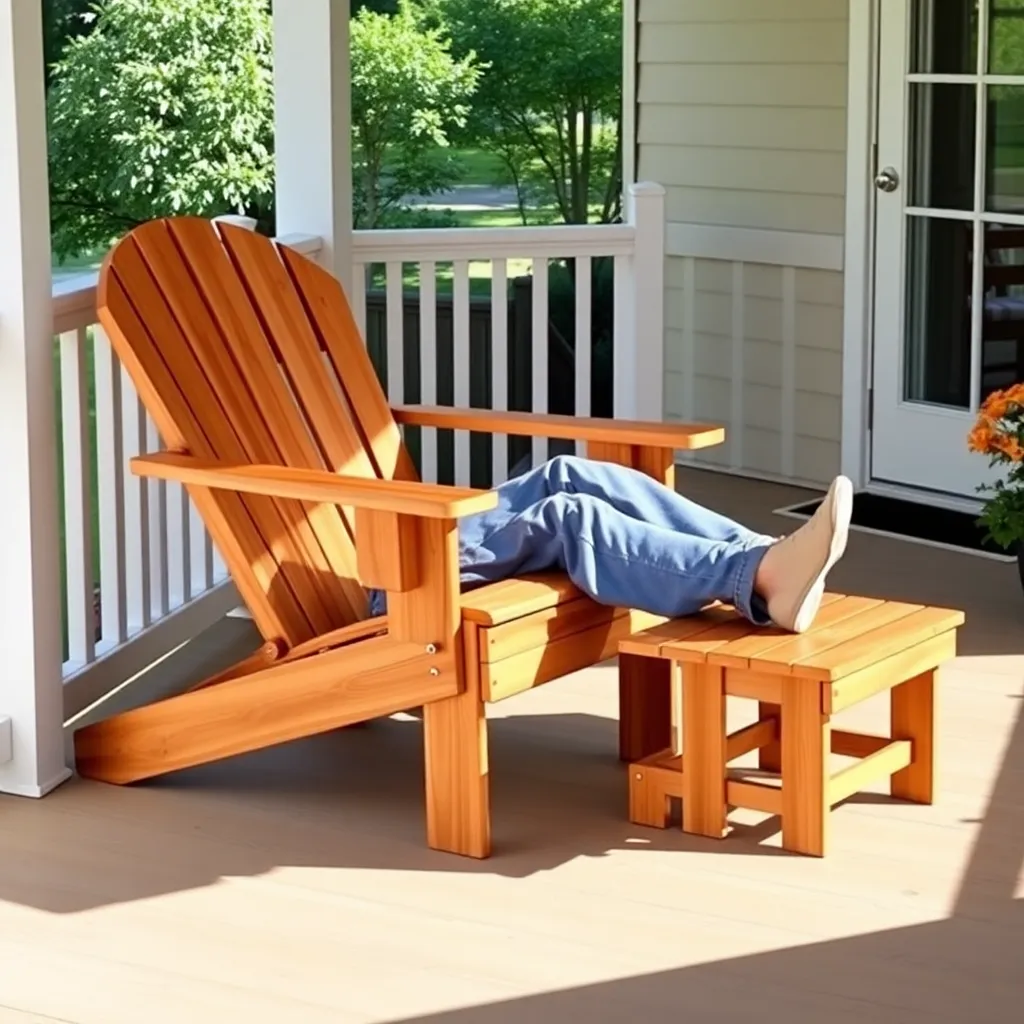
Apply exterior finish. Same finish as your chairs — semi-transparent exterior oil stain, two coats on all surfaces. Match the stain color exactly to the chairs if possible (use the same product, same batch). Re-coat at the same schedule as the chairs — treat the ottoman and chairs as a set.
Position in front of your chair. Set the ottoman 6–8 inches in front of the chair (outside face of chair front legs to rear edge of ottoman). Sit in the chair, extend your legs, and adjust the ottoman position until your legs are fully supported and comfortable. The ottoman can be left unattached — its weight and the friction of its leg bases keep it in position during normal use.
Optional: add rubber feet. Four small rubber furniture feet on the ottoman leg bases prevent scratching on deck boards and improve grip on smooth porch floors. Screw-in rubber feet are available at any hardware store.
For more Adirondack designs, visit our Adirondack chair plans hub.
Want 16,000+ step-by-step woodworking plans?
Ted’s Woodworking has plans for every skill level — from simple shelves to full bedroom sets. Each plan includes a cut list, material list, and detailed diagrams. Browse Ted’s plans →
Adirondack Chair Ottoman Plans FAQ
Does an Adirondack ottoman need to match the chair exactly?
The angle is the most important match — the ottoman should be at 15° if your chair seat is at 15°. Width matters visually but not functionally; a slightly narrower ottoman (18 inches instead of 21) works fine. The height at the front edge should be close to the chair seat height at the front — both at approximately 7–8 inches from the ground when the front leg is at rest. Mismatches in color or finish are obvious but not functional — a stained ottoman paired with a painted chair looks mismatched even if it works.
Can one ottoman work for multiple chairs?
Yes. The ottoman is not attached to the chair, so it’s moveable. If you have two or three matching Adirondack chairs, one ottoman can serve whichever chair is in use. A dedicated ottoman per chair is more convenient for two people lounging simultaneously, but one ottoman between two chairs works if the chairs are adjacent.
How much weight can an Adirondack ottoman hold?
A cedar 1×4 ottoman with properly assembled legs and stretchers holds 400+ pounds — far more than needed for leg rest. The limiting factor in most ottoman failures is the leg-to-rail screw connections, not the wood itself. Using pre-drilled holes and 2½” screws (not 1½”) at the leg-to-rail connections is the key structural decision.
Should the ottoman angle match the chair seat exactly?
Approximately, yes. The 15° angle is derived from the chair seat angle so that your legs continue the same slope as your seat — sitting in a 15° chair with a 0° (flat) footrest creates an uncomfortable knee bend. That said, an ottoman anywhere between 10° and 20° is usable with a 15° chair. The exact angle is less critical than the rule that the ottoman should slope upward away from the chair (rear end higher than front end) to support your legs rather than drop your heels.
How do I store the ottoman with a folding Adirondack chair?
Folding Adirondack chairs and their ottomans store well together — the ottoman leans against the folded chair or stacks flat on top of it. Ottoman dimensions (approximately 21″ × 20″ × 12″ tall) are small enough to slide under most workbenches or along a garage wall. If storage space is very tight, the ottoman can also be built to fold — replace the side rail-to-leg connections with carriage bolt pivots, same as the folding chair mechanism.

“DIY woodworking enthusiast who started with zero experience and a YouTube tutorial.
I build simple, practical projects for my home and share free plans
so other beginners can skip the guesswork.If I can build it, you can too.”