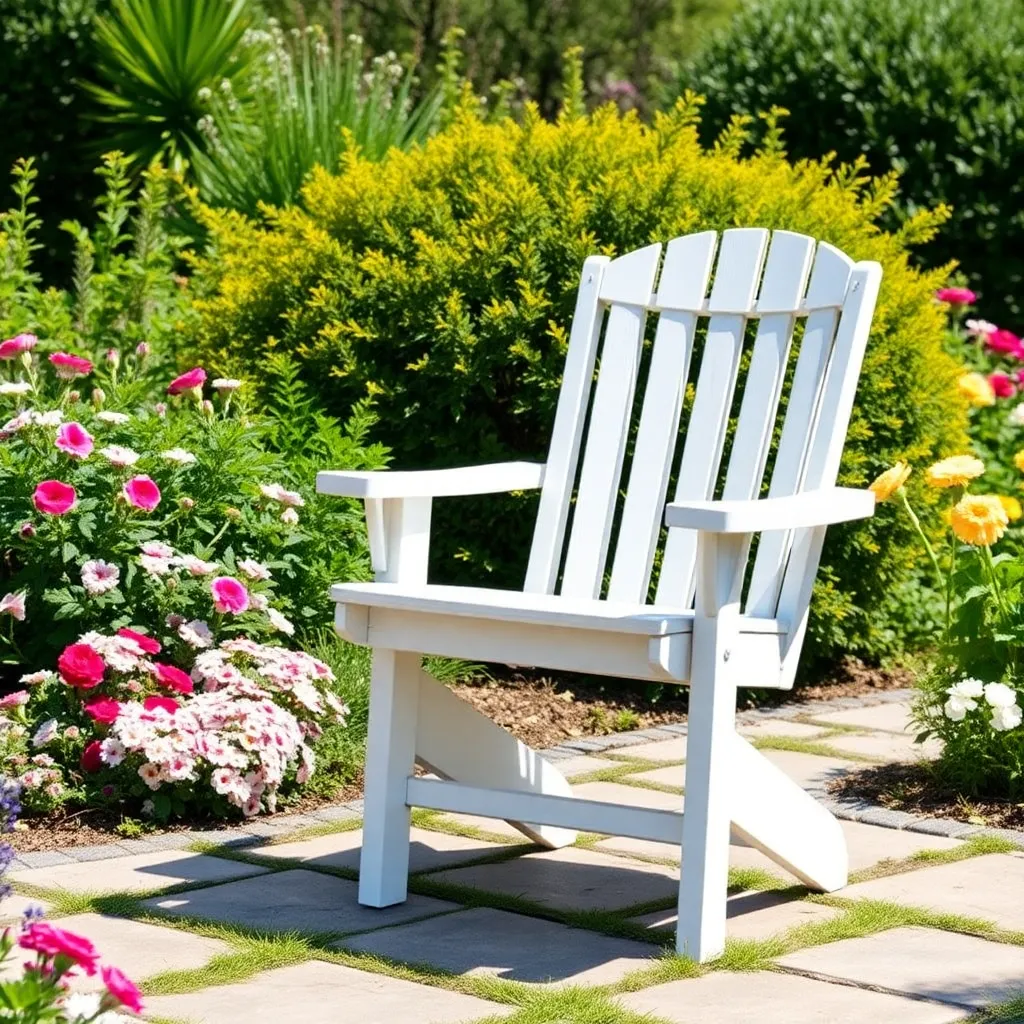
A garden chair is the outdoor furniture project with the highest return on time invested. You use it every day from April through October, it defines the character of your outdoor space more than any other piece, and a well-built cedar or pine chair lasts longer than anything you can buy at a hardware store for the same money. These three garden chair plans cover the full skill range: a classic slatted garden chair anyone can build in an afternoon, a folding director’s chair for tight spaces, and a log chair that requires only a chainsaw and a drill.
Step 1: Understand the Ergonomics Before You Cut
Want 16,000+ step-by-step woodworking plans?
Ted’s Woodworking has plans for every skill level — from simple shelves to full bedroom sets. Each plan includes a cut list, material list, and detailed diagrams. Browse Ted’s plans →
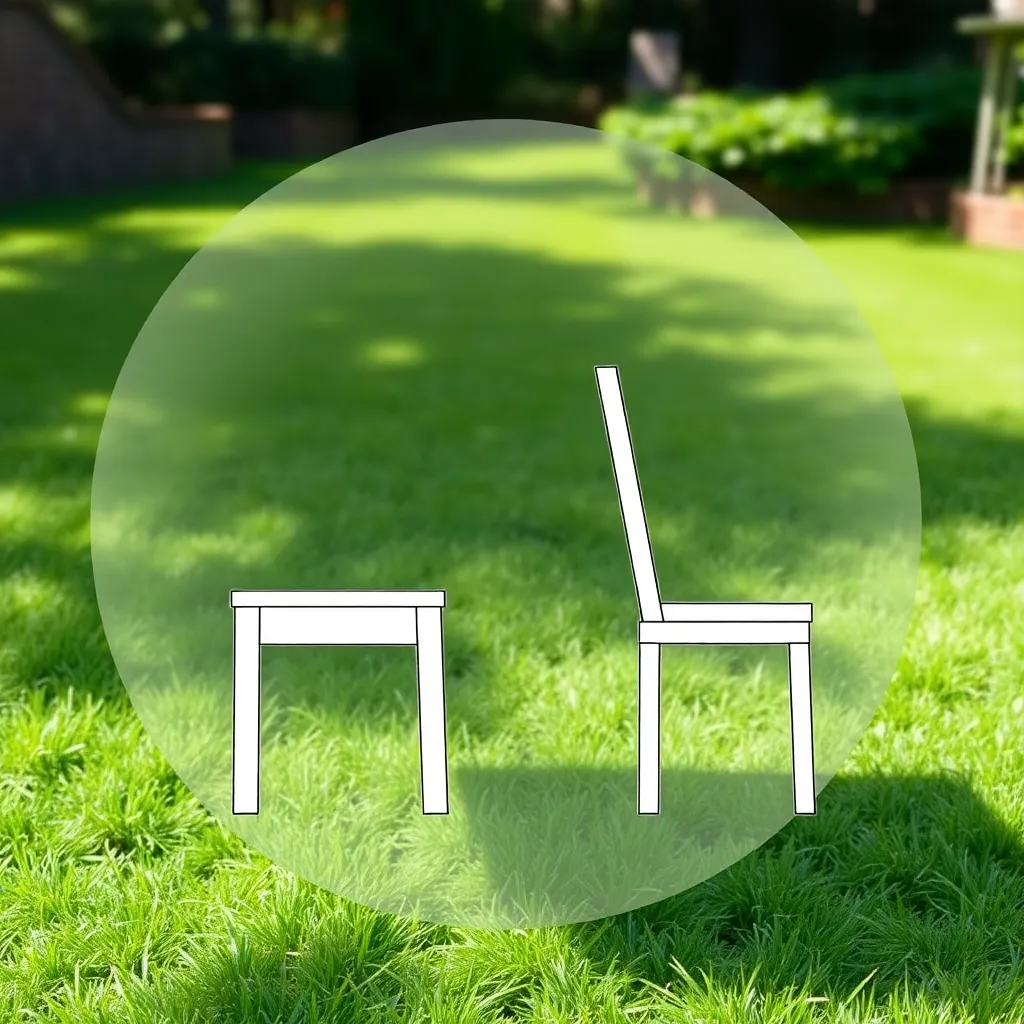
A chair that’s comfortable requires three things to be right: seat height, seat angle, and back angle. Get these wrong and you’ll build a beautiful piece nobody wants to sit in.
- Seat height: 17–18 inches from ground to front edge of seat. Lower for a garden/lounge feel (15–16 inches), higher for a dining-adjacent feel (18–19 inches).
- Seat angle: 3–5° of pitch from front to back (back of seat is lower than front edge by about 1 inch). This keeps the sitter from sliding forward.
- Back angle: 10–15° from vertical. A more upright back is better for dining; more reclined is better for relaxing. The classic garden chair uses 12° of back rake.
- Back height: 18–20 inches above the seat for a low back; 24–28 inches for a full-height back.
These dimensions work for adults in the 5’4″ to 6’2″ range. For a children’s chair, reduce all dimensions by 30%.
Step 2: Classic Slatted Garden Chair — Cut List and Assembly
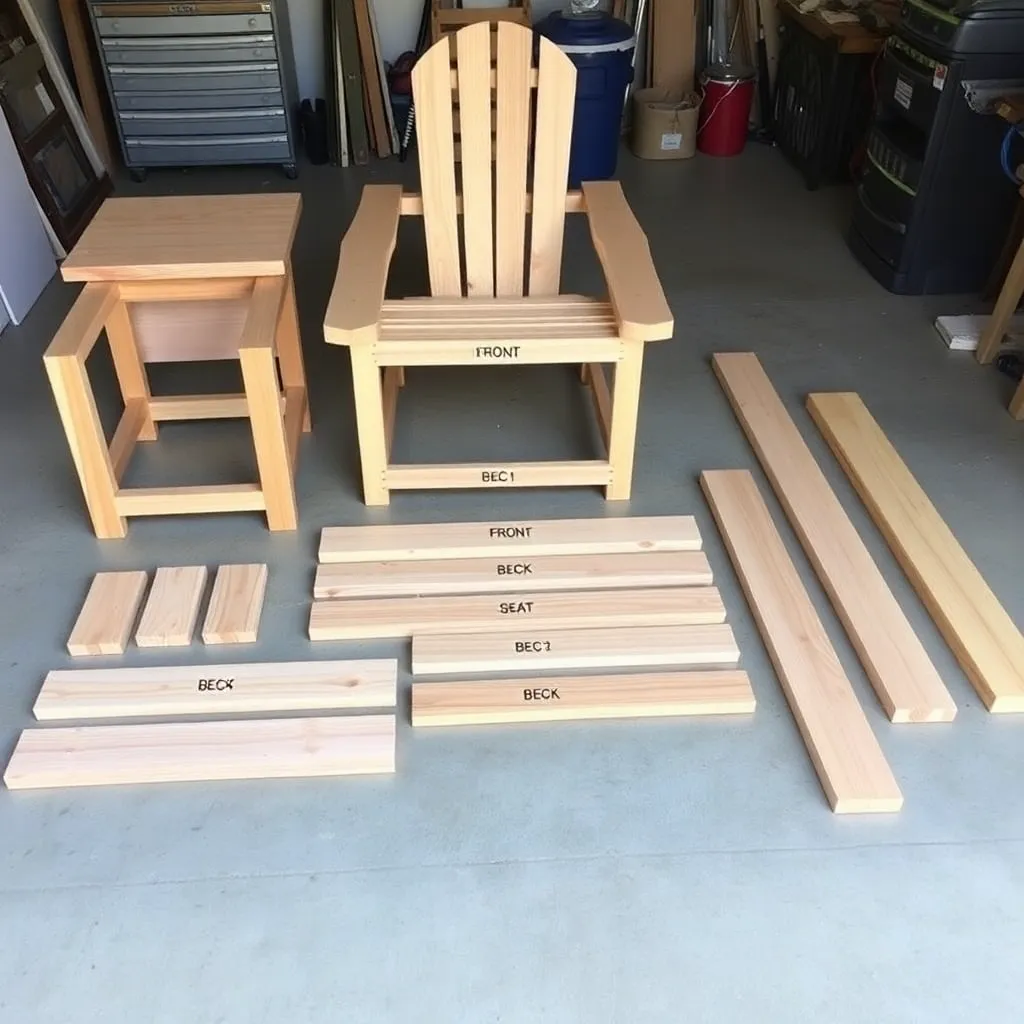
This is the most common outdoor chair pattern: four legs, a seat frame, a back frame, and horizontal slats across both.
Cut list (Western red cedar, one chair):
- 2 × back legs: 2×4 at 38 inches (will be angled at top)
- 2 × front legs: 2×4 at 18 inches
- 2 × side seat rails: 2×4 at 20 inches (angled 3° at rear end for seat pitch)
- 1 × front seat rail: 2×4 at 23 inches
- 1 × rear seat rail: 2×4 at 23 inches
- 2 × back rails: 2×3 at 23 inches (one at seat level, one near top)
- 4 × seat slats: 1×4 at 25 inches
- 4 × back slats: 1×4 at 16 inches
- 2 × arms (optional): 1×4 at 24 inches (tapered to 2 inches at front)
Assembly sequence:
1. Fasten front legs to side seat rails, then back legs to same rails — this creates two side frames.
2. Connect side frames with front seat rail and rear seat rail (carriage bolts, not screws alone, at each joint).
3. Check that seat frame sits flat and at the correct 3° pitch front-to-back.
4. Attach seat slats across the seat frame with even spacing.
5. Fasten back rails between the back legs (one at seat level, one 18 inches above seat).
6. Attach back slats vertically between back rails.
7. Optionally attach arms from the top of the front leg to the back leg.
Step 3: Folding Director’s Chair — Build Notes
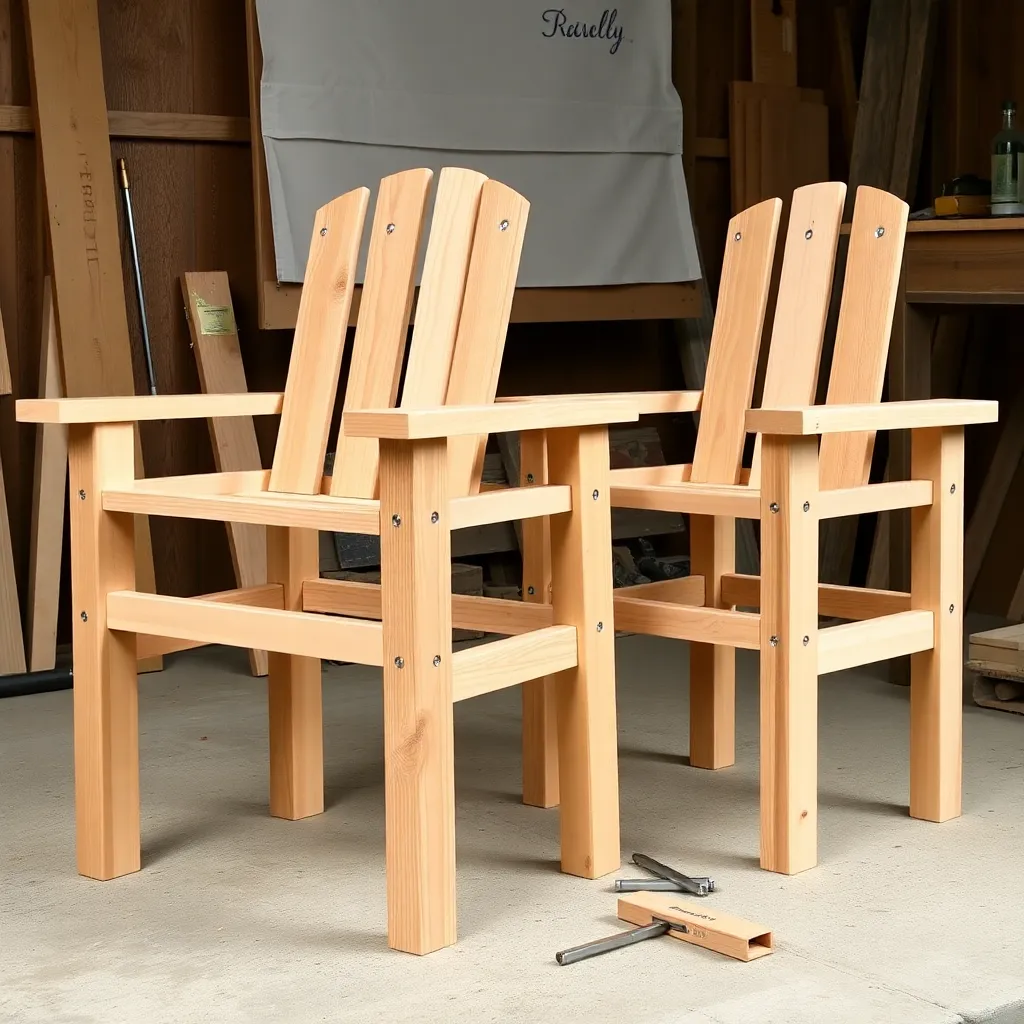
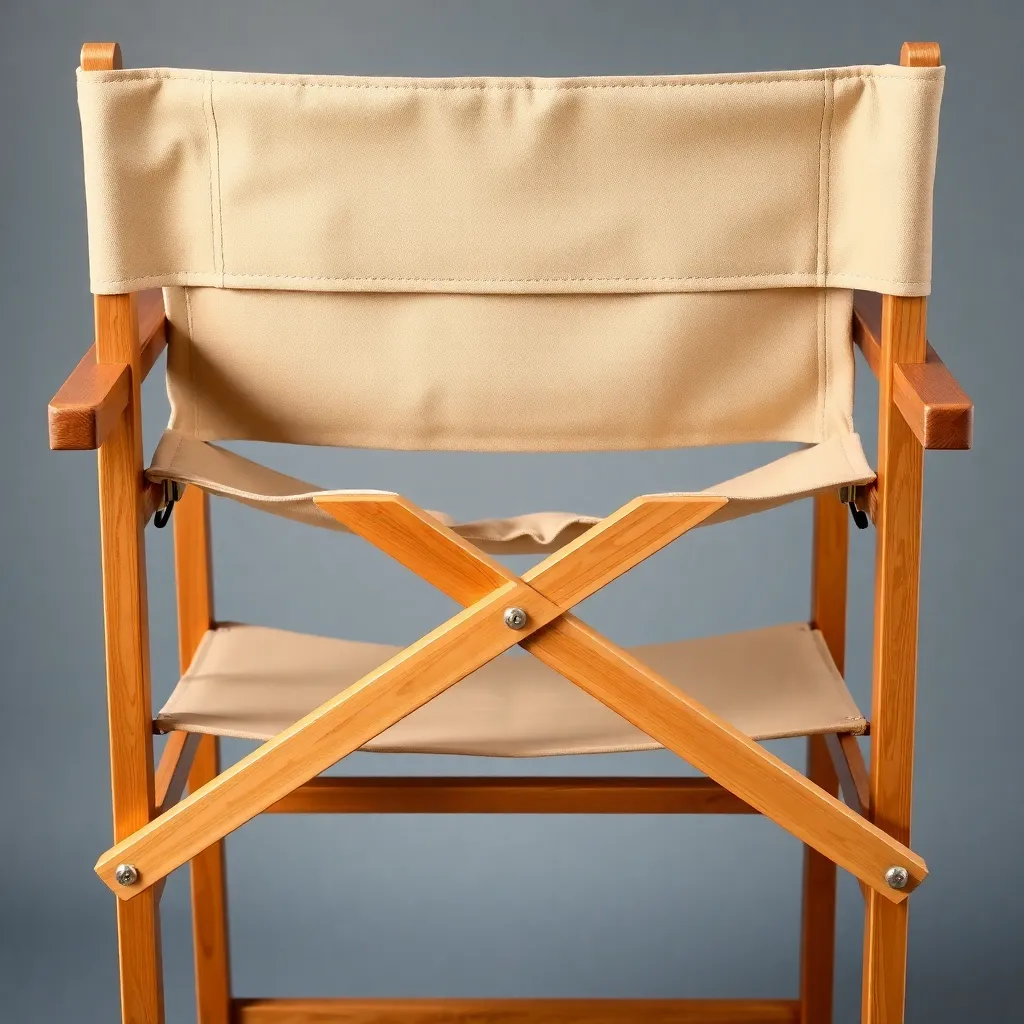
The director’s chair (also called a campaign chair) folds completely flat, making it ideal for smaller patios, camping, or storing in a shed in winter. The frame consists of two X-shaped side assemblies that pivot at the center, with a fabric seat and back slung between them.
Key dimensions:
- Side frames: 1×1½-inch hardwood stock (oak or ash — stronger than cedar for this application)
- Frame height when open: 32 inches from floor to back top
- Seat height: 17 inches
- Pivot bolt: 3/8-inch carriage bolt at the center X-cross point of each side frame
The seat and back: Sew from 10-oz outdoor canvas or Sunbrella fabric (UV-resistant, waterproof). The seat panel drops over two 1×1½ dowels that run between the side frames. The back panel drops over the top cross rail.
The folding X mechanism requires careful sizing: the two X members must be equal in length (26 inches each), and the pivot point must be centered (13 inches from each end) to keep the chair stable when open.
Step 4: Rustic Log Chair — Build Without Lumber
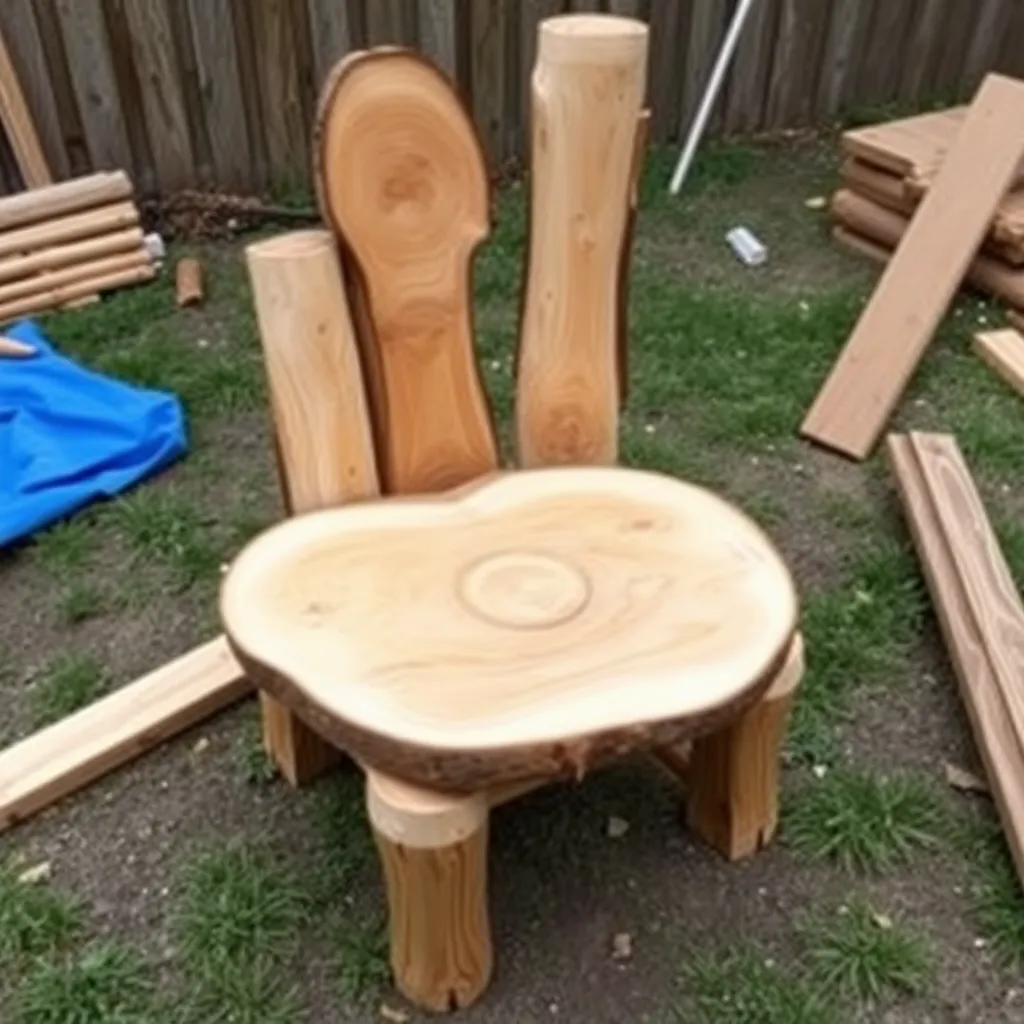
A log chair requires no lumber yard visit. You need three sections of log (6–8 inches diameter, 18 inches long for seat supports, 38 inches for the back post), four straight branches (2 inches diameter, 18 inches long for seat slats), and a slab of wood or a cut section of larger log for the seat.
Rough dimensions:
- Two front seat supports: 18-inch log sections
- Two back supports: 18-inch log sections (slightly angled backward when assembled)
- One back post: 38-inch log section
- Seat: Split log slab (24 inches wide × 20 inches deep) or a ladder of 5–6 branches
- Back slats: 4 branches at 22 inches
Drill 1-inch holes (slightly angled) in the seat supports and seat for the leg tenons. Carve or whittle the branch ends down to 1-inch tenons with a drawknife or coarse rasp. Drive the tenon joints in dry — do not glue. As the wood dries (the log sections will still be green when you build), the mortises tighten around the tenons and create a joint stronger than any adhesive.
Step 5: Finish and Protect
For the cedar slatted chair: sand all surfaces starting at 80-grit (remove mill marks), finish at 120-grit. Apply one coat of exterior primer to all surfaces including end grain and underside. Two coats of exterior paint or solid stain. Repaint every 5–8 years.
For the director’s chair: the hardwood frame needs two coats of spar varnish or an exterior penetrating oil. Replace the canvas seat and back every 3–5 years as UV degrades the fabric.
For the log chair: leave the log sections unfinished. The bark will gradually peel away and the surface weathers to gray naturally. If you want to preserve the log appearance, apply two coats of exterior penetrating oil the first spring.
Want 16,000+ step-by-step woodworking plans?
Ted’s Woodworking has plans for every skill level — from simple shelves to full bedroom sets. Each plan includes a cut list, material list, and detailed diagrams. Browse Ted’s plans →
Garden Chair Plans FAQ
What is the easiest outdoor chair to build?
The slatted garden chair in Step 2 — it requires only straight cuts (no curves or angles beyond the basic seat rake) and basic fastener skills. A beginner with a drill and a circular saw can build it in 4–6 hours.
How much does it cost to build a garden chair?
A cedar slatted garden chair: $25–$45 in materials (1½ boards of 2×4 and 1 board of 1×4). A folding director’s chair: $35–$55 including fabric. A log chair: nearly free if you have logs available, or $0–$20 if you need to buy split logs.
What wood should I use for outdoor chairs?
Western red cedar is the best all-around choice: rot-resistant, lightweight, and easy to work. For a folding chair, use a denser hardwood (oak or ash) for the frame members — cedar is too soft for the thin stock required by folding chair joinery. For a chair that will stay outside year-round in wet climates, teak is the most durable option.
How long does a wood outdoor chair last?
A cedar garden chair with proper painted finish maintained every 5–8 years: 20–30 years. A teak chair left unfinished: 50+ years. A log chair: 10–20 years depending on the species and how much rain exposure the joints receive.
How do I make outdoor chairs more comfortable?
Add a seat cushion (outdoor foam in a Sunbrella cover lasts 5–8 years). Adjust the seat angle — a 3–5° pitch from front to back makes sitting more comfortable for longer periods. Increase back height to 24+ inches above the seat for better lumbar support. Add arm rests if the base design doesn’t include them.

“DIY woodworking enthusiast who started with zero experience and a YouTube tutorial.
I build simple, practical projects for my home and share free plans
so other beginners can skip the guesswork.If I can build it, you can too.”