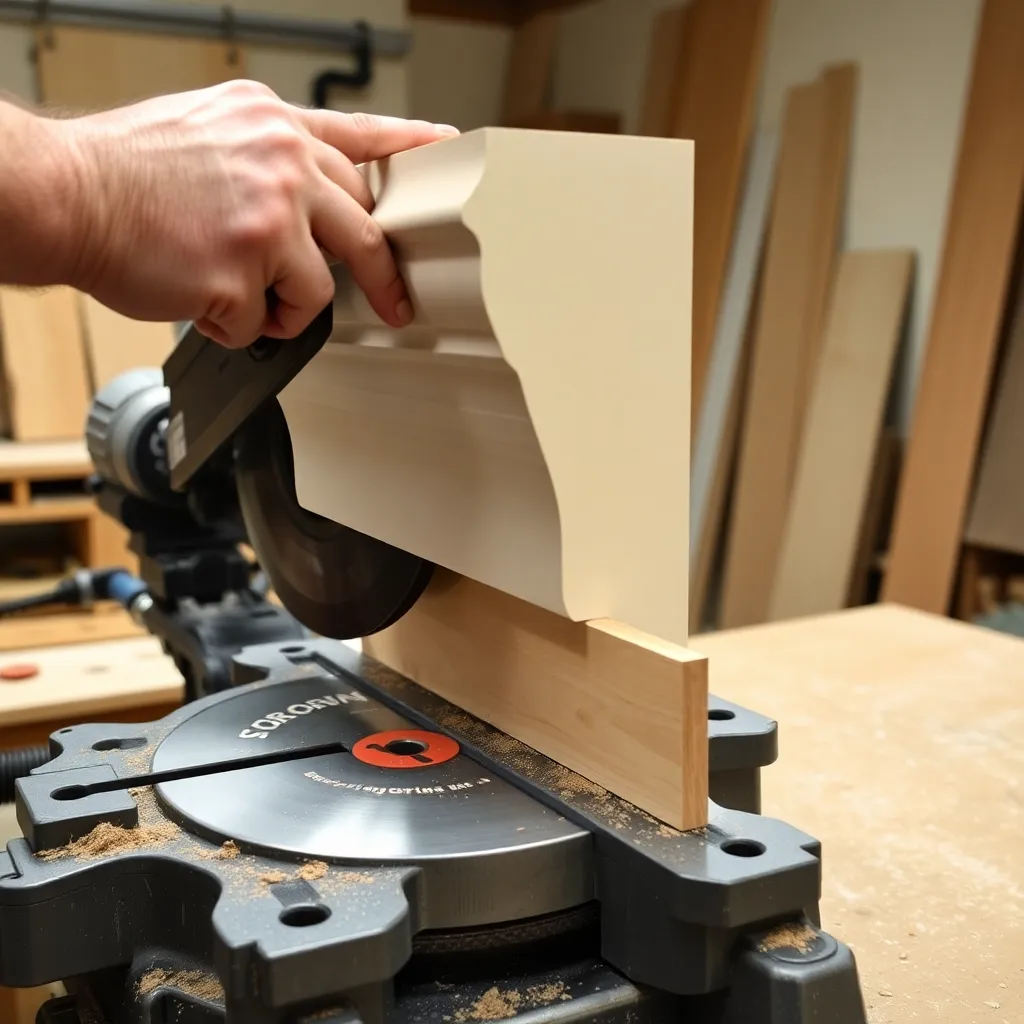
Part of: Crown Molding Techniques →
Part of: Crown Molding Techniques →
Crown molding miter cuts are the most challenging cuts in interior trim carpentry. Unlike flat molding, crown sits at a compound angle — it’s tilted away from the wall and tilted away from the ceiling simultaneously, which means every corner cut involves two angles at once. A simple 45-degree miter that works for flat casing doesn’t work for crown. Getting crown molding corners right requires understanding the spring angle, knowing your cutting method, and making test cuts before touching project material.
Ted’s Woodworking has 16,000+ plans including complete trim specifications for crown and casing. Browse Ted’s plans →
Step 1: Understand Crown Molding Geometry
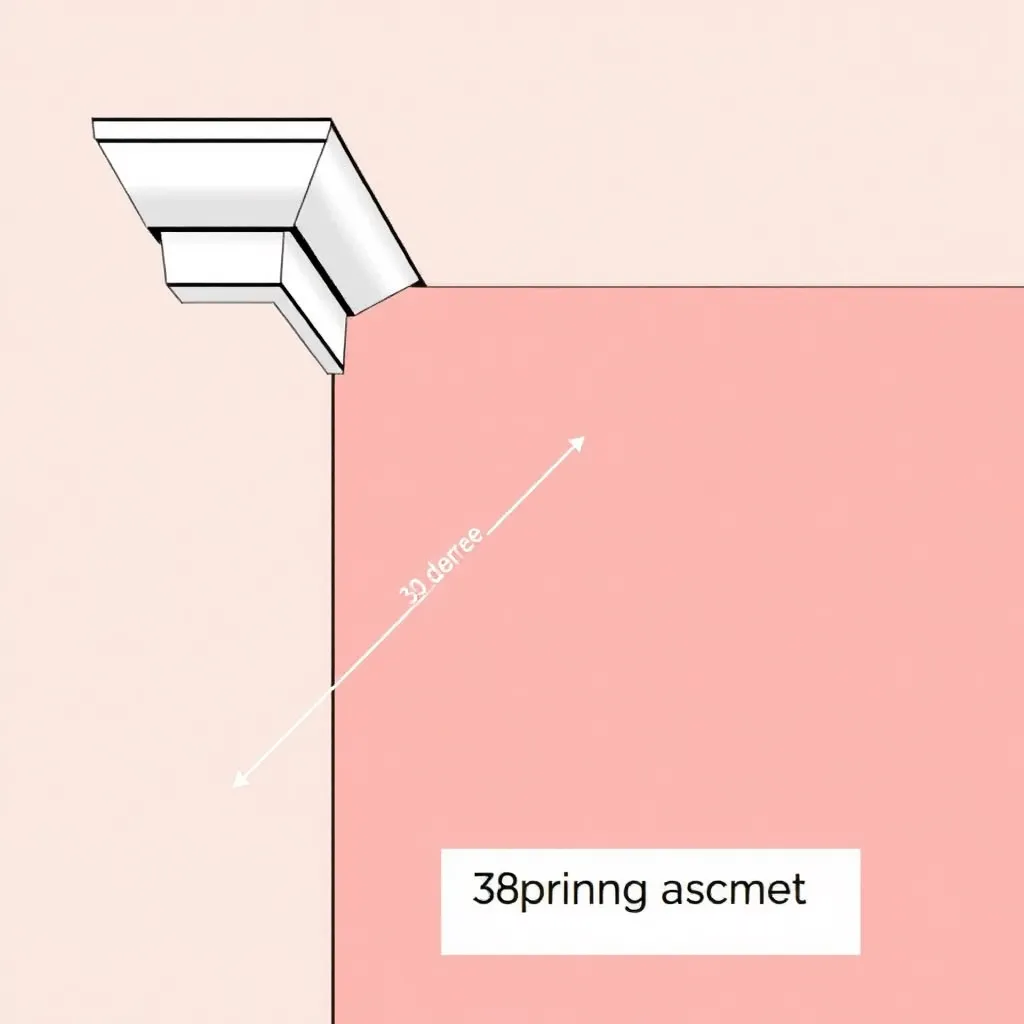
Goal: Understand why crown molding cuts are different from flat molding cuts before touching the saw.
The spring angle:
Crown molding is designed to span the inside corner where the wall meets the ceiling. It doesn’t sit flat — it “springs” away from both surfaces at an angle. The angle between the back of the molding and the wall is called the spring angle. Standard crown molding has a 38-degree spring angle (sometimes written as 38/52 — 38 degrees off the wall, 52 degrees off the ceiling). Premium or decorative crown often has a 45-degree spring angle. The spring angle determines the miter and bevel settings on the compound miter saw.
Two cutting methods:
There are two ways to cut crown molding corners:
1. Flat (compound) method: The molding lays flat on the saw table. The saw is set to both a miter angle and a bevel angle simultaneously. This is called a compound miter cut.
2. Nested (upright) method: The molding is held at its installed spring angle against the saw fence — flat on the fence like it would sit on the ceiling, or against the fence like it would sit on the wall. The saw is set to 45 degrees miter only (no bevel). This is simpler but requires holding the molding consistently at the spring angle for every cut.
Which method to use:
For a standard miter saw (not a sliding compound miter saw): use the nested method — it’s simpler and doesn’t require compound angle settings. For a compound miter saw: either method works. The nested method is preferred by most experienced trim carpenters for its simplicity and repeatability.
Inside vs outside corners:
Inside corners are where two walls meet inward (the room’s interior corners). Outside corners project outward (like at a bay window or a soffit). Inside corners: both pieces of crown lean toward each other. Outside corners: both pieces lean away from each other. The miter direction reverses between inside and outside corners.
Milestone: Before any cuts, identify whether each corner in the room is an inside corner or outside corner. In a standard rectangular room: all four corners are inside corners. Any projecting wall, bay, or soffit creates outside corners.
Step 2: Set Up the Saw for the Nested Method
Goal: Set the miter saw to 45 degrees and create a consistent crown stop for the nested method.
The nested method setup:
In the nested method, the crown lays upside down on the saw table with its flat back surfaces contacting the fence and the table. The top edge of the crown (which touches the ceiling when installed) lays flat on the saw table; the bottom edge (which touches the wall when installed) presses against the saw fence. This replicates the spring angle — the saw fence acts as the ceiling and the table acts as the wall.
Creating a crown stop:
A crown stop is a thin strip of wood clamped or taped to the saw table and fence at the exact height needed to hold the crown consistently at the spring angle. Without a stop: the molding can shift slightly between cuts, producing inconsistent angles. With a stop: every cut is identical.
To set up the stop: hold a scrap piece of crown in the nested position (top edge flat on table, bottom edge against fence, leans against fence at the spring angle). Clamp a thin strip of wood to the saw table against the bottom edge of the crown. This strip is your stop — every subsequent piece rests against it.
Miter saw angle:
For a 90-degree corner (standard room corners): set the miter saw to 45 degrees. For inside corners: typically miter left 45 degrees for the left piece and right 45 degrees for the right piece (check your saw’s direction labeling). For outside corners: the direction reverses.
Verifying 45 degrees:
The miter saw’s detent stop at 45 degrees may not be perfectly accurate. Test: cut two scrap pieces and hold them together as an inside corner. The corner should be exactly 90 degrees (flat against a framing square). If the corner is open or closed: adjust the miter angle slightly (typically 0.5 to 1 degree) and retest.
Milestone: With the stop in place and saw at 45 degrees, make two test cuts in scrap crown and dry-fit the corner. The joint should be tight with no visible gap before proceeding to project material.
Step 3: Cut Inside Corners (Nested Method)
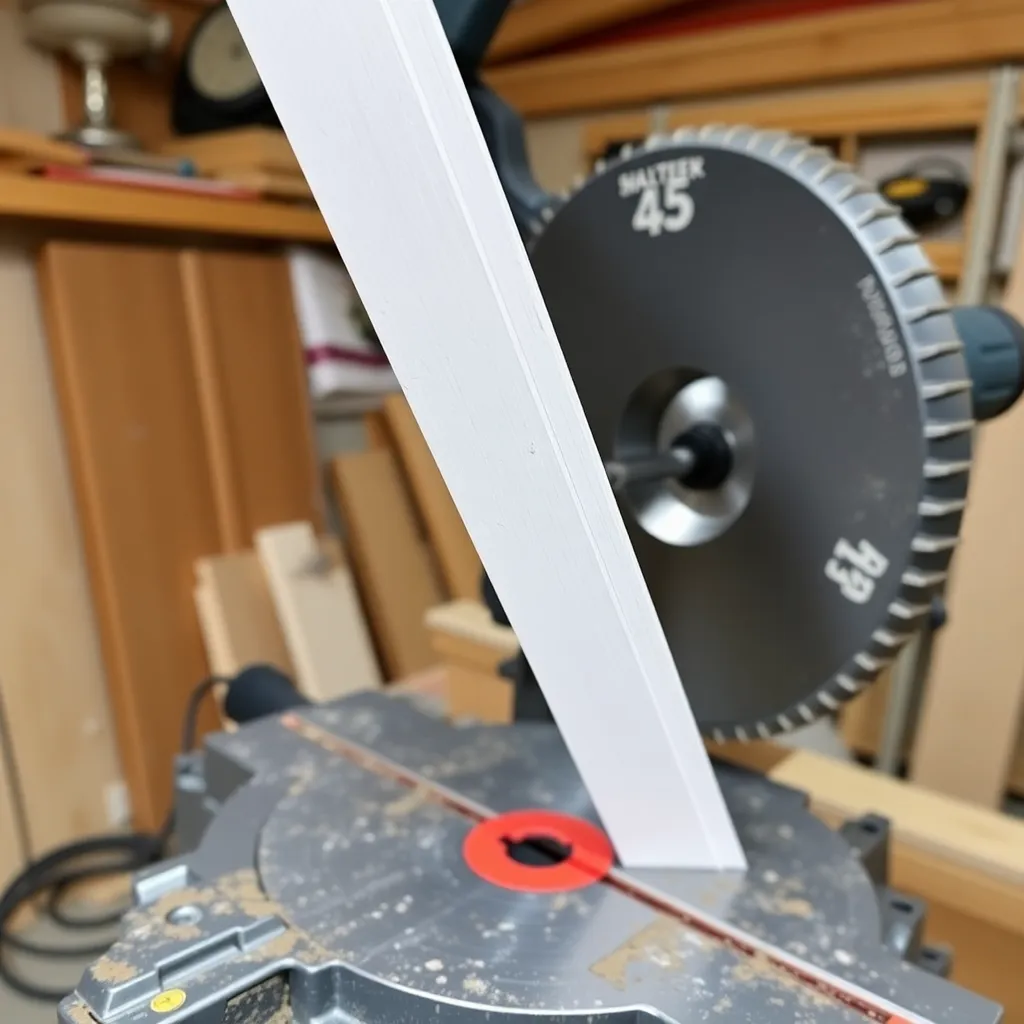
Goal: Cut crown molding for inside corners using the nested method.
The setup for inside corners:
For the left piece (the piece going to the left of the corner): place the crown in the nested position (upside down on the table, top edge down, bottom edge against fence). The saw is mitered to the left at 45 degrees. The cut produces a left-facing miter on the right end of the piece.
For the right piece (the piece going to the right of the corner): the crown stays in the same nested position. The saw is mitered to the right at 45 degrees. The cut produces a right-facing miter on the left end of the piece.
The coped joint alternative:
For inside corners, a coped joint is often superior to a miter joint. One piece runs full-length into the corner (with a square cut at the corner end); the second piece is coped (cut to follow the profile of the first piece). Coped inside corners don’t open up with seasonal wood movement; mitered inside corners do. To cope: cut the second piece at 45 degrees (revealing the profile), then use a coping saw to cut along the profile line. The coped piece fits over the face of the first piece.
For painted crown in new construction: miter inside corners — the walls may still be settling and coped joints hold better. For stained or natural finish crown: always cope inside corners for long-term appearance.
Measuring crown length:
Crown molding length is measured on the wall — from wall corner to wall corner at the bottom edge of the crown (the edge that contacts the wall). This measurement is the long point of the cut on the wall side. Cut slightly long and test fit before final installation.
Milestone: After cutting both pieces for a corner, hold them together (both still uninstalled) and check the joint. The miter should close tightly with no gap when the pieces are held at the spring angle.
Step 4: Cut Outside Corners
Goal: Cut crown molding for outside corners where the molding wraps around a projecting corner.
The outside corner reversal:
At an outside corner, both pieces lean away from each other (rather than toward each other as in an inside corner). This means the miter direction is reversed compared to inside corners.
For the left piece at an outside corner: the saw is mitered to the right at 45 degrees (opposite of the inside corner left piece). For the right piece: the saw is mitered to the left at 45 degrees.
Cutting sequence:
At an outside corner: cut one piece slightly long, install it, mark the exact length of the miter on the wall, then cut the mating piece. Outside corners are visible from two sides — the joint must be tight on both the front face and the return. Test fit before nailing.
Gluing outside corners:
Outside corner miters open up over time more than inside corners because the joint is exposed on two sides and subject to wood movement. Apply wood glue to both miter faces, press together, and hold with clamps or a few pin nails while the glue cures. Once the glue is cured: the joint will stay tight even if the wood moves slightly.
Milestone: After gluing an outside corner joint, sight along the top edge of the crown from each direction — the top edge should flow smoothly from one piece to the next without any step up or down at the corner.
Step 5: Compound Miter Cuts (Flat Method)
Goal: Understand the compound miter settings if using the flat (horizontal) cutting method.
When to use the flat method:
The flat method is used when: the crown molding is too wide to nest upright on the saw (large crown profiles), or when cutting with a standard saw that can’t hold the crown at the spring angle. In the flat method, the crown lays flat on the saw table and the saw makes simultaneous miter and bevel cuts.
Angle settings for 38-degree spring angle crown:
For inside corners (90-degree room corner):
- Miter angle: 31.6 degrees
- Bevel angle: 33.9 degrees
For outside corners (90-degree room corner):
- Miter angle: 31.6 degrees (same, but direction reverses)
- Bevel angle: 33.9 degrees (same)
Angle settings for 45-degree spring angle crown:
For inside corners:
- Miter angle: 35.3 degrees
- Bevel angle: 30 degrees
For outside corners:
- Same angles, direction reverses
Using a crown molding angle chart:
Rather than calculating compound angles, use a crown molding angle chart (available from most miter saw manufacturers) that lists miter and bevel settings for different spring angles and corner angles. The chart inputs are: spring angle + corner angle → miter setting + bevel setting.
The direction problem:
In the flat method, the cut direction (which way the miter faces on the piece) is less intuitive than in the nested method. Mark each piece clearly (Left/Right, Inside/Outside) before cutting and verify orientation before the cut.
Milestone: In the flat method, always make test cuts before cutting project material — the compound angle is less intuitive and errors are common. Verify each test corner fits before committing to the project pieces.
Step 6: Install Crown Molding
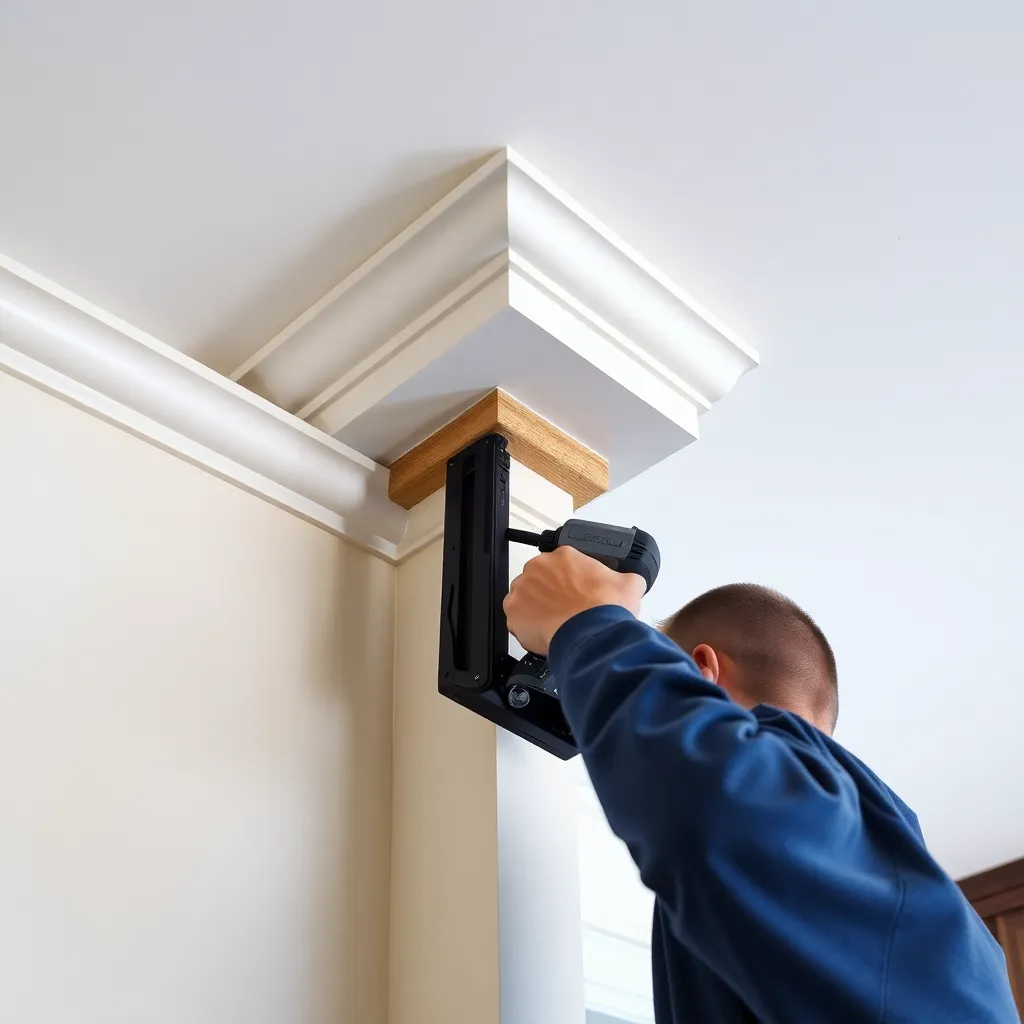
Goal: Nail crown molding in position with consistent spring angle and tight joints.
Locating nailers:
Crown molding must nail into solid wood — either the ceiling joists, the top plate of the wall, or blocking installed specifically for crown molding. Locate and mark ceiling joists and wall top plate before installation. Mark the stud/joist locations on the wall and ceiling with a pencil so you know where to nail.
Installing a ledger strip (optional):
A ledger strip is a strip of wood nailed to the wall at the height where the bottom of the crown will sit. The crown rests on the ledger strip during installation, holding it at the correct height without needing a helper to hold it. This is especially useful for solo installation.
Nailing:
Use a finish nailer with 2.5″ nails. Nail the top edge of the crown into the ceiling framing (joists or blocking); nail the bottom edge into the wall top plate. Space nails every 16″. At corners: apply a thin bead of wood glue to the miter faces before final positioning.
Sequence:
1. Install the first piece — the piece that will be coped against (if coping inside corners). This piece has square cuts at both ends (or a miter at the outside corner end).
2. Install the second piece — the coped or mitered piece that fits against the first.
3. Work around the room in one direction.
Checking the spring angle:
As each piece is installed, verify the spring angle is consistent — the crown should contact both the wall and ceiling evenly along its full length. Any section that bows away from the wall or ceiling indicates a high spot in the framing — back the nail out, shim the crown if needed, and re-nail.
Milestone: After nailing each piece, sight along the bottom edge of the crown from across the room — it should form a perfectly level, straight line. Any dip or rise indicates an installation problem to correct before the next piece is installed.
Crown Molding Miter Cut FAQ
What angles do I use to cut crown molding?
For the nested method (most common): set the miter saw to 45 degrees only (no bevel). The crown is held at its spring angle against the saw fence and table. For the flat/compound method with 38-degree spring angle crown: set miter to 31.6 degrees and bevel to 33.9 degrees. These settings apply to standard 90-degree room corners. Non-90-degree corners require different angles — measure the actual corner angle and use a crown molding angle chart to find the correct miter and bevel settings.
Which way do I cut crown molding for inside corners?
In the nested method (crown upside down on saw): the left piece gets a left 45-degree miter cut; the right piece gets a right 45-degree miter cut. “Left” and “right” refer to the direction the miter saw swings, not which side of the room you’re standing on. A practical test: cut two scrap pieces and check they form a 90-degree inside corner. If the corner is correct, you have the right directions; if it’s wrong, swap the cuts.
Should I cope or miter crown molding inside corners?
Both methods work, but coped joints are superior for long-term appearance. Mitered inside corners open up as the house settles and the wood moves seasonally — the gap that appears at a mitered inside corner is one of the most common complaints about crown installation. Coped joints don’t open because the profile fits over the face of the adjacent piece rather than meeting at an angle. The tradeoff: coping takes more skill and time. For painted crown that will be caulked and painted: mitered inside corners are acceptable in most cases. For stained or natural finish crown: cope inside corners.
How do I fix a gap in a crown molding corner?
For small gaps (less than 1/16″) in painted crown: fill with paintable caulk, tool smooth, paint. This is the standard fix and is essentially invisible after painting. For larger gaps in mitered inside corners: the correct fix is to remove one piece, adjust the miter angle, recut, and reinstall. Caulk a gap larger than 1/16″ and it will crack when the wood moves. For outside corner gaps: apply wood glue, close the gap by pressing the pieces together and pinning with a brad nail, allow to cure, then fill the nail hole with wood filler.

“DIY woodworking enthusiast who started with zero experience and a YouTube tutorial.
I build simple, practical projects for my home and share free plans
so other beginners can skip the guesswork.If I can build it, you can too.”