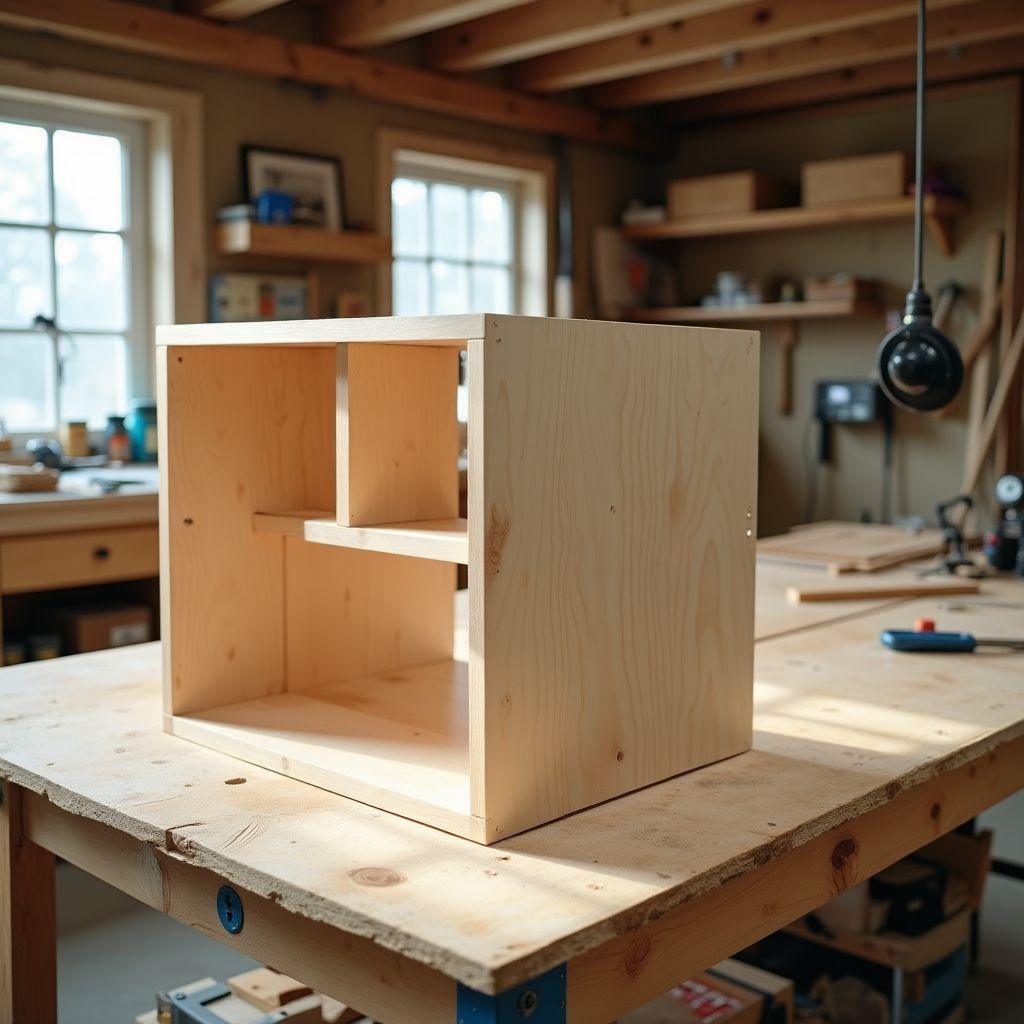
Home Depot installs cabinets for $14,000 to $21,000. Custom shops charge $26,000 to $42,000. Even IKEA’s SEKTION line runs $3,000 to $6,500 for a standard 10×10 kitchen. Price out the raw plywood for that same 10-foot run and it sits between $200 and $800.
That gap is the whole reason to pick up a drill. You can build solid, paint-grade basic cabinets for kitchen use with three tools: a drill, a Kreg pocket-hole jig, and a saw. No dados. No router. No table saw.
This guide builds one standard 24-inch-wide base cabinet as the teaching unit. Master this box and the same method scales to a full kitchen, to cabinets in closets, and to a wood kitchen cupboard anywhere in the house. You get the complete cut list, plywood buying help, pocket-hole assembly, a sink-base variation, finish, and install.
Every builder works from these standard dimensions:
| Cabinet type | Height | Depth | Widths |
|---|---|---|---|
| Base cabinet | 34.5″ | 24″ | 12″–48″ (3″ increments) |
| Upper / wall | 12″–42″ | 12″ | Mounted 54″ from floor, 18″ gap to counter |
| Toe kick | 3.5″–4″ tall | 3″ deep | Runs full cabinet width |
Build the box below and you own the pattern for every cabinet in the room.
Step 1: Choose Your Plywood and Stop Guessing at the Store
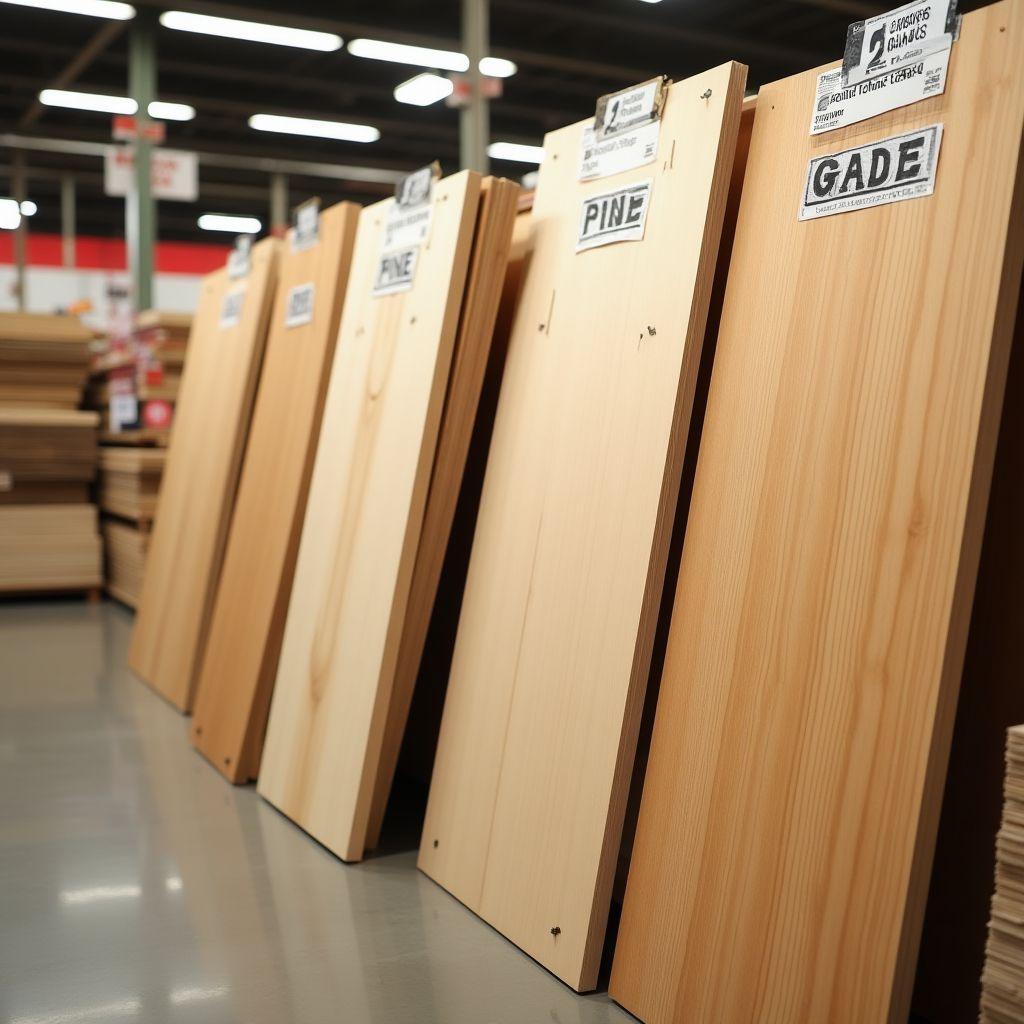
Pick the right 3/4″ plywood for the carcass and 1/4″ plywood for the back. Get this right and the rest of the build behaves.
Not all sheets are equal. PureBond birch (C3 grade) has a thin veneer, is formaldehyde-free, stocks at Home Depot, and paints beautifully. Baltic birch has more plies, stays flatter, holds screws best, and is true cabinet grade, though you pay specialty prices. AC plywood gives you one clean A-face and a rougher C-back, fine for painted interiors. OSB belongs nowhere near a kitchen interior, so leave it on the rack.
Here is where 2026 pricing lands per sheet:
| Material | 3/4″ sheet price |
|---|---|
| Pine / utility | $35–$55 |
| PureBond birch | $69–$85 |
| Baltic birch | 50–60% more than PureBond |
| OSB (skip it) | $20–$30 |
For a beginner planning to paint, buy PureBond or AC. If you want clear or stained wood cabinets for kitchen display, or you need maximum screw-holding strength, spend up for Baltic birch.
One 24-inch base cabinet eats roughly one full 3/4″ sheet plus about a quarter of a 1/4″ sheet for the back. Call it $70 to $95 in plywood for a single painted box.
By now you know exactly which sheet to grab and what one cabinet’s wood kitchen cupboard material costs.
Step 2: Make Your Cut List for a 24-Inch Base Cabinet
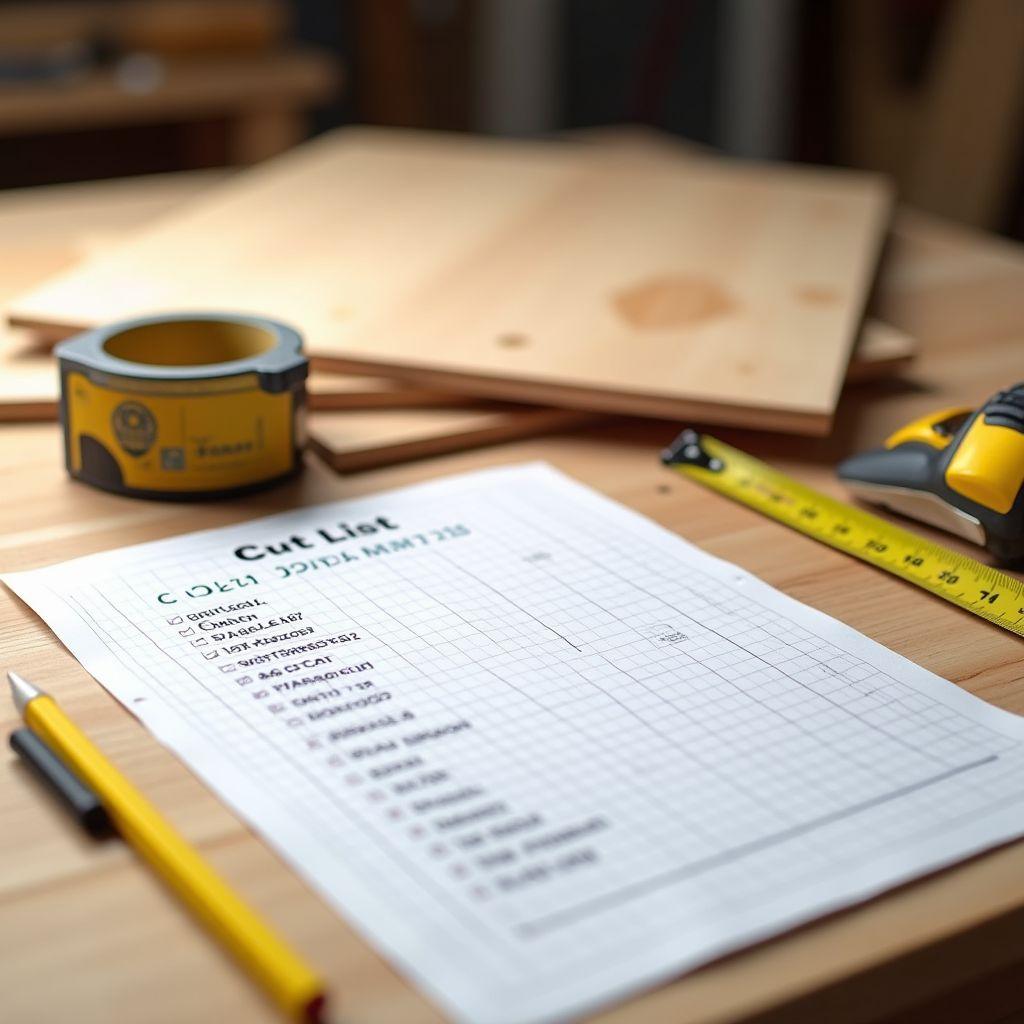
One written cut list you carry to the saw beats every mistake made from memory. Every number below assumes a 24″-wide base cabinet at 34.5″ tall and 24″ deep.
| Part | Quantity | Dimensions | Material |
|---|---|---|---|
| Sides | 2 | 34.5″ tall x 22.75″ deep | 3/4″ ply |
| Bottom | 1 | 22.75″ long x 22.5″ wide | 3/4″ ply |
| Top front stretcher | 1 | 22.5″ x 3.5″ | 3/4″ ply |
| Top rear stretcher | 1 | 22.5″ x 3.5″ | 3/4″ ply |
| Middle stretcher | 1 | 22.5″ x 3.5″ | 3/4″ ply |
| Back panel | 1 | Full width x full height | 1/4″ ply |
| Toe kick front | 1 | 3.5″ tall x cabinet width | 3/4″ ply |
The bottom sits 3.5″ up from the floor edge of the sides to create the toe kick recess.
Want a different width? Two formulas cover any size. Sides equal full height by (depth minus 1.25″). Stretchers and the bottom equal (cabinet width minus 1.5″) by your desired height.
That 1.25″ comes off the depth to leave room for the 3/4″ face frame at the front plus a 1/2″ allowance for the back panel and overhang. One less thing to guess at.
You now hold a complete written cut list. This is the standard base version. The sink-base tweak arrives in Step 8.
Step 3: Cut Your Plywood Square (Where Most Beginners Fail)
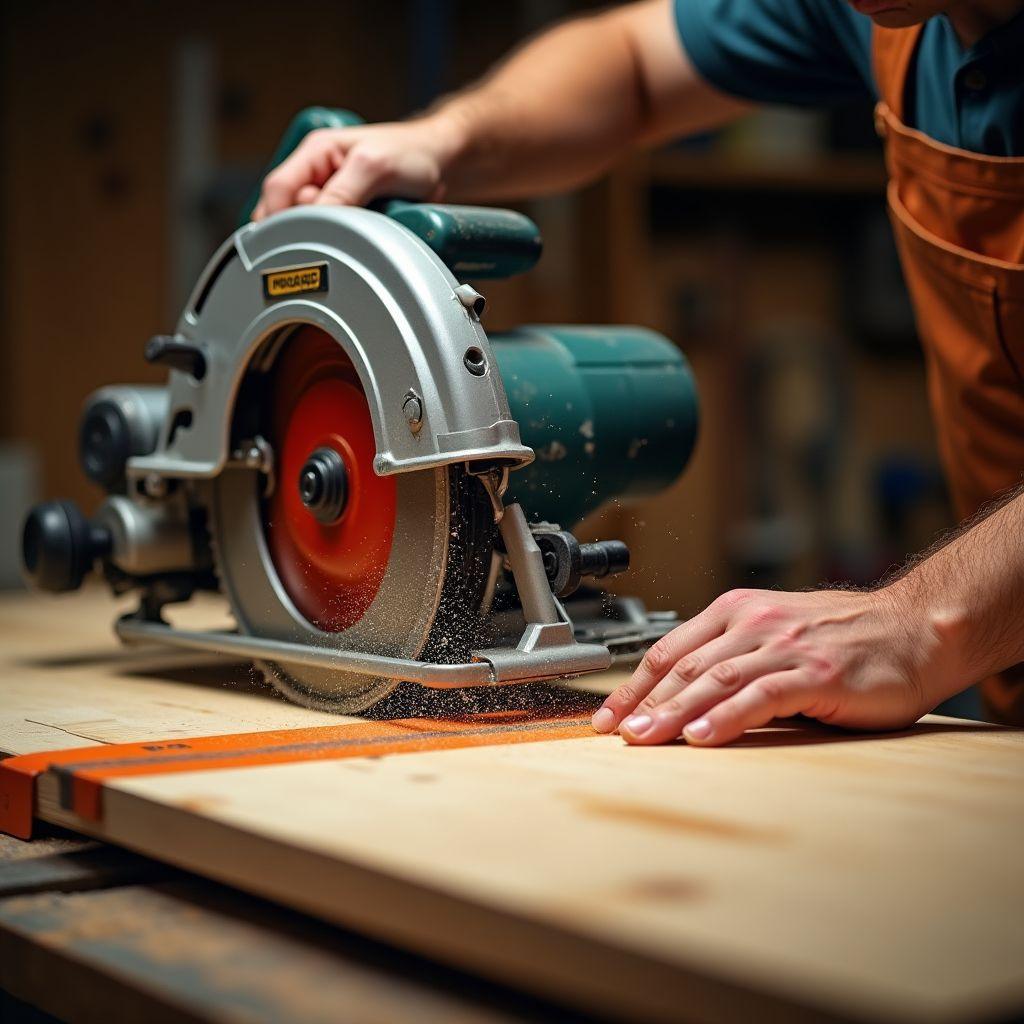
Square parts make the cabinet; crooked parts make firewood. Break full sheets into accurate pieces with a circular saw and a straightedge.
Use a track saw, or clamp a straight board to the sheet and run your circular saw against it like a rip fence. If you would rather not wrestle a full 4×8 sheet alone, have the home center make the rough breakdown cuts first.
Cut every piece slightly oversize, then trim to the final number. Chasing a line is easier than adding wood back.
Squareness makes or breaks the whole cabinet. As Lincoln St. Woodworks puts it, “you end up building a parallelogram instead of a box, and this is one of the most important cuts of the entire project.” Check every panel corner with a framing square. Then measure both diagonals of each rectangular part. Equal diagonals mean the piece is square.
Mark the good face of each panel with a pencil arrow. That single habit stops you from drilling pocket holes on a face that ends up showing.
By now you have a stack of labeled, square parts that match your cut list exactly.
Step 4: Drill Pocket Holes and Assemble the Box
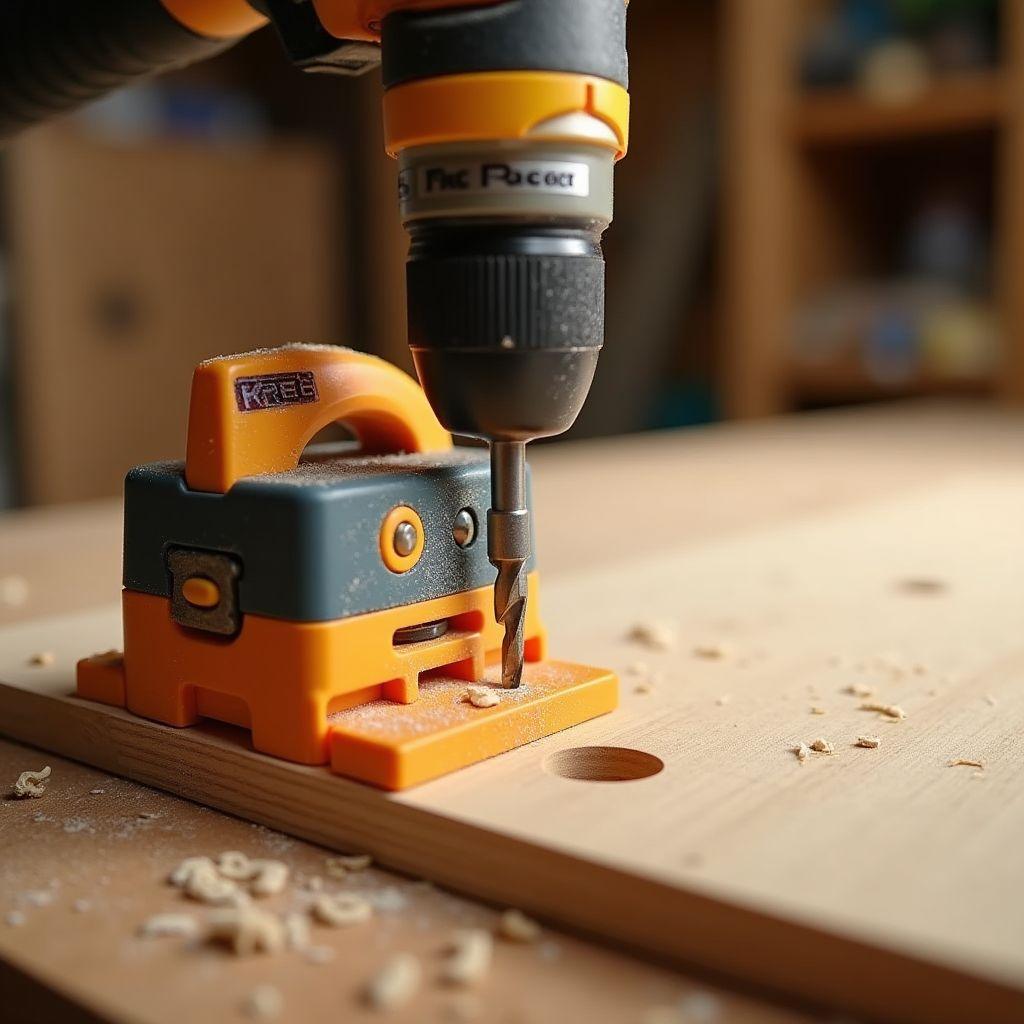
Join the sides, bottom, and stretchers into one square carcass with a Kreg jig. Three ways to join plywood exist. Butt joints are fastest but leave screws visible. Dados are cleanest but need a table saw. Pocket holes hide the fasteners, need no special saw, and are the most popular DIY choice, so that is the route here.
Set the jig for 3/4″ stock and load 1-1/4″ coarse pocket screws. Drill every pocket hole on the inside or hidden face of each part. DIYTyler learned this the hard way: “make sure we don’t drill on visible faces, which I have done in the past and made a big, big mistake.” Check your pencil arrows before every hole.
Assemble in order. Attach the bottom to both sides, set 3.5″ up from the bottom edge. Add the top front and top rear stretchers across the top, then drop in the middle stretcher. Glue every joint before you drive the screw.
Re-measure the diagonals before the glue grabs. Equal diagonals, then clamp. Adjust now or live with a crooked cabinet forever.
By now you have a rigid, square, open box.
Step 5: Add the Back Panel to Lock It Square
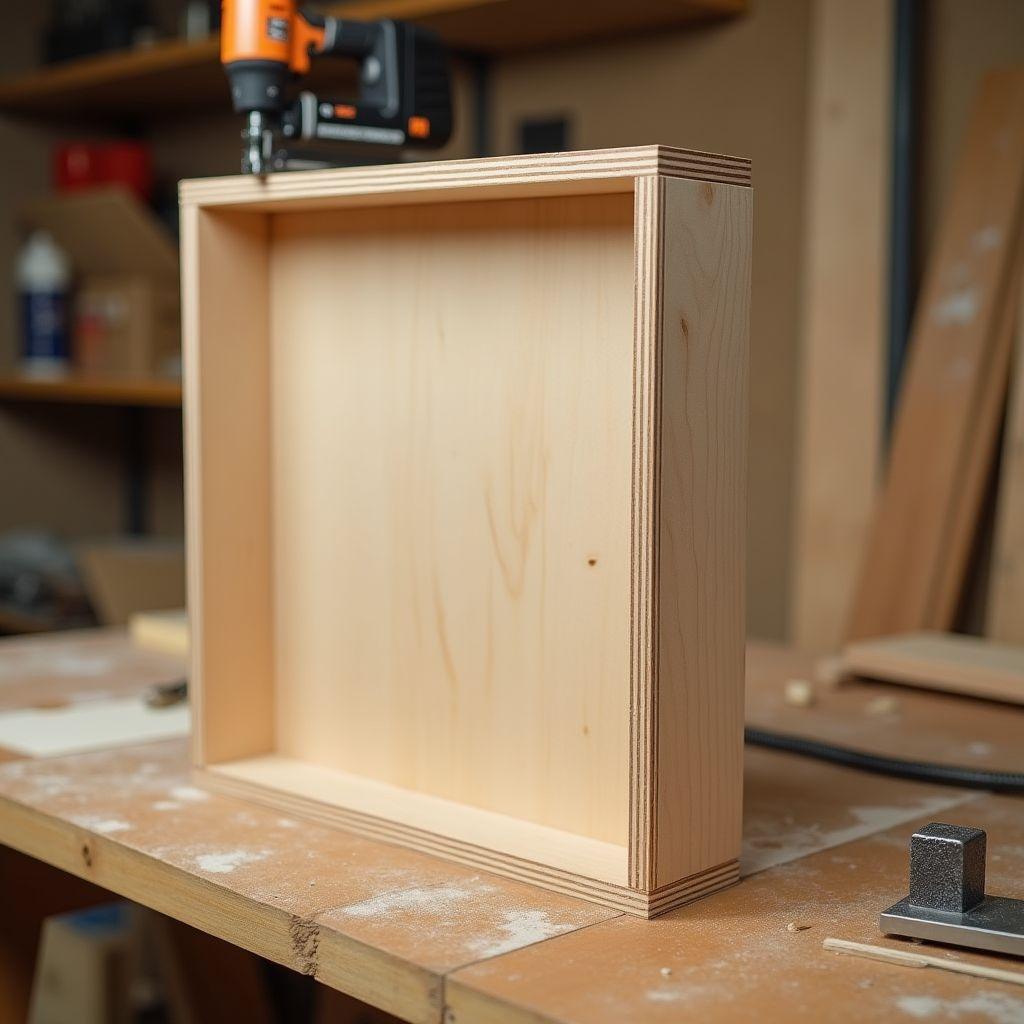
The 1/4″ back does more structural work than its thickness suggests, permanently squaring and stiffening the box.
Cut the back to the full outside width and height of the cabinet. Before you fasten anything, square the box one final time by checking the diagonals.
Use a factory-cut edge of the plywood as your reference. Fasten along that straight edge first and it pulls the entire cabinet into square as you go. Install the back before the carcass glue fully sets so the panel can still correct the box.
Run glue along the sides, bottom, and top stretchers, then drive brad nails or staples every 3 to 4 inches. The top rear stretcher doubles as your install nailer for screwing into wall studs later, so make sure it is solid.
By now you have a fully squared, sturdy box ready for the toe kick and face frame.
Step 6: Build the Toe Kick Platform
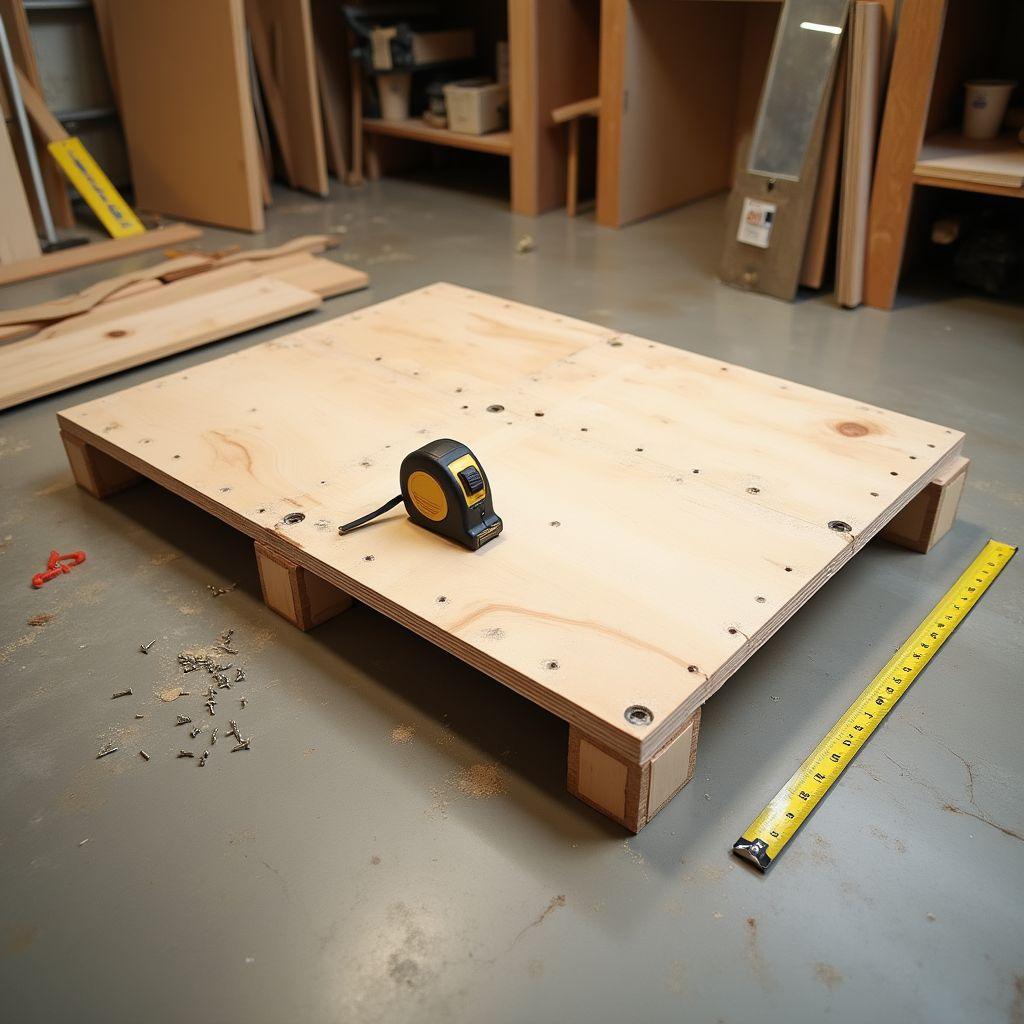
A recessed toe kick gives your feet clearance and sets the cabinet’s final height. It is why you stand at a counter without stubbing your toes.
Build the toe kick two ways. The integrated method runs the cabinet sides all the way to the floor and notches out the front corner. The separate platform method builds a small base that the cabinet sits on. Beginners should build the separate platform every time.
Make a simple 3.5″-tall frame from 2x4s or ripped plywood strips. Rip 4″ strips, cut the front and back pieces to cabinet width, and cut the side pieces to the cabinet depth minus 3″. Assemble it like a ladder, then set it back 3″ from the cabinet front.
Check the math. A 30.5″ box on a roughly 4″ platform lands right near the 34.5″ standard height.
By now you have a level base for the cabinet to rest on. That separate platform also makes leveling on a wavy kitchen floor far easier at install time.
Step 7: Build and Attach the Face Frame
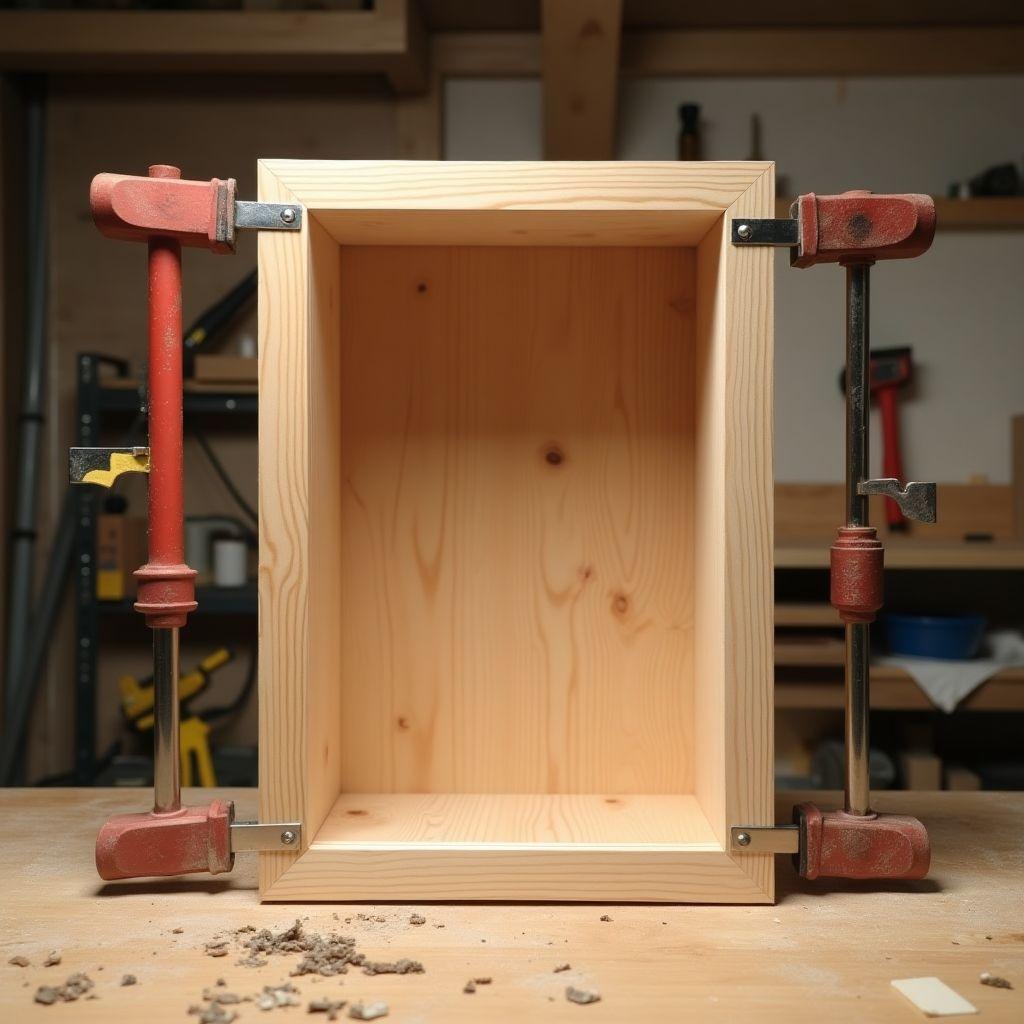
The front finishes the cabinet, either a face frame or a frameless design. Decide before you cut.
A face frame is the classic American look. It hides the raw plywood edges, strengthens the door opening, and is built from 1×2 boards. Frameless (Euro-style) skips the frame for a modern look but demands edge banding on every exposed plywood edge. For a painted build, go with a face frame in poplar or soft maple 1x2s, which measure an actual 3/4″ x 1.5″.
Build the frame flat. Stiles run the full cabinet height on the left and right. Rails fit between the stiles at the top and bottom. Join each corner with glue and pocket screws driven from the back so nothing shows.
Attach the finished frame to the front of the box with glue and brad nails. Keep the frame flush to the cabinet sides. A frame that overhangs the side by even 1/16″ fights you when you join cabinets in a run.
Building frameless instead? Iron on veneer edge tape to every exposed plywood edge, then trim it flush with a sharp blade or trimmer.
By now you have a cabinet that actually looks like a cabinet. This same face-frame method carries straight over to base cupboards in a kitchen or pantry.
Step 8: The Sink Base Variation (No Bottom Shelf, Open Front)
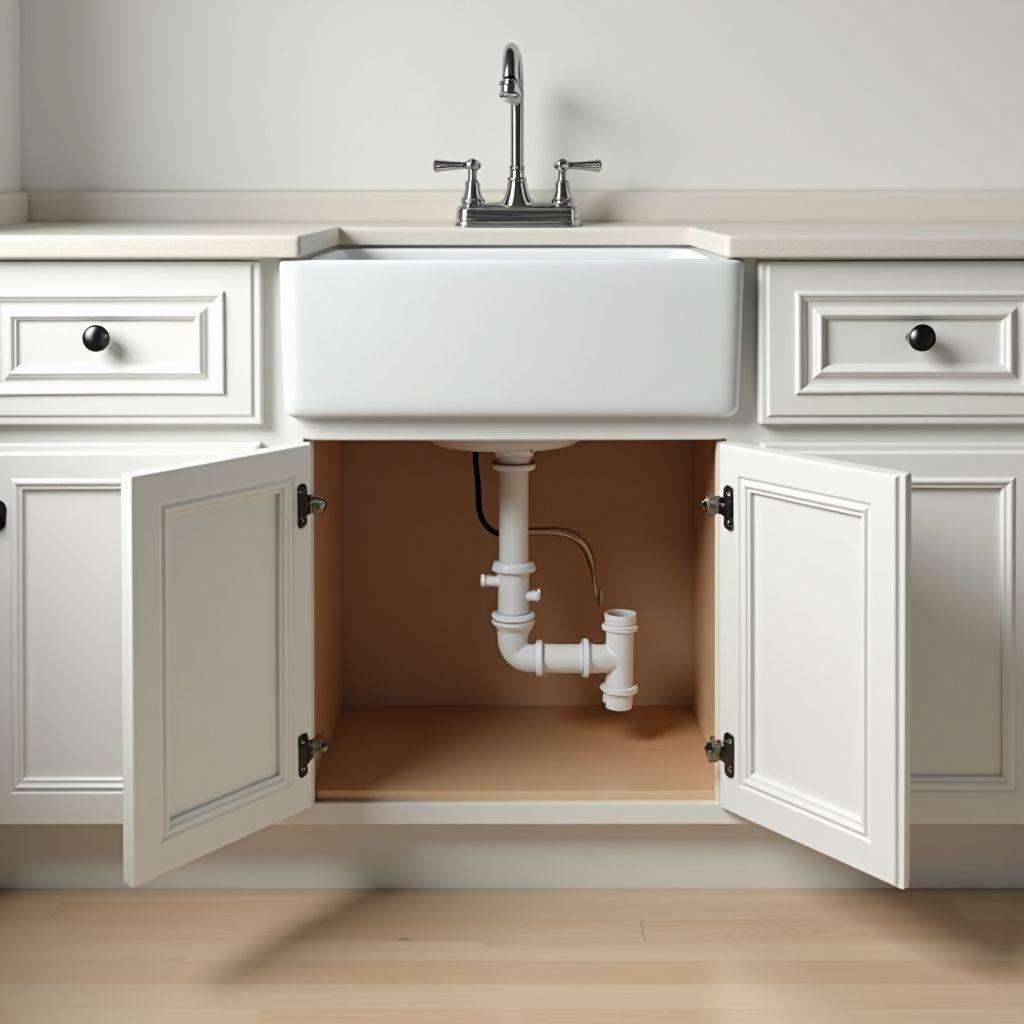
Adapt the standard base into a 36″-wide sink base, the standard width for a double-basin sink. Drop to 30″ if you run a single basin.
The differences are structural. Leave out the bottom shelf entirely so plumbing has room to drop through. Use only a partial back, a strip along the top and a strip along the bottom, which keeps the box rigid while leaving clearance for the drain and supply lines. Maintain at least 3″ of open space at the back for the P-trap.
The face frame changes too. The top opening gets false tilt-out drawer fronts that do not open, since the sink basin sits right behind them. Below that, hang two doors for under-sink access to plumbing and storage.
Rescale using the Step 2 formulas. Side height stays the same. Stretchers and the false-front rails span 36 minus 1.5, which equals 34.5″. That is the only arithmetic that changes for the wider box.
This is exactly how manufacturers build kitchen cabinets with sink cutouts. Your homemade kitchen sink cabinet works the same way and costs a fraction of the store price.
By now you can build both the standard base and the sink base from one method.
Step 9: Prime and Paint for a Factory-Smooth Finish
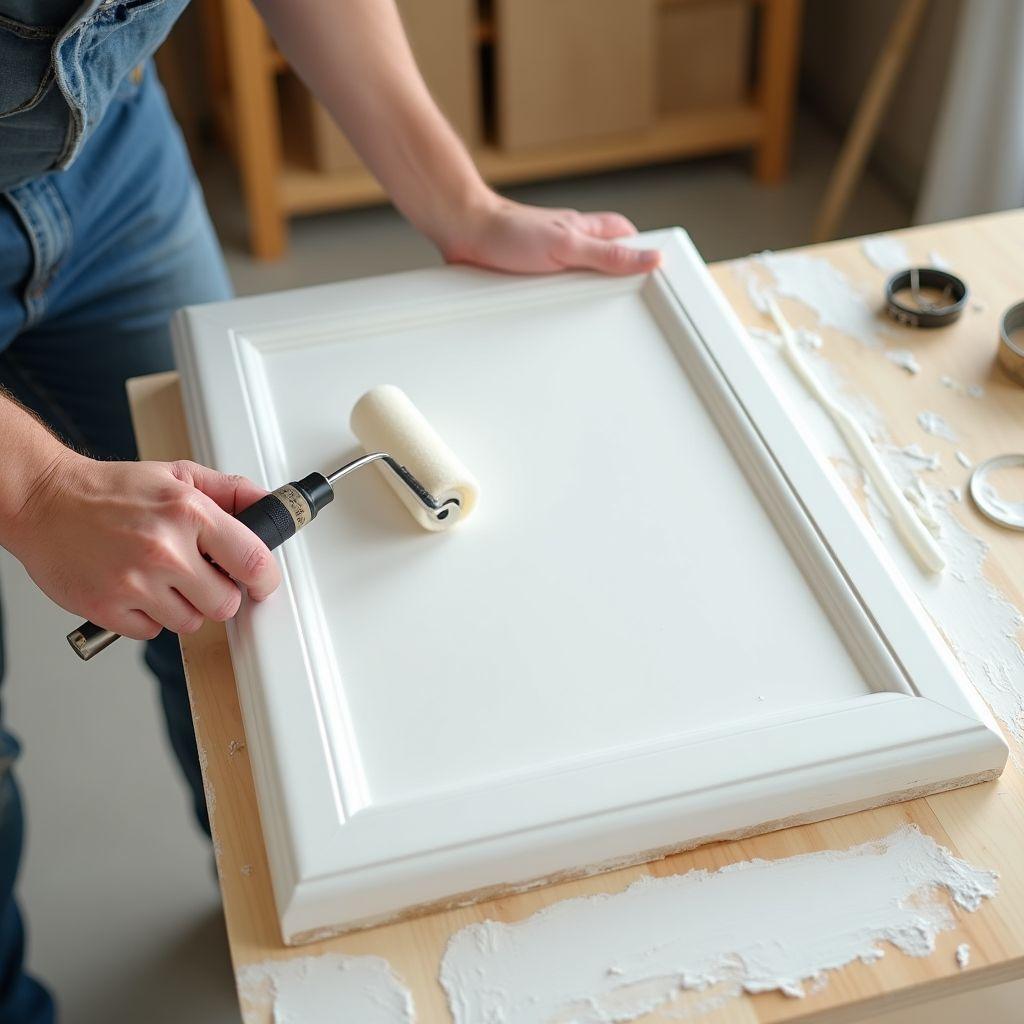
A durable painted finish survives a real kitchen, and prep decides everything.
Fill the pocket holes and nail holes with wood filler. Sand the whole cabinet to 220 grit, then wipe off every speck of dust. Paint magnifies scratches, so sand more than feels necessary.
Prime next. Zinsser BIN shellac primer dries in 45 minutes and blocks knots and tannin bleed. KILZ 2 water-based primer takes about an hour and cleans up easier. Either one gives paint a surface to grip.
For the topcoat, run Sherwin-Williams Emerald Urethane Enamel or General Finishes Milk Paint. The standard schedule is one coat of primer plus two coats of enamel, with a light sand between coats. Apply with a foam roller and brush, or spray it for the smoothest result.
Watch the cure time. The surface is safe for light use in 24 to 48 hours, but full hardness takes 7 to 14 days. Do not stack heavy pots on fresh doors during week one.
Prefer to show the grain on stained wood cabinets for kitchen warmth? Skip the enamel and finish with wipe-on poly instead, two or three thin coats.
By now you have a finished, kitchen-durable cabinet ready to install.
Step 10: Install and Level the Cabinet
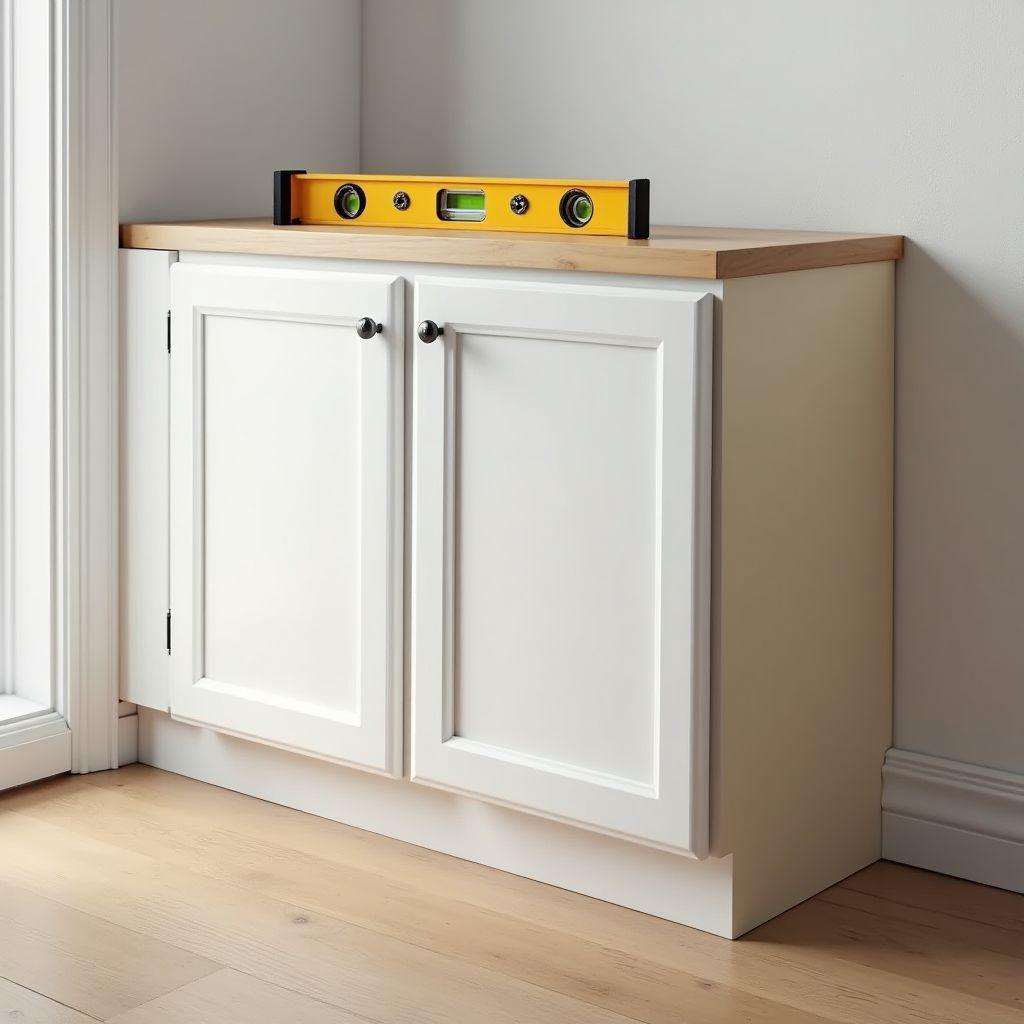
Kitchen floors are almost never flat, so you level a cabinet with shims, not by trusting the floor. That single fact makes a secure, dead-level install possible.
Find the wall studs and mark them. In most homes they sit 16″ on center. Draw a level line across the wall at your 34.5″ reference height so you have a target.
Set the cabinet on its toe-kick platform against the wall. Slide shims under the platform until a level reads true both front-to-back and side-to-side. Then drive 2.5″ screws through the back nailer or top rear stretcher into the studs.
Joining a run of cabinets? Clamp the adjacent face frames flush to each other first, then screw the boxes together through their sides. Flush frames now mean flat countertops later.
The same method installs cabinets in closets. Mark the studs, snap a level line, shim the base, and screw into studs. Base cabinets in closets add real storage, and topping them with a board gives you a folding counter or shelf.
By now you have a solid, level, installed cabinet.
Looking for more cabinet ideas?
This guide is part of our complete cabinet plans series — 6 cabinet types compared by skill, cost, and build time. Find the right build for your space before you buy a board.
Want 16,000+ woodworking plans?
Ted’s Woodworking has step-by-step plans for every skill level — cabinets, furniture, shelves, and more. Browse Ted’s plans.
FAQ
How many sheets of plywood do I need per cabinet?
One 3/4″ sheet covers roughly one 24-inch base cabinet, plus a shared 1/4″ sheet for the backs. A full 10-foot kitchen run needs about 4 to 6 sheets of 3/4″ plywood for the boxes and face frames, and 2 sheets of 1/4″ for all the backs. Buy one extra 3/4″ sheet to cover cutting mistakes.
Are pocket-hole cabinets strong enough for a kitchen?
Yes. Hidden pocket screws combined with wood glue and a fastened back panel create a rigid box that handles any normal kitchen load. The glue joint carries most of the long-term strength, and the 1/4″ back stops the box from racking. Millions of production cabinets use this exact joinery every day.
What primer and paint should I use on cabinets?
Use Zinsser BIN or KILZ 2 primer, then two coats of a urethane enamel like Sherwin-Williams Emerald. Sand to 220 grit before priming and lightly between topcoats. The finish is safe for light use in 24 to 48 hours, but wait 7 to 14 days for full cure before heavy daily use.
How much does it cost to build kitchen cabinets yourself?
Roughly $200 to $800 in materials for a 10-foot run, depending on plywood grade. Compare that to $3,000 to $6,500 for IKEA SEKTION or $14,000 to $21,000 for installed store cabinets. Your main added cost is time, plus a one-time spend on a Kreg jig and a circular saw if you do not own them.
Do I need a table saw to build kitchen cabinets?
No. A circular saw paired with a clamped straightedge or track handles every cut in this build. The straightedge gives you the straight, square edges a table saw would, and the home center can make the first rough breakdown cuts on full sheets. A table saw speeds up repeat cuts but is never required.
Face frame or frameless for a beginner?
Face frame is more forgiving. It hides the raw plywood edges and covers small gaps and imperfect cuts, exactly what a first-timer needs. Frameless cabinets look more modern but demand precise edge banding on every exposed edge and tighter tolerances. Build your first kitchen with face frames, then try frameless once your cuts are dialed in.

“DIY woodworking enthusiast who started with zero experience and a YouTube tutorial.
I build simple, practical projects for my home and share free plans
so other beginners can skip the guesswork.If I can build it, you can too.”