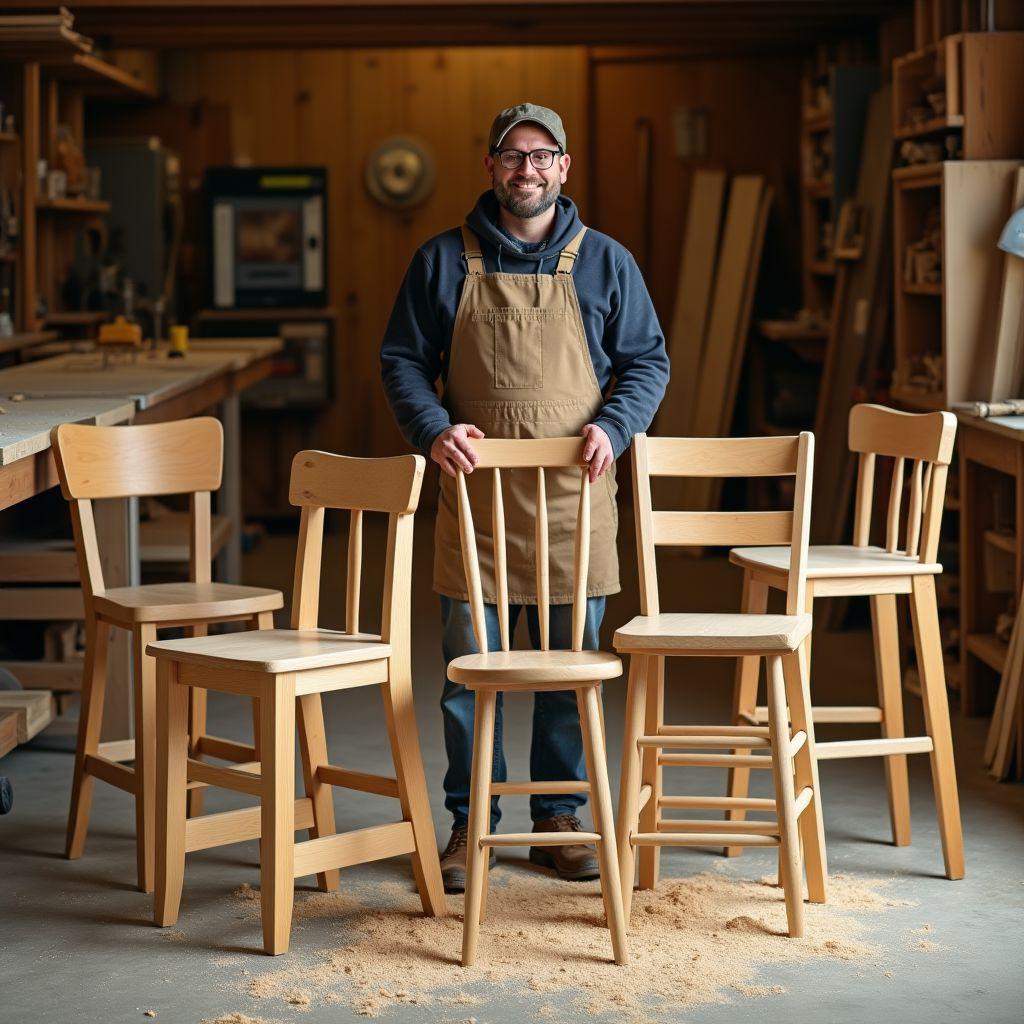
Chairbuilding has a hard reputation, and it’s earned. A leg that’s a degree off, a loose tenon, a seat that racks when you lean back. Compound angles and tight joinery scare off most first-timers before they cut a board.
Here’s what the internet leaves out: the right first chair is far simpler than the horror stories suggest. It isn’t about talent or a shop full of tools. Pick a project matched to your skill level, then level up one build at a time.
This guide walks through 6 buildable chair types, ordered easiest to hardest: counter stool, bar stool, outdoor patio chair, shop stool, rocking chair, and dining chair. For each one you get the difficulty rating, standard dimensions, recommended wood species, the key joinery method, and a realistic 2026 cost estimate based on current lumber prices.
Every number here is real. Real cut lists, real bevel angles, real board-foot pricing. No filler, no “just eyeball it.” If you can cut a straight line and drill a hole, you can build the first three on this list. Master all six and you can build almost any chair you’ll ever want.
Printable step-by-step plans with cut diagrams for every one of these builds are available through TedsWoodworking, linked further down. Let’s start with the easiest chair you’ll ever build.
1. Counter Stool: The Best First Woodworking Chair Build
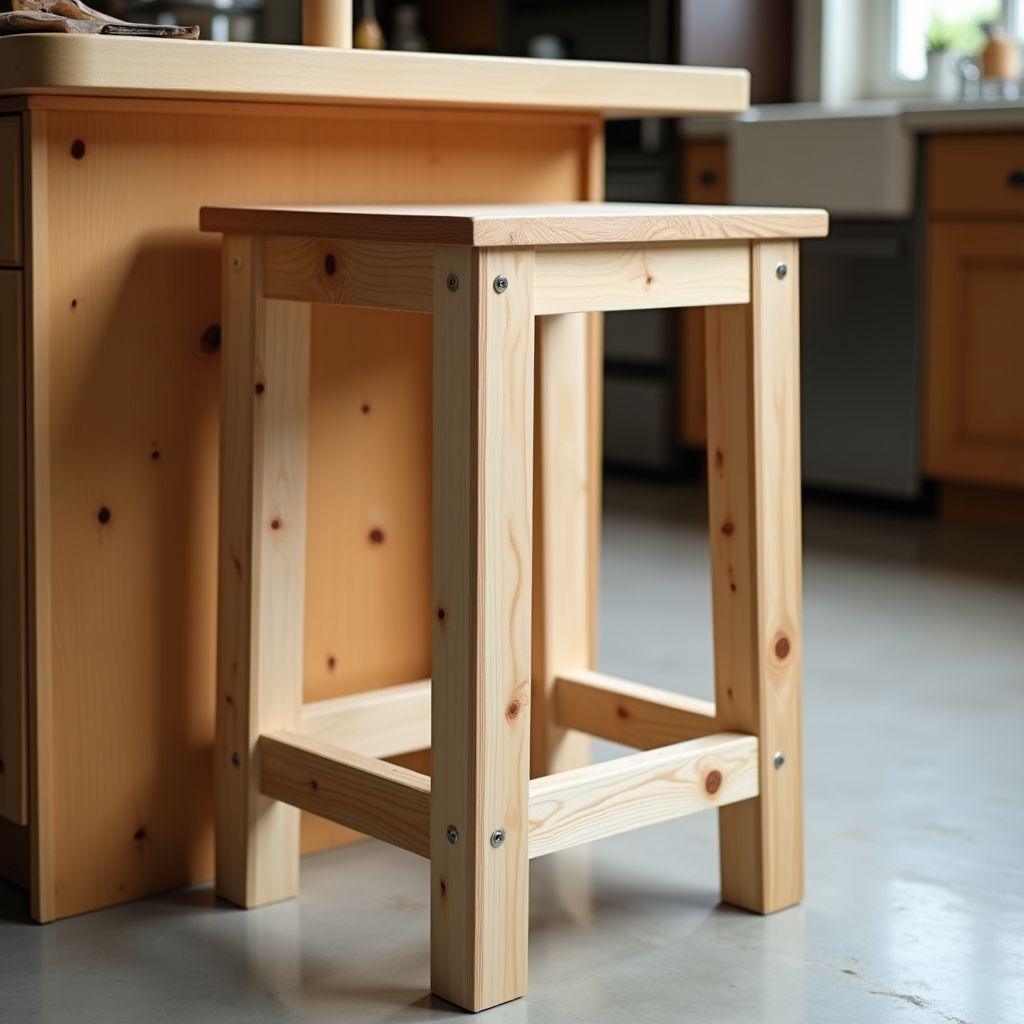
If you build one chair this year, make it a counter stool. Roughly $10 to $15 in 2x4s, one repeated angle, and a seat you can knock out in an afternoon. It teaches the two core chairbuilding skills, cutting a consistent bevel and gluing a solid seat, without a single compound angle.
Difficulty: Beginner.
Standard dimensions: A counter stool seat sits 24 to 27 inches from the floor to pair with a standard 36-inch counter. Aim for 9 to 12 inches of clearance between the seat top and the underside of the counter so your legs fit comfortably.
Recommended wood: 2×4 SPF studs ($3 to $6 each, or $0.50 to $0.90 per board foot) for a casual, paintable build. Step up to poplar ($3 to $5/BF) if you want a cleaner surface for a painted finish.
Key joinery: Pocket-hole seat glue-up plus an angled leg assembly. Pocket holes are perfectly fine on a stool like this, but glue every joint. The glue does the real work; the screws just clamp it while it cures.
Cut list (Sawdust Sisters 26.5-inch seat):
– 3 seat pieces at 12 inches
– 4 legs at 25 inches, each with a 10-degree parallel bevel
– 2 large crossbars at 14.25 inches with a 10-degree miter
– 2 small crossbars at 4.25 inches
Nail that single 10-degree bevel on all four legs and everything else is straightforward assembly. Grab the printable plan if you want the cut diagram worked out for you.
2. Bar Stool: A Taller Ladder-Back Build
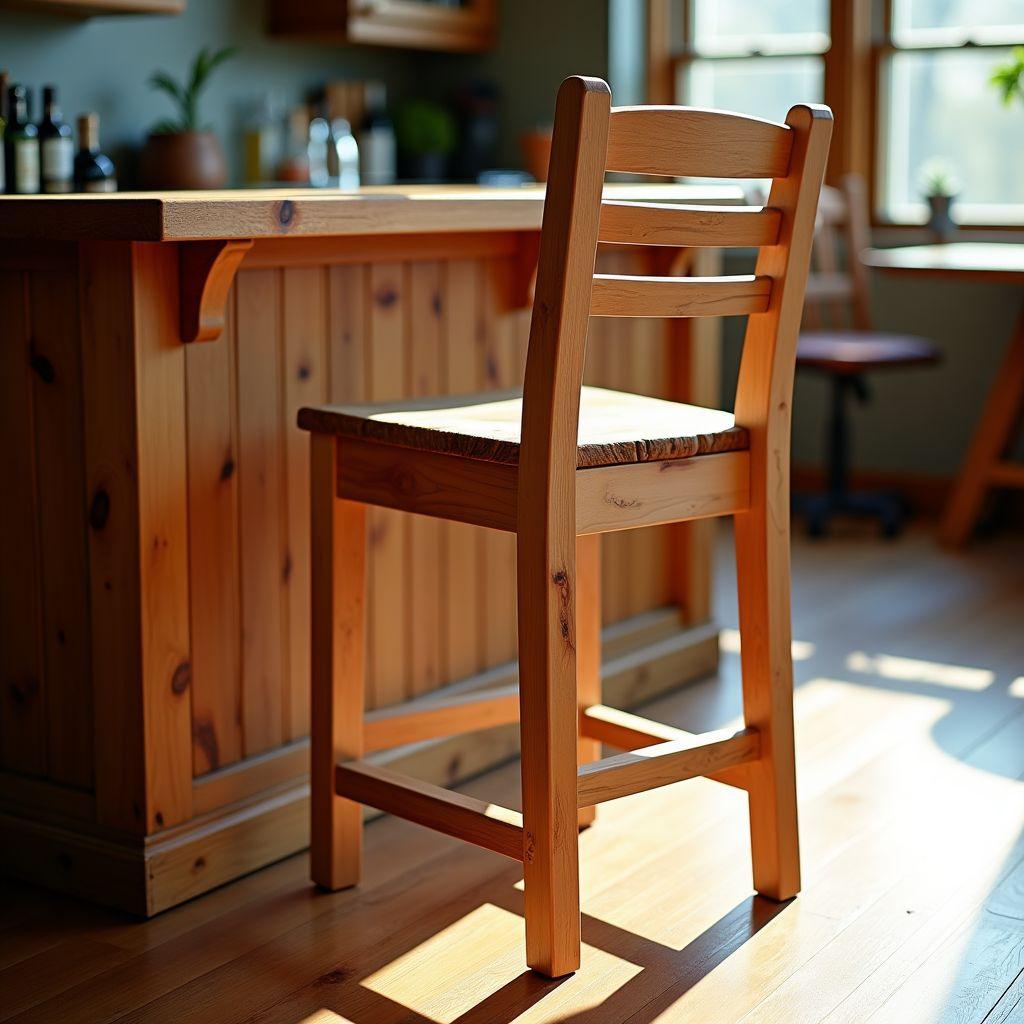
A bar stool is the same idea as a counter stool, about 4 inches taller. The added height demands more bracing, which is where the ladder-back rungs come in. Horizontal rungs seated into the legs make the whole thing far more rigid than a plain four-leg box.
Difficulty: Beginner-plus.
Standard dimensions: Seat height of 28 to 32 inches for a 40 to 42-inch bar. Keep the same 9 to 12-inch clearance rule between seat and bar underside.
Recommended wood: Cedar ($1.50 to $3.50/BF) for a warm, knotty look, or poplar and 2×4 SPF for economy.
Key joinery: Rungs seated into the legs with dowels or pocket screws. Tying all four legs together at multiple heights resists racking, the side-to-side wobble that kills cheap chairs, far better than a simple leg box.
Cut list (DIY Pete 30-inch seat):
– 2 back legs at 42 inches
– 2 front legs at 28.5 inches
– 6 rungs at 11 inches
– 4 side boards at 13 inches
– Seat boards at 14.5 and 16 inches
– Seat supports at 15 inches
Cost: $20 to $40 in 2×4 or cedar; $30 to $60 in poplar.
Build two at once. Dial in each saw and jig setup once, cut both stools from it, and you nearly halve your time per stool while guaranteeing a matching pair.
3. Outdoor Patio Chair: A No-Angle Weekend Project
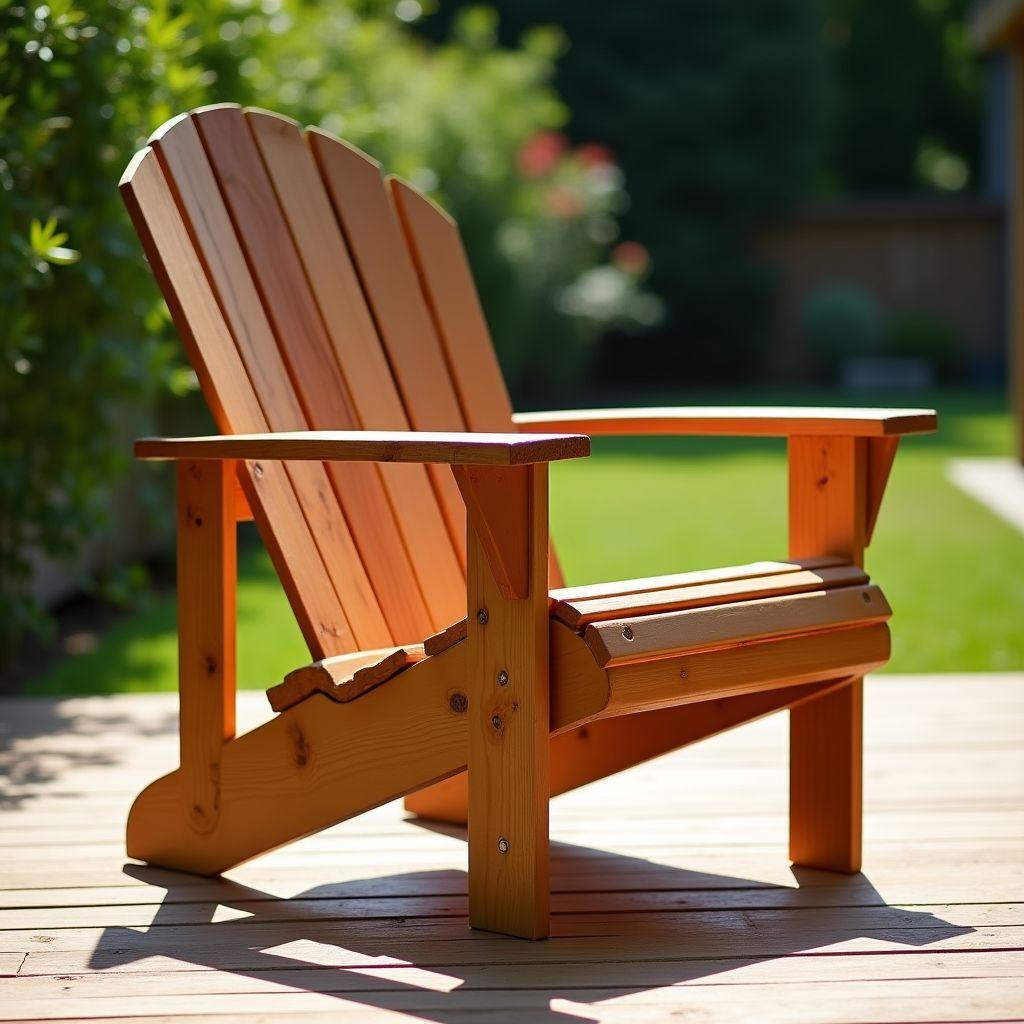
Want a full seat-and-back chair with zero scary angles? An outdoor patio chair is built almost entirely from straight cuts and dowel or screwed rails. It comes together in a single day.
Difficulty: Beginner.
Standard dimensions: Seat height 16 to 18 inches from the floor, seat depth 16 to 18 inches. Those are the same comfort numbers as an indoor lounge chair, so it feels right the moment you sit down.
Recommended wood: Cedar is the smart pick because it’s naturally rot-resistant ($1.50 to $3.50/BF). 2×4 SPF works too, but only if you seal it properly, since SPF has no natural weather resistance.
Key joinery: Dowel or screwed rails. Pocket holes are acceptable outdoors, but only with exterior-rated screws and exterior glue. Standard interior screws will rust and stain the wood within a season.
Finish (this is the part that matters): Use a penetrating exterior stain. It soaks into the wood and recoats easily when it fades. Spar urethane sits on the surface and cracks as the wood moves, and interior polyurethane fails fast outdoors. The finish, not the joinery, decides whether this chair lasts one season or ten.
Cost: $10 to $30 in 2×4, more in cedar.
Budget for a quality exterior stain from the start. The lumber is cheap; the finish buys you the years.
4. Shop Stool: The Utility Build Every Woodworker Needs
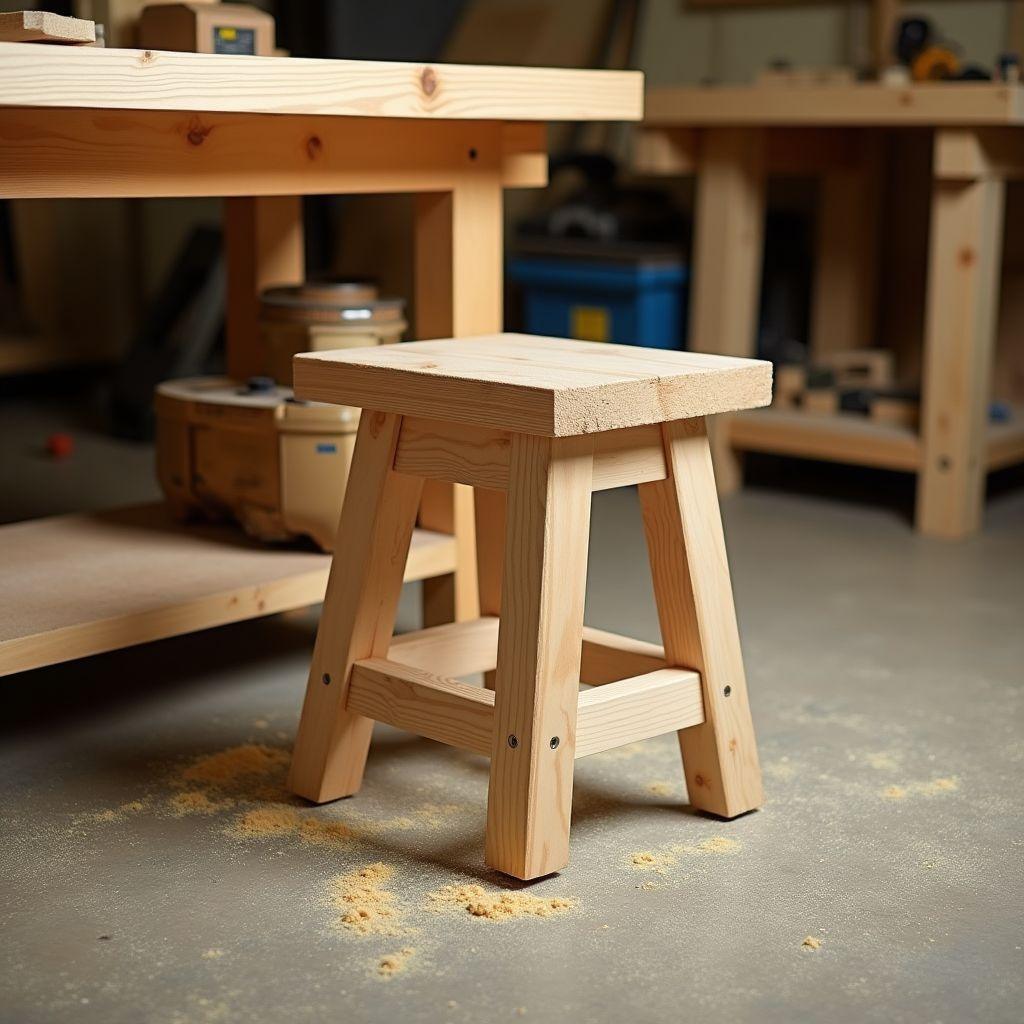
Every shop needs a stool, and this one doubles as the perfect scrap-wood practice build. Build it from offcuts for almost nothing while you dial in the exact skills you need for nicer projects.
Difficulty: Beginner.
Standard dimensions: Seat height 24 to 30 inches, depending on your bench. Use this rule to nail the exact height: set the seat 11 to 12 inches below your workbench top. That gives you the right working posture whether you’re sanding, assembling, or carving.
Recommended wood: 2×4 SPF ($3 to $6 per stud, $0.50 to $0.90/BF). This is a shop tool, not a showpiece, so cheap and sturdy wins.
Key joinery: The same angled-leg and rung approach as the counter stool. Splay the legs outward slightly. Splayed legs widen the footprint at the floor, which adds real tip resistance when you lean or reach from the stool.
Cost: $10 to $15 in SPF, or effectively free if you build it from offcuts.
Use this build to practice your bevel cuts. Cut the legs from scrap, test-fit, and learn how your saw and gauge behave before you commit expensive hardwood to a nicer chair. Every degree you master here saves a ruined board later.
5. Rocking Chair: Mastering the Rockers
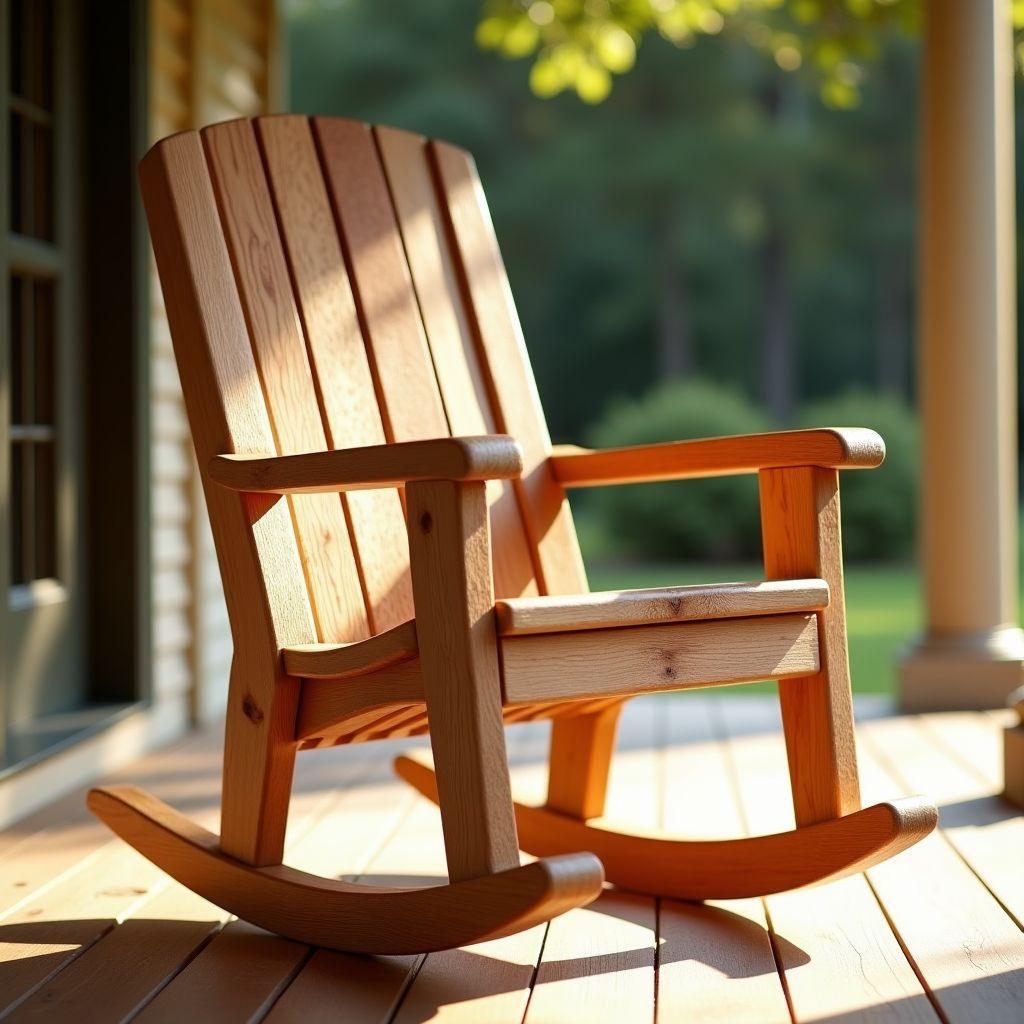
The rockers are the single most failure-prone part of a rocking chair. A curve off by a fraction of an inch, or two rockers that don’t match, and the chair either won’t rock smoothly or tips you onto the floor. Master the rockers and the rest of the chair is within reach.
Difficulty: Intermediate.
Standard dimensions: Seat height 14 to 17 inches from the floor. Rocker length around 36 inches. A typical footprint runs 26 inches wide by 40 inches deep by 42 inches high.
Rocker radius formula: Multiply your seat height by pi. A 14-inch seat gives you 14 x 3.14, roughly a 44-inch radius. That radius keeps the rock slow and stable instead of jerky.
Cutting the rockers without a bandsaw: Two solid options. First, cut one master rocker with a jigsaw, make an MDF template, and use a flush-trim router bit to make the second rocker identical. Second, use bent lamination: glue up 6 thin strips over a curved form. Lamination gives the strongest rocker because the grain follows the curve instead of being cut across it. Either way, both rockers must match exactly, or the chair lists to one side.
Recommended wood: Cedar for an outdoor rocker (a full build runs $50 to $120). For an heirloom indoor chair, ash is the standout choice. Ash has the best shock resistance of the common domestic hardwoods and bends beautifully, which makes it ideal for the curved parts.
Key joinery: Mortise-and-tenon at the high-stress points where the legs meet the seat and where the rockers attach. Rockers take repeated flexing stress, so glued-and-screwed joints won’t hold long-term.
Cut list example:
– 4 legs at 80 x 2.5 x 7 cm
– Seat at 55 x 60 cm
– 8 backrest slats at 0.8 x 4 x 73 cm
– Armrests at 50 x 7 x 2.5 cm
– Rockers at 36 inches long x 4.25 inches tall
Template both rockers from one master. It’s the single most important step in the build, and it’s the one beginners skip.
6. Dining Chair: The Hardwood, Mortise-and-Tenon Challenge
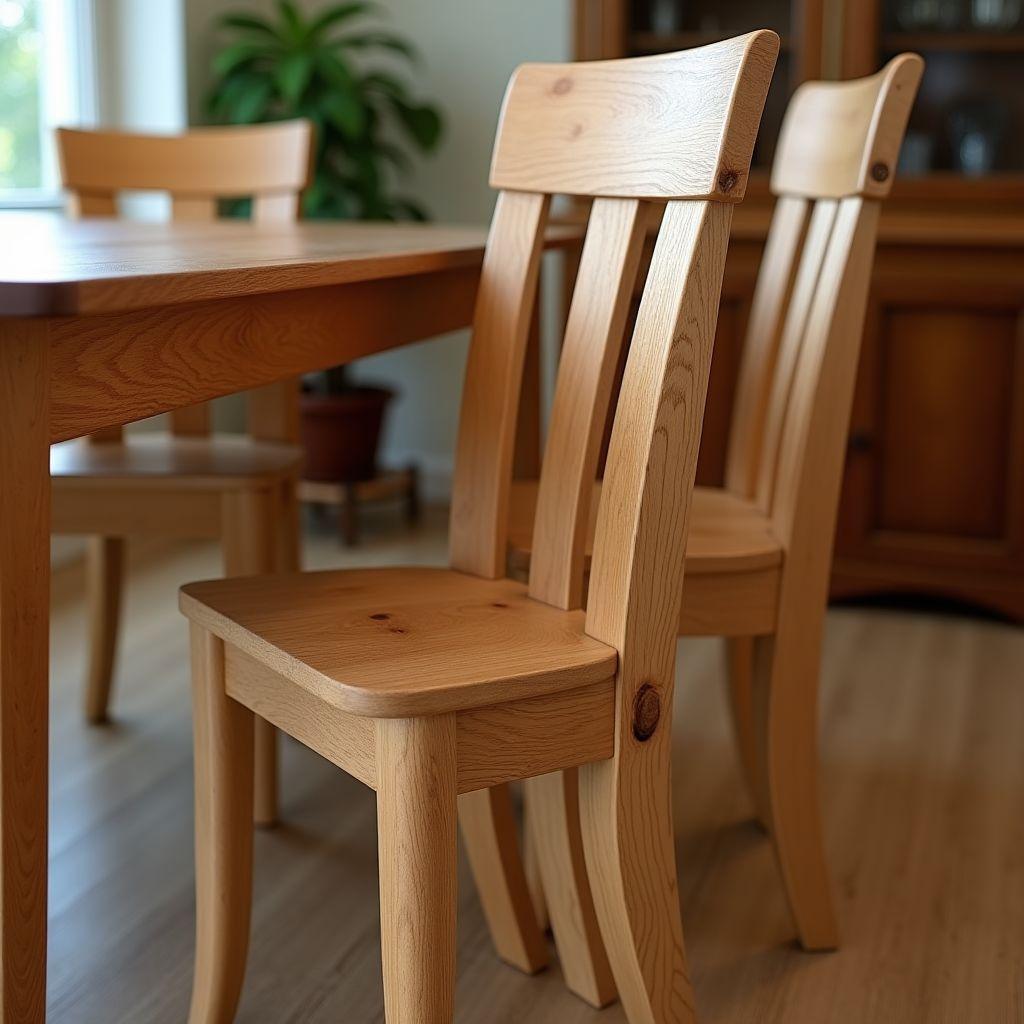
A dining chair is the real test. It takes racking stress every day: someone leans back, drags it across the floor, tips it onto two legs. Joinery choice isn’t optional. Matthias Wandel’s joint-strength tests put hard numbers on it: mortise-and-tenon held to about 220 lbs of breaking force, dowels to about 156 lbs, glue-free pocket holes to just 99 lbs. Pocket holes loosen under daily racking stress, which is exactly why you don’t build a dining chair with them.
Difficulty: Advanced.
Standard dimensions: Seat height 17 to 19 inches, with 18 inches the most common. Overall height 34 to 38 inches. Seat 16 to 20 inches wide by 16 to 18 inches deep. If you add arms, set armrest height at 24 to 26 inches.
Recommended wood: Hard maple is the toughest domestic hardwood you can buy (1,450 lbf Janka, $5.50 to $9/BF). White oak (1,360 lbf, $6.50 to $11/BF) resists moisture thanks to its closed pores. Red oak (1,290 lbf, $4 to $7/BF) is the widely available, budget-friendly workhorse. Avoid poplar for the legs; it’s too soft to hold up to daily racking.
Key joinery: Mortise-and-tenon throughout. Every leg-to-rail and rail-to-seat joint. This is the joint that survives decades of daily use.
Compound angles: Don’t reach for trigonometry. Use Christopher Schwarz’s method: build a half-scale model, use bent wire to represent the legs, then transfer the angles with a sightline drawn on the seat and a bevel gauge. You read the real angles straight off the model, no math required.
Finish: Oil-based polyurethane (2 to 3 coats) for a tough, wipeable surface, or a hardwax oil like Rubio Monocoat or Osmo PolyX for a natural feel that’s easy to repair.
Cost: $50 to $150 in red oak, $100 to $250 in hard maple or white oak.
Want printable plans for every chair type on this list? TedsWoodworking has step-by-step plans with cut diagrams for stools, rocking chairs, dining chairs, and more. Every dimension is worked out for you.
FAQ
What is the easiest chair to build for beginners?
The counter stool. It costs $10 to $15 in 2x4s, uses a single repeated 10-degree bevel, and has no compound angles. You glue up a three-board seat and attach four angled legs with pocket screws. It teaches the two core chairbuilding skills, cutting a consistent bevel and assembling a solid seat, in one short afternoon project.
What is the best wood for a chair that lasts?
For daily-use chairs, hard maple is the toughest domestic hardwood (1,450 lbf Janka), followed by white oak (1,360 lbf), which resists moisture with its closed pores, and red oak (1,290 lbf), the affordable and available choice. For rocking chairs and bent parts, ash wins because it has the best shock resistance and bends well. For outdoor chairs, use cedar for its natural rot resistance.
Are pocket holes strong enough for a chair?
For stools, yes, as long as you glue every joint. The glue provides the real strength; the pocket screw just clamps it. For daily-use dining chairs, no. Matthias Wandel’s tests showed glue-free pocket holes fail at about 99 lbs versus 220 lbs for mortise-and-tenon. The racking stress of everyday use loosens pocket-hole joints over time.
What is the standard seat height for each chair type?
Counter stool: 24 to 27 inches for a 36-inch counter. Bar stool: 28 to 32 inches for a 40 to 42-inch bar. Outdoor patio chair: 16 to 18 inches. Shop stool: 24 to 30 inches, set 11 to 12 inches below your bench top. Rocking chair: 14 to 17 inches. Dining chair: 17 to 19 inches, with 18 inches most common.
How much does it cost to build a wooden chair in 2026?
It depends on the wood. A 2×4 SPF stool runs $10 to $15. An outdoor patio chair is $10 to $30. A cedar rocking chair runs $50 to $120. A hardwood dining chair costs $50 to $150 in red oak or $100 to $250 in hard maple or white oak. Current lumber prices: SPF $0.50 to $0.90/BF, cedar $1.50 to $3.50/BF, poplar $3 to $5/BF, red oak $4 to $7/BF, hard maple $5.50 to $9/BF, white oak $6.50 to $11/BF.
How do you cut matching rocking chair rockers without a bandsaw?
Cut one master rocker with a jigsaw, make an MDF template from it, then use a flush-trim router bit to cut the second rocker identical to the first. Alternatively, use bent lamination: glue 6 thin strips over a curved form for the strongest possible rocker. Either way, template both rockers from one master so they match exactly. The TedsWoodworking plans include the rocker templates worked out for you.

“DIY woodworking enthusiast who started with zero experience and a YouTube tutorial.
I build simple, practical projects for my home and share free plans
so other beginners can skip the guesswork.If I can build it, you can too.”