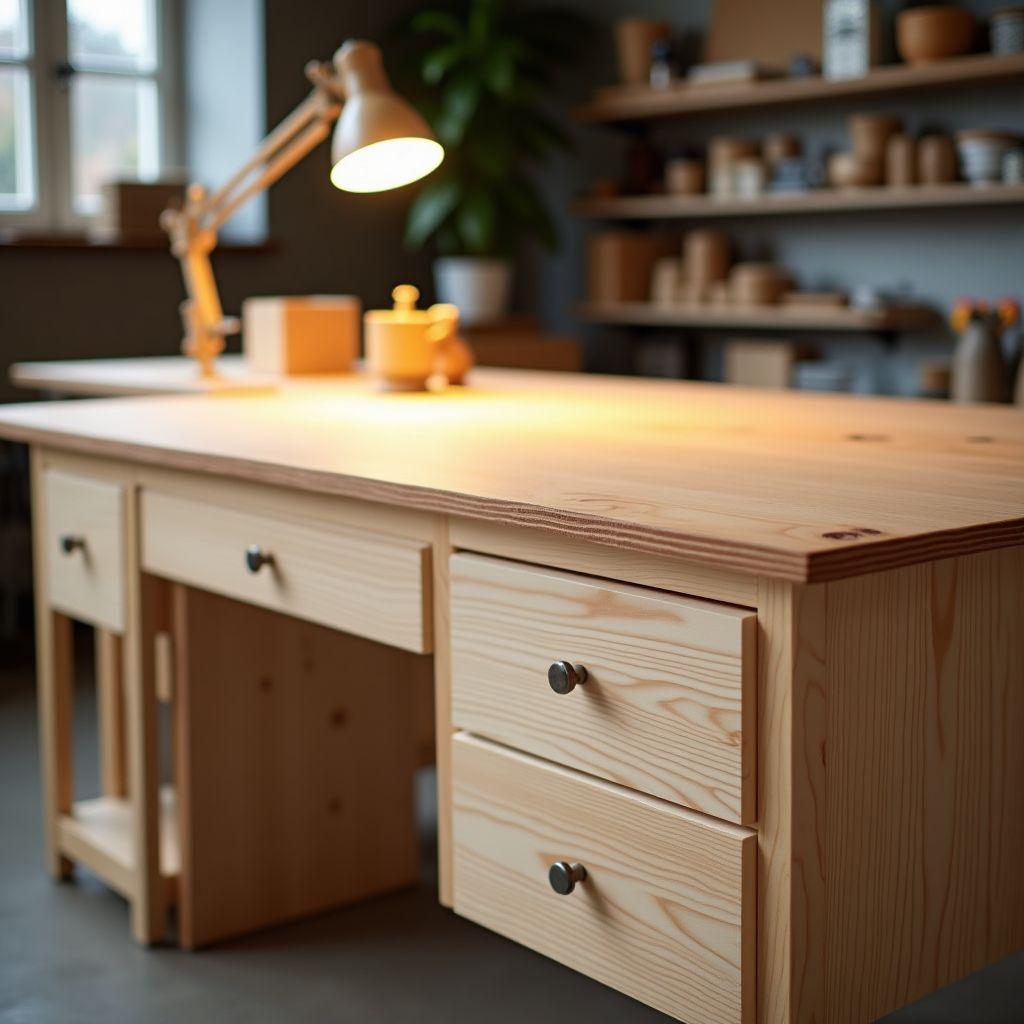
Most desk tutorials show one basic build and skip everything that determines whether your desk lasts. They never mention wood movement, so your top cracks by the second winter. They pick a random height, so your shoulders ache after a week. And the cost breakdown was written in 2019, so the numbers collapse the moment you reach the lumberyard.
This guide builds a solid 48x24x29″ desk with real dimensions, a full cut list, and finish choices matched to your wood. You get 2026 material costs across three budget tiers, so you know your spend before buying a single board. Every measurement is worked out, and every decision that trips up beginners gets explained.
Here is the build in order:
- Choose your wood and set your budget
- Set your desk dimensions for comfort
- Cut the lumber to size
- Build the desk frame
- Attach the desktop the right way
- Add cable management
- Sand and finish
Each step ends with a milestone to check, so you never build three steps deep on top of a mistake. Beginners can follow the pocket-hole path. If you have a few builds behind you, the notes on mortise-and-tenon and solid-top movement will get you a desk that outlives your computer.
Step 1: Choose Your Wood and Set Your Budget
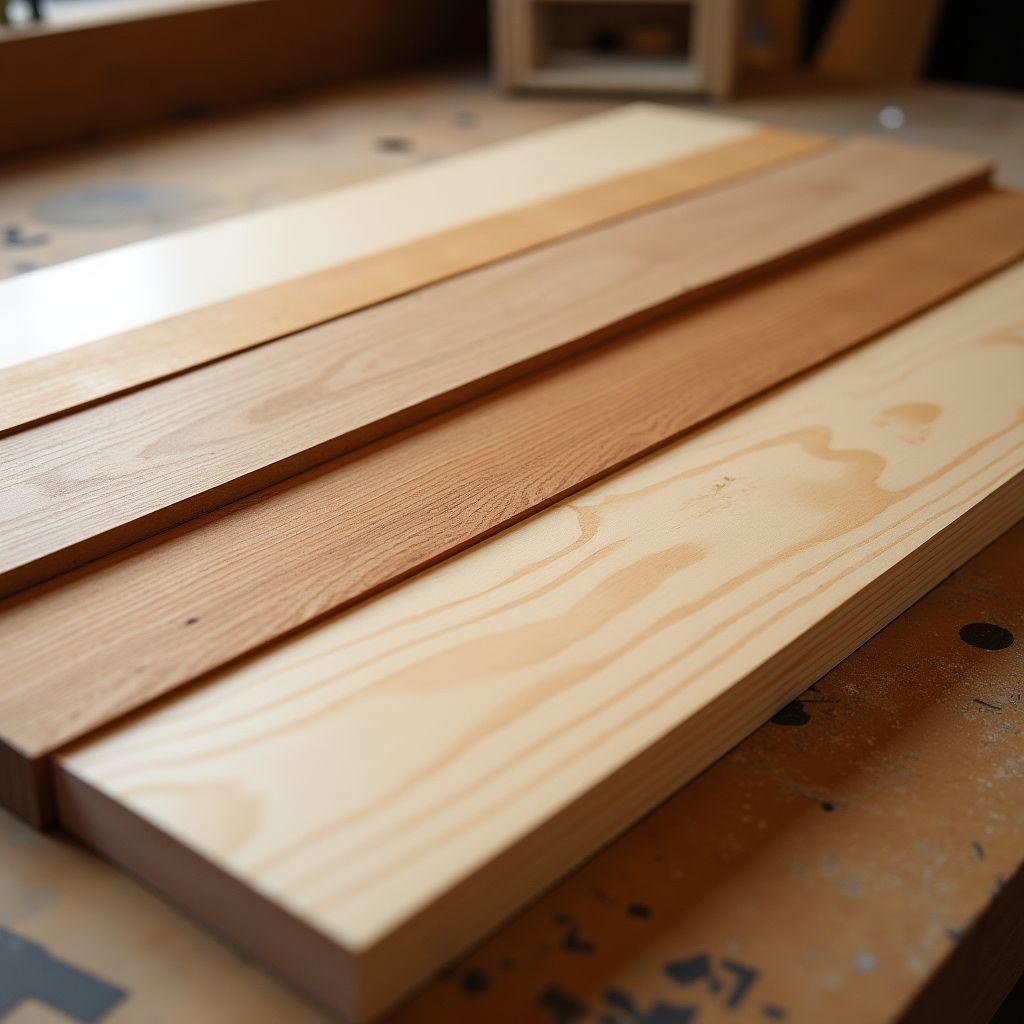
Pick your material and budget before buying anything. This decision drives your cut list, your finish, and your final cost.
The first fork is plywood versus solid wood. A sheet of 3/4″ birch plywood ($60-85 in 2026) is the most stable top you can build: it spans 60″+ without sagging and never moves with the seasons. The catch is the raw edge, which shows its plies unless you cover it with edge banding or a solid-wood strip. Solid wood gives you real grain and repairable depth, but it moves about 1/4″ per foot of width as humidity swings through the year. That movement is manageable only if you plan for it (see Step 5).
If you go solid, here is the species rundown:
- Pine: cheap frame stock at $0.50-0.90 per board foot, but soft (about 380-870 Janka) and dents if you look at it wrong. Fine for legs and aprons, risky for a top.
- Poplar: $3.50-5.50 per board foot and 540 Janka, the best choice for a painted top because it takes paint cleanly and stays flat.
- Red oak: 1,290 on the Janka hardness scale, $5.50-9 per board foot, open grain and classic looks.
- Hard maple: the toughest common domestic hardwood at 1,450 Janka, $6-10 per board foot, pale and dense.
For a 48×24″ top glued up from solid stock, you need roughly 8 board feet, so species choice swings the top alone from about $28 in poplar to $80 in maple. Set a 2026 tier that folds in frame lumber, fasteners, and finish:
- Budget (pine frame, plywood top): $45-80
- Mid-range (poplar top, painted): $120-180
- Premium (oak or maple top): $200-400
Milestone: You have chosen your top material, your frame material, and a target budget tier. Write all three down before moving on.
Step 2: Set Your Desk Dimensions for Comfort
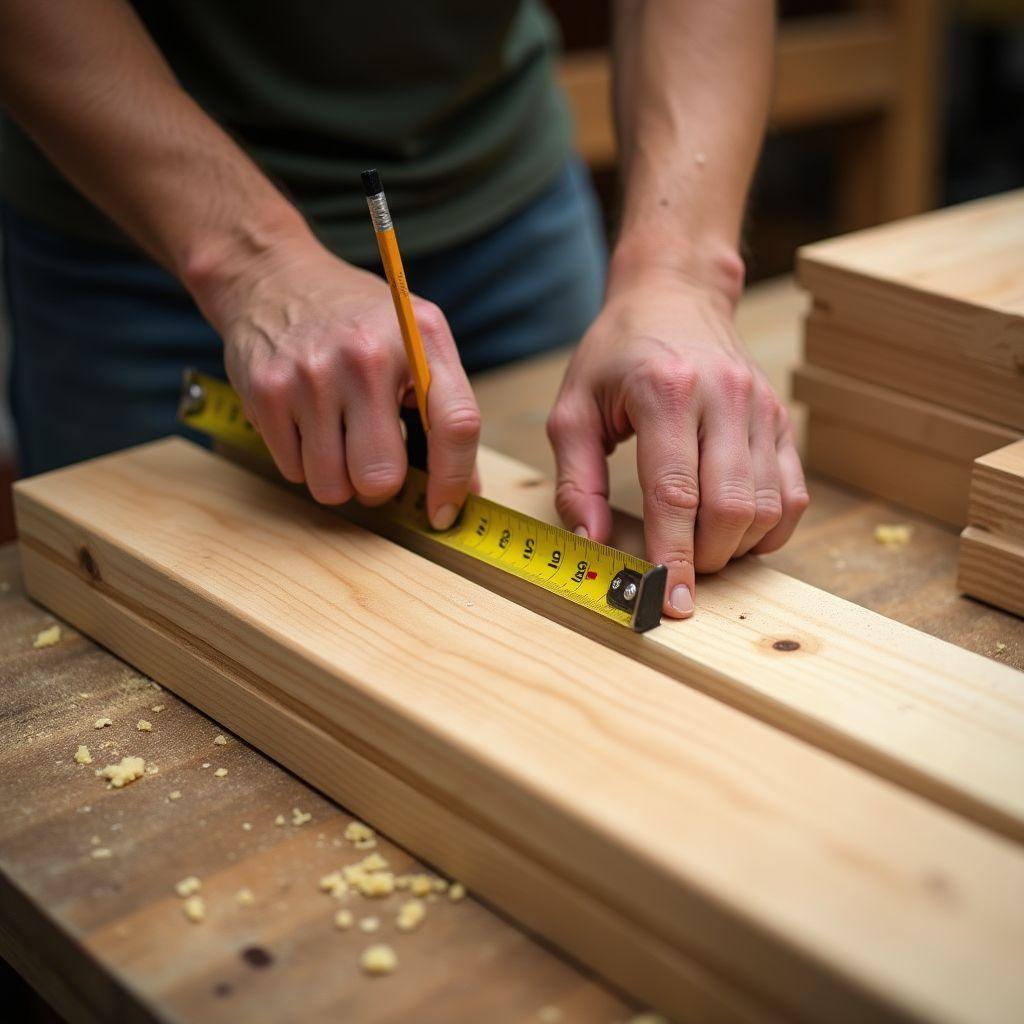
A desk that fits your body is the difference between eight comfortable hours and a sore neck. Lock in height, depth, and width now, because these numbers feed the cut list in Step 3.
Seated height runs 28-30″. Use 28″ if you are shorter, 30″ if you are taller, and 29″ if you are average, which is why 29″ is the most common desk height sold. This build hits 29″ with 28.25″ legs plus a 3/4″ top. Leg length plus top thickness equals finished height, so if you change your top thickness, adjust your legs.
Standing option: aim for 37-47″ and set the surface 2-4″ below your elbow with your arms bent at 90 degrees. Measure your own elbow height rather than trusting a chart.
Depth: 24″ is the workable minimum, but 30″ is better if you run a monitor. Position the screen 20-28″ from your eyes with its top at or just below eye level. A shallow desk forces the monitor too close.
Keyboard clearance: leave 4-6″ between the front edge of your keyboard and the front edge of the desk so your wrists have somewhere to rest.
Width: this guide uses 48″, which suits a single monitor plus workspace. To scale up, add width to the desktop and the two long aprons equally, and keep the leg and short-apron dimensions the same.
Milestone: You have final height, depth, and width numbers written down. These go straight into the cut list next.
Step 3: Cut the Lumber to Size
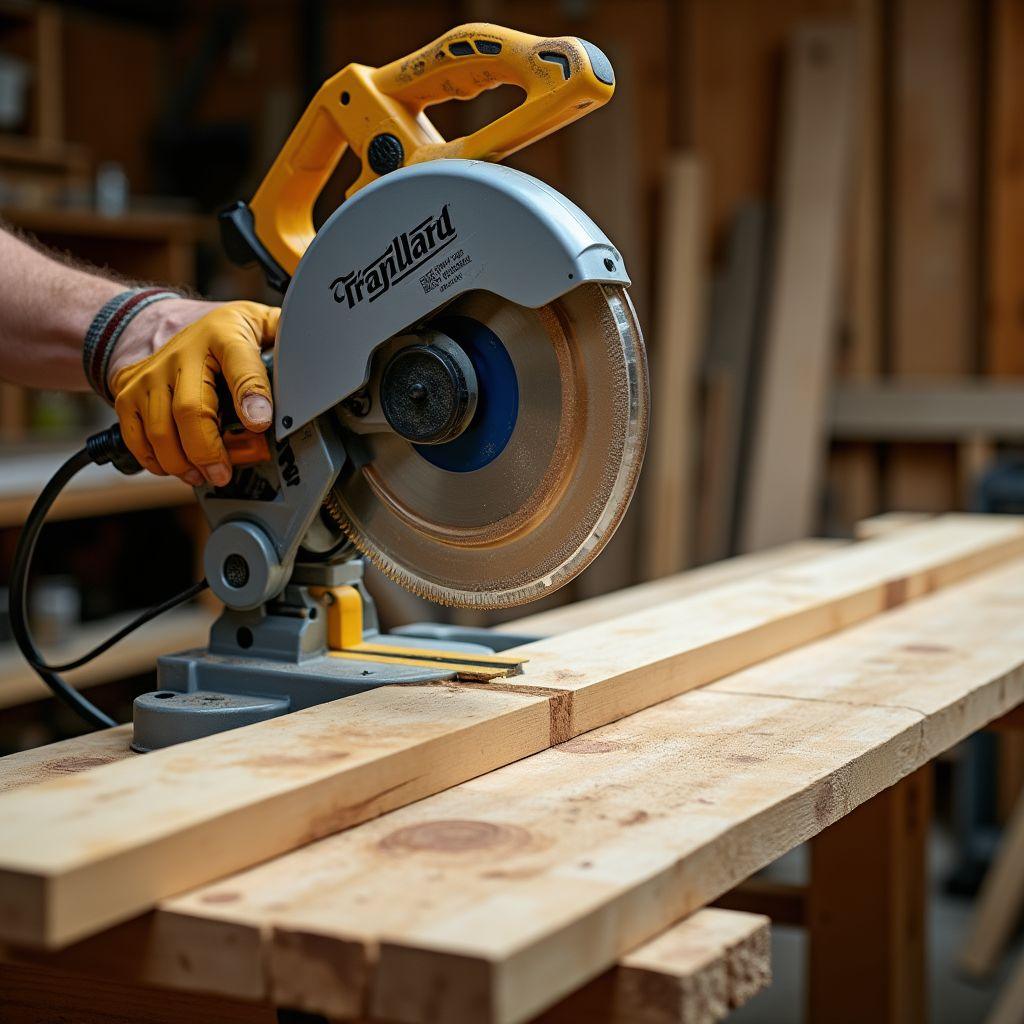
Accurate cuts now save hours of fighting a crooked frame later. Here is the full cut list for the 48x24x29″ desk:
- 4 legs at 28.25″ (from 2×4 or 3×3 stock)
- 2 long aprons at 44.5″ (front and back)
- 2 short aprons at 20.5″ (left and right sides)
- 1 desktop at 48×24″ (3/4″ plywood, or boards glued up to width)
First, do the one thing most tutorials skip: let your lumber acclimate. Stack it loosely in your shop for 48-72 hours so it adjusts to the humidity where the desk will live. Wood cut straight off the truck keeps moving after assembly, and skipping this step is the number-one cause of a warped top.
A few cutting tips that pay off:
- Label every part as you cut it (L1, L2, front apron, and so on) so nothing gets mixed up during assembly.
- Cut aprons in matched pairs by clamping the two long ones together and cutting both at once, then repeating for the short pair. Matched lengths keep the frame square.
- Check squareness on each cut end with a small square. A cut off by two degrees shows up as a gap in the finished joint.
Milestone: Every part is cut, labeled, and matches the cut list within 1/16″.
Step 4: Build the Desk Frame
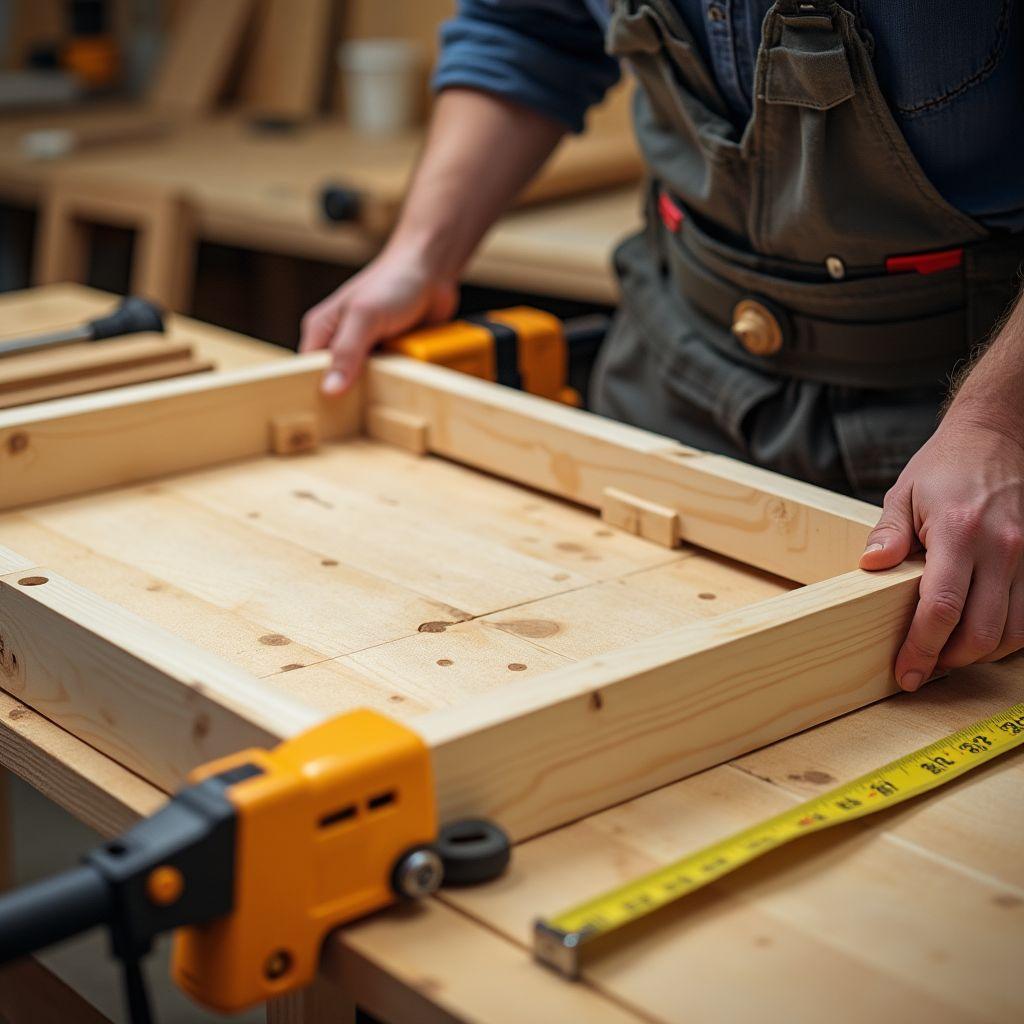
Now you turn eight pieces into a rigid base. The frame is 4 legs plus 4 aprons, with the aprons set 3/4″ in from the outer faces of the legs. That inset gives a small reveal and leaves room for fasteners.
Joinery: you have two solid options. Pocket holes are fast and beginner-friendly, drilled with a jig and driven with self-tapping screws. Mortise-and-tenon is stronger and cleaner but takes more skill and time. Either works. One rule holds for both: never put pocket holes into end grain, because the screws will not hold. Aprons get pocket holes on their faces, driving into the sides of the legs.
Assembly order: build the two side assemblies first by connecting a short apron between two legs, then repeat for the other pair. Once both sides are solid, stand them up and join them with the front and back long aprons.
Squaring check: measure both diagonals of the frame, corner to corner. They must match within 1/8″; if they do not, the frame is racked. Nudge it square, clamp it, then drive your screws. Clamping before fastening is what locks in square.
Troubleshooting wobble: if the finished frame racks when you push it, the usual culprit is loose pocket screws on the long aprons, where all the leverage lives. Snug them up. Keep your drill bit back from the board edge when driving screws, because a screw too close to the edge splits the wood and loses grip.
Milestone: The frame stands square (diagonals within 1/8″) and does not rack when you push on a corner.
Step 5: Attach the Desktop the Right Way
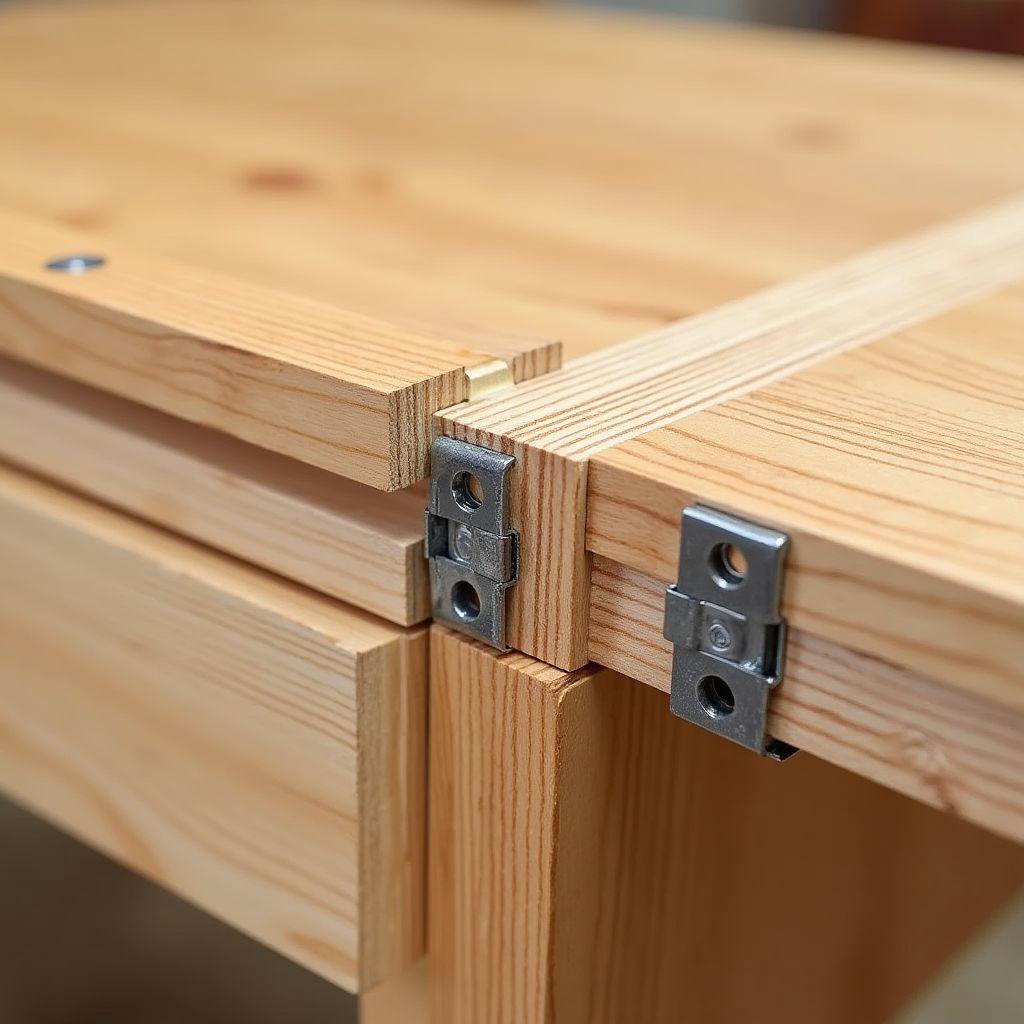
This step decides whether your desk stays flat or cracks down the middle. The right method depends entirely on your top material.
Plywood top: plywood does not move seasonally, so you can screw straight up through the aprons into the underside of the top. Pre-drill clearance holes through the apron so the screw pulls the top down tight instead of jacking the two pieces apart. Space screws every 8-10″ around the frame.
Solid wood top: you must let it move. Solid wood expands and contracts about 1/4″ per foot of width across the grain, so a 24″ top can swing roughly 1/2″ between a humid summer and a dry winter. Pin it in place and that force has nowhere to go, so the top cracks. The fix is fasteners that hold the top down while letting it slide: figure-8 fasteners (recessed into the apron top, one screw to the apron, one to the top) or Z-clips (which ride in a saw-kerf slot cut into the inside face of the apron). Both anchor the top firmly and still allow movement. Never glue a solid top to the aprons.
Positioning: center the top so the overhang is even all around, roughly 1.75″ on the sides and back with your chosen front overhang. Mark the position, clamp the top to the frame, then fasten. Clamping first keeps the top from creeping while you work.
Milestone: The top is centered, secured, and sits dead flat. For a solid top, it can still expand and contract freely.
Step 6: Add Cable Management
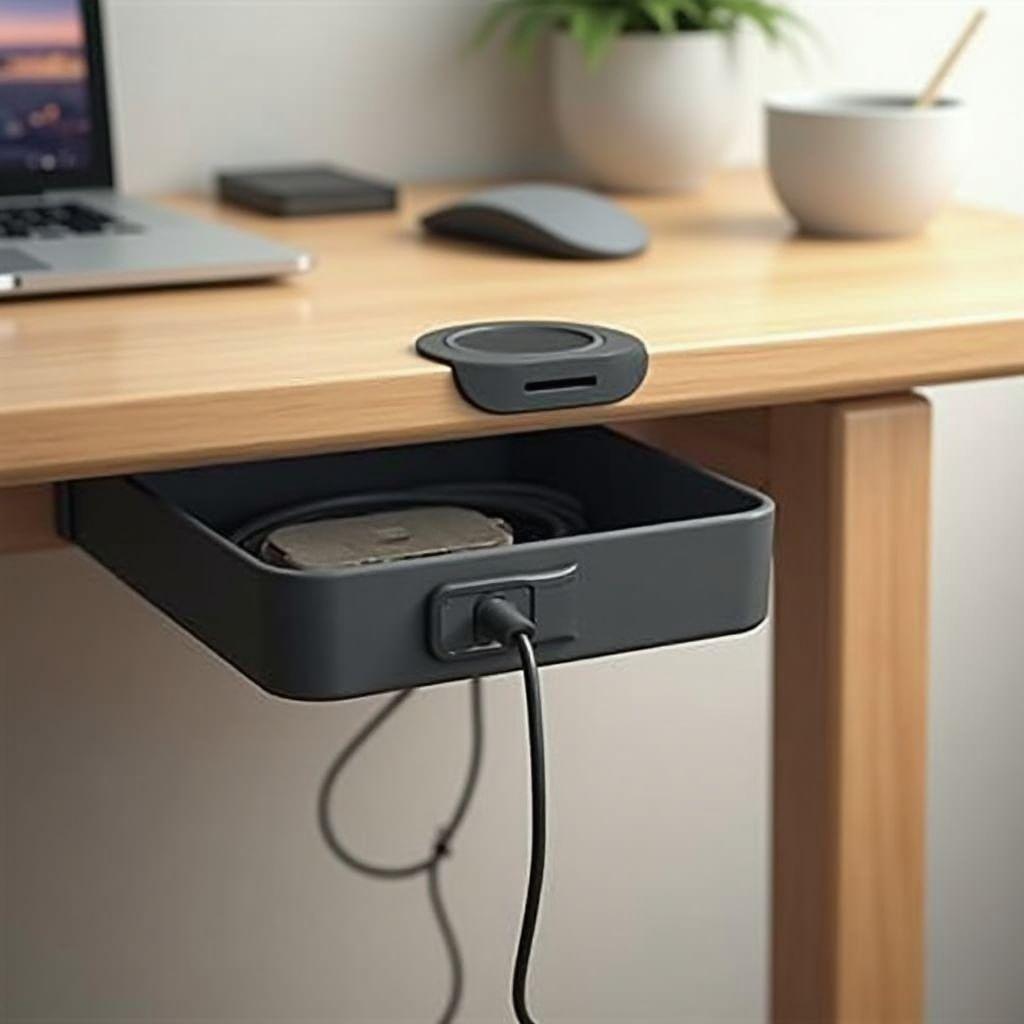
Clean cable routing separates a real desk from a card table with a computer on it. You need two things: a grommet and an under-desk tray.
Grommet hole: drill a 2″ hole with a hole saw, then press in a plastic grommet insert to dress the edge. Clamp a scrap block under the exit point so the bit does not blow out the underside as it breaks through. Mockett makes nice grommets, but a generic 2″ insert works fine for a few dollars.
Placement: put the hole 6″ in from the back edge and 12″ in from the side edge. That tucks cables near the wall and directly behind your monitor, so nothing snakes across the usable surface.
Under-desk tray: mount a J-channel or mesh cable tray to the underside of a long apron with a few screws. It holds your power strip and every cable’s slack off the floor and out of sight. A basket-style mesh tray runs $15-30 and installs in five minutes.
Do all this drilling before final finishing. Hole-saw debris and mounting scratches will mar a finished top, and a stray mark is far easier to sand out now than after three coats of oil.
Milestone: The grommet is installed and the tray is mounted. Cables have a clean path from the desktop down to the floor.
Step 7: Sand and Finish Your Desk
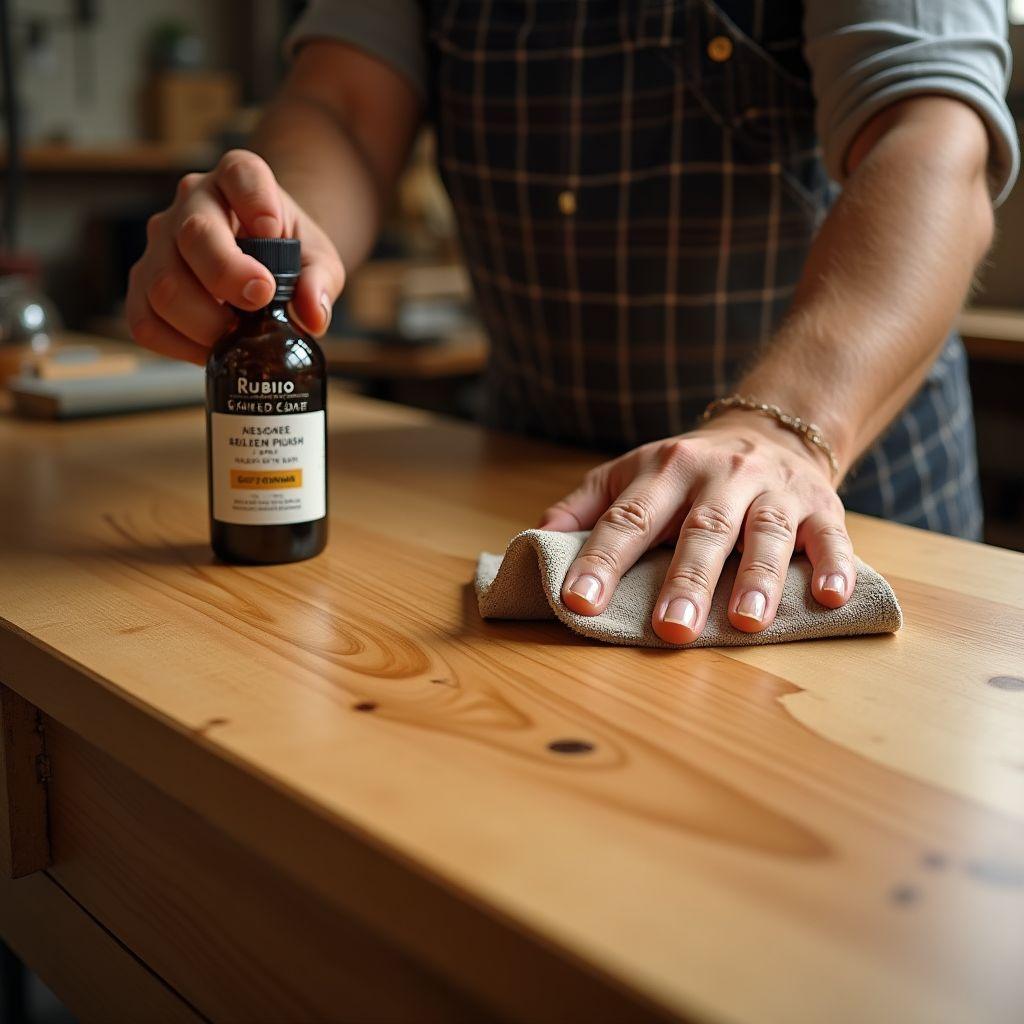
Finishing is where a good build becomes a desk you are proud of. Sand first, then protect.
Sanding progression: move through 120, then 220, then 320 grit. Vacuum and wipe off all dust between grits, because a single stray 120 particle leaves scratches your 320 pass cannot fix. Always sand with the grain, never across it.
Finish by material:
- Hardwood tops (oak, maple): Rubio Monocoat is a hardwax-oil that goes on in a single coat, costs $60-80 per quart, and covers around 540 square feet, so one can does many desks. Osmo Polyx-Oil is the other strong pick: two coats, excellent water resistance, and easy spot repair when you scratch it later. Both cure to a low-sheen, in-the-wood look rather than a plastic film.
- High-use desks: General Finishes High Performance Topcoat is a water-based poly. Three coats give a hard, durable film that shrugs off coffee rings and mouse wear, and it dries clear without the amber cast of oil-based poly.
- Painted or poplar tops: Polycrylic goes over paint without yellowing and runs $15-20 per quart, so your white top stays white. Apply it in thin coats with a synthetic-bristle brush or foam applicator to avoid brush marks.
One note on oil-based polyurethane: it is the hardest finish you can brush on, but it adds an amber tone and off-gasses strong fumes as it cures, so ventilate well and skip it if you want a clear look.
Application tips: thin coats beat thick ones. A thick coat runs, sags, and stays soft for weeks. Between coats, scuff lightly with 220 grit so the next layer grips. Two or three thin coats give a harder, better-looking surface than one heavy pour.
Milestone: The finish is fully cured, the surface is smooth and protected, and the desk is ready for daily use.
Want printable, fully dimensioned desk plans? TedsWoodworking has step-by-step plans with cut diagrams for desks, workbenches, and 16,000 more projects. Every measurement is worked out for you.
FAQ
What is the best wood for a DIY desk?
For most builders, 3/4″ birch plywood is the best top because it stays flat, spans 60″+ without sag, and never moves seasonally. If you want solid wood, hard maple (1,450 Janka) is the toughest common choice, red oak is a cheaper classic, and poplar is best when you plan to paint. Match the wood to your budget and finish.
How tall should a desk be?
A seated desk should be 28-30″ tall, with 29″ being the most common. Use 28″ if you are shorter and 30″ if you are taller. This build reaches 29″ with 28.25″ legs plus a 3/4″ top. For a standing desk, aim for 37-47″ and set the surface 2-4″ below your elbow with your arms bent at 90 degrees.
How much does it cost to build a wooden desk in 2026?
A wooden desk costs $45-400 in 2026 depending on materials. A budget build with a pine frame and plywood top runs $45-80. A mid-range poplar top for painting runs $120-180. A premium oak or maple top runs $200-400. Finish adds $15-80 depending on the product you choose.
Why did my desktop warp?
The most common cause is skipping acclimation. Lumber cut straight off the truck keeps adjusting to your shop’s humidity and moves after assembly. Let boards sit 48-72 hours before cutting. The second cause is pinning a solid top in place instead of using figure-8 fasteners or Z-clips, which forces the wood to buckle as it expands.
Can I use plywood for a desk top?
Yes, and it is often the best choice. A 3/4″ birch plywood top stays flat, spans 60″+ without sagging, and has zero seasonal movement, so you can screw it straight to the frame. The only downside is the exposed edge, which shows its plies. Cover it with iron-on edge banding or a thin solid-wood strip for a clean finished look.
How do I keep the frame from wobbling?
Square the frame before fastening: measure both diagonals and make them match within 1/8″, then clamp before driving any screws. If wobble appears later, the usual culprit is loose pocket screws on the long aprons, where the leverage is highest. Snug those first. Keep screws back from board edges so they do not split the wood and lose grip.

“DIY woodworking enthusiast who started with zero experience and a YouTube tutorial.
I build simple, practical projects for my home and share free plans
so other beginners can skip the guesswork.If I can build it, you can too.”