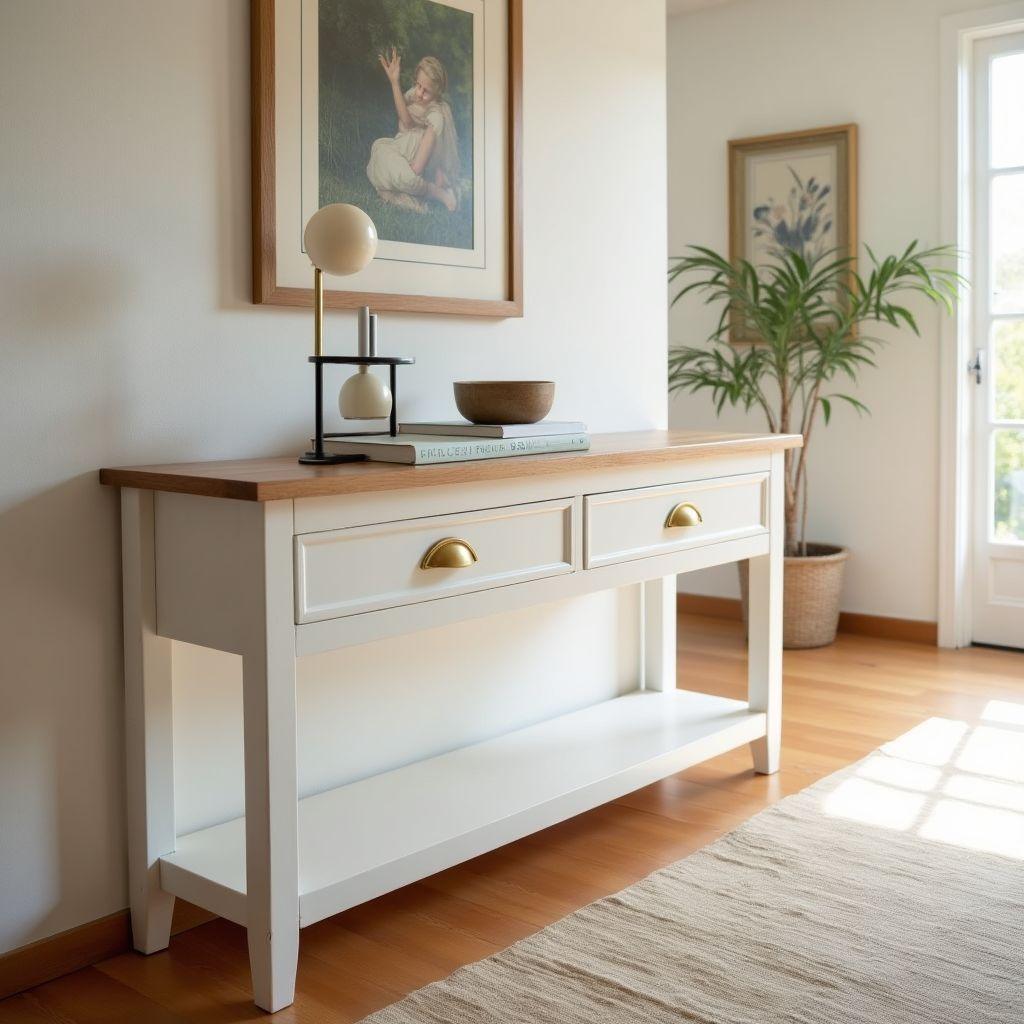
Shopping for a console table usually ends in frustration. The one you like is too deep for your hallway, or too flimsy to trust, or it costs $400 for a single shallow drawer that barely holds a set of keys. Most DIY plans just tell you to copy one design without explaining why those dimensions were chosen. Part of our entertainment center plans guide.
Building your own console table with drawer storage fixes all of that. You dial in the exact width, depth, and drawer count your space needs, and you do it for $60 to $350 depending on the wood you pick. You get real joinery, real storage, and a piece sized for your actual hallway instead of a showroom floor.
This guide walks you through an example build: a 48-inch wide, 14-inch deep, 32-inch tall table with two drawers. Along the way you’ll get a sizing guide, wood species selection, a drawer slide comparison, 2026 cost tiers, and a foolproof drawer-front alignment trick.
Expect a beginner-to-intermediate project that takes roughly a weekend. You’ll need basic tools plus a drill, and a pocket-hole jig makes the frame work much faster. Nothing here requires a full shop or years of experience.
Cut, assemble, fit the drawers, finish. Seven steps, and you’re done.
Step 1: Choose Your Size, Wood, and Budget
Looking for more entertainment center ideas?
This guide is part of our complete entertainment center plans series — compare all options by skill level, cost, and build time.
Want 16,000+ woodworking plans?
Ted’s Woodworking has step-by-step plans for every skill level. Browse Ted’s plans.
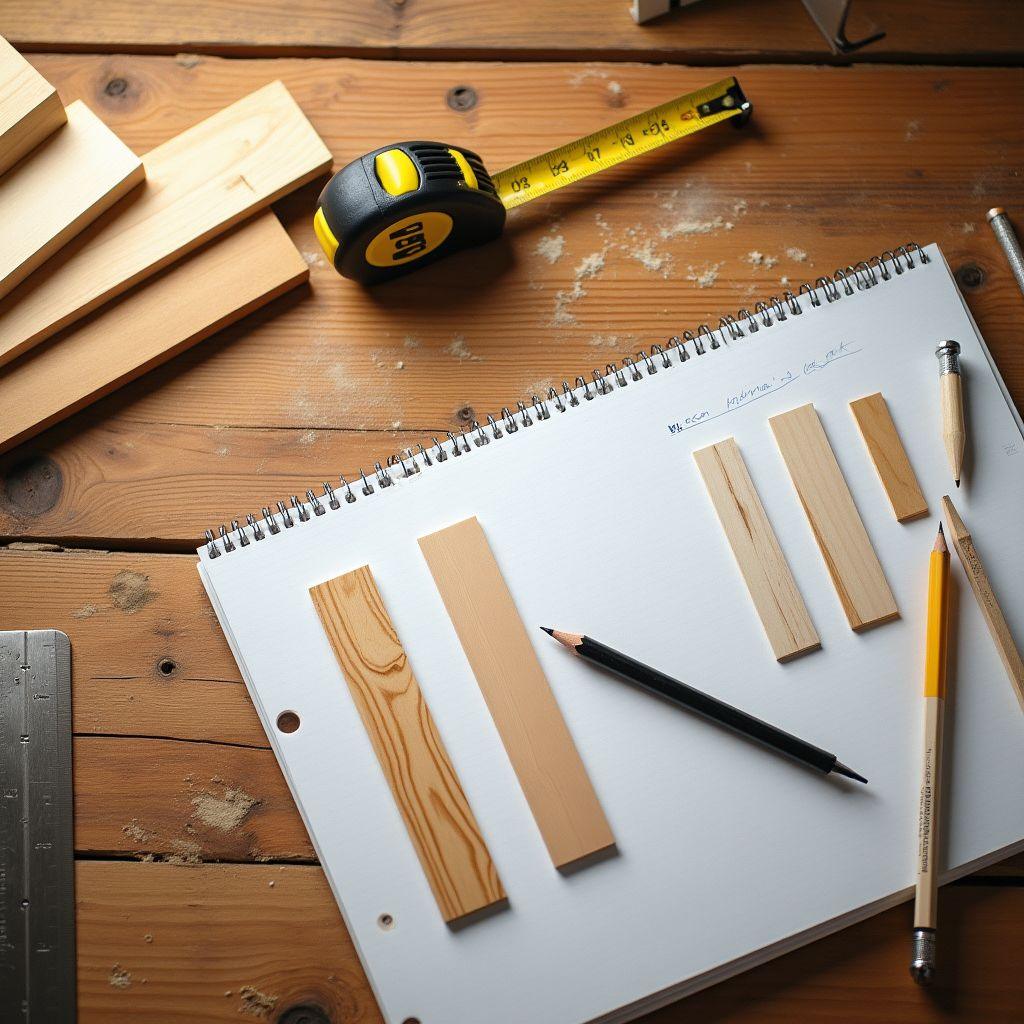
Lock in three dimensions, a wood species, and a budget before you cut a single board. Getting these right up front saves you from rebuilding later.
Height runs 28 to 34 inches. The standard is 30 to 32 inches for entryways and hallways. A sofa table sits at 28 to 30 inches and should never rise above the sofa back.
Depth runs 10 to 18 inches. A narrow hallway calls for 10 to 14 inches. A standard entryway handles 14 to 18 inches comfortably.
Width runs 36 to 60 inches, and 48 inches is the common sweet spot. A good rule is roughly two-thirds of the wall width.
Use the hallway clearance formula so you don’t block traffic. Take your hall width, subtract 36 inches, and that’s your maximum table depth. Keeping 36 inches of walking clearance lets people pass without turning sideways.
Now pick your wood:
- Pine (380 Janka, $0.50-1.20/bf): cheapest, knotty, best painted. Seal knots with BIN primer first.
- Poplar (540 Janka, $3-5/bf): harder and smoother than pine, the top choice for painted furniture. Blotchy when stained.
- Birch plywood ($60-85/sheet): stable and flat, ideal for the top, carcass, and drawer boxes.
- Red oak (1,290 Janka, $4-7/bf): takes stain beautifully for a natural finish.
- Hard maple (1,450 Janka, $5-9/bf): premium hardness and a clean natural look.
Match that to a 2026 budget tier. Budget pine plus plywood runs $60 to $100. Mid-range poplar body with a plywood top runs $120 to $200. Premium oak or maple runs $200 to $350.
For this guide, the example build is locked at 48 x 14 x 32 inches with two drawers. Pick your wood and budget lane now, and every step that follows falls into place.
Step 2: Cut the Lumber to the Full Cut List
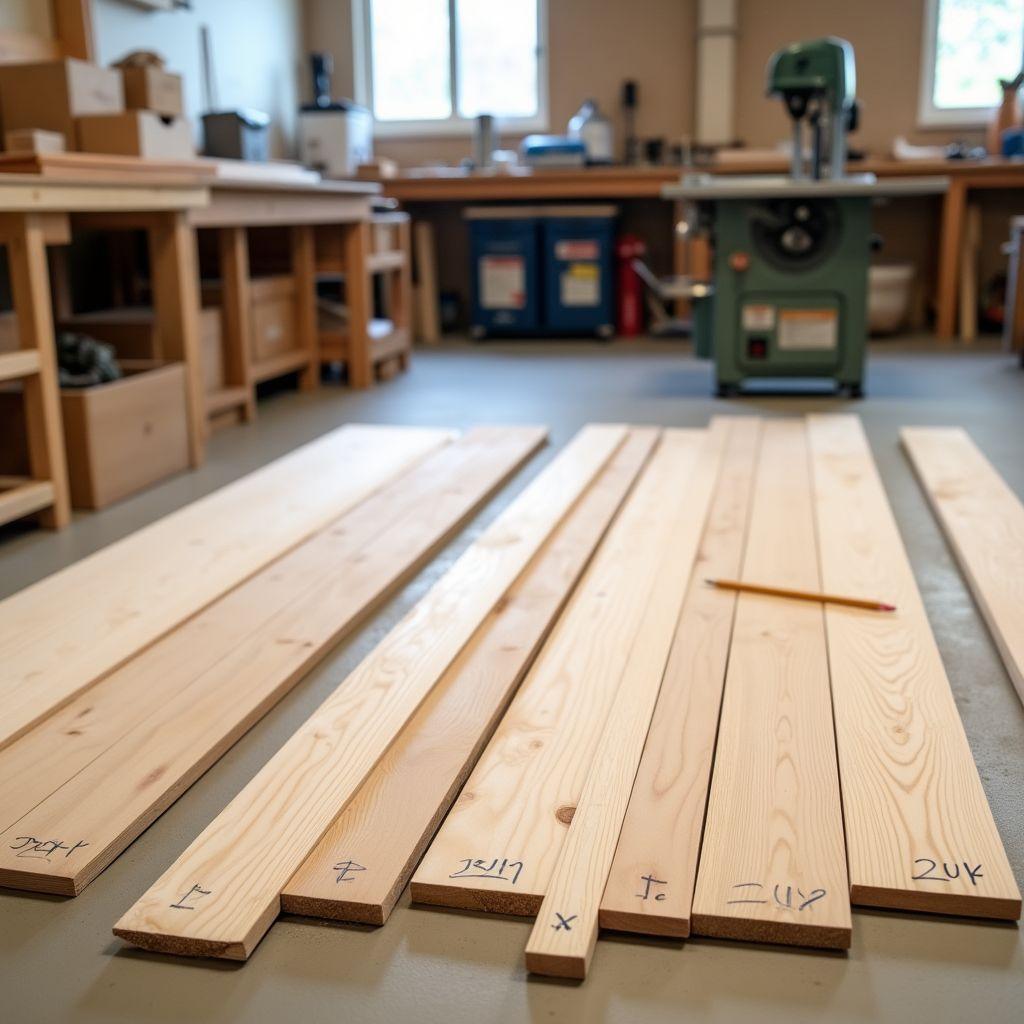
Break all your lumber down into finished parts for the 48 x 14 x 32-inch build. Cut everything now so assembly moves without stopping.
Here’s the full cut list:
- 4 legs at 31.25 inches from 2×2 or 1.5 x 1.5-inch pine. The 3/4-inch top brings total height to 32 inches.
- 2 long aprons at 44.5 inches from 1×4 stock (front and back).
- 2 short aprons at 10.5 inches from 1×4 stock (sides).
- 2 drawer dividers at 6 inches tall from 3/4-inch plywood, splitting the front into two openings plus a center divider.
- Top at 48 x 14 inches from 3/4-inch plywood or glued-up 1×6 boards.
- 2 drawer boxes at roughly 20.5 inches wide x 5.5 inches tall x 13 inches deep (finalized in Step 4).
- 2 drawer fronts at 22 inches wide x 6 inches tall, sized for a 1/8-inch reveal all around.
Label every part with a pencil as you cut it. A pile of similar plywood pieces gets confusing fast, and mislabeling a divider costs you a re-cut.
Cut all four legs from the same stock so their thickness matches exactly. Mismatched leg thickness throws the whole frame out of true.
If you chose a different width or depth in Step 1, scale the list. Long aprons equal your width minus leg thickness on both sides. Short aprons equal your depth minus the same. Drawer parts follow from the openings, which you’ll size in Step 4.
Before you move on, confirm your two long aprons match each other and your two short aprons match. Even a 1/4-inch difference here shows up as a racked frame later.
Step 3: Assemble and Square the Table Frame
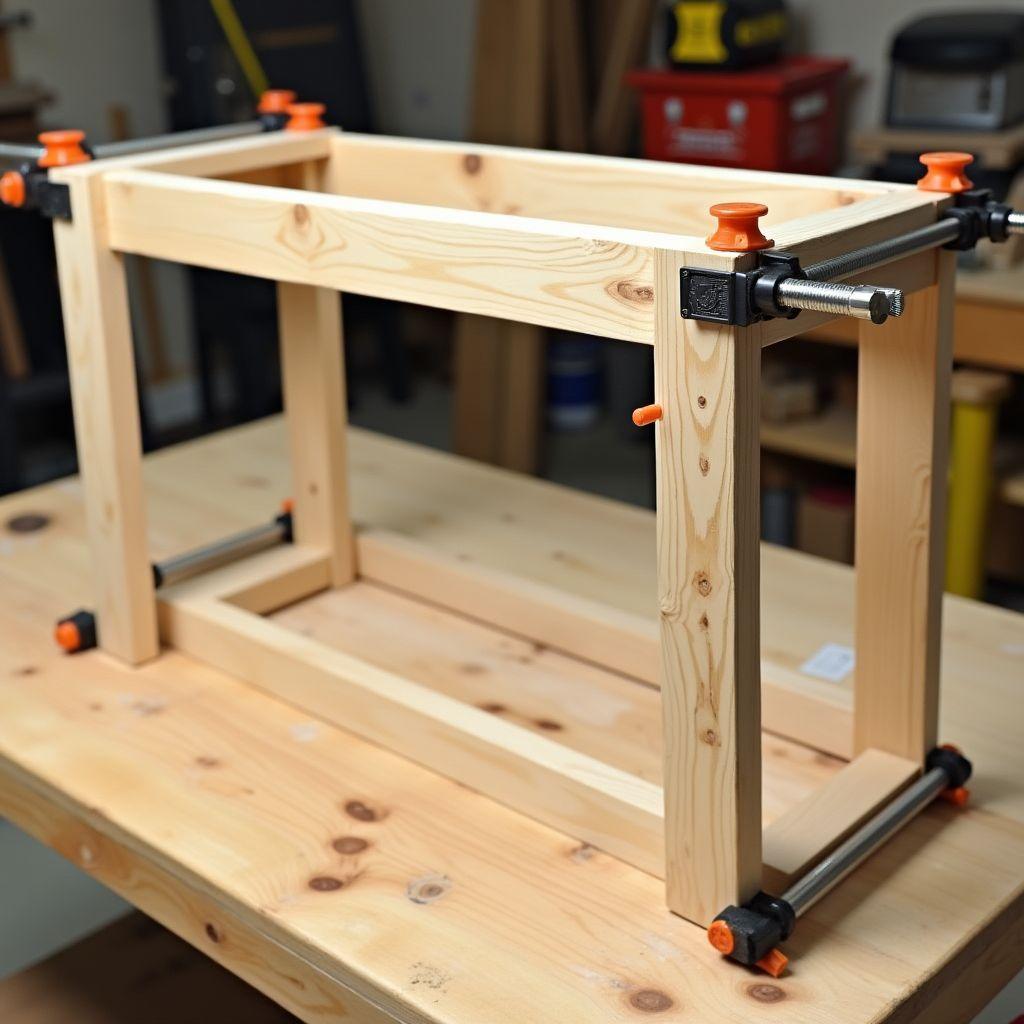
A frame that’s dead square makes every later step easy, so this is where your patience pays off. Join the legs and aprons into a base that’s rigid and true.
Attach the long and short aprons to the legs using pocket-hole screws and glue. Keep the apron tops flush with the leg tops, or set them down slightly if you want a small reveal below the top. Run a bead of glue on every joint before you drive screws.
Never place pocket holes in end grain. Screws driven into end grain won’t hold, and the joint will loosen over time. Always drill your pocket holes into the apron faces, which are long grain.
Work in a logical order. Build one long side first, joining two legs to a long apron. Build the second long side the same way. Then connect the two assembled sides with your two short aprons.
Clamp the whole frame and check for square before the glue sets. Measure diagonally from corner to corner one way, then the other. The two measurements must match within 1/8 inch.
If the diagonals don’t match, the frame is racked. Push gently on the longer diagonal to shorten it while the glue is still wet, then re-measure, adjust, and re-clamp until both readings agree.
Squaring now matters because a crooked frame means crooked drawer openings, and crooked openings mean drawers that stick, bind, or sit with uneven gaps. Fixing it now is a two-minute push. Fixing it later means tearing joints apart.
Let the glue cure fully. You now have a glued, square, sturdy frame with an even drawer-opening area across the front, ready for dividers.
Step 4: Build the Drawer Openings and Choose Your Slides
Install the dividers to form two openings, then pick your slides. These two decisions shape how the drawers fit and feel.
Install the two 6-inch-tall plywood dividers to split the 44.5-inch front into two equal drawer openings plus a center divider. Measure carefully so both openings come out the same width. Add a rear mounting cleat or surface at the back of each opening if your slides need something solid to screw into.
Confirm both openings are equal before moving on. Unequal openings force you to build two differently sized drawers, which doubles the chance of a mistake.
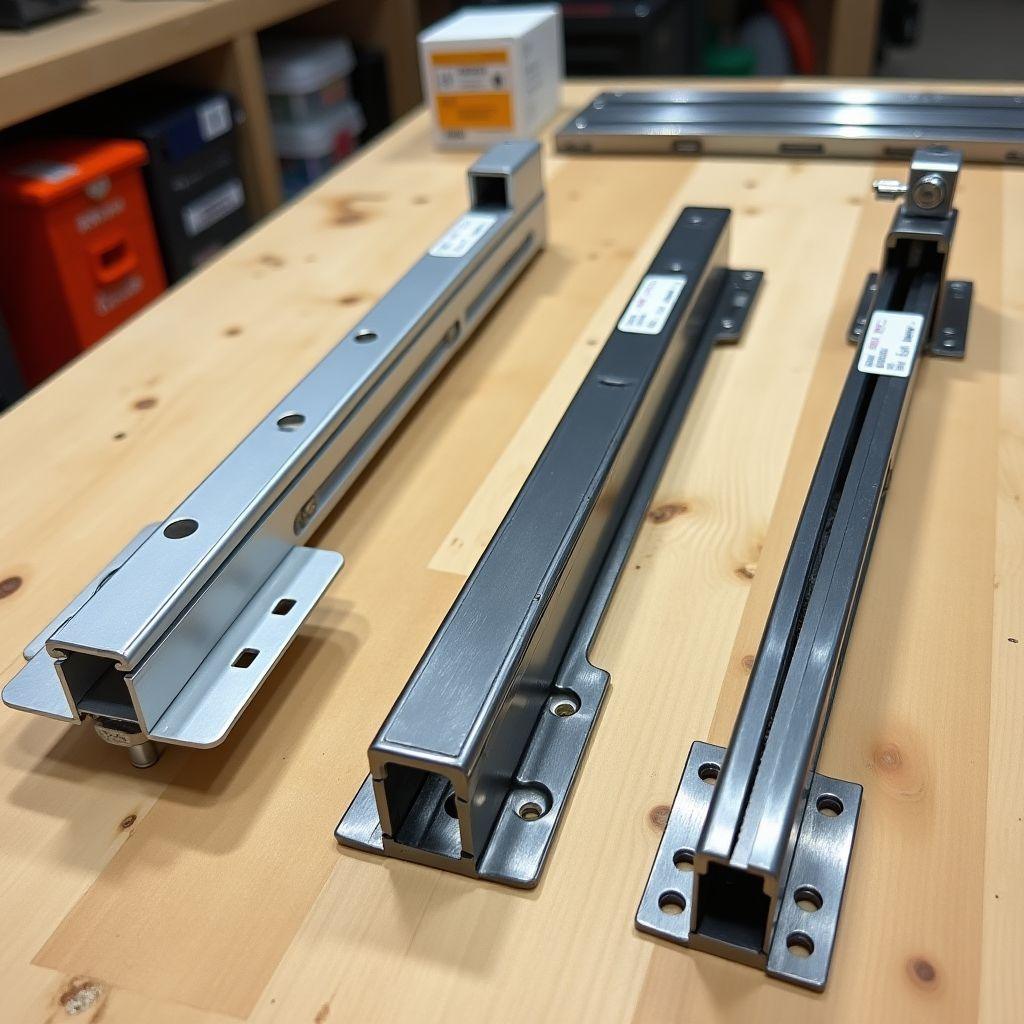
Now choose your drawer slides:
- Basic ball-bearing side-mount (14-16 inch, $5-9/pair): 75 lb rating, fine for occasional use, the most beginner-friendly option.
- Soft-close side-mount (Everbilt at Home Depot, $16-20/pair): same install as basic, 100 lb, full extension, with a cushioned close. The best value upgrade.
- Undermount soft-close (Blum Tandem, $28-50/pair): invisible and buttery smooth, but requires a routed dado in the drawer bottom. Intermediate-level work.
- Felt pads (free): only for very light loads, and drawers can rack side to side. Skip these for real storage.
For most beginners, soft-close side-mount slides are the right call. They install exactly like basic slides but feel far more expensive, and the cushioned close protects the joints over years of use.
Match the slide length to your table. Slides must be equal to or shorter than the table depth minus the back apron. For this 14-inch table, use 14-inch slides. With two equal openings cut and slides chosen, you’re ready to build the boxes.
Step 5: Build the Drawer Boxes
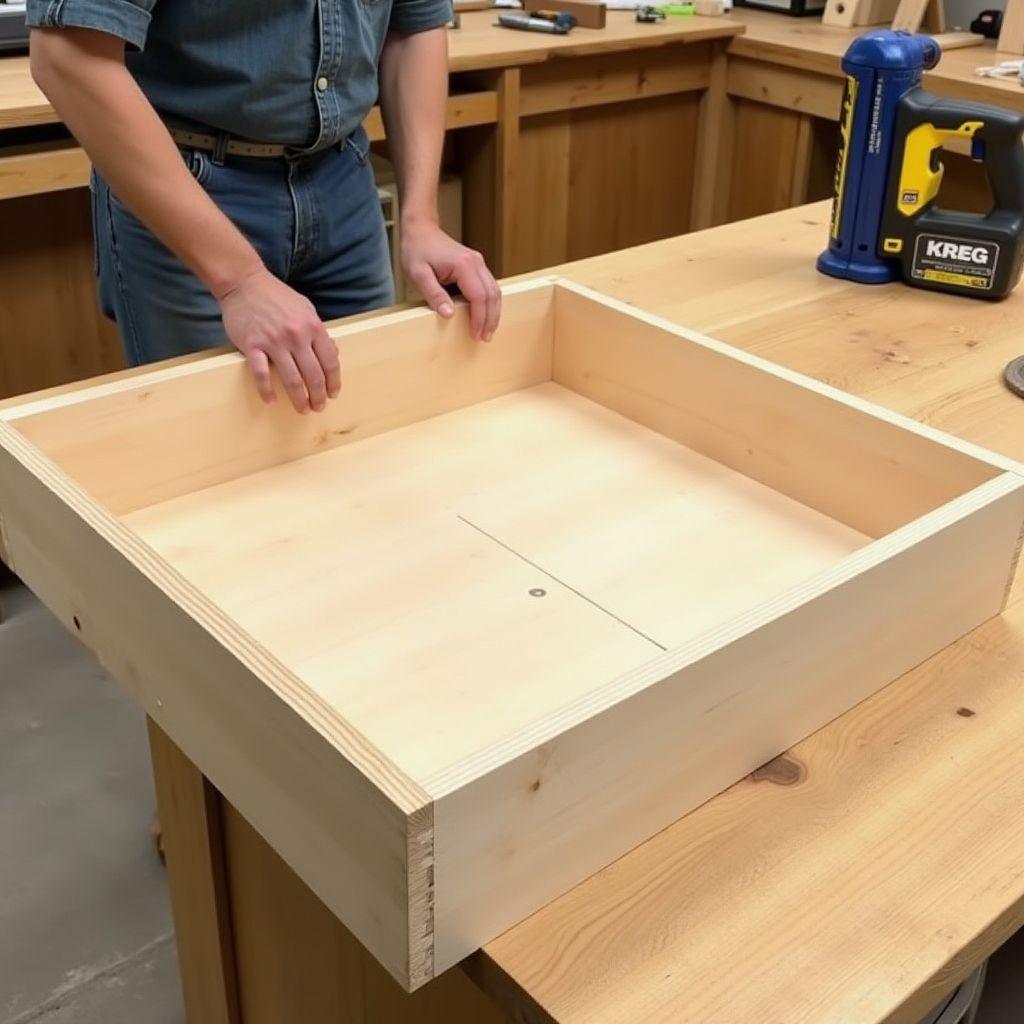
Construct two square drawer boxes sized precisely for your side-mount slides. Square boxes are the difference between drawers that glide and drawers that fight you.
Use the Kreg standard sizing formula so the math is foolproof:
- Box width = opening width minus 1 inch (1/2 inch per side for the slides).
- Box height = opening height minus 1/2 inch.
- Box depth = slide length. Use 13 inches here so the 14-inch slide clears the back with about 1 inch of rear space.
For this build, that lands each box at roughly 20.5 inches wide x 5.5 inches tall x 13 inches deep. Cut both boxes to the same numbers.
Build the boxes from 3/4-inch plywood sides with a 1/4-inch plywood bottom. Set the bottom into a dado groove, or staple it into a rabbet along the lower edge. Both methods lock the bottom flat and keep the box from twisting.
Join the corners with pocket holes, or use glue and brad nails. Whichever you choose, run glue on the mating surfaces so the box stays rigid under load. Check each box for square before the glue sets, just as you did with the frame, and adjust while the glue is wet if the diagonals don’t match.
Watch two common mistakes. First, a box built too wide because you forgot the 1-inch allowance for slides. That box simply won’t fit with the hardware installed. Second, attaching drawer fronts before you’ve confirmed the box is square, which locks a crooked front onto a crooked box.
When both boxes are square and correctly sized, they’re ready for slides.
Step 6: Install the Slides and Attach the Top
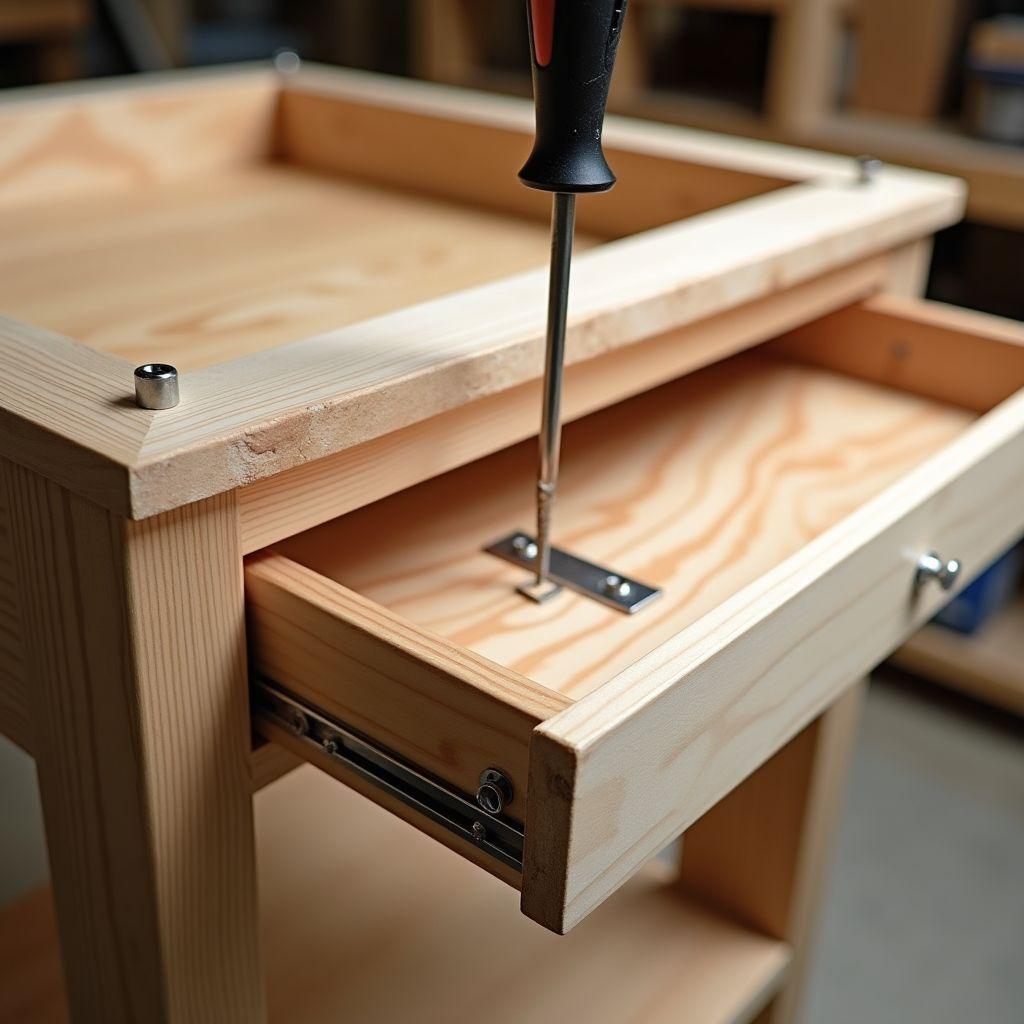
Mount the slides, hang the drawer boxes, and fasten the top. Precision here is what makes drawers glide evenly.
Separate each slide pair into its two members. Mount the cabinet member level inside the opening, using a spacer or a marked level line so both sides sit at the exact same height. Mount the drawer member on the box, flush to the front edge.
Reconnect the slides and slide each drawer in. Test that both drawers glide fully and evenly with no binding. If one drags, the slides aren’t level or parallel, so adjust the screws before moving on. Getting this right now beats fighting a sticky drawer forever.
Attach the top based on your material. For a plywood top, screw up through the aprons from underneath or use pocket holes in the apron tops. Plywood is stable, so you can fasten it solidly.
A glued-up solid-wood top is different. Solid wood expands and contracts with the seasons, and if you fasten it rigidly it will crack. Use figure-8 fasteners or elongated, slotted screw holes so the top can move without splitting. Never glue a solid-wood top directly to the frame.
Center your 48 x 14-inch top on the frame with even overhang all around. Measure the overhang on each side and adjust before you drive the final screws.
When both drawers glide smoothly and the top sits centered and secure, the table is built. All that’s left is the drawer fronts and finish.
Step 7: Attach Drawer Fronts and Apply the Finish
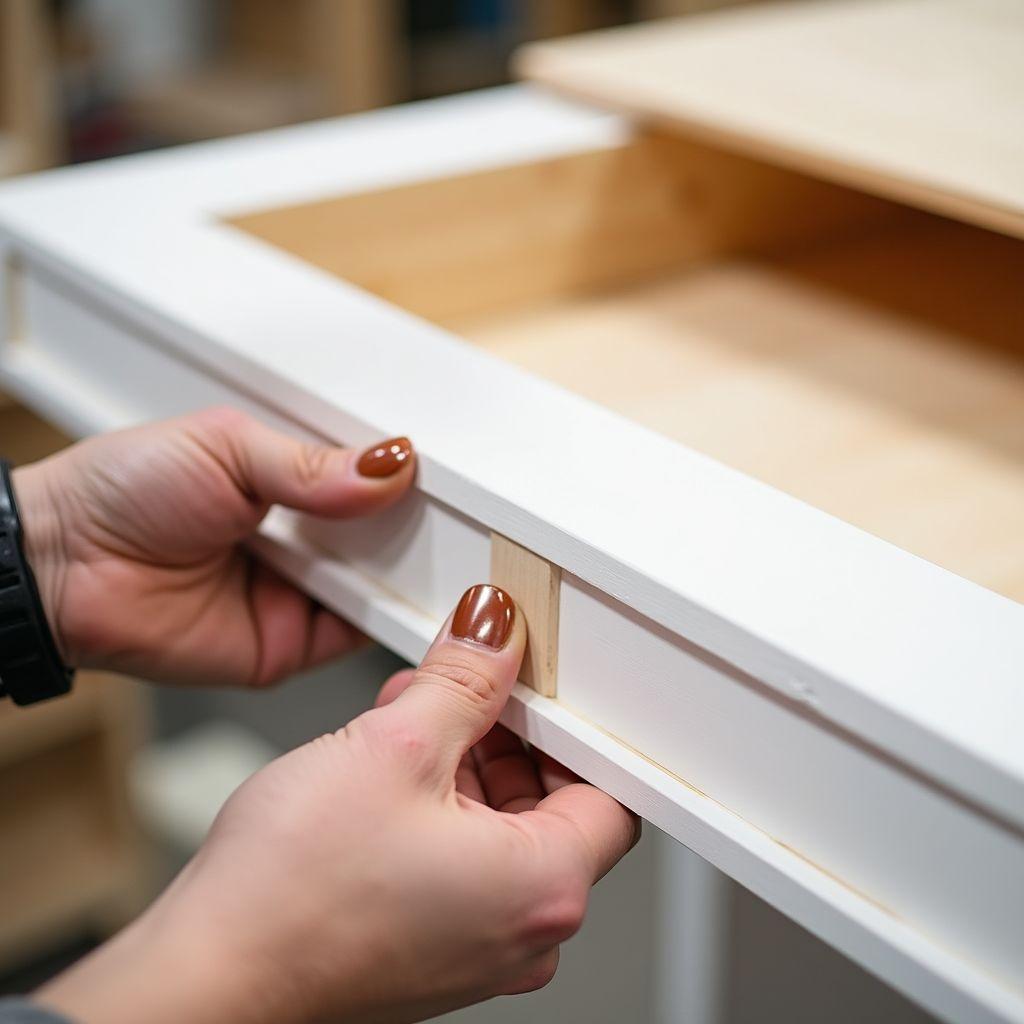
Align both drawer fronts, finish the piece, and it’s done. Aligning fronts by eye is where most builds go wrong, so use the double-sided tape trick instead.
Here’s the technique, step by step:
- Install the drawer box on its slides so it’s in its final position.
- Apply thin carpet-type double-sided tape to the front face of the box. Use carpet tape, not thick foam tape, so the front doesn’t shift.
- Position the drawer front with a 1/8-inch reveal all around, using coins or spacers to set the gaps.
- Press the front firmly onto the tape.
- Carefully open the drawer. The tape holds the front exactly in place.
- Drive two screws from inside the box into the back of the front.
- Remove the tape and repeat for the second drawer, working bottom to top.
- Fine-tune by slightly enlarging the screw holes if a front needs a nudge.
Add your drawer pulls once both fronts are secured. Mark the hole centers, drill, and bolt them on. Never attach fronts before the box is confirmed square, which guarantees crooked gaps no matter how careful you are.
Now finish the piece to match your wood. For painted pine or poplar, sand smooth, prime with BIN primer to seal any pine knots, then paint your color. Skipping the primer on pine lets knots bleed through months later.
For stained oak or maple, sand up to 220 grit for an even, blotch-free finish, apply your stain, then protect it with two or three coats of polyurethane. Step back and check your reveals one last time. You now have a finished console table with cleanly aligned drawer fronts, sized for your space and built to last.
If you want hundreds more step-by-step furniture plans with cut lists, diagrams, and material lists, TedsWoodworking is the most comprehensive woodworking plan library available. Over 16,000 plans cover tables, cabinets, beds, outdoor furniture, and more, each with detailed instructions so you can build with confidence.
FAQ
How tall should a console table with a drawer be?
Standard height is 30 to 32 inches for entryways and hallways. Behind a sofa, drop to 28 to 30 inches and never build taller than the sofa back. The full workable range is 28 to 34 inches, so match the height to where the table will actually live in your home.
How much does it cost to build a console table with a drawer in 2026?
A budget build in pine and plywood runs $60 to $100. A mid-range poplar body with a plywood top runs $120 to $200. A premium oak or maple build runs $200 to $350. Drawer slides add $5 to $50 per pair depending on whether you choose basic, soft-close, or undermount.
What wood is best for a DIY console table?
Use pine or poplar for painted builds, with poplar being smoother and harder. Choose birch plywood for the drawer boxes and top because it stays flat and stable. For a natural stained finish, go with red oak or hard maple, both of which take stain beautifully and resist dents.
What size drawer slides do I need?
Use slides equal to or shorter than the table depth minus the back apron. For a 14-inch-deep table, 14-inch slides work well. Then size your drawer box depth to the slide length, leaving about 1 inch of rear clearance so the box fully closes without hitting the back.
Is building a console table with a drawer hard for beginners?
No. It’s a beginner-to-intermediate weekend project. The frame and drawer boxes rely on straightforward pocket-hole joinery that anyone can learn quickly. The only tricky parts are squaring the frame and aligning the drawer fronts, and both are fully covered in the steps above with clear checks.
How narrow can a console table be?
You can go as narrow as 10 to 14 inches deep for tight hallways. Keep at least 36 inches of walking clearance so traffic flows past comfortably. Use the formula: hallway width minus 36 inches equals your maximum table depth. That keeps the table useful without crowding the path.
Related Articles

“DIY woodworking enthusiast who started with zero experience and a YouTube tutorial.
I build simple, practical projects for my home and share free plans
so other beginners can skip the guesswork.If I can build it, you can too.”