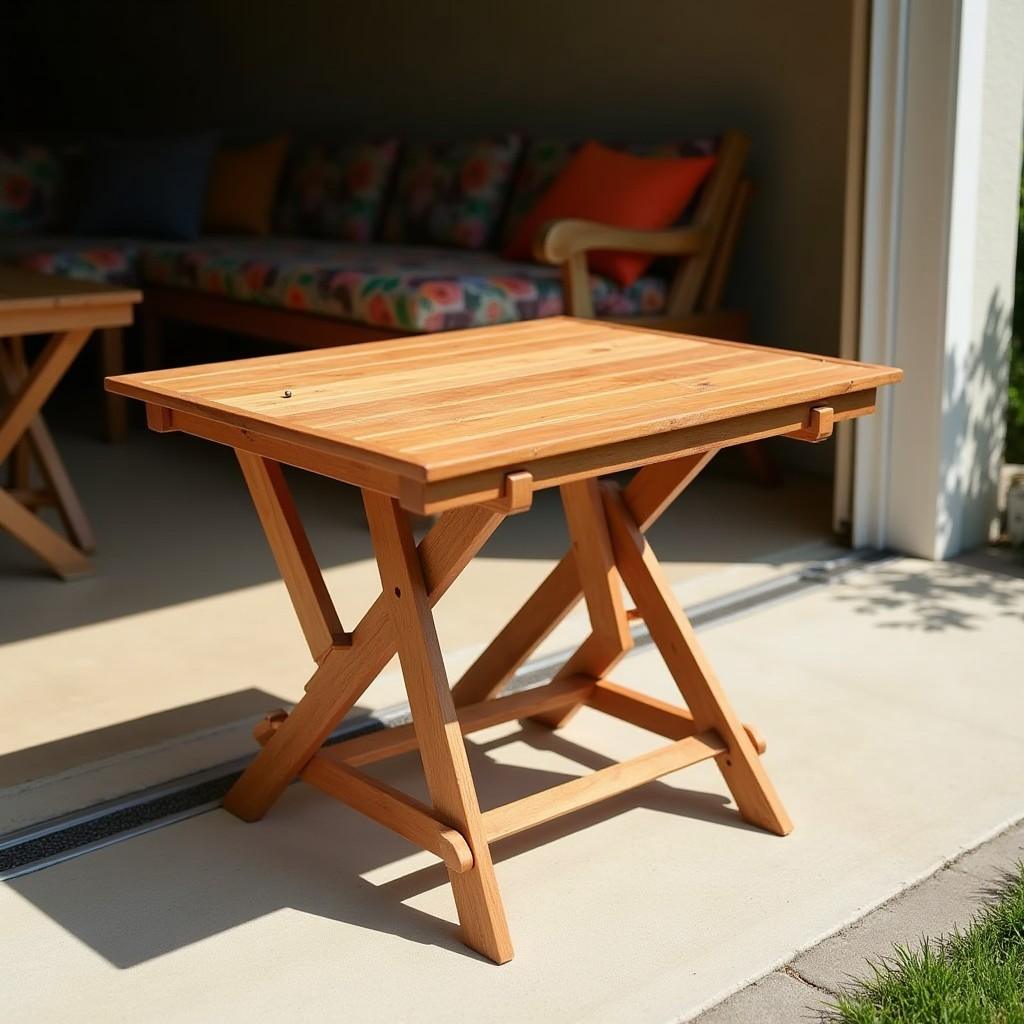
A patio table earns its keep all summer, then swallows shed or garage space all winter. These dining and outdoor table plans solve that with a folding design, and these foldable patio table plans go one step further.
The table folds to 4-5″ thick and stores vertically against a wall. Two feet of leaning space replaces three feet of floor. You get two designs, so you can pick by skill level: a beginner-friendly folding bracket build, or a split-top pivot bolt version with no visible metal.
Comparable folding outdoor wood tables run $300-800 at retail. These plans build one for roughly $120-180 in materials. Plan on 3-8 hours, cedar for the wood, and a 6-person table as the default size.
Step 1: Pick Your Design — Folding Bracket or Pivot Bolt
Pick the wrong mechanism and you will either struggle through the build or end up with a table that wiggles at every meal.
| Mechanism | Difficulty | Best for | Special hardware cost | Folded profile |
|---|---|---|---|---|
| Folding bracket | Beginner | Solid top, fastest build | ~$6-12/pair | ~72″ x 36″ x 4-5″ |
| Pivot bolt (split-top) | Intermediate | Flattest fold, no visible metal | ~$15-25 in stainless bolts | ~72″ x 18″ x 4″ |
Folding bracket. Legs fold under a solid one-piece top on spring-loaded brackets. Rockler Posi-Lock runs about $5.99/pair and National Hardware runs about $8-12/pair. No precision drilling anywhere in this build, which is why it wins for a first outdoor project.
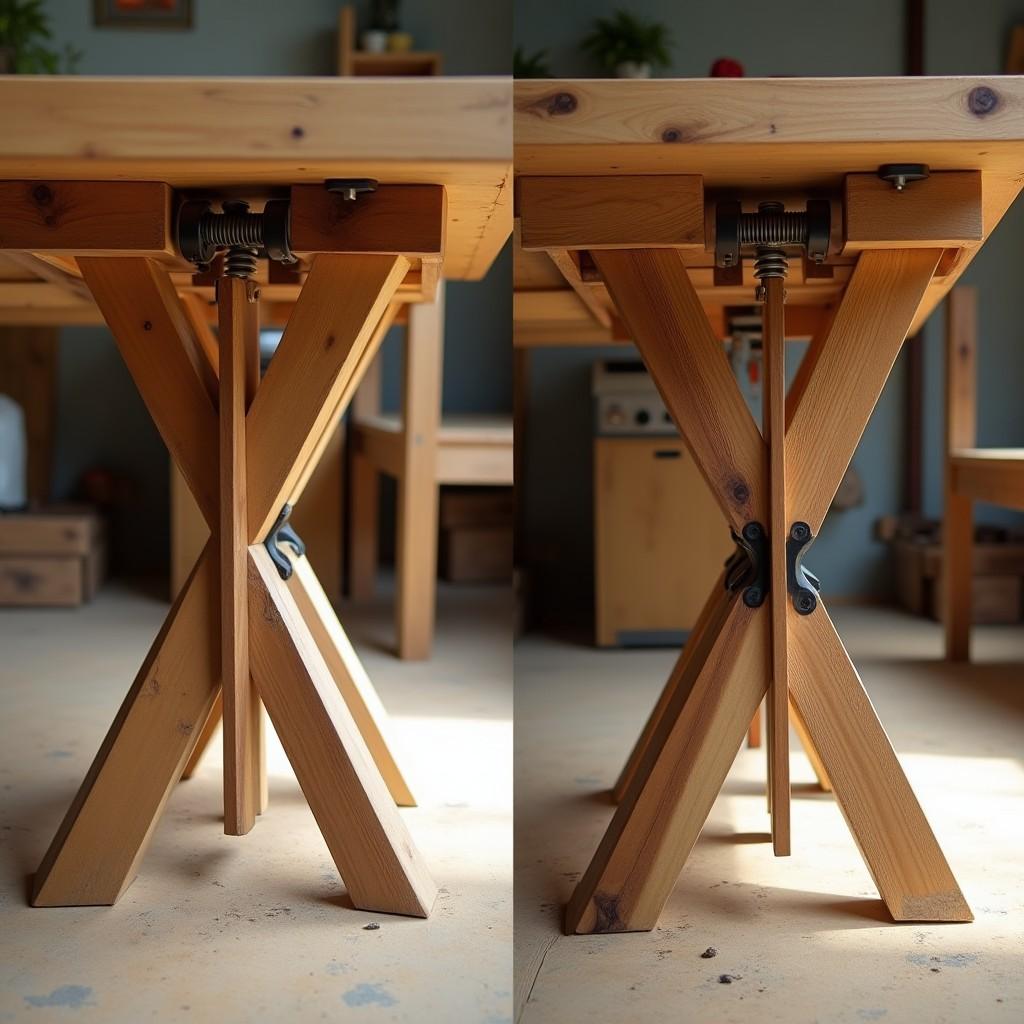
Pivot bolt (split-top). The tabletop splits into two halves. Each half attaches to one leg of an X-frame. Pulling the halves apart opens the X, and gravity locks it flat. The hardest step is drilling a perpendicular 3/8″ hole through 3″ of wood, which takes a guide to get right.
The verdict: if this is your first outdoor build, use brackets. If you are experienced and want the cleaner look with no visible metal, use the pivot bolt.
One note on the pivot bolt: it needs periodic re-tensioning as the wood moves seasonally. A quick turn of the nylock nut once or twice a year keeps it tight.
Step 2: Choose Your Size (4, 6, or 8 Person)
Pick your size before you buy a single board. The cut list, the bracket spacing, and the weight all follow from this one decision.
| Seats | Length | Width | Height |
|---|---|---|---|
| 4 | 48″ | 36″ | 29-30″ |
| 6 | 60-72″ | 36″ | 29-30″ |
| 8 | 84-96″ | 36-40″ | 29-30″ |
Allow about 24″ of table edge per person plus elbow room. A 36″ width fits full place settings on both long sides at once. This guide uses 72″ x 36″ as the worked example for every cut list that follows.
Here is the portability warning most plans skip. At 84″ and up, a folding table gets very heavy to move solo. A cedar 8-person table weighs roughly 50-60 lbs. If you need to seat 8, build two 48″ tables instead. Each seats 4, and you push them together for 8. Two smaller tables are far easier to carry and store than one long one.
The payoff on either size is the folded footprint: 4-6″ of wall depth versus three feet of open floor.
Step 3: Choose Your Wood — Why Cedar Wins for Folding Tables
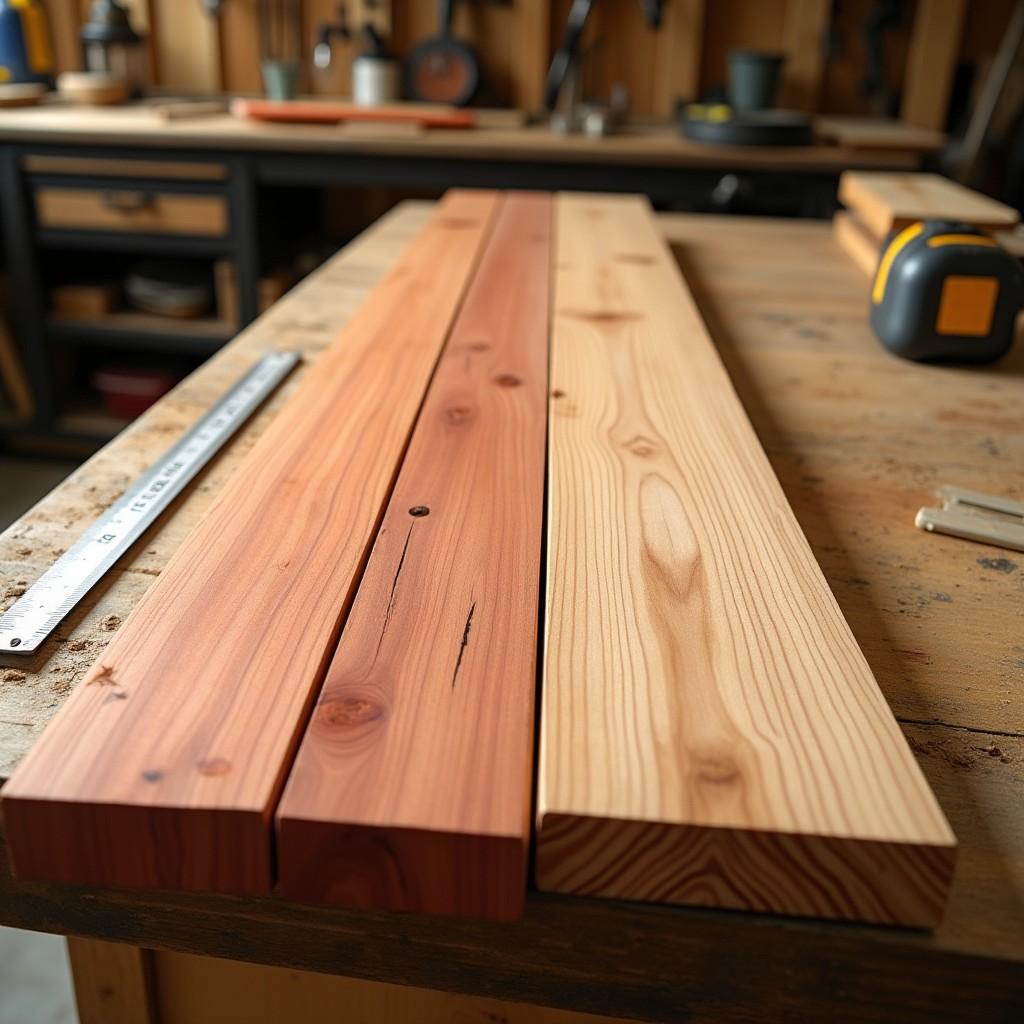
For a table you carry in and out of storage, weight matters as much as rot resistance. Most outdoor plans skip this step, and it is why so many DIY tables end up too heavy to move.
Cedar is the clear winner for a folding patio table.
| Species | Cost | Weight | Rot resistance | Finish needed |
|---|---|---|---|---|
| Cedar | $10-14/2x6x8 board | ~22.5 lbs/cu ft (light) | Naturally high | Penetrating oil every 1-2 yr |
| PT pine | $8-12/board | 40-50 lbs/cu ft wet (heavy) | Chemically treated | Dry 4-8 weeks, then stain/seal |
| Teak | $20-40/bf | ~43 lbs/cu ft (heavy) | Rot-proof (25-50 yr) | None required |
PT pine ships wet and warps badly as it dries. A 6-person PT table can weigh 55-65 lbs, and the warping fights you the whole build. Teak costs 5-8x cedar and is nearly as heavy. Teak is the right choice for a permanent table that never moves, not for a portable one.
Cedar at roughly 22.5 lbs/cu ft is about half the weight of wet PT pine. That difference is the whole game for a table you lift and lean against a wall.
Cedar also produces no toxic sawdust. PT pine generates copper-azole dust that requires gloves and an N95 respirator to cut safely. To price your boards for any size, run the numbers through the board foot calculator.
realwoodworkplans.com recommends Western red cedar for any folding outdoor table.
Step 4: Cut List and 2026 Material Costs
Take these lists to the store and shop in one trip. Both are sized for a 72″ x 36″ 6-person table.
Bracket Method Cut List
| Part | Material | Qty | Length |
|---|---|---|---|
| Tabletop slats | 2×6 | 10 | 72″ |
| End cleats | 2×4 | 2 | 33″ |
| Center cleat | 2×4 | 1 | 33″ |
| Legs | 2×4 | 4 | 28″ |
| Stretchers | 2×4 | 2 | 29″ |
Pivot Bolt Method Cut List
| Part | Material | Qty | Length |
|---|---|---|---|
| Tabletop slats (per half) | 2×6 | 5+5 | 35″ |
| Cross-cleats (per half) | 2×4 | 2+2 | 33″ |
| X-frame leg boards | 2×4 | 4 | 35″ |
2026 cost breakdown (cedar, 6-person with brackets):
- Cedar lumber (8-10 boards of 2x6x8): $80-140
- Brackets plus stainless screws: $12-20
- Penofin finish: $20-30
- Total: ~$120-180
The pivot bolt version adds $15-25 for stainless bolts, washers, and nylock nuts.
One pricing note for this season. Lumber futures hit roughly $615-623 per 1,000 board feet in early July 2026, near an 8-month high. Big-box prices run 15-30% above wholesale and vary by region. Add 10-15% for waste when you buy.
Step 5: Outdoor Hardware — Never Use Zinc Outside
This is why most DIY outdoor tables rust out in 2-3 seasons. The wood lasts. The fasteners fail, and they take the table down with them.
Pivot bolt hardware:
- 3/8″ x 2.5″ stainless hex bolt (1 per X-frame pivot)
- 2 stainless flat washers per pivot
- 1 stainless nylon-insert lock nut (nylock) per pivot. This is mandatory. A standard nut vibrates loose outdoors in one season.
- Grade 304 stainless for inland use. Grade 316 (marine) within 1 mile of saltwater.
Folding brackets:
- Rockler Posi-Lock: ~$5.99/pair, spring-activated self-locking, fits 1.5″ square legs
- National Hardware N187-938: ~$8-12/pair, heavier duty
- Mount with #8 x 1.5″ pan-head or washer-head stainless screws. Never use countersunk flat-heads. They give insufficient clamping on the bracket flange.
Pocket-hole joinery (all tabletop slats):
- Kreg Blue-Kote screws: triple-coated, 400% better corrosion resistance than zinc, ACQ-compatible
- Upgrade to Kreg stainless exterior screws in coastal or wet climates
Never use standard zinc-plated screws outdoors. They rust within 1-2 seasons and leave brown stains bleeding down your cedar.
For more context on outdoor fastening and joinery, the outdoor patio dining table plans walk through a fixed-table build with the same hardware rules.
Step 6: Build the Tabletop
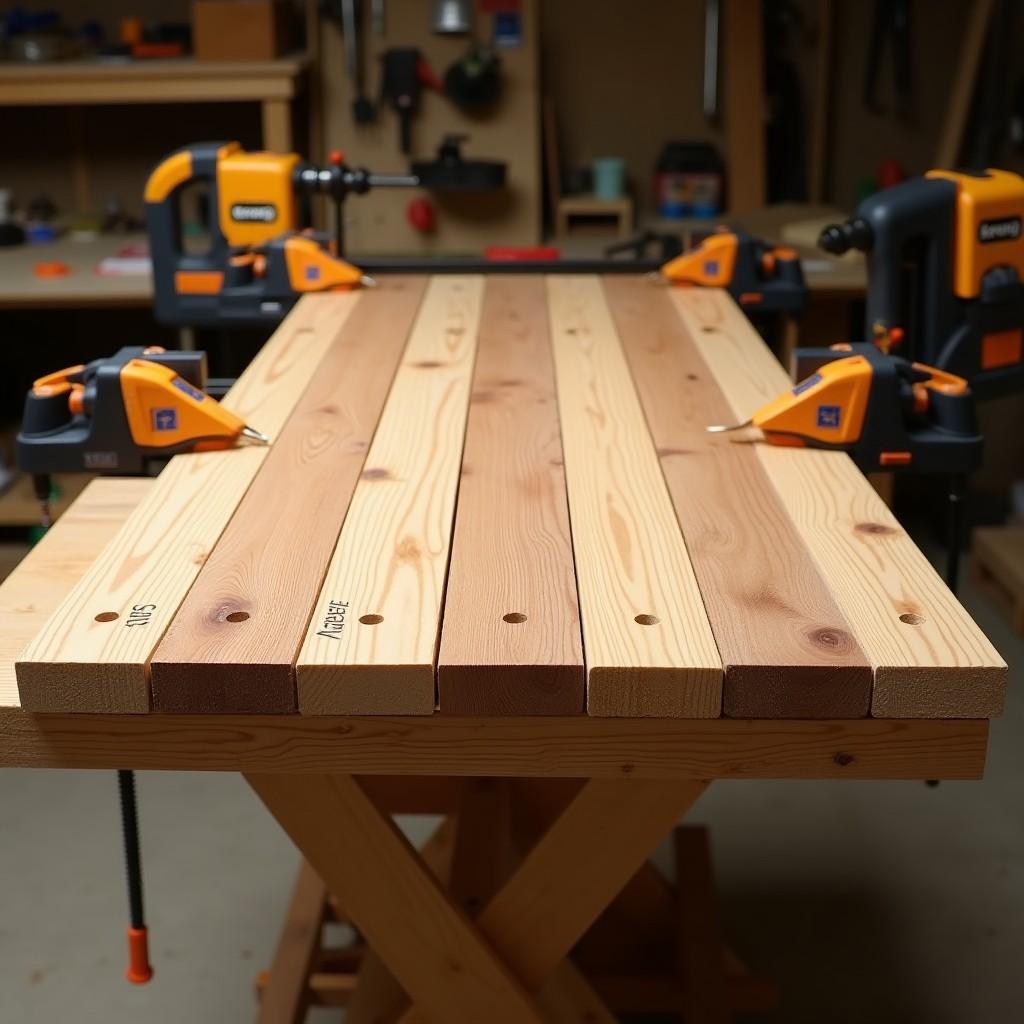
Both methods share the same slat-and-cleat build. Get this right and the rest is straightforward.
- Rip 2×6 boards to a consistent 5.5″ width if needed. Consistent width is critical for a flat top.
- Lay out slats with 1/4″ spacers between them for drainage. Use actual 1/4″ scraps as spacers, not eyeballing.
- Set the pocket-hole jig to 1.5″ for standard dimensional lumber. Drill pocket holes on both edges of each interior slat.
- Apply Titebond III waterproof glue to each joint face, then drive Kreg Blue-Kote screws into the cross-cleats.
- Sand all boards through 80/120/180 grit before assembling into the top. End grain and face edges are much easier to sand while parts are separate.
- Ease all top edges with a roundover bit or an 80-grit chamfer to prevent splinters.
- Check flat with a straightedge across several directions. Correct any bow with clamping before the glue cures.
- Dry-fit the complete top before driving final screws. Confirm square by measuring diagonals.
Bracket method: build one solid 72″ x 36″ top (10 slats fastened to 2 end cleats plus 1 center cleat).
Pivot bolt method: build two identical 72″ x 18″ halves (5 slats each fastened to 2 cross-cleats set 4″ from each end).
Step 7: Add the Folding Mechanism
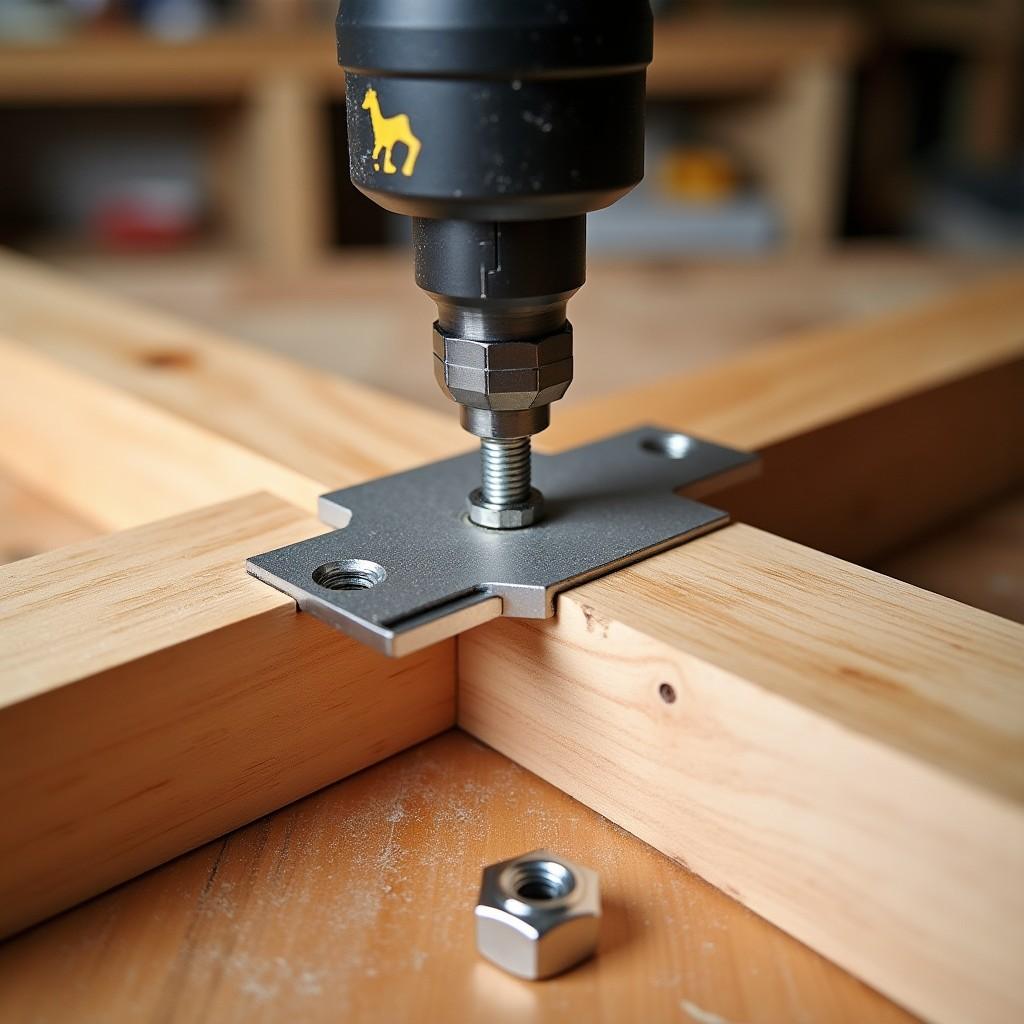
Follow only the sub-section for your chosen design.
A — Folding Bracket Method
- Build two U-shaped leg assemblies. Join each pair of legs with a stretcher using pocket screws and Titebond III.
- On the tabletop underside, mark bracket positions 2″ in from each corner edge. This setback is critical. Less than 1″ and the leg binds against the corner when folding.
- Hold each bracket in position and mark the screw holes with an awl.
- Pre-drill pilot holes with a #8 bit. This is mandatory in cedar to prevent splits.
- Drive pan-head or washer-head stainless screws through the bracket flange into the tabletop.
- Fold the bracket to its closed position, set the leg assembly against the bracket’s leg flange, then mark, pre-drill, and drive screws.
- Deploy all four legs and listen for the spring-lock click on each bracket. Fold them up and confirm they lock flat.
- Load test: place 100 lbs (sandbags or water jugs) on the open table for 10 minutes and confirm no leg shifts.
B — Pivot Bolt Method
- Clamp both leg boards of one X-frame together in their open (deployed) position. Mark the pivot center on the overlap area, not on each board individually.
- Counter-bore first. Drill a 1″ Forstner recess 1/2″ deep on the outer face of each board at the pivot mark. Drill this before the through-hole or you risk blowout.
- Drill the 3/8″ through-hole perpendicular through all 3″ of wood. Use a Milescraft DrillMate 1318 drill guide (~$40 at Home Depot) or clamp a shop-made hardwood jig block against the workpiece (a scrap block with a proven-perpendicular 3/8″ hole). This is the make-or-break step.
- Insert a 3/8″ x 2.5″ stainless hex bolt with a stainless washer on each side. Snug the nylock nut until the joint folds with one hand but has zero play.
- Test fold the X several times. The hardware should not catch in the counter-bore recesses.
- Cut matched mirrored angles on the leg bottoms so they sit flat on the floor when the X is open at full height. Cut both legs of each X-frame as a matched pair.
Common mistakes: using regular hinges instead of self-locking hardware, skipping the counter-bore, and using a standard nut on the pivot bolt.
Step 8: Apply a Weatherproof Finish
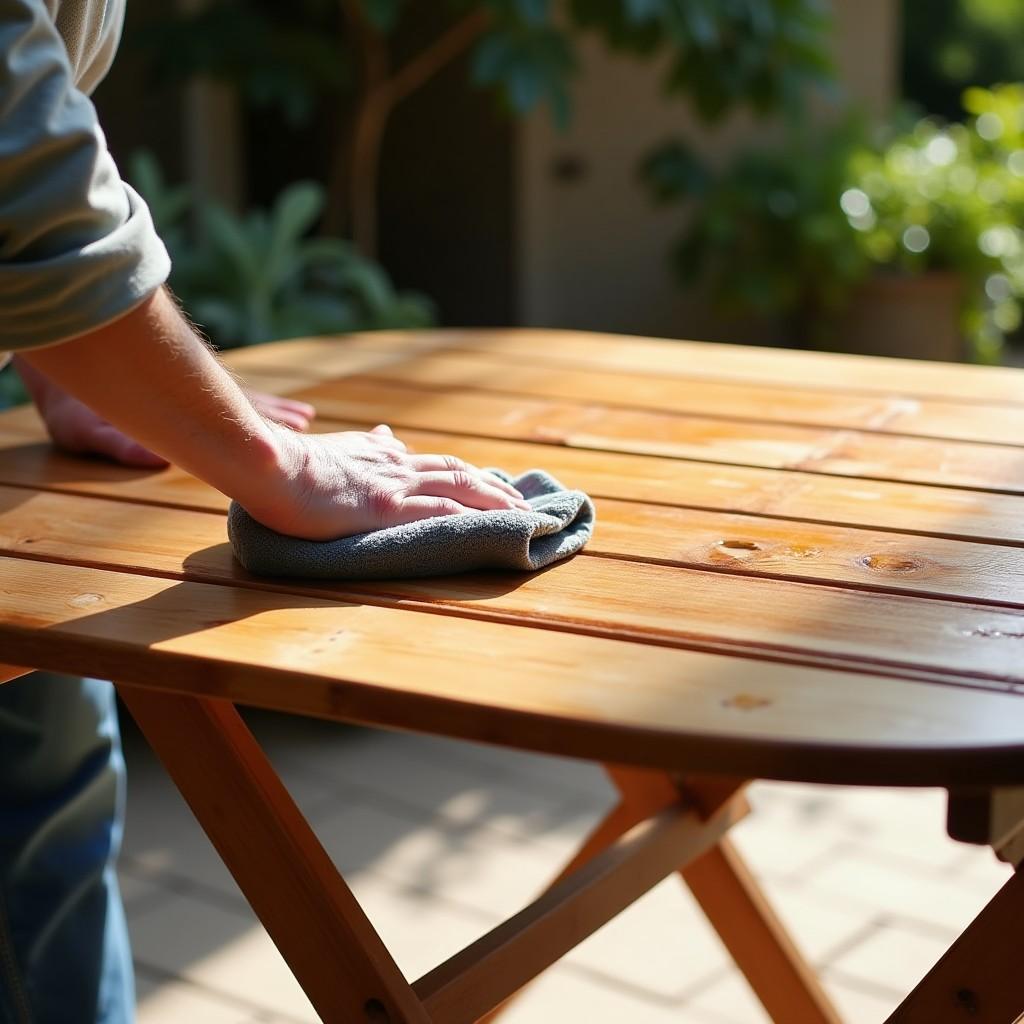
The finish for a folding table differs from the finish for a fixed table. Get this wrong and the table sticks shut on hot summer days.
Use a penetrating oil. Penofin Exterior (Red Label) or Cabot Australian Timber Oil both work well. Do not use spar urethane.
Why not spar urethane: it builds a film on the wood surface. At fold contact points, where the halves meet or where legs touch the underside, film-to-film contact under heat and compression turns sticky and can glue the table shut. The film also cracks at pivot and hinge points where wood movement concentrates, letting moisture in and starting rot.
Why penetrating oil works: it soaks into the wood fibers, leaves no surface film, flexes with the wood, and has zero stickiness. There is no sticky problem at fold contact surfaces.
Application:
- Sand all surfaces to 180 grit, then wipe with a tack cloth.
- Apply with a brush or lint-free rag, working with the grain.
- Wipe off all excess after 20-30 minutes. Pooled oil turns gummy.
- Allow 24 hours between coats. Apply 2 coats minimum.
- Coat all 6 sides of every board, end grain especially, and inside the slat gaps.
- Keep oil off metal pivot hardware. Wipe it clean before it cures.
- Reapply every 1-2 years, or when water stops beading.
For more downloadable outdoor furniture blueprints with full cut diagrams, Ted’s Woodworking covers hundreds of outdoor plans.
FAQ
What is the easiest folding patio table design for a beginner?
The folding bracket method. Build a solid top, mount self-locking brackets to the underside, attach legs to the brackets, and you are done. Rockler Posi-Lock brackets (~$5.99/pair) lock automatically. No precision hole drilling required.
What wood is best for a folding outdoor patio table?
Western red cedar. It is naturally rot-resistant, lightweight (~22.5 lbs/cu ft), and costs $10-14 per 2x6x8 board. PT pine is cheaper but ships wet, warps badly, and weighs 40-50 lbs/cu ft. Teak is rot-proof but costs $20-40/bf.
How do I drill a straight bolt hole without a drill press?
Use a portable drill guide. The Milescraft DrillMate 1318 (~$40 at Home Depot, all-metal, 4.3 stars) is the best option. Alternatively, clamp a square hardwood scrap block with a pre-drilled perpendicular hole against the workpiece and use it as a guide.
How much does a DIY folding patio table cost in 2026?
A 6-person cedar table with folding brackets costs ~$120-180: $80-140 in cedar lumber, $12-20 in brackets and stainless screws, and $20-30 in Penofin finish. The pivot bolt version adds $15-25. Retail equivalent: $300-800.
What is the best finish for a folding outdoor table?
Penetrating oil such as Penofin Exterior or Cabot Australian Timber Oil. Never use spar urethane on a folding table. Spar urethane builds a film that turns tacky at fold contact surfaces in hot weather, causing the table to stick shut.
How many people does a 72-inch table seat?
Six comfortably, three per long side. For 8 people, extend to 84-96″, or build two 48″ tables that push together. A single 84″+ table weighs 50-65 lbs in cedar and is awkward to carry solo.
Why is my folding table wobbly?
Check the pivot or the brackets. On pivot bolt tables, the pivot hole is slightly off-angle or the nylock nut is too loose. Tighten the nut until there is no play but the joint still folds with one hand. On bracket tables, the bracket screws have stripped. Fill with wood glue and toothpicks, cure fully, re-drill pilot holes slightly smaller, and reinstall.
Can I use pressure-treated pine for a folding outdoor table?
Yes, with caveats. PT pine costs less ($8-12/board) but ships wet and warps severely as it dries. Let it dry stickered (with spacers for airflow) for 4-8 weeks before building. Use only stainless steel or Kreg Blue-Kote screws. PT pine’s ACQ preservative corrodes zinc hardware within 2-3 seasons.

“DIY woodworking enthusiast who started with zero experience and a YouTube tutorial.
I build simple, practical projects for my home and share free plans
so other beginners can skip the guesswork.If I can build it, you can too.”