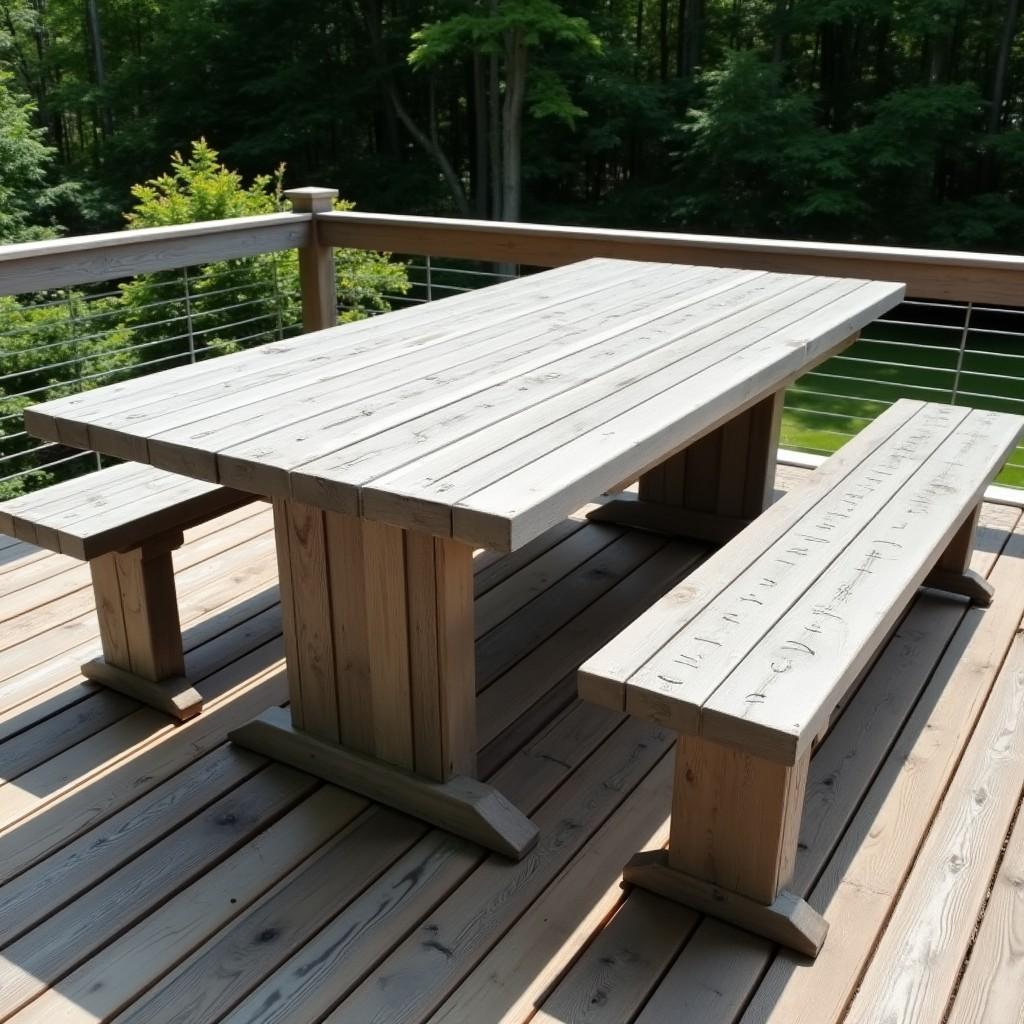
You dragged the old dining table out to the patio, and one summer wrecked it. The top grayed and split, the legs warped, and rust streaks bled down from every screw. That is the wrong wood, the wrong hardware, and the wrong finish for life outdoors.
This guide fixes all three. You get dining and outdoor table plans built for weather, with full cut lists for both a 6-person (72-84″) and an 8-person (96″) build. These outdoor patio dining table plans include 2026 lumber costs and require no table saw.
Nine steps cover it: sizing, wood selection, cut lists, an optional matching bench, weatherproof hardware, base and top assembly, an umbrella hole, finishing, and long-term maintenance.
Woodworker Jordan Barry built a table worth roughly $2,000 for about $150 using pressure-treated pine. Cedar runs $3-6 per board foot, while teak climbs to $20-41 or more. You choose the budget, and this plan handles the rest.
Step 1: Choose Your Table Size (6-Person vs 8-Person)
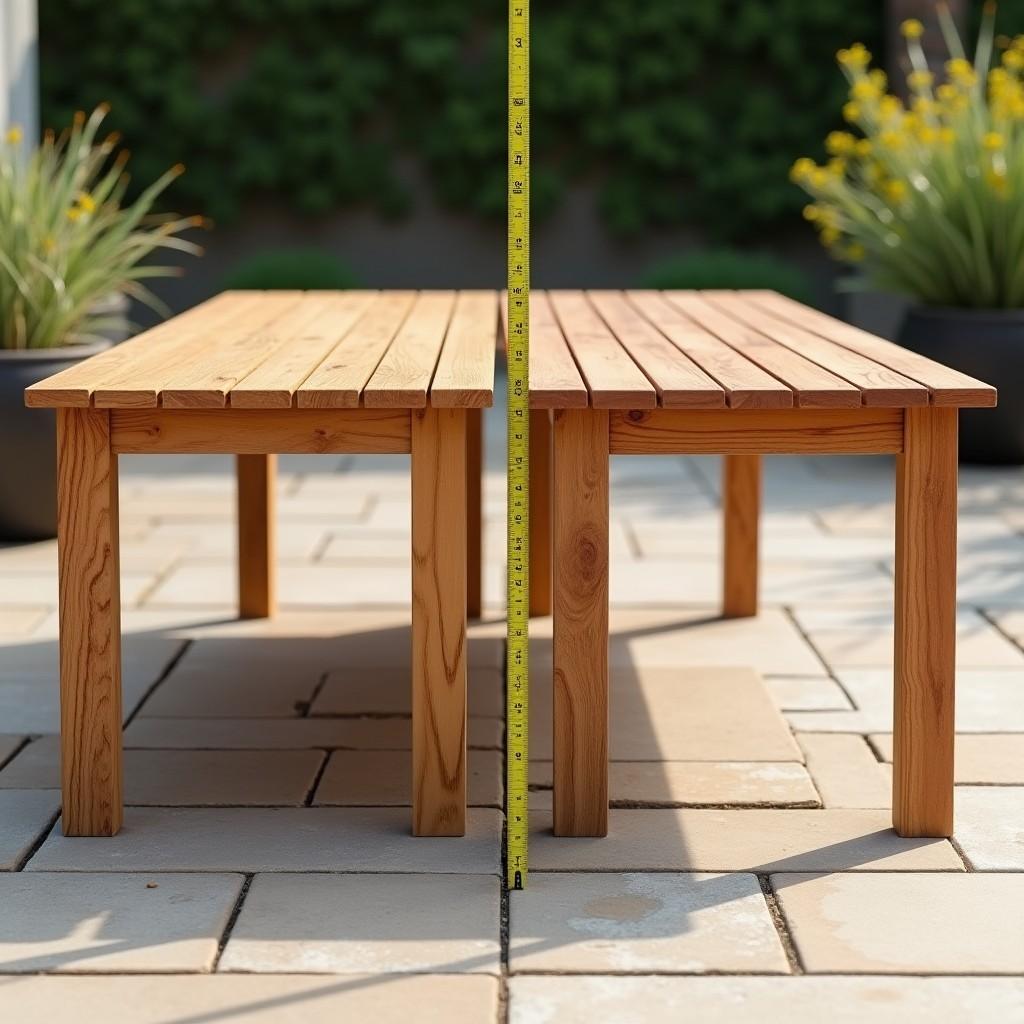
Two numbers decide your size: how many people you seat, and how much room your patio has behind the chairs.
Lock in your final dimensions before you buy a single board. Every cut list, cost, and hardware count below flows from this one choice.
Outdoor seating needs more elbow room than indoor. Allow 26-28″ per person instead of the 24″ indoor standard, because outdoor chairs and cushions are bulkier. Confirm you have 36″ of clearance behind each chair, measured from the table edge to the nearest wall or fence, so people can pull out and stand up.
Target dimensions:
- 6-person: 72-84″ long x 38-40″ wide x 29-30″ high
- 8-person: 96″ long x 40″ wide x 29-30″ high
Standard dining height is 29-30″ for both. That number does not change with length.
| Size | Dimensions (L x W x H) | Seats | Rough material cost |
|---|---|---|---|
| 6-person | 72-84″ x 38-40″ x 29-30″ | 6 | $150 (PT) to $350 (cedar) |
| 8-person | 96″ x 40″ x 29-30″ | 8 | $200 (PT) to $500+ (teak) |
Write your target length down.
Best for: Anyone building to fit a specific patio footprint. Skip if: you already know your exact length and clearance checks out.
Step 2: Choose Your Wood (Cedar vs PT Pine vs Teak vs Redwood)
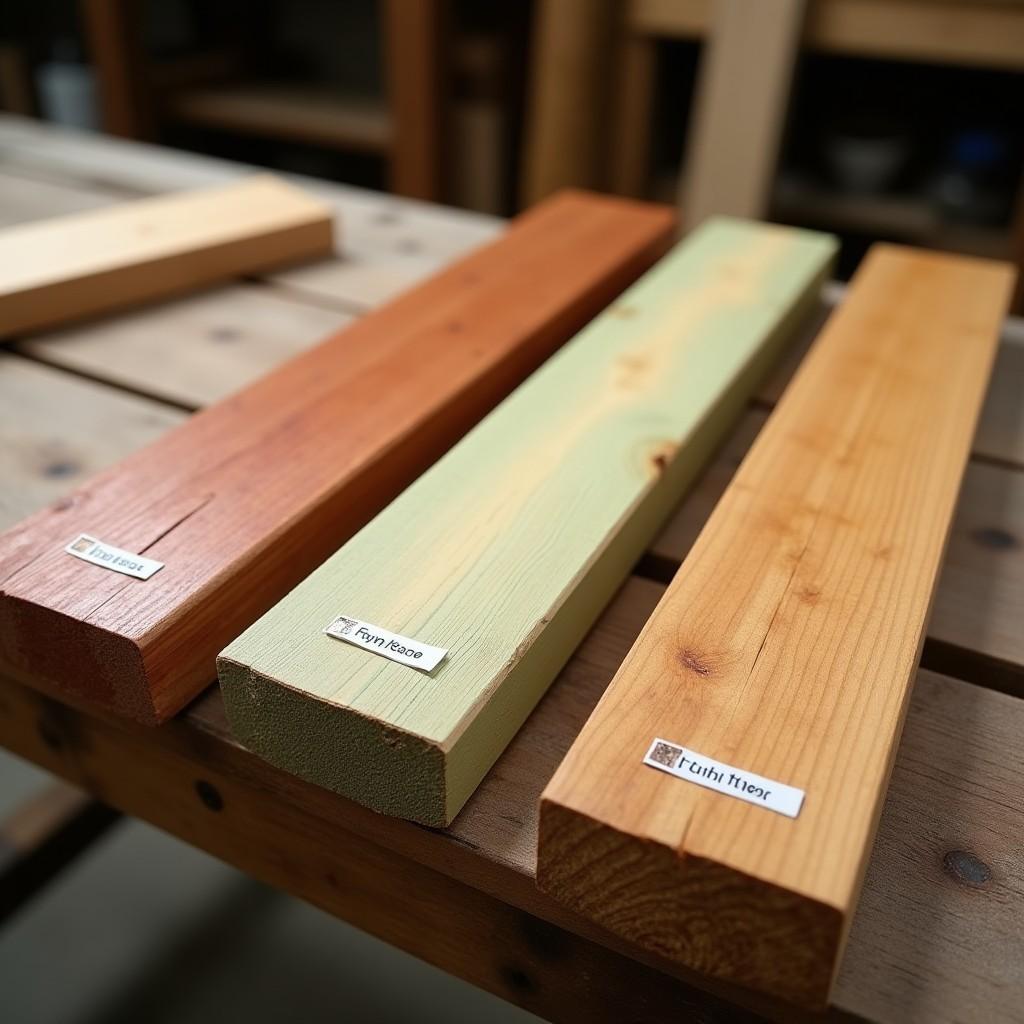
The wood species, not the build quality, decides whether your table survives. This is the step indoor plans always skip, and it is exactly why most outdoor tables fail.
Match the species to your budget, your climate, and how much annual maintenance you will do.
| Species | Cost per board foot | Rot resistance | Finish needed | Maintenance |
|---|---|---|---|---|
| Cedar | $3-6 | Naturally high (20-30 yr) | None (will gray) | Low; oil yearly only to keep color |
| PT pine | 30-50% cheaper than cedar | High (chemically treated) | Recommended | Dry 2-4 weeks, then stain; re-coat yearly |
| Teak | $20-41+ | Highest (25-50 yr) | None (natural oils) | Minimal; oil 1-2x/yr for color |
| Redwood | $4-8 | Naturally high | Optional | Low; western US only |
Modern pressure-treated lumber is safe for a dining table. The arsenic-based CCA treatment was banned in 2003 and replaced with copper-based ACQ. Buy ACQ-rated stock.
Dry green or wet PT for 2-4 weeks before you apply any finish. Skip this and the wood rejects stain and warps as it dries in place. Jordan Barry’s proven $150 build used PT pine this way.
Cedar carries a 20-30 year lifespan with no finish at all, though it grays to silver. Redwood performs like cedar but is hard to source outside the western US.
Building this indoors instead? See our farmhouse dining table plans for the interior version of this build.
Price your species with the board foot calculator before you commit.
realwoodworkplans.com recommends cedar as the best all-round beginner pick, PT pine when cost rules, and teak as a lifetime investment. Commit to one now.
Step 3: Table Cut List and 2026 Material Costs
Take this list to the store and shop in a single trip. Both sizes are buy-ready below.
All tabletop boards are 2×6 laid flat with 1/4″ gaps between them for drainage. Long aprons equal table length minus 7″; short aprons equal table width minus 7″. Legs cut to 28.25″ put the top at 29-30″ once the 1.5″ thick top is added.
6-Person Cut List (84″ table)
| Part | Material | Qty | Length |
|---|---|---|---|
| Tabletop boards | 2×6 | 6 | 84″ |
| Legs | 4×4 | 4 | 28.25″ |
| Long aprons | 2×4 | 2 | 77″ |
| Short aprons | 2×4 | 2 | 33″ |
| Cross support | 2×4 | 1 | 33″ |
8-Person Cut List (96″ table)
| Part | Material | Qty | Length |
|---|---|---|---|
| Tabletop boards | 2×6 | 6 | 96″ |
| Legs | 4×4 | 4 | 28.25″ |
| Long aprons | 2×4 | 2 | 89″ |
| Short aprons | 2×4 | 2 | 33″ |
| Cross supports/stretchers | 2×4 | 2 | 33″ |
2026 cost by species, table only:
- PT pine: about $150 total (Jordan Barry’s build)
- Cedar: roughly $200-350
- Teak: $500 or more
Tools required, no table saw:
- Circular saw or miter saw
- Drill
- Kreg pocket-hole jig
- Clamps
- Sander
Set the pocket-hole jig to 1.5″ for standard dimensional lumber. Sand every board before assembly, while you can still reach the faces and edges that gaps will later hide.
Add a 10-15% waste allowance to your board count.
Step 4: Matching Bench Cut List (Optional)
The bench reuses every tool and most of your leftover stock. Call it a half-day add-on once the table is done.
Cut the bench to table length minus 12″, which leaves 6″ of tuck at each end so benches slide neatly under the top. Set the seat height at 18″.
Bench Cut List (for an 84″ table, so 72″ bench)
| Part | Material | Qty | Length |
|---|---|---|---|
| Seat boards | 2×6 or 2×8 | 2-3 | 72″ |
| Legs | 4×4 | 4 | 16.5″ |
| Long aprons | 2×4 | 2 | 65″ |
| Short end aprons | 2×4 | 2 | 8″ |
| Stretchers | 2×4 | 1-2 | 8″ |
Two benches seat three people each along the long sides, matching a 6-person table.
Use the same species, hardware, and finish as the table. Mixing them here undoes the weatherproofing you paid for.
Append this list to your table shopping list. realwoodworkplans.com recommends two benches as the most outdoor seating per dollar you can build.
Step 5: Hardware and Glue for Outdoor Use
The wood survives; the fasteners fail. This is why most DIY outdoor tables rust out in three years.
Choose fasteners and glue that survive weather, in this order:
- Stainless steel screws never rust. Use them for coastal or fully exposed builds.
- Kreg Blue-Kote screws offer 400% better rust resistance than zinc-plated, are rated for PT lumber, and cost about $6 per 100. Best value for most builds.
- Galvanized is a budget option, but it can bleed dark streaks on cedar over time.
- Standard zinc or interior screws will rust. Never use them outdoors.
One hard rule for PT lumber: galvanized screws corrode rapidly because of the copper in ACQ treatment. Use Blue-Kote or stainless only.
Use Titebond III on every joint. It passes the ANSI Type I waterproof standard. Ordinary PVA glues like Titebond I and II are not rated for full weather exposure.
On heavy 8-person tables, reinforce the leg-to-apron joints with stainless carriage bolts driven through the 4×4, in addition to the pocket screws. Pocket holes alone will not hold that mass through years of moisture cycling.
Add the correct screws, Kreg Blue-Kote, Titebond III, and optional carriage bolts to your shopping list.
Step 6: Build the Base
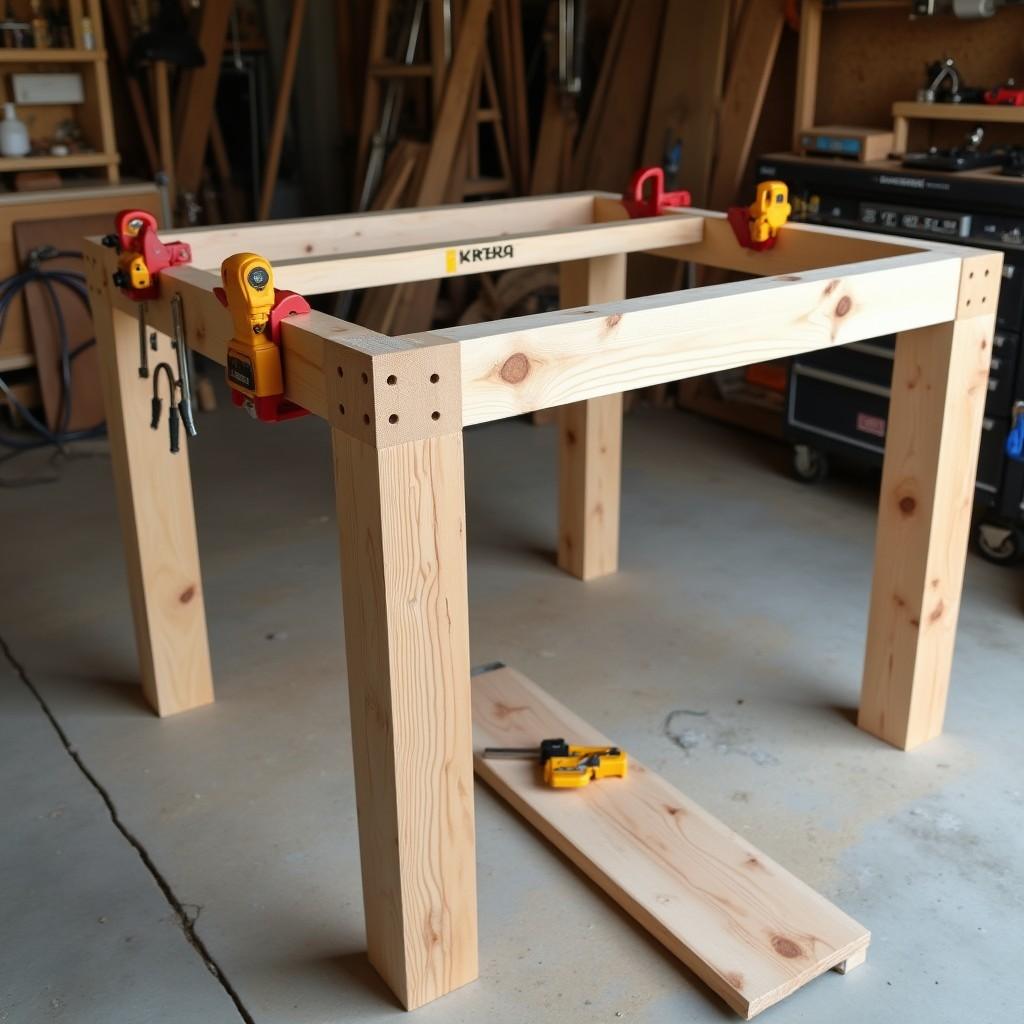
Pocket holes alone will not hold a heavy outdoor base through years of moisture cycling. Glue and bolts carry the load with them.
- Drill pocket holes in the aprons with the Kreg jig set for board thickness, and drive Blue-Kote screws.
- Apply Titebond III to every mating face before driving any screw.
- Attach the short aprons to the four 4×4 legs. Check square with a framing square at each corner.
- Connect the two ends with the long aprons. Add a center stretcher for rigidity on the 8-person build.
- On 8-person tables, add stainless carriage bolts through each leg-to-apron joint for long-term strength.
- Measure both diagonals. Equal diagonals mean a square base.
Outdoor pocket-hole caveat: always pair pocket screws with Titebond III, and supplement with L-brackets or carriage bolts on large tables. The pocket hole locates the joint; the glue and bolts keep it locked.
Step 7: Build the Top and Add an Optional Umbrella Hole
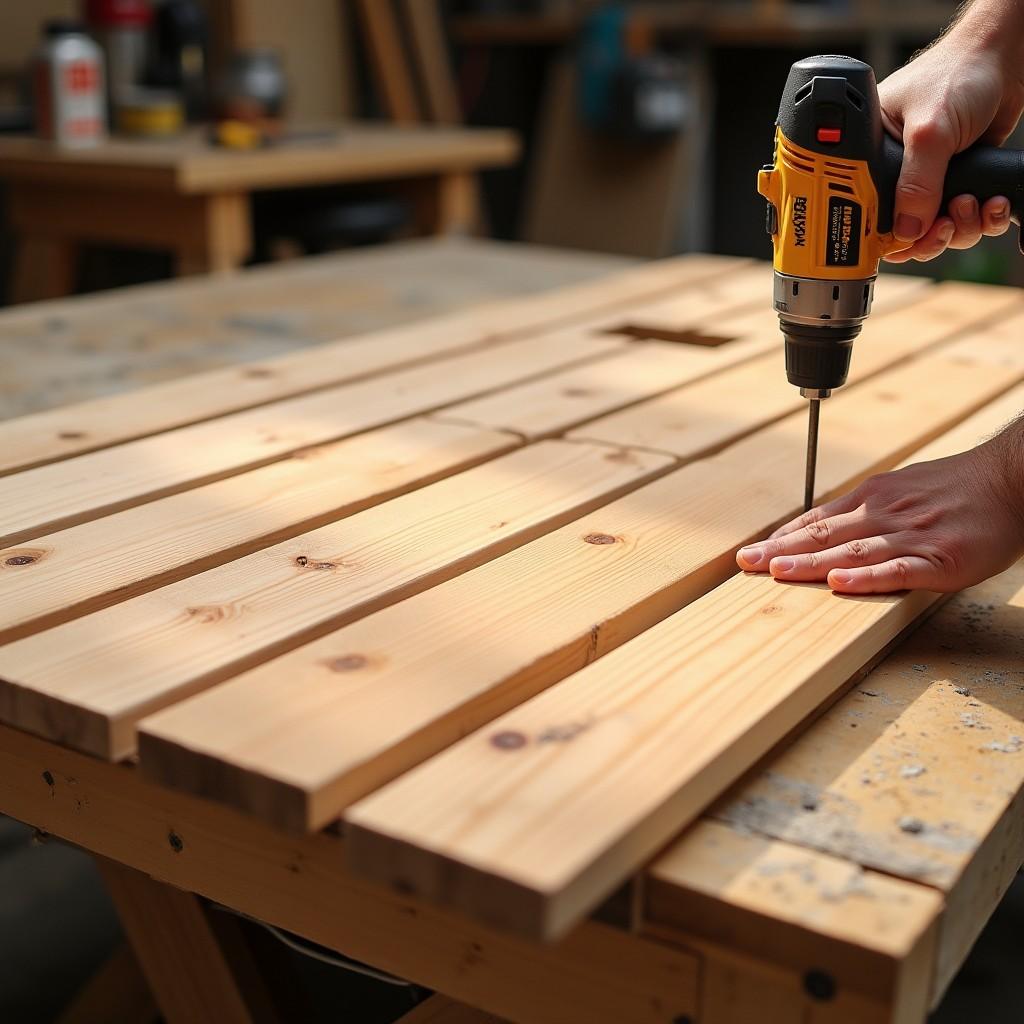
The outdoor top has one detail no indoor plan covers: a 1/4″ drainage gap between every board. If you want shade, it also gets a centered umbrella hole.
- Cut the tabletop boards to length and sand to 120 grit before attachment.
- Lay the boards on the base with 1/4″ spacers between each for drainage. Kreg recommends this gap as standard.
- Attach from underneath with Blue-Kote pocket screws, and add Titebond III at each support contact point.
- Use figure-8 fasteners or slotted holes to mount the top to the base. Never glue the top rigid, because wood must move with humidity.
Umbrella hole:
- Find center by measuring diagonals corner to corner and mark the intersection.
- Use a hole saw 1/4″ larger than the umbrella pole. A standard market umbrella pole is 1.5-2″, so use a 1.75-2.25″ hole saw.
- Drill from the top with scrap backing underneath to prevent blowout.
- Sand the hole smooth.
- Apply exterior finish inside the hole. Bare end grain here soaks up water and rots first.
Step 8: Apply a Weatherproof Finish
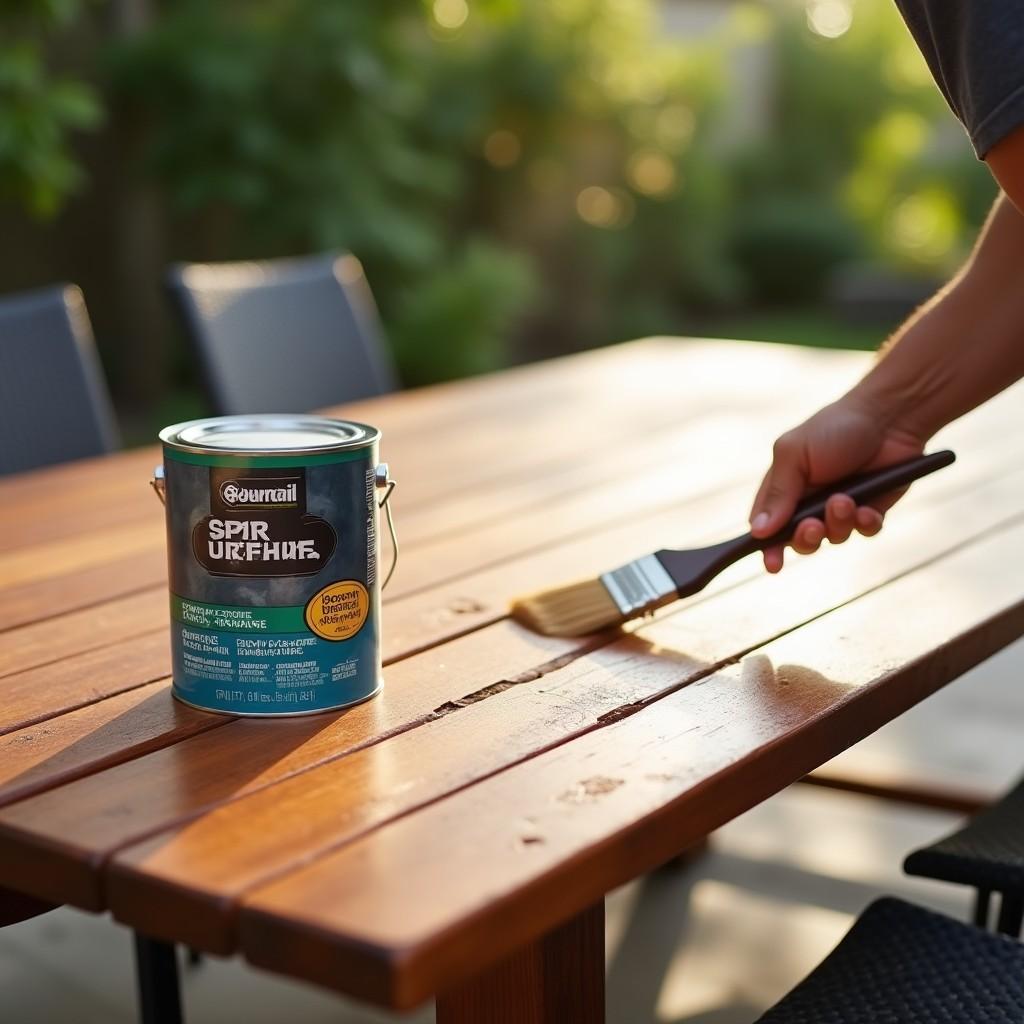
Two recipes here. Pick the one that matches your wood.
Decision map:
- PT pine: spar urethane, which blocks 98% of UV, or Cabot semi-transparent stain. Apply thin coats, three minimum. The PT must be fully dry first. Test stain on a scrap, because it goes more opaque than the swatch suggests.
- Cedar with oil: apply a penetrating exterior oil like Penofin or Cabot, and re-apply annually to hold color. Or leave the cedar bare, since it grays to silver naturally and stays rot-resistant.
- Teak: apply teak oil once or twice a year to maintain the golden color, or leave it bare.
- Any stained top: add spar urethane over the stain for maximum UV protection.
Application notes:
- Sand to 120 grit and wipe with a tack cloth.
- Finish all six sides of every board, including the umbrella-hole interior and all end grain.
- Apply in shade. Direct sun causes bubbling.
- Three coats minimum on horizontal surfaces.
For done-for-you cut diagrams and more outdoor builds, Ted’s Woodworking collects thousands of plans in one library.
Step 9: Set a Maintenance Schedule
A $150 PT pine table can last 20 years if you treat it annually. An untreated cedar table can gray and check within two seasons. The difference is a short checklist you actually follow.
| Finish / Species | Re-coat interval | What to check |
|---|---|---|
| Spar urethane (any species) | Every 2-3 years | Re-coat when film dulls or water stops beading |
| Cedar with penetrating oil | Every 1-2 years | Skip it and accept silver-gray; still rot-resistant |
| PT pine with deck stain | Annually | Check for cracking each spring |
| Teak | Oil 1-2x/year | Clean with teak cleaner before re-oiling |
For all types, every season:
- Clear off leaves and standing water.
- Cover the table or store it through harsh winters.
- Re-tighten all hardware each spring.
One reassurance for cedar and teak owners: graying is cosmetic, not decay. The silver patina is just UV-bleached surface fiber. The wood underneath is as rot-resistant as the day you built it.
FAQ
What is the best wood for an outdoor patio dining table?
Cedar is the best all-round pick for most builders. Choose PT pine for budget and teak for lifetime durability. Cedar runs $3-6 per board foot, teak $20-41 or more, and PT pine is 30-50% cheaper than cedar.
How much does it cost to build an outdoor patio dining table in 2026?
PT pine costs about $150, based on Jordan Barry’s proven build. Cedar runs $200-350 for a 6-person table. Teak costs $500 or more. These figures exclude hardware and finish, so budget extra for both.
Can you use pocket holes on an outdoor dining table?
Yes, with Kreg Blue-Kote screws and Titebond III waterproof glue. On heavy 8-person tables, supplement the pocket holes with stainless carriage bolts at the leg-to-apron joints so the base survives years of moisture cycling.
Does a cedar outdoor table need to be sealed?
No. Cedar is naturally rot-resistant and weathers to silver-gray without any finish at all. Apply a penetrating oil annually only if you want to keep the original color rather than let it patina.
What size table seats 8 people outdoors?
A table 96″ long x 40″ wide x 29-30″ tall seats eight. Allow 26-28″ per person and keep 36″ of clearance behind each seat, measured from the table edge to the nearest wall or fence.
Is pressure-treated wood safe for a dining table?
Yes. Modern ACQ-treated lumber replaced the arsenic-based CCA treatment in 2003. Let green PT dry for 2-4 weeks before applying any finish, or the wood will reject stain and warp as it dries.
What screws should I use for outdoor furniture?
Use Kreg Blue-Kote screws for pocket holes, about $6 per 100. Use stainless steel for exposed hardware. Never use standard zinc-plated screws outdoors, and never pair galvanized screws with PT lumber.
How big should an umbrella hole be in an outdoor table?
Use a hole saw 1/4″ larger than the umbrella pole. Standard poles are 1.5-2″, so use a 1.75-2.25″ hole saw. Seal the inside of the hole after drilling, because bare end grain there rots first.

“DIY woodworking enthusiast who started with zero experience and a YouTube tutorial.
I build simple, practical projects for my home and share free plans
so other beginners can skip the guesswork.If I can build it, you can too.”