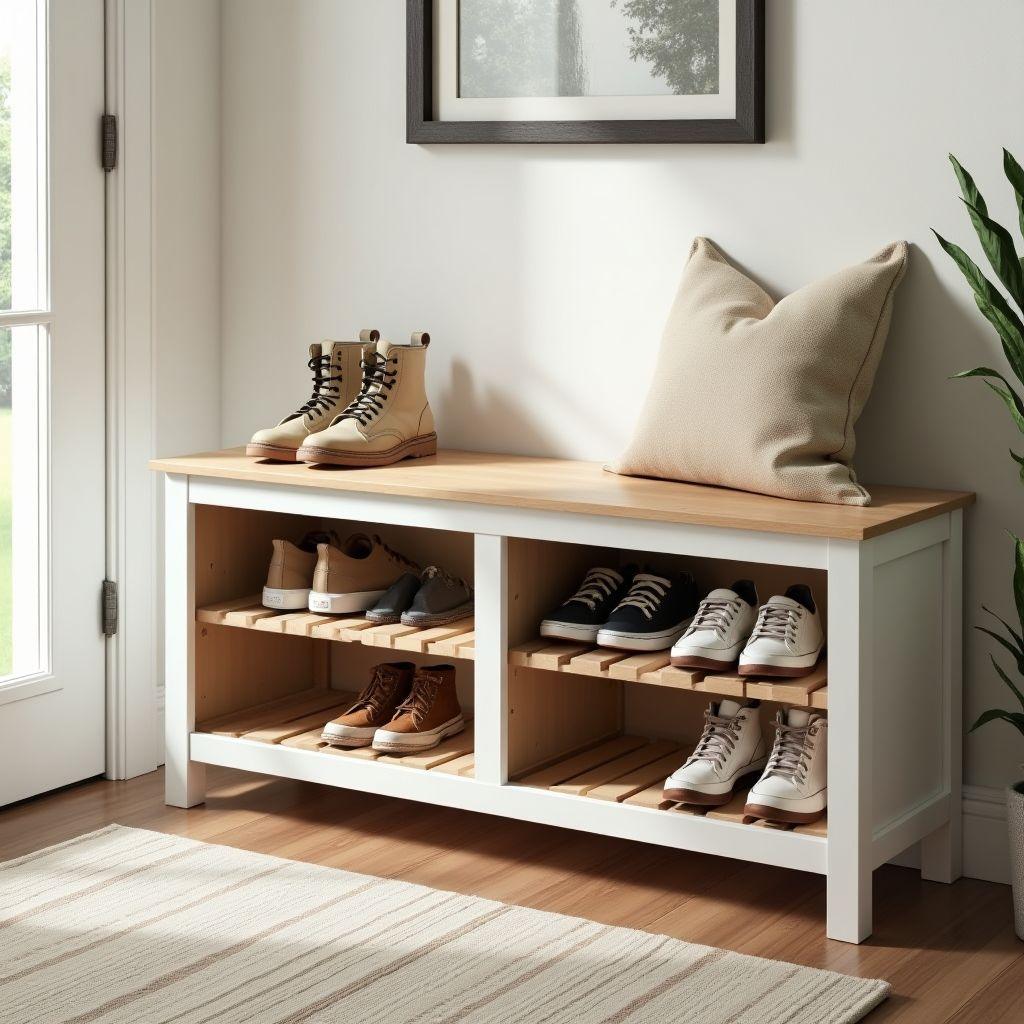
Every morning starts the same way. You reach the door, and there it is: a scattered pile of sneakers, boots, and one lonely flat that lost its partner sometime last week. You bought a bench once, but it sat too low to tie your shoes on and held maybe three pairs before the overflow started again. Part of our best DIY furniture plans guide. Part of our storage furniture plans guide.
A shoe organizer with bench solves both problems at once, and building your own means you get the exact size and strength you need. This guide covers what most tutorials skip: real dimensions, a shoe-capacity formula, honest wood species guidance, and the structural details that let an adult sit down hard without a wobble. Whether you want an entryway bench with shoe storage or a rugged mudroom bench with shoe rack, the build below scales to fit.
Here is the plan. You will lock your size and budget first, cut a clean parts list, then assemble a square carcass, add a rigid back panel, mount a seat rated well past your body weight, and build shelves sized to your family’s actual shoe count. A durable mudroom finish wraps it up.
Cost in 2026 breaks into three tiers. A budget build runs $50 to $115, a mid-tier build lands at $150 to $250, and a premium version with hardwood and soft-close hardware reaches $300 to $500. The full breakdown is in Step 1.
This is a beginner-to-intermediate project built with pocket-hole joinery, which means strong joints without complex cutting. Set aside a weekend and you will have a bench that ends the shoe pile for good. The 18-inch seat height is the sweet spot, and you will see exactly why in a moment.
Step 1: Plan Your Size, Wood, Storage, and Budget
Looking for more furniture ideas?
This guide is part of our complete best DIY furniture plans series — compare all options by skill level, cost, and build time.
Want 16,000+ woodworking plans?
Ted’s Woodworking has step-by-step plans for every skill level. Browse Ted’s plans.
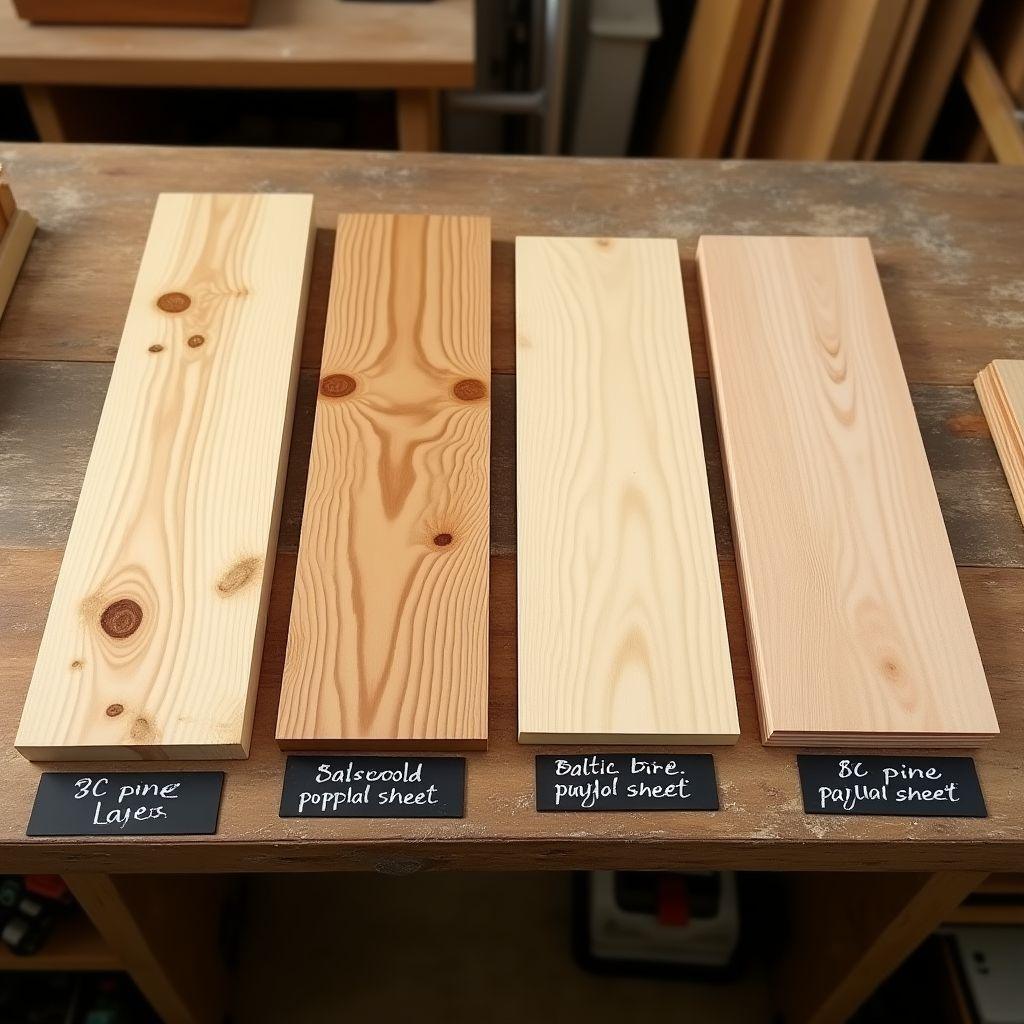
Most bench tutorials skip the four decisions that determine whether yours actually works. Make them now, before you cut a single board. Get these right and everything downstream falls into place.
Seat Height Ergonomics
The ADA range for seating is 17 to 19 inches. For adults tying shoes, 18 to 20 inches is the sweet spot because it keeps your knees near a 90-degree angle, which makes sitting down and rising back up easy on the joints. Kids do better at 12 to 15 inches. For a mixed family, build the main seat at 17 to 18 inches and add a lower step or rail so shorter legs have somewhere to rest.
Shoe Capacity Formula
Men’s shoes average 10.5 inches long by 4 to 5 inches wide. Women’s average 9.5 inches by 3.5 to 4 inches. That sets a minimum shelf depth of 12 inches, or 14 inches if you wear size 11 or larger. Boots need 12 inches or more of vertical clearance.
A 12 by 12 by 12-inch cubby holds one to two pairs of women’s or kids’ shoes, or one pair of men’s. Angled shelf inserts add roughly 40 percent more capacity. A family of four needs 12 to 16 pairs of accessible storage, which means a bench of 48 inches or wider. The simple rule: number of people times three to four pairs each.
Wood Species
| Wood | Janka | Price | Best for |
|---|---|---|---|
| Pine | 380 | $0.50-1.20/bf | Hidden structure (seal knots with BIN primer) |
| Poplar | 540 | $2-5/bf | Painted visible faces (smooth, paints clean) |
| Baltic birch ply 3/4″ | n/a | $85-120/sheet | Carcass and seat (void-free, very strong) |
| BC pine ply 3/4″ | n/a | $50-75/sheet | Shelves and carcass (adequate, budget-friendly) |
Storage Configuration
You have three options under the seat: open shelves, cubbies, or drawers. Open shelves win for a shoe bench because you can reach them while seated, they cost about 60 percent less, and access is instant. Drawers force you to stand back up, which defeats the purpose of a sitting bench. Cubbies fall in between and help when you want a dedicated slot per family member.
2026 Cost Tiers
A budget build in pine plus MDF or BC plywood runs $50 to $115. A mid-tier build in poplar faces with birch plywood lands at $150 to $250. A premium build in solid hardwood with soft-close hardware reaches $300 to $500.
The default build for the rest of this guide: 48 inches wide, 16 inches deep, 18 inches tall, with poplar faces, a birch plywood carcass, open slatted shelves, and a mid-tier budget. You now have final dimensions, a wood shopping list, a storage layout, and a number to spend.
Step 2: Gather Tools, Materials, and the Cut List
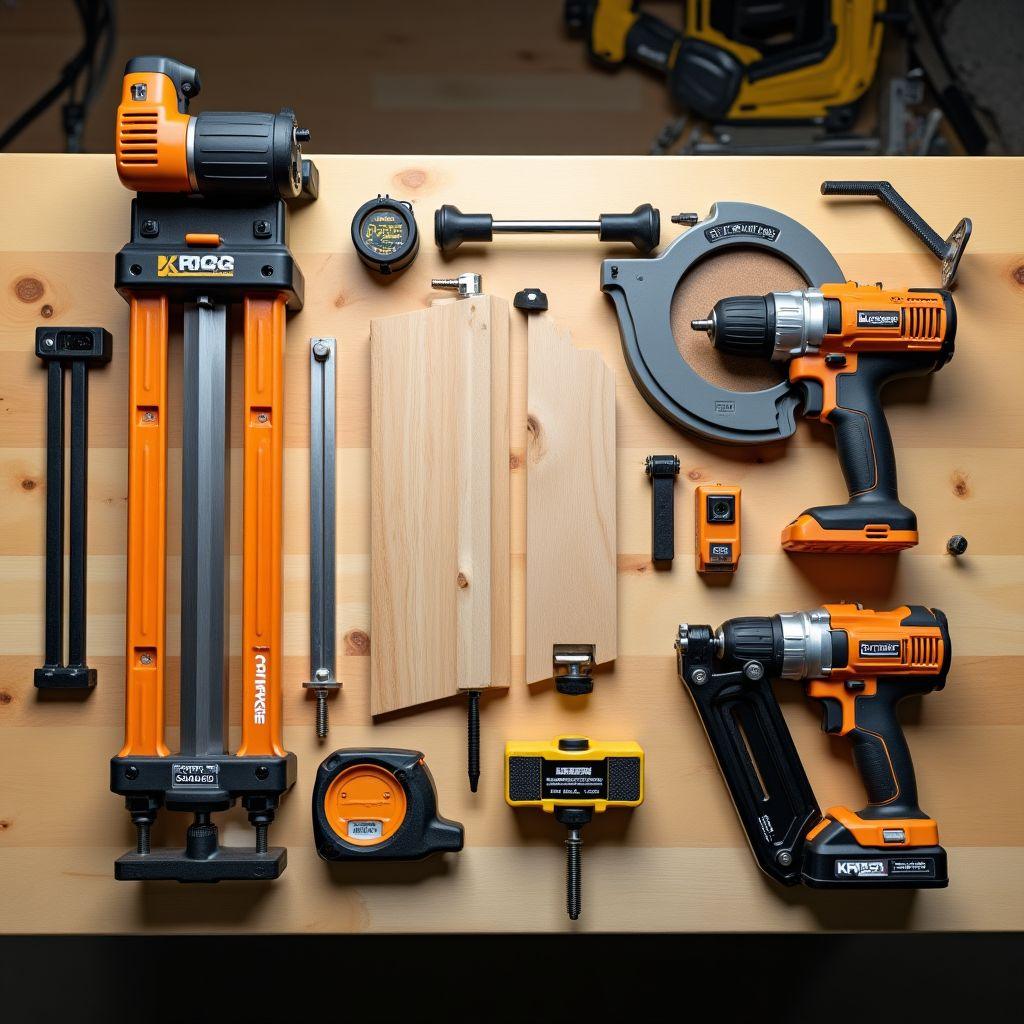
Nail the cut list now and the rest of the build is just assembly. Everything after this is drill, glue, and screw.
Tools
- Pocket-hole jig (a Kreg jig is the standard)
- Drill and driver
- Circular saw or miter saw
- Clamps (several, longer than 48 inches if possible)
- Random orbital sander
- Tape measure and speed square
- Brad nailer (optional but speeds up shelves and back panel)
Materials
- Plywood and dimensional lumber per your Step 1 choice
- 1-1/4 inch pocket screws (for 3/4 inch face joints) and 2-1/2 inch pocket screws (for thicker joints)
- Wood glue
- 1/4 inch plywood for the back panel
- Figure-8 fasteners (only if you use a solid-wood seat top)
- Iron-on edge banding for exposed plywood edges
- Sandpaper in 120 and 220 grit
- Primer and finish
Cut List (48 x 16 x 18-inch bench)
| Part | Qty | Finished dimensions |
|---|---|---|
| Side panel | 2 | 16″ x 17-1/4″ |
| Seat top | 1 | 48″ x 16″ |
| Bottom shelf | 1 | 46-1/2″ x 15″ |
| Mid shelf | 1 | 46-1/2″ x 15″ |
| Front apron | 1 | 46-1/2″ x 3-1/2″ |
| Back apron | 1 | 46-1/2″ x 3-1/2″ |
| Back panel | 1 | 48″ x 17-1/4″ (1/4″ ply) |
| Cubby divider | 2-3 | 15″ x 11-1/4″ (optional) |
Cut one test piece and dry-fit the carcass before you drive a single final screw. Measurements on paper and measurements in wood are not always the same. To save yourself work, have the lumber yard rip your plywood sheets to rough width so you only handle final trim cuts at home.
Step 3: Build the Carcass and Leg Assembly
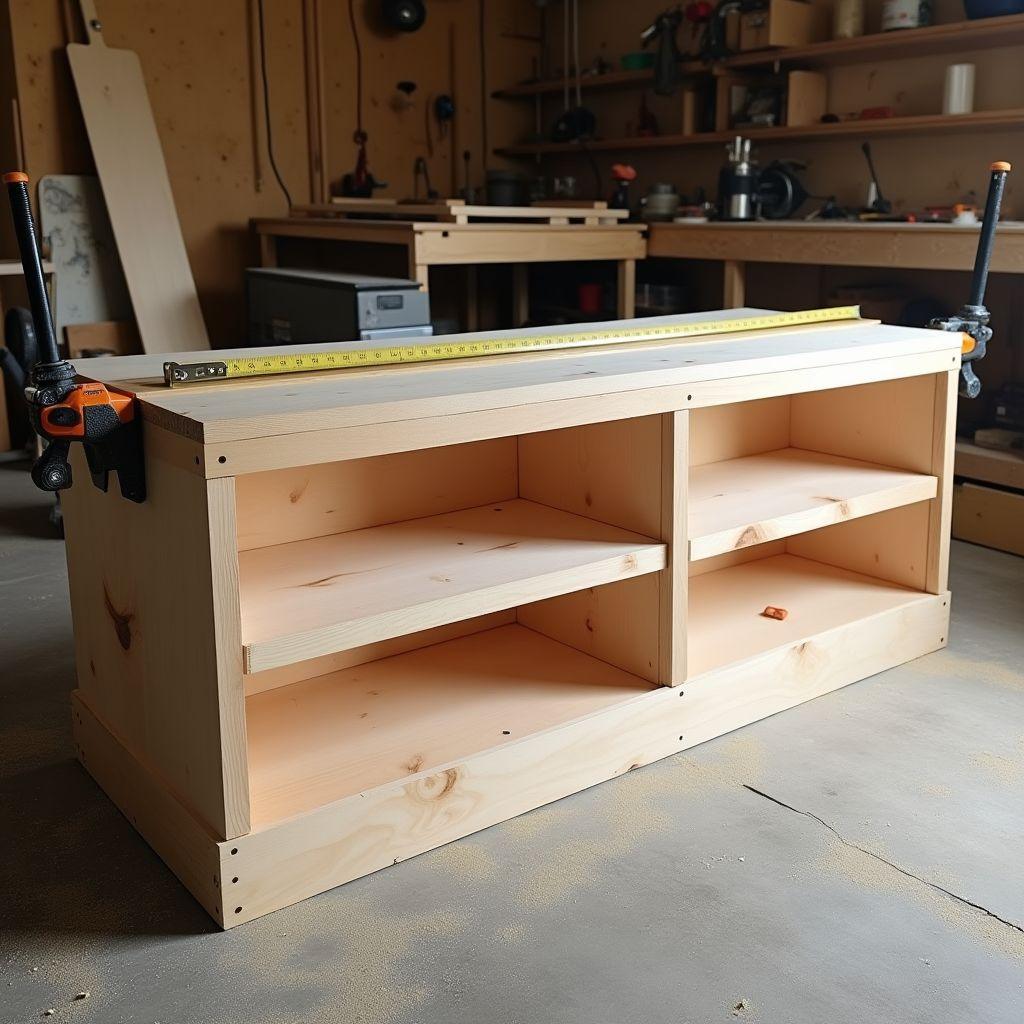
Get this box square and glued now, or every later step fights you. A carcass that goes together out of square never fully recovers.
Start by drilling pocket holes on the ends of both shelves and both aprons. For 3/4 inch stock, set the jig to the 3/4 inch setting and use 1-1/4 inch screws. Drill the holes where they will hide, on the undersides and inside faces.
Assemble the two side panels to the bottom shelf and the mid shelf. Always use glue plus screws, never screws alone. Glue creates the actual long-term bond, and the screws clamp it tight while it cures. This combination is what gives the joint its full strength.
Attach the front and back aprons next. Beyond holding the seat, they act as anti-rack bracing that stiffens the whole frame. Position the front apron just under where the seat will sit.
Check for square at every step. Measure the diagonals corner to corner both ways, and the two numbers must match within 1/8 inch. Clamp the assembly on a flat workbench or floor while the glue sets. Wipe glue squeeze-out immediately with a damp rag, because dried glue blocks stain and shows through paint.
A note for later: any seat span over 30 inches needs a front apron rail, and any span over 36 inches needs a center support. Your 48-inch default needs both, and Step 5 covers exactly how to add them.
Step 4: Add the Back Panel for Rock-Solid Rigidity
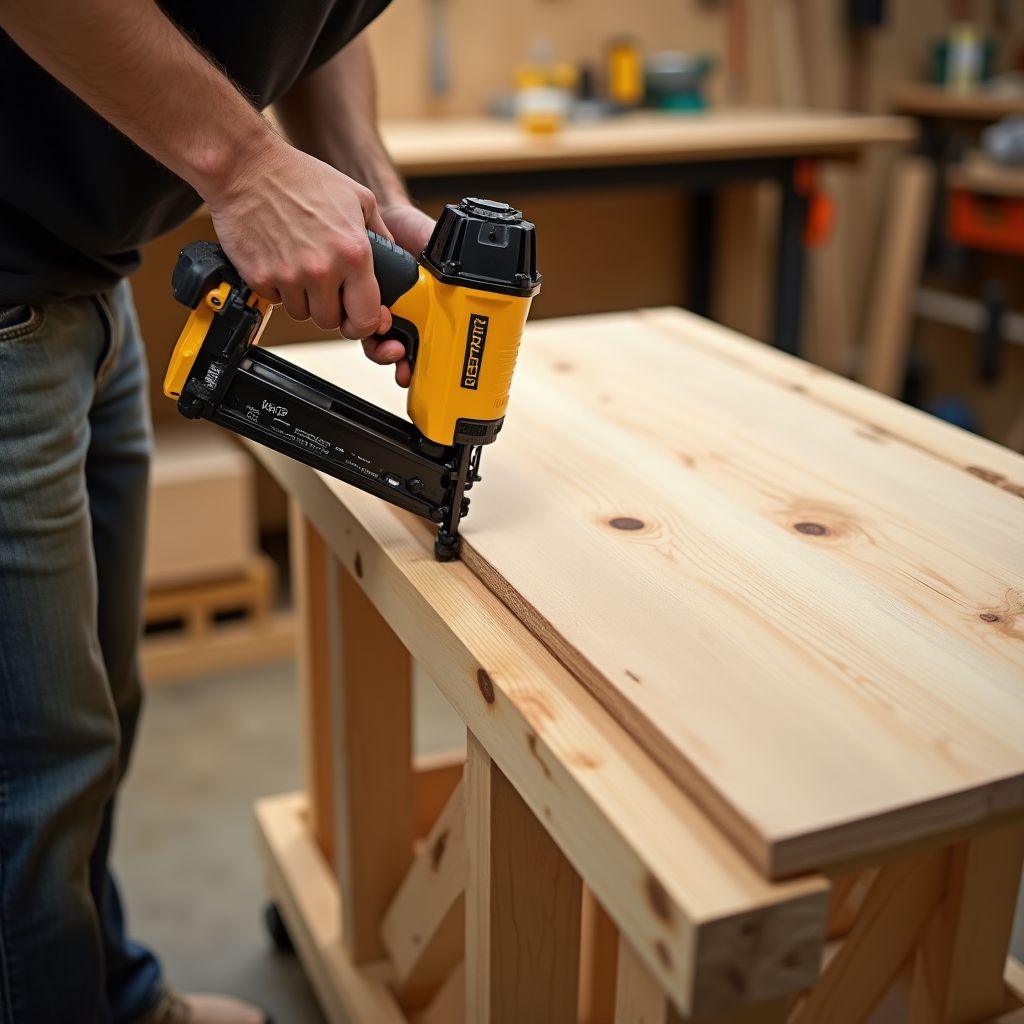
A single 1/4 inch sheet of plywood does more for stability than any other part of this build. It sounds too thin to matter, and it is the reason a good bench does not wobble.
Understand the mechanics. Without a back, your carcass can lean sideways into a parallelogram, a failure called racking. That is shear force pushing the frame out of square. A 1/4 inch plywood back panel glued across the whole back resists that shear completely and turns a flexible box into solid furniture. It is the single most important rigidity element in the entire piece.
Attach it with glue plus brad nails or screws around the full perimeter, and drive fasteners into every shelf or divider the panel crosses. Full perimeter contact is what does the work, so do not skimp on the edges.
Install the back panel while the carcass is still clamped square. The panel locks in whatever shape it is nailed to, so if the frame is square when you attach it, it stays square for life. If it is racked when you attach it, that flaw is now permanent.
Want an open-back look instead? A diagonal brace across the back is a partial substitute, but be honest with yourself: it is not as good. For a bench that takes daily weight, use the full panel.
Step 5: Attach the Seat and Confirm Weight Capacity
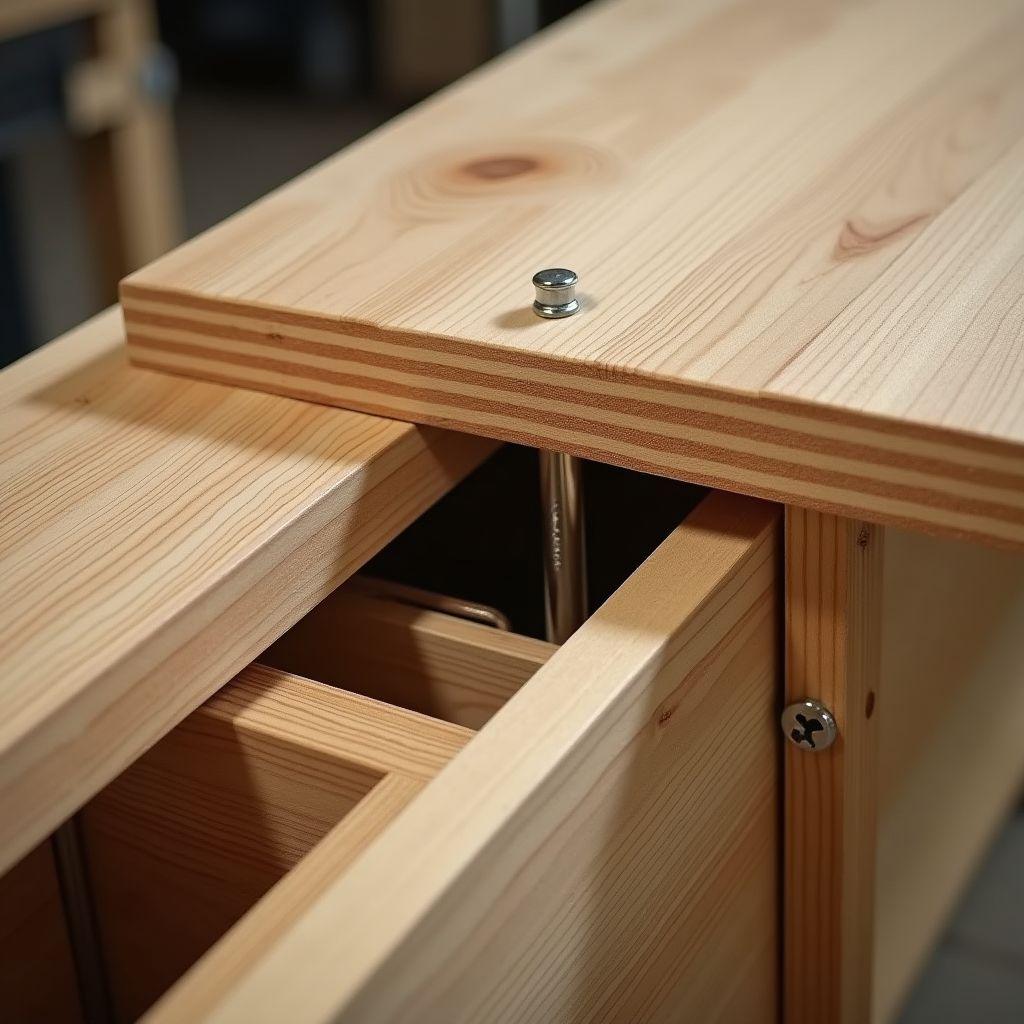
A properly glued pocket-hole joint holds over 1,300 pounds. Your bench is stronger than you think, and the numbers back it up.
Independent RADCO testing shows a glued pocket-hole joint holds about 1,361 pounds of downward force in a seating configuration. A 250-pound adult sitting down hard applies a dynamic load of roughly 375 pounds, which is about 1.5 times body weight on impact. Your bench clears that threshold with enormous margin, so it is structurally more than adequate.
Now handle the span rules. Any seat over 30 inches needs a front apron rail, a 1×4 or 2×4 mounted under the seat to stop sag. Any seat over 36 inches also needs a center leg or support. Your 48-inch default bench needs both, so install the apron rail and a single center support before mounting the top.
For a plywood seat top, screw up through the aprons and cleats into the underside of the seat. Simple, hidden, and rock solid.
For a solid-wood seat top, do not screw rigidly through the aprons. Solid wood expands and contracts across its width with the seasons, and pinning it tight will eventually crack it. Use figure-8 fasteners, which let the top move a little while staying firmly attached.
Before finishing, ease the front edge of the seat slightly with a router or hand plane so it does not dig into the backs of bare legs. Sand the whole seat to 220 grit so it feels smooth to the touch.
Step 6: Build the Shoe Shelves, Cubbies, or Slats
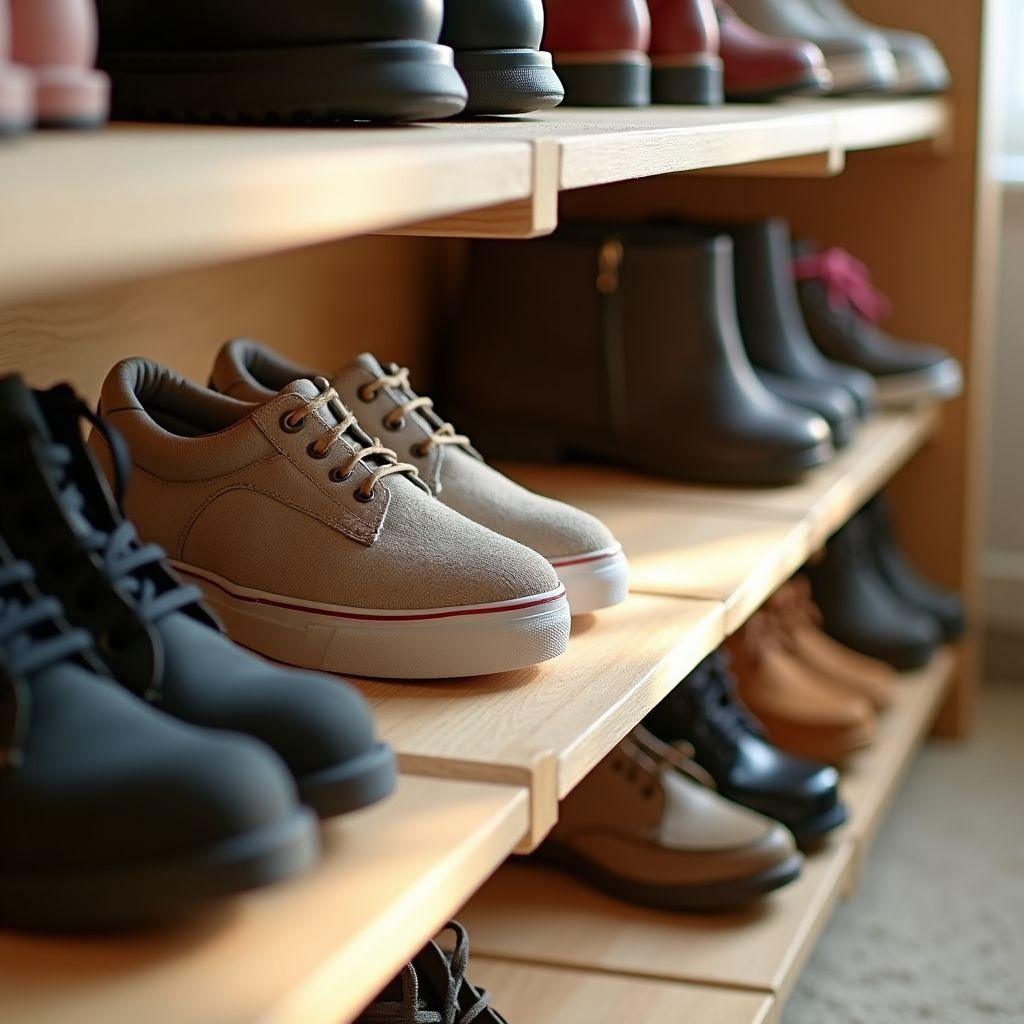
Size these right and every pair has a home. Size them wrong and boots hang off the edge into the walkway.
For a mudroom, build slatted shelves. Space the slats about 1 inch apart so air moves under and around wet shoes and lets them dry instead of trapping moisture. Use 1×2 or 1×3 pine or poplar strips run front to back.
Mind the dimensions. Keep shelf depth at a minimum of 12 inches, or 14 inches if anyone in the house wears size 11 or larger. Give each shelf 12 inches or more of vertical clearance if boots need to stand upright.
For per-person organization, add vertical cubby dividers. A 12 by 12 by 12-inch cubby holds one to two pairs of women’s or kids’ shoes, or one pair of men’s. If you are tight on space, angled shelf inserts add roughly 40 percent more capacity by letting shoes tip toward you.
Want flexibility? Drill shelf-pin holes before assembly so you can move shelves as your footwear changes. Attach fixed shelves and slats with pocket holes and glue, or with glue and brad nails, and keep all front edges flush so nothing snags.
Circle back to your Step 1 capacity number. Count the slots you just built and confirm they meet your household’s pair count. A family of four should see 12 to 16 pairs’ worth of space across a 48-inch bench.
Step 7: Sand and Finish for Mudroom Durability
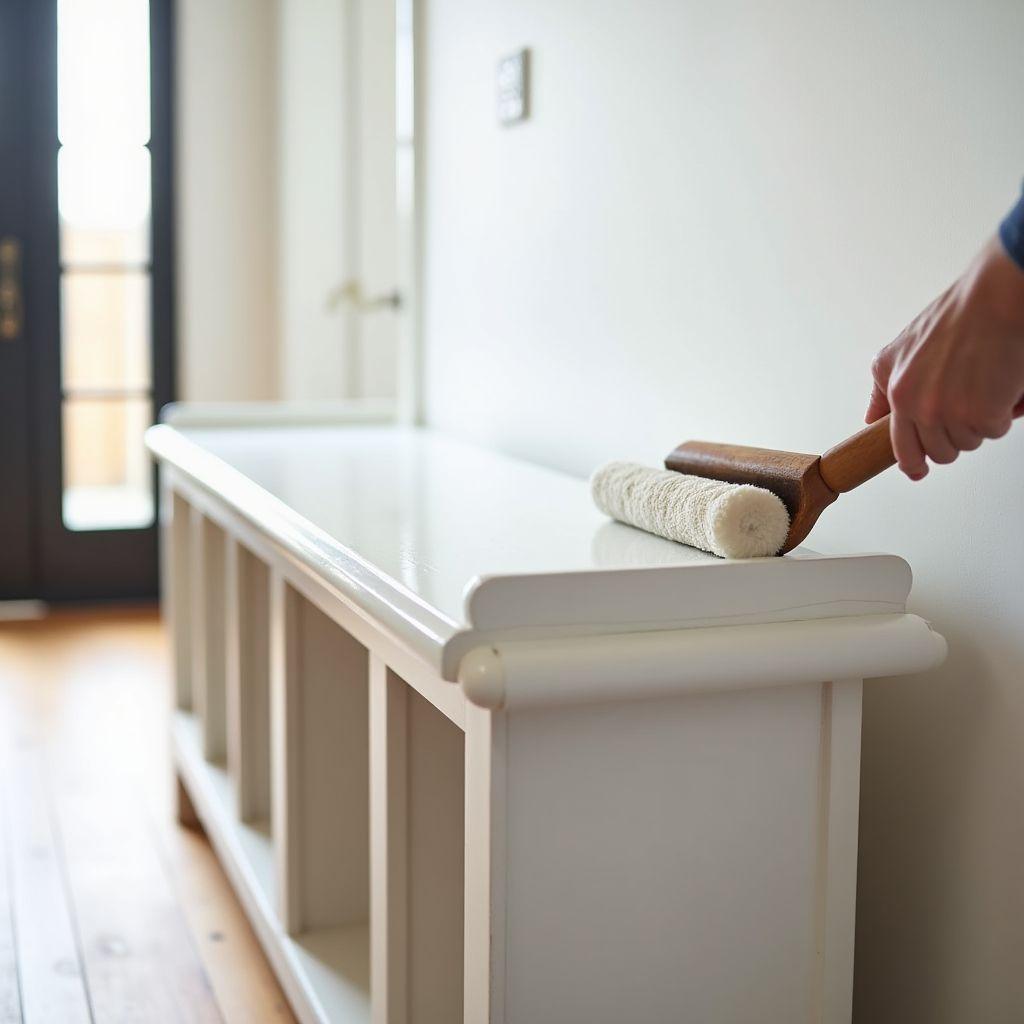
The wrong finish turns to a scuffed mess in a month. Here is what actually survives a mudroom, where wet boots and daily kicks are the norm.
Prep first. Sand through 120 grit, then 220 grit. On knotty pine, brush on a BIN shellac-based primer to block knot tannins that otherwise bleed yellow through your topcoat. Fill nail holes, then wipe every surface free of dust.
Now pick a finish tier for your use case.
- Best for mudroom and high-traffic entryways: a urethane-alkyd enamel like Sherwin-Williams Emerald Urethane Trim, around $75 to $85 per gallon. It is rated for 10,000-plus scrub cycles and needs no separate topcoat, so one product does the whole job.
- Acceptable for light entryway use: semi-gloss latex paint sealed with a polycrylic topcoat.
- Avoid for mudroom or entryway: chalk paint plus wax. Wax fails fast under moisture and scuffing, exactly the conditions a shoe bench lives in.
Prefer a wood-grain look? Apply a pre-stain conditioner on pine or poplar to prevent blotching, stain to your color, then seal with water-based polyurethane for durability.
Apply everything in thin coats. Sand lightly between coats with 220 grit, and let the finish fully cure for 7 to 14 days before heavy daily use. Rushing the cure is the fastest way to scuff a brand-new bench.
If you want hundreds more step-by-step furniture plans with cut lists, diagrams, and material lists, TedsWoodworking is the most comprehensive woodworking plan library available. Over 16,000 plans covering tables, benches, cabinets, outdoor furniture, and more, each with detailed instructions so you can build with confidence.
FAQ
How tall should an entryway bench with shoe storage be?
Build it 17 to 19 inches tall, matching the ADA seating range. For adults tying shoes, 18 inches is the sweet spot for knee comfort. Kids do best at 12 to 15 inches. For a mixed family, build the main seat at 17 to 18 inches and add a lower step.
How many pairs of shoes fit in a bench with shoe storage?
A 48-inch bench holds 12 to 16 pairs, enough for a family of four. A 12 by 12 by 12-inch cubby holds one to two pairs of women’s or kids’ shoes, or one pair of men’s. Angled shelf inserts add roughly 40 percent more capacity.
What is the best wood for a mudroom shoe bench?
Use poplar for painted visible faces because it sands smooth and takes paint cleanly. Use 3/4-inch Baltic birch plywood for the carcass and seat since it is void-free and very strong. Save cheaper pine for hidden structural parts to keep costs down.
How much does it cost to build a shoe storage bench in 2026?
A budget build in pine and basic plywood runs $50 to $115. A mid-tier build in poplar and birch plywood lands at $150 to $250. A premium build in solid hardwood with soft-close hardware reaches $300 to $500.
Will a pocket-hole bench hold an adult’s weight?
Yes. Independent RADCO testing shows a glued pocket-hole joint holds about 1,361 pounds, far beyond a person’s dynamic sit-down load. Always glue and screw. Add a front apron rail on spans over 30 inches and a center support on spans over 36 inches.
What finish holds up best in a mudroom?
A urethane-alkyd enamel such as Sherwin-Williams Emerald Urethane Trim holds up best, rated for 10,000-plus scrub cycles with no separate topcoat. For light entryway use, latex paint plus a polycrylic topcoat works. Avoid chalk paint and wax, which fail under mudroom moisture and scuffing.
Related Articles

“DIY woodworking enthusiast who started with zero experience and a YouTube tutorial.
I build simple, practical projects for my home and share free plans
so other beginners can skip the guesswork.If I can build it, you can too.”