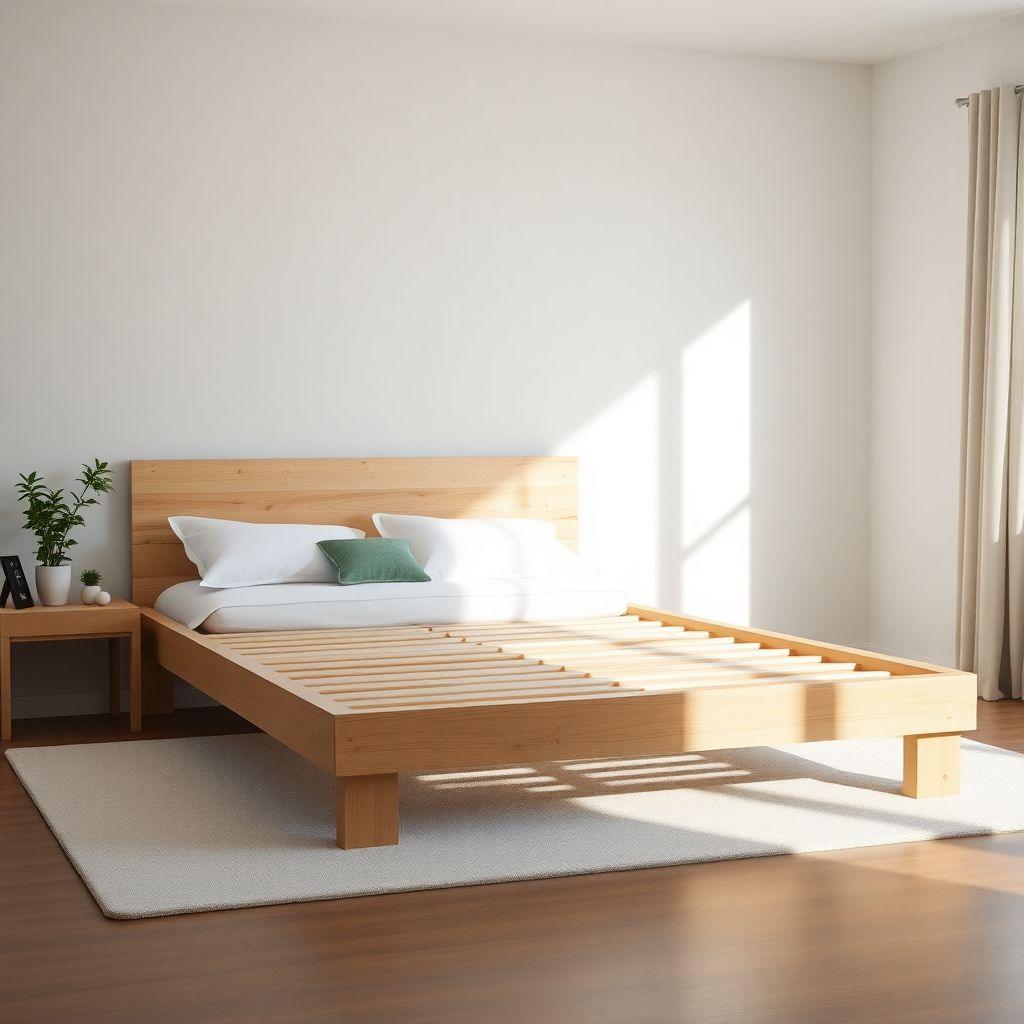

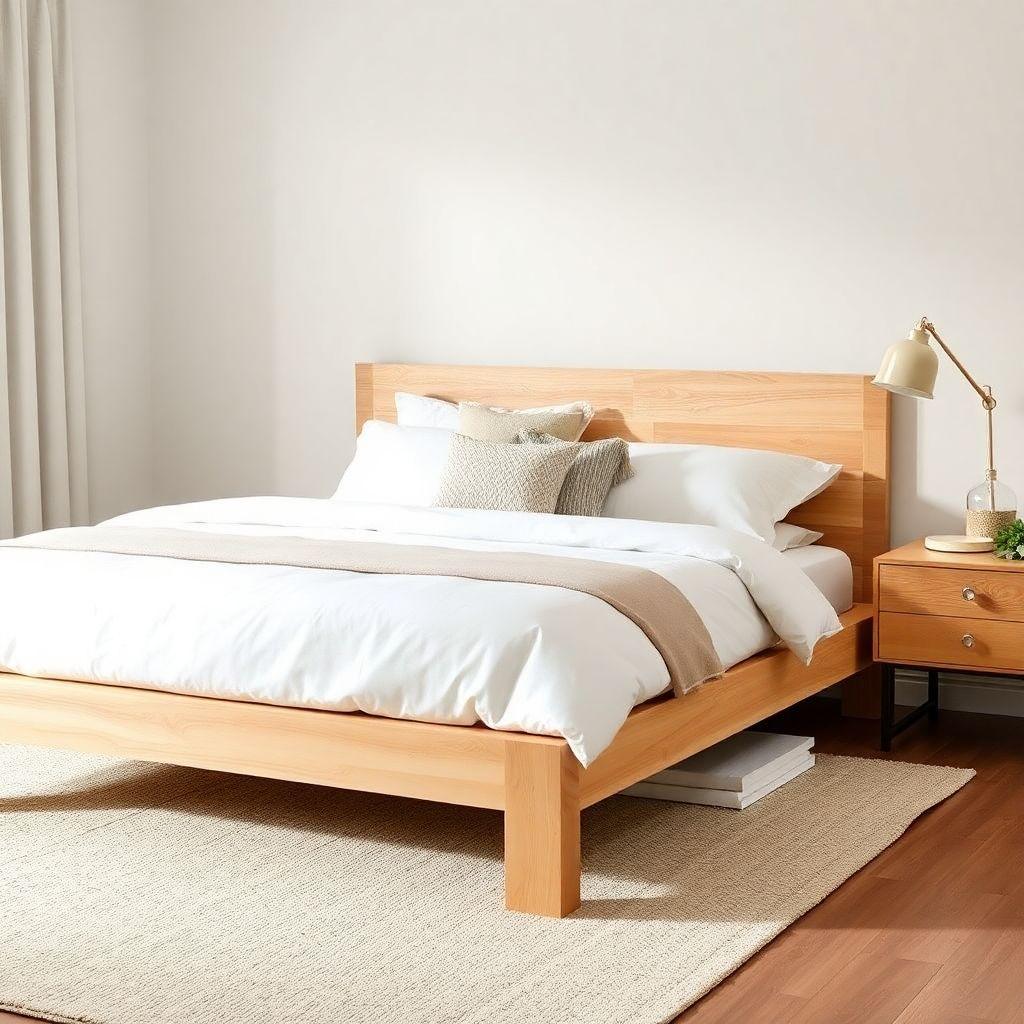
These platform bed frame plans give you the complete bed drawings, cut list, and joinery specs to build a solid queen platform bed that lasts decades, not seasons. Most people sleep on the first bed they build for years, so it pays to build it right the first time. This is a full support-page walkthrough, part of our bedroom furniture plans collection, and it covers three things competitor plans skip: the real weight capacity and why the rail-to-leg joint decides it, the slat-spacing rule that keeps your mattress warranty valid, and three headboard attachment options with hardware specs. No box spring required. The cut list sits near the top so you can price your lumber before reading a single step.
Size & Height Reference
Looking for more furniture ideas?
This guide is part of our complete best DIY furniture plans series — compare all options by skill level, cost, and build time.
Want 16,000+ woodworking plans?
Ted’s Woodworking has step-by-step plans for every skill level. Browse Ted’s plans.
These bed drawings scale to any mattress. This article builds the queen at standard height. For another size, swap the dimensions from the table below, keep the same joinery, and adjust the slat count.

| Size | Mattress (W×L) | Deck interior (W×L) | Side rail length | Center support |
|---|---|---|---|---|
| Twin | 38″ × 75″ | 39″ × 76″ | 77″ | Recommended |
| Full | 54″ × 75″ | 55″ × 76″ | 77″ | Recommended |
| Queen (this build) | 60″ × 80″ | 61″ × 81″ | 82″ | Required, 1 center leg |
| King | 76″ × 80″ | 77″ × 81″ | 82″ | Required, 2 center legs |
| Cal King | 72″ × 84″ | 73″ × 85″ | 86″ | Required, 2 to 3 center legs |
Height is your call. Low-profile runs 7 to 10 inches floor to deck top, standard runs 12 to 14 inches (the sweet spot for getting in and out), and a storage build runs 16 to 18 inches so bins fit underneath. One structural note: taller legs increase the lever arm at the rail-to-leg joint and amplify racking forces, so legs over 14 inches want corner blocking or cross-bracing.
What You’ll Need
Tools:
– Circular saw or miter saw (miter saw preferred for square 4×4 cuts)
– Drill/driver
– Pocket-hole jig
– Level
– Tape measure
– Speed square
– Clamps, four minimum
Materials and cost (queen, standard height, July 2026):
| Item | Qty | Unit price | Line total |
|---|---|---|---|
| 2×6 × 8′ pine (rails) | 5 | $11 | $55 |
| 4×4 × 8′ pine (legs) | 1 | $13 | $13 |
| 1×4 × 10′ pine (slats) | 20 | $8 | $160 |
| 2×2 × 8′ pine (ledgers) | 2 | $6 | $12 |
| 3/8″ × 3.5″ carriage bolts + washers/nuts | 8 | $12 | |
| Pocket screws, glue, misc | $15 | ||
| Budget total (construction pine, no finish) | ~$150 to 180 | ||
| Premium total (select pine/poplar + finish) | ~$300 to 350 |
Prices vary by region, so check your local home center. The “$50 build” claims floating around online reflect pre-2022 lumber prices and are no longer real.
Any mattress works on this frame with no box spring. Foam, latex, and hybrid are all excellent on a slatted deck (the airflow helps foam run cooler). Pocket coil is fine. A traditional innerspring works too but feels a touch firmer without a box spring under it, which is not a defect, just a difference. If you have already built a DIY nightstand or a 9-drawer dresser, you have the joinery skills for this build.
Cut List
This is your bed drawings in table form. Every part below is dimensioned for the queen standard-height build.
| Part | Qty | Size | Length | Material |
|---|---|---|---|---|
| Side rails | 2 | 2×6 | 82″ | Pine |
| Head rail | 1 | 2×6 | 60″ | Pine |
| Foot rail | 1 | 2×6 | 60″ | Pine |
| Corner legs | 4 | 4×4 | 12″ | Pine |
| Center legs | 2 | 4×4 | 12″ | Pine |
| Center support rail | 1 | 2×6 | 80″ | Pine |
| Slat ledger boards | 2 | 2×2 | 80″ | Pine |
| Slats | 20 | 1×4 | 61″ | Pine |
Note on slat stock: a 1×4 × 8′ board yields only one 61″ slat with about 35″ of waste. Buy 1×4 × 10′ boards instead to cut waste, or plan to feed the offcuts into another project.
Weight Capacity: Why the Rail Joint Matters

Target 500 to 600 pounds of capacity for a residential queen. That covers two adults (roughly 350 pounds combined), the mattress (60 to 150 pounds depending on type), and bedding, with a 25 to 30 percent margin over your expected load built in.
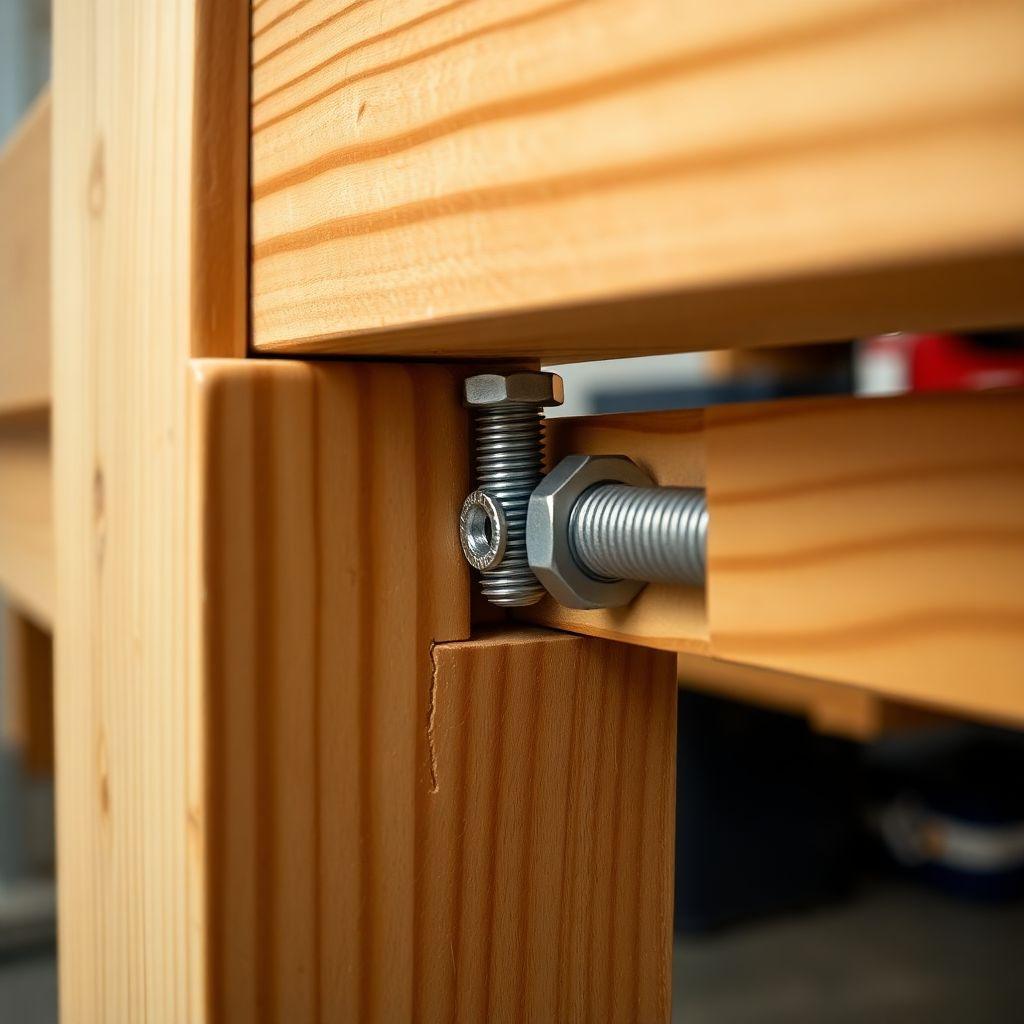
The single most stressed joint in the frame is the side rail to corner leg. It takes lateral racking force every time someone shifts or rolls, and that is where DIY beds fail. Use 3/8″ × 3.5″ carriage bolts here, two per corner, through-bolted with a washer and nut. Pre-drill and countersink the bolt head.
Pocket screws are NOT sufficient for the rail-to-leg joint. They rely on wood threads and loosen in shear under repeated racking, which is why the bed develops a wobble after a few months. Pocket screws are fine for secondary joints like the ledgers and center rail, just not this one.
Finally, a queen needs at least one center support leg. Tempur-Pedic and most foam brands require center support in their warranty terms, so this is not optional.
The rail-to-leg joint is the single most stressed joint in a bed frame. Use 3/8″ carriage bolts here, never pocket screws alone.
Step 1: Cut Your Parts
Cut the legs first. The 4×4 is the hardest stock to cut square, so get it out of the way while your attention is fresh. A miter saw gives the cleanest square cut; a circular saw works if you use a speed square as a guide and cut all four faces.
Cut the rails next, then the two ledger boards, then the 20 slats. Check every 4×4 cut for square before moving on, because an out-of-square leg shows up as a rocking frame later.
Label each part as you go: side rail left, side rail right, head, foot. This saves confusion during assembly.
Step 2: Drill and Bolt the Rail Frame
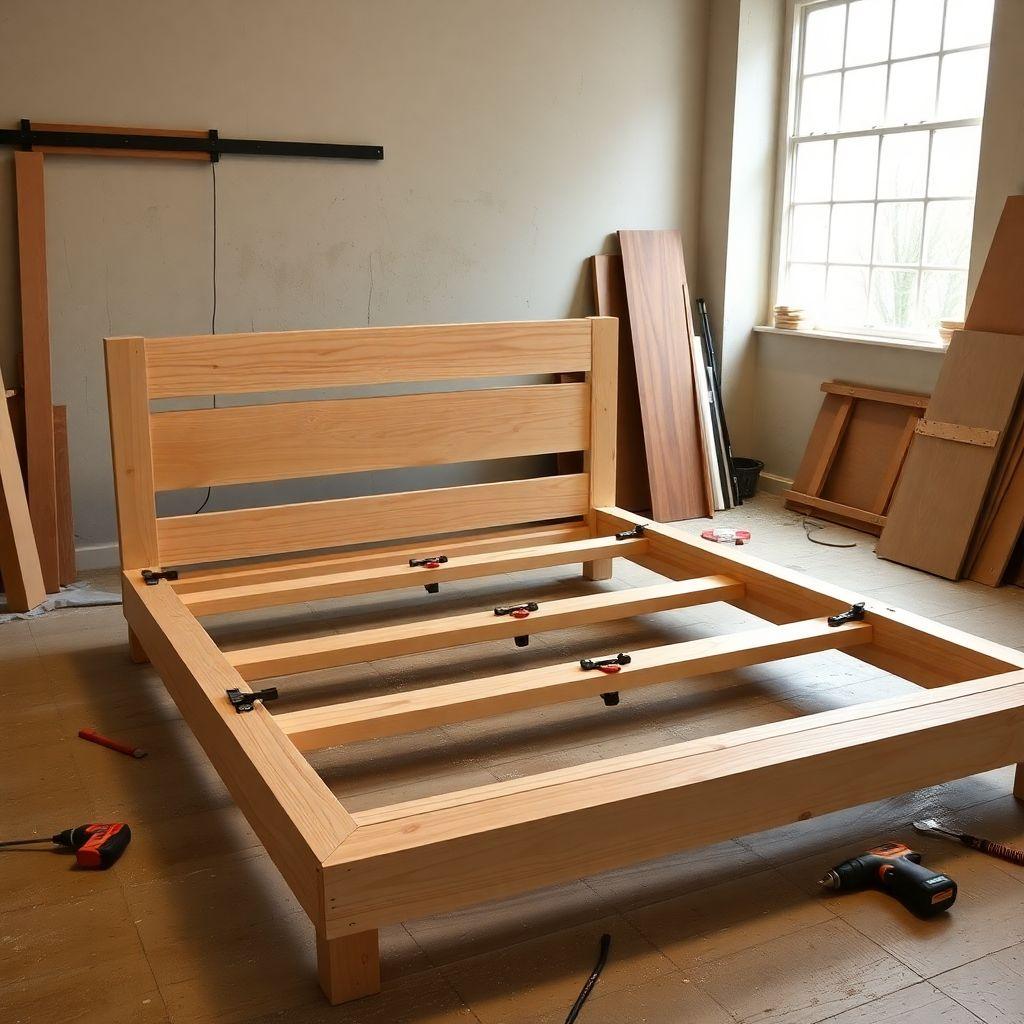

Assemble the four rails into a rectangle first, with no legs attached yet. The side rails run the long dimension, and the head and foot rails tuck between them at the ends. Confirm your interior opening reads 61″ × 81″.
Pre-drill for the carriage bolts using a 3/8″ bit, driving through the side rail into the leg location at each corner. Two bolts per corner, stacked vertically about 3 inches apart, gives the joint its racking resistance.
Now the bolt sequence, which matters. Hand-tighten all eight bolts first, snug but not torqued. Then check the frame for square by measuring both diagonals corner to corner. The two diagonals must match within 1/8″. Rack the frame gently by hand until they do, then torque all eight bolts down. Torquing before you check square locks in an out-of-square frame.
Building something you need to break down and move? Bed rail hook plates (about $15 to 30 for a set of four) are the better choice. You inlet a hook plate into the rail end and a receiver into the leg; the metal hooks drop into the metal receiver, engage metal-to-metal, and lift straight off with no tools. They resist racking far better than screws and beat carriage bolts for anything that has to survive a move.
Step 3: Attach the Legs
Attach the corner legs with a thin bead of glue plus the two carriage bolts per corner into the pre-drilled rail ends. Set each leg flush with the bottom edge of the rail. Total deck height equals rail width sitting on top of the leg length, so a 12″ leg under a 2×6 rail puts your deck top near 13½”.
Attach the two center legs to the center support rail with pocket screws. This is a secondary, non-primary load joint, so pocket screws are the right call here.
Stand the frame up and check level. All six legs must contact the floor at once. If one rocks, shim it or trim the high leg until the frame sits dead flat.
Step 4: Install the Center Support Rail
The center support rail runs head to foot down the middle, 80 inches long, carried by the two center legs you just attached. It connects to the head rail and foot rail at each end.
Fasten each end with pocket screws plus a metal joist hanger for lateral resistance. The joist hanger keeps the center rail from twisting under load, which is what a pocket screw alone cannot do at that span.
Test it before you go further. Push down hard at the center of the frame with your full weight. Zero flex is the standard. If you feel any give, add a second center leg or check your joist hanger fastening before installing slats.
Step 5: Attach Ledger Boards and Slats
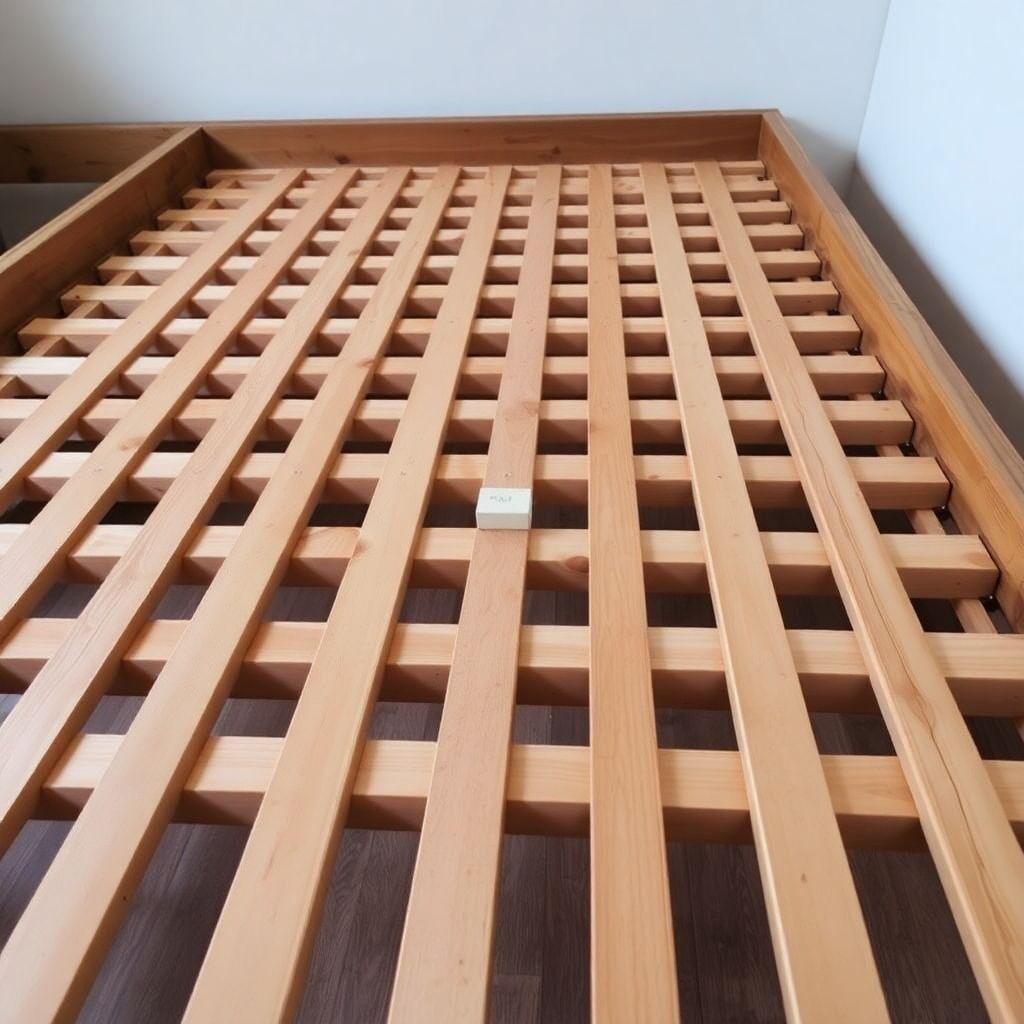

The ledger boards carry every slat, so install them right. Glue and screw each 2×2 ledger flush to the inside bottom edge of a side rail, running the full 80″ length. Position the ledger so the top of a resting slat sits where you want the deck. Drive a 2″ screw every 6 to 8 inches along the ledger.
Now the slats, and the rule that protects your mattress warranty. Keep the gap between slats at 3 inches maximum. For memory foam and latex mattresses, tighten that to 2¾ inches. Twenty slats of 1×4 at roughly 2.5 to 3 inch spacing hits both targets with margin.
The easy way to get even spacing: cut a 3-inch spacer block and set it between each slat as you lay them down. Drop the first slat, place the block against it, butt the next slat to the block, move the block along, repeat.
Slats rest on the ledgers with no fastening needed, which lets you lift them out later. If you prefer, drive one screw through each slat end into the ledger to stop them shifting. Before you finalize spacing, confirm your specific mattress brand’s slat requirement, since a few brands set their own numbers.
Keep gaps at 3 inches or less. Memory foam and latex mattresses need 2¾ inches or less. Exceeding this can void the mattress warranty.
Headboard Options
Three ways to add a headboard, from most permanent to most flexible. Pick based on whether you want the option to swap or move it later.
Option A, integrated posts. Plan this at build time. Cut your corner legs at the head end long enough to extend 24 inches or more above the mattress top, then fasten horizontal headboard boards between the two uprights. This is the strongest, cleanest look, and it needs no wall contact. The catch: you cannot add it later without rebuilding the legs.
Option B, bolt-on bracket. Drill 5/16″ or 3/8″ clearance holes through the head rail at the headboard’s mounting height. Install T-nuts or threaded inserts (5/16″-18 or 3/8″-16) in the back of the headboard, then bolt the headboard to the frame with machine bolts of the same diameter, 3 to 4 inches long, plus washers. A universal headboard bolt kit runs about $8 to 15. This works with purchased headboards and lets you swap later.
Option C, freestanding. The headboard leans against the wall and bolts to nothing. Zero hardware, most flexible, ideal if you rent. Use it only with heavy solid headboards, since a light one will drift when leaned on.
Leave 2 to 4 inches between the head rail and the wall for bolt hardware or lean clearance.
Under-Bed Storage Variant
Want storage underneath? Raise the deck to 16 to 18 inches instead of the standard 12. At 16 inches you get roughly 14 inches of usable clearance after the slat and ledger stack, which fits standard storage bins (most bins run 6 to 12 inches tall). At 18 inches you have room to mount drawer slides and build in real drawers.
There is a structural trade-off. Legs over 14 inches have a longer lever arm at the rail joint, which multiplies racking force. Add a 2×2 or 2×4 corner block glued and screwed into both rail and leg at each corner to stiffen the frame. If you go the drawer route, the drawer-box technique in our 9-drawer dresser plans transfers directly.
Step 6: Sand and Finish
Sand through three grits: 80, then 120, then 150. Skip 220. The deck lives under a mattress where nobody touches it, so a furniture-grade polish is wasted effort there.
Three finish paths. Exterior polyurethane is the most durable and water-resistant. Paint is the most popular look, and poplar takes paint better than knotty pine if you are buying stock for a painted finish. You can leave it unfinished, but construction pine off-gasses for weeks, so a finish is worth the afternoon.
Apply your finish before final assembly wherever you can. Flat, unassembled parts are far easier to coat evenly than an assembled frame with tight inside corners.
Want the full PDF plan set with shop drawings for this bed and thousands more? Get 16,000+ woodworking plans →
FAQ
Do you need a box spring with a platform bed?
No. The slat system provides a rigid, even support surface that replaces the box spring entirely. Adding one is redundant and only raises the mattress height. That is the defining feature of a platform bed.
How much weight can a DIY platform bed hold?
A queen with 2×6 rails, 3/8″ carriage bolt rail joints, and a center support leg holds 500 to 600 pounds combined, occupants plus mattress. Build in a 25 to 30 percent margin over your expected load. The rail-to-leg joint, not the lumber, is the limiting factor.
What wood is best for a platform bed?
Pine for budget builds, since knots are fine under paint or stain. Poplar for painted finishes, because it paints cleaner and has fewer knots. Oak or maple for a premium natural look. Avoid MDF and particle board for any structural member, as they lack the shear strength for the rail joints.
How far apart should bed slats be?
Three inches maximum gap satisfies most warranties. Memory foam and latex mattresses need 2¾ inches or less. Exceeding these gaps can void your mattress warranty, so measure with a spacer block rather than eyeballing it.
What are “bed drawings”?
Bed drawings are the dimensional plans, the cut list and size reference, that you take to the shop to cut parts. The cut list and size table in this article serve as your bed drawings for the queen build.
Can I add under-bed storage?
Yes. Raise the legs to 16 inches for standard bins or 18 inches to fit drawer slides. Add a corner block at each leg to handle the extra racking force a taller frame sees.
Carriage bolts vs. pocket screws for the rail joint?
Carriage bolts for the primary rail-to-leg joint, always. Pocket screws loosen in shear under repeated racking and cause the wobble that shows up months later. Pocket screws are perfectly fine for secondary joints like ledgers and the center rail.
How do I attach a headboard?
Three options: integrated posts (plan the extended legs at build time), a bolt-on bracket using 5/16″ machine bolts through the head rail into threaded inserts, or a freestanding headboard that leans on the wall. Choose the bolt-on route if you want the option to swap the headboard later.

Related Articles

“DIY woodworking enthusiast who started with zero experience and a YouTube tutorial.
I build simple, practical projects for my home and share free plans
so other beginners can skip the guesswork.If I can build it, you can too.”