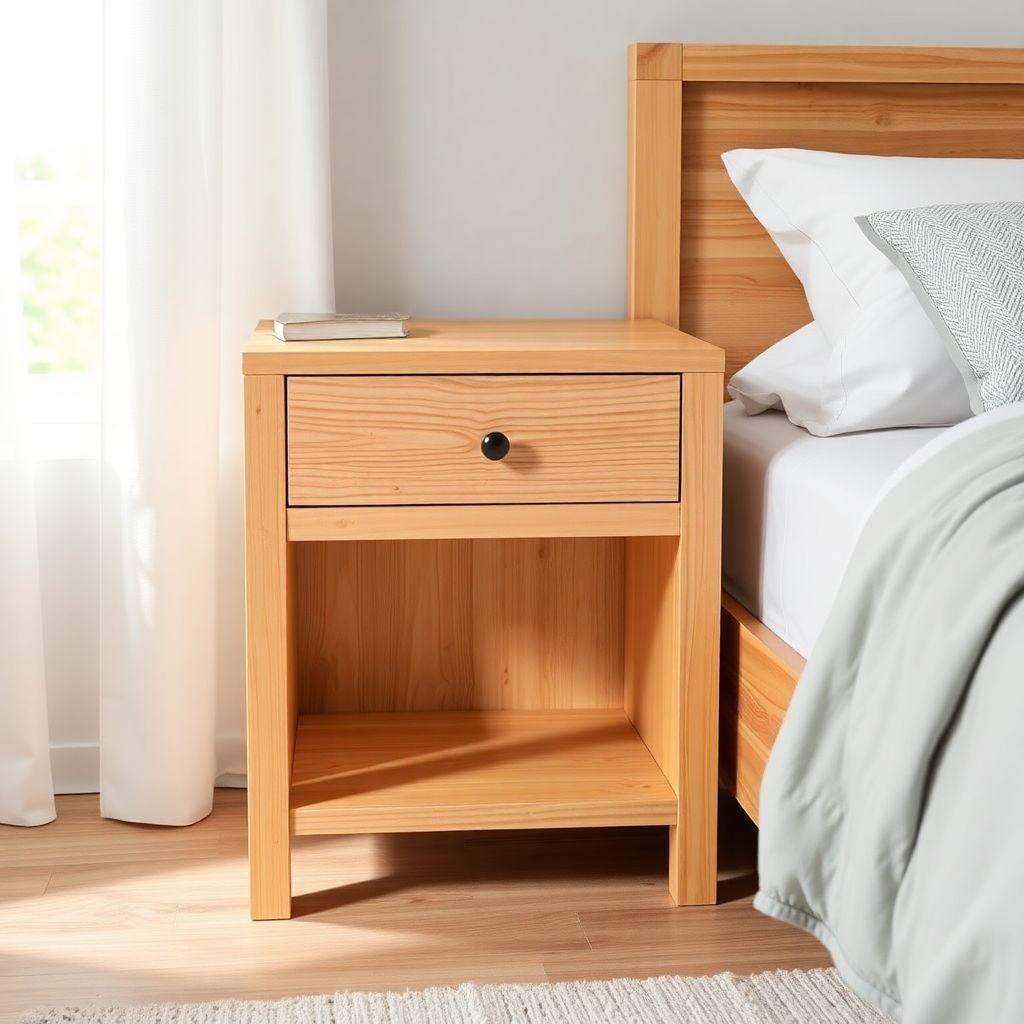
Your first drawer build is where most nightstand projects stall. These DIY nightstand plans walk through the full build, including the two things most nightstand woodworking tutorials skip: how to pick a drawer slide that will not fight you, and how to size the drawer box so it does not bind in July humidity. The joinery is pocket screws, so you do not need a table saw or years of experience to get square, solid results.
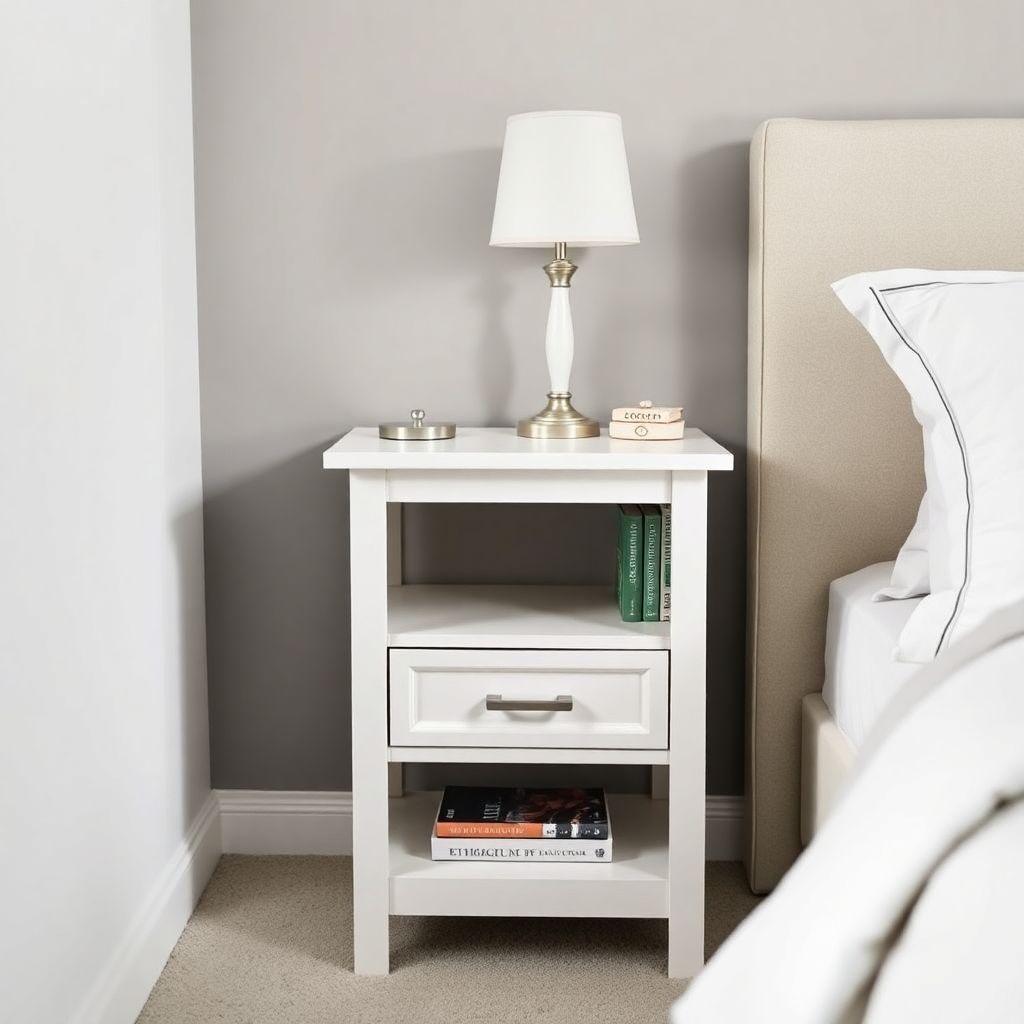
This is a one-drawer nightstand with a lower shelf and a face frame, built from pine and plywood for around $50 to $90 in materials. It measures 24 inches wide, 16 inches deep, and 26 inches tall. It is the second piece in our bedroom furniture plans series, so the techniques carry over to the dresser and bed frame builds. Plan on one weekend: cut and assemble on day one, finish on day two.
What You’ll Need
Looking for more bedroom furniture ideas?
This guide is part of our complete bedroom furniture plans series — compare all options by skill level, cost, and build time.
Want 16,000+ woodworking plans?
Ted’s Woodworking has step-by-step plans for every skill level. Browse Ted’s plans.
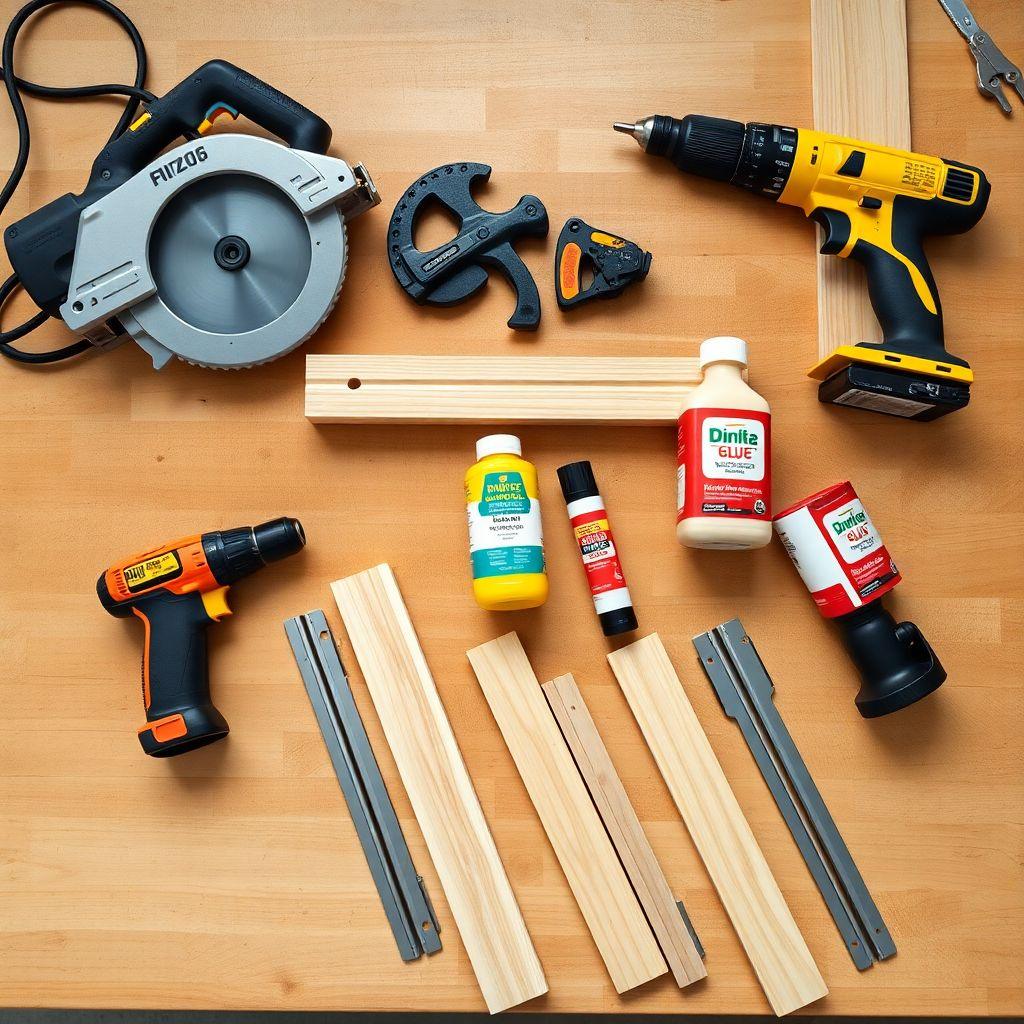
Tools
- Circular saw with a straightedge guide (a clamped straightedge or a Kreg Rip-Cut works)
- Drill/driver
- Pocket-hole jig (Kreg R3, K4, or 720)
- Tape measure
- Speed square
- 4 bar or pipe clamps minimum, 6 preferred for the carcass glue-up
- Random orbital sander, or sandpaper in 80, 120, 150, and 220 grit
A miter saw gives cleaner crosscuts and a brad nailer speeds up the face frame and drawer box, but neither is required. A circular saw with a straightedge makes every cut in this project.
Materials & Cost
Prices are estimated July 2026 ranges. Verify at your local Home Depot or Menards before buying.
| Item | Qty | Est. price |
|---|---|---|
| 1×6 pine board, 8 ft | 3 | $8 to $12 each |
| 1×2 pine board, 8 ft | 2 | $4 to $7 each |
| 3/4″ plywood, partial sheet | 1 | $45 to $65 full sheet |
| 1/4″ plywood, partial sheet | 1 | $25 to $40 full sheet |
| 16″ side-mount ball-bearing slides | 1 pair | $8 to $15 |
| Drawer pull | 1 | $3 to $8 |
| 1-1/4″ pocket screws, 100 ct | 1 box | $8 to $12 |
| Wood glue (16 oz) | 1 | $8 to $14 |
Total materials run $50 to $90 for pine with a plywood drawer box. A solid wood drawer box or soft-close slides push you toward $90 to $110.
Cut List
All dimensions assume 3/4″ stock. Verify actual thickness before cutting, since 3/4″ plywood often runs 23/32″ and nominal 1×2 pine is actually 3/4″ by 1-1/2″.
| Part | Qty | Thickness | Width | Length | Material |
|---|---|---|---|---|---|
| Side panels | 2 | 3/4″ | 16″ | 25-1/4″ | Pine or plywood |
| Top panel | 1 | 3/4″ | 16″ | 22-1/2″ | Pine or plywood |
| Bottom panel | 1 | 3/4″ | 16″ | 22-1/2″ | Pine or plywood |
| Shelf | 1 | 3/4″ | 15-1/4″ | 22-1/2″ | Pine or plywood |
| Back panel | 1 | 1/4″ | 22-1/2″ | 25-1/4″ | 1/4″ plywood |
| Face frame stiles | 2 | 3/4″ | 1-1/2″ | 25-1/4″ | 1×2 pine |
| Face frame top rail | 1 | 3/4″ | 1-1/2″ | 19-1/2″ | 1×2 pine |
| Face frame middle rail | 1 | 3/4″ | 1-1/2″ | 19-1/2″ | 1×2 pine |
| Face frame bottom rail | 1 | 3/4″ | 1-1/2″ | 19-1/2″ | 1×2 pine |
| Drawer false front | 1 | 3/4″ | 4-3/4″ | 19-1/2″ | Pine |
| Drawer box sides | 2 | 1/2″ | 4″ | 15″ | 1/2″ plywood |
| Drawer box front/back | 2 | 1/2″ | 4″ | 20″ | 1/2″ plywood |
| Drawer box bottom | 1 | 1/4″ | 14-1/2″ | 19-1/2″ | 1/4″ plywood |
Hardware: 16″ side-mount ball-bearing slides (1 pair), drawer pull (1), 1-1/4″ coarse-thread pocket screws, 1-1/4″ brad nails, wood glue.
Choose Your Drawer Slide
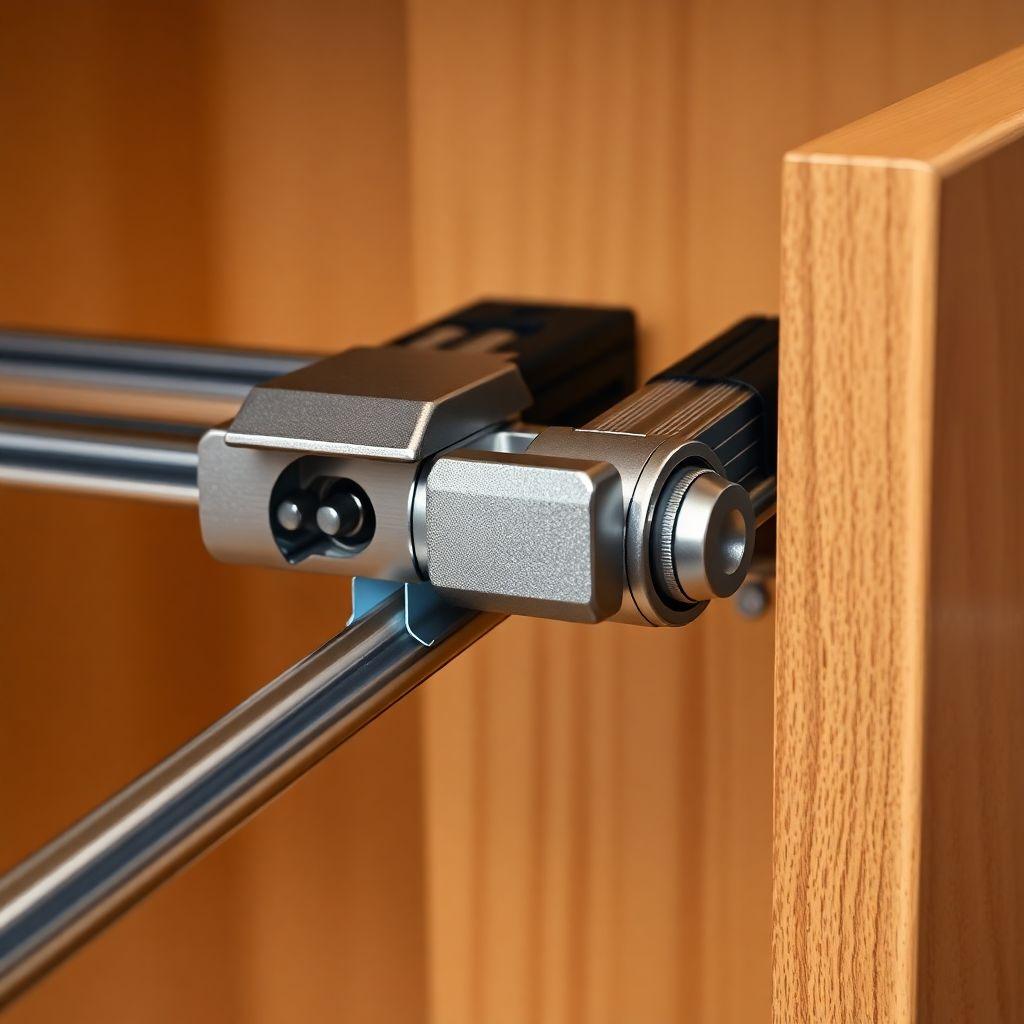
The slide you buy decides how your drawer box is sized, so pick it before you cut drawer parts. You have two realistic options.
Side-mount ball-bearing slides mount on the sides of the drawer box and the carcass. They need 1/2″ of clearance per side, which is 1″ total off the opening width. That gives you the sizing formula: drawer box width equals the face frame opening width minus 1″. They run $8 to $15 per pair for a 16″ full-extension set, they are forgiving on alignment, and they are stocked at every hardware store. For a first drawer, these are the right call.
Undermount slides hide below the drawer for a cleaner look, but they cost $15 to $60 per pair, install with tighter tolerances, and some models require a routed slot in the drawer bottom. That is more precision than a first nightstand needs.
Soft-close is a worthwhile upgrade if the budget allows. Expect to pay $5 to $15 more per pair, and it eliminates drawer slam.
Step 1: Cut Your Parts
Set up your circular saw with a clamped straightedge guide and confirm the blade is square to the shoe at 90 degrees. Freehand cuts here throw off every assembly step that follows.
Cut in this order: carcass panels first, then the four face frame pieces, then the drawer box parts. Before you cut, measure the actual thickness and width of your stock against the cut list. Nominal and actual sizes differ. A 1×2 is actually 3/4″ by 1-1/2″, and a sheet labeled 3/4″ plywood usually measures 23/32″. If your plywood is thinner than 3/4″, adjust panel positions so the carcass still assembles to 24″ wide overall. Label each part with a pencil as you cut.
Step 2: Build the Carcass
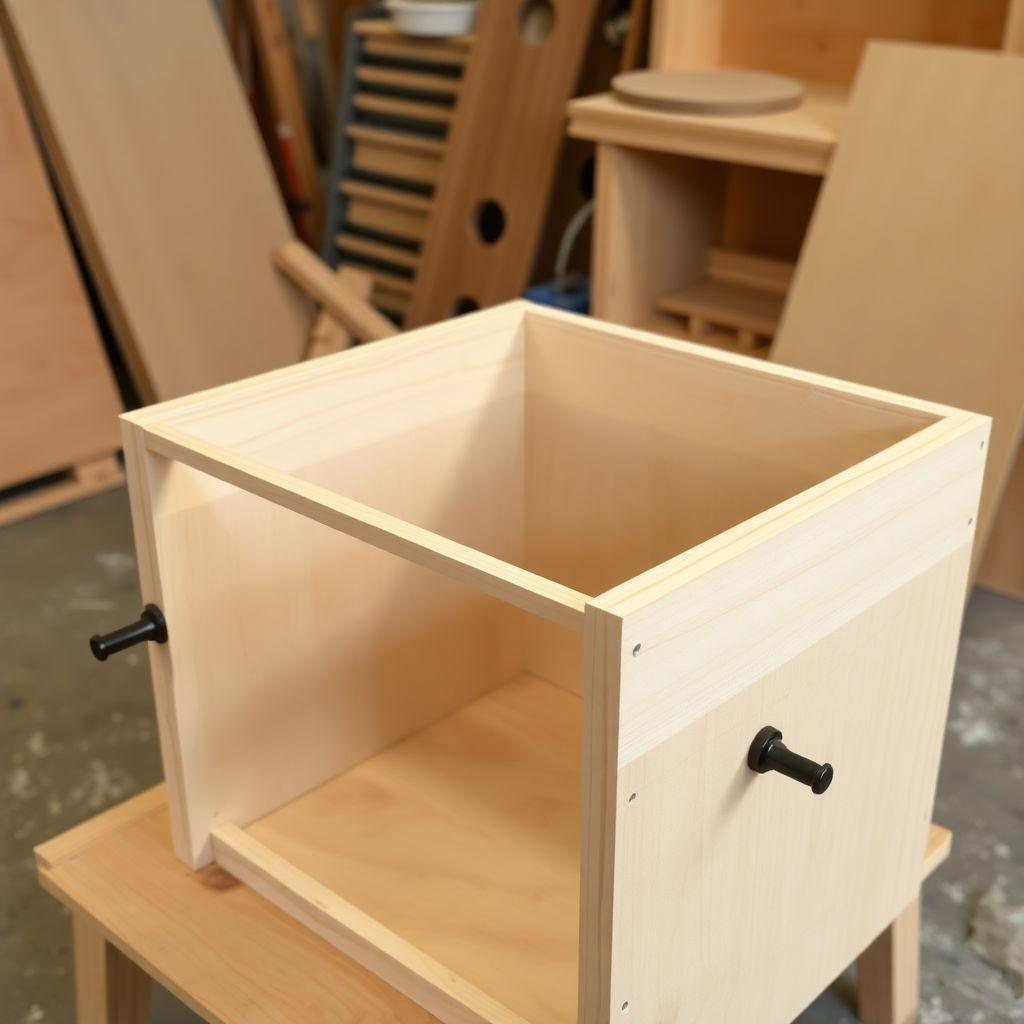
Set your pocket-hole jig drill guide to the 3/4″ mark and load 1-1/4″ coarse-thread screws for the softwood. Set the depth collar so the bit tip sits about 1/8″ from the base of the pocket, then drill a test hole in scrap and drive a screw to confirm the tip does not poke through the face.
Drill pocket holes in both ends of the top and bottom panels, on the faces that will land inside the carcass. Assemble in this order: join the sides to the bottom panel first, then add the top panel. Apply a thin bead of glue along each joint before driving screws, and clamp each corner square as you go.
Before the glue sets, check the box for square. Measure corner to corner both ways across the front opening. The two diagonals must match within 1/8″. If they do not, clamp a bar clamp across the longer diagonal and squeeze until they equalize.
Install the shelf next. Drill pocket holes on its underside, then attach it from below so the screws stay hidden, landing the shelf 8 to 10 inches up from the floor. Finish by laying the 1/4″ back panel into place, running a bead of glue around the rear edges, and securing it flush with 1-1/4″ brad nails. The back panel also locks the carcass square, so keep it flush on all four edges.
Step 3: Build the Face Frame
Build the face frame flat on your workbench before it goes anywhere near the carcass. Lay out the two stiles and three rails. Drill two pocket holes into each end of every rail, keeping the first hole 1 to 2 inches from the end and spacing additional holes every 6 to 8 inches on longer joints.
Glue and screw the rails to the stiles, keeping everything flat against the bench so the frame does not twist. Let the glue set for 30 minutes before handling. Confirm the middle rail lands so the drawer opening measures 4-3/4″ tall.
Attach the frame to the carcass with glue and 1-1/4″ brad nails, clamping it flush at the top edge. If you want zero visible nail holes, drive pocket screws from inside the carcass into the back of the face frame instead. Keep the frame flush with the carcass sides, or proud by up to 1/16″, but never recessed. A recessed face frame leaves a lip that catches the drawer.
Step 4: Build the Drawer Box
Build the drawer box from 1/2″ plywood. Plywood is the beginner’s choice here for one reason: it barely moves with the seasons, while solid wood does not.
Wood movement warning: pine and other solid woods expand across the grain as summer humidity rises, roughly 1/16″ for every 5.5″ of board width. A solid wood drawer box that fits perfectly in winter can swell wide enough to bind in July. If you build the box from solid pine anyway, leave an extra 1/16″ of clearance per side beyond the slide clearance, and expect to sand it seasonally. Plywood sidesteps the problem entirely.
Size the box with the formula from the slide section: drawer box width equals the face frame opening width minus 1″, which is 19-1/2″ minus 1″, giving an 18-1/2″ outside width. The cut list front and back parts already account for this with the 1/2″ plywood sides.
Assemble the four sides with glue and 1-1/4″ brad nails. Butt joints are strong enough for a nightstand drawer when glued and nailed. Check the box for square with the same diagonal measurement you used on the carcass. Then set the 1/4″ plywood bottom in place, glued and nailed flush to the bottom edges. A square bottom keeps the whole box square.
Step 5: Install the Drawer Slides
Level is everything with side-mount slides. If one slide sits even 1/8″ higher than the other, the drawer racks and binds. Do not eyeball this.
Separate each slide into its two parts. The cabinet member mounts to the carcass, the drawer member mounts to the box. Decide where the drawer face should land, then measure up from the bottom of the opening to your slide centerline. Mark that exact measurement on both interior side walls of the carcass. Use a speed square to carry a level pencil line straight back from each mark.
Set the cabinet member of each slide on its pencil line and confirm the slide itself reads level with a small level. Most slides have slotted mounting holes for micro-adjustment. Drive the rear screw first to set position, then the front screw once you confirm level. To double-check, measure from a fixed reference, the opening bottom or the floor, to each slide independently. The two measurements must match.
Extend both slides and confirm they glide smoothly before you attach anything to the drawer box.
Step 6: Hang the Drawer
Mount the drawer member of each slide to the drawer box sides, centered on the box height and running parallel to the bottom. Slide the box fully into the carcass and check for binding through the full travel.
Attach the false front last. Apply double-sided tape to the back of the false front, position it in the opening with an even 1/16″ reveal all the way around, and press it onto the drawer box. Pull the drawer out, then drive two screws from inside the box into the back of the false front to lock it. A Kreg drawer front mounting jig makes centering easier if you want one, but the tape method works without it.
Binding Drawer Diagnostic
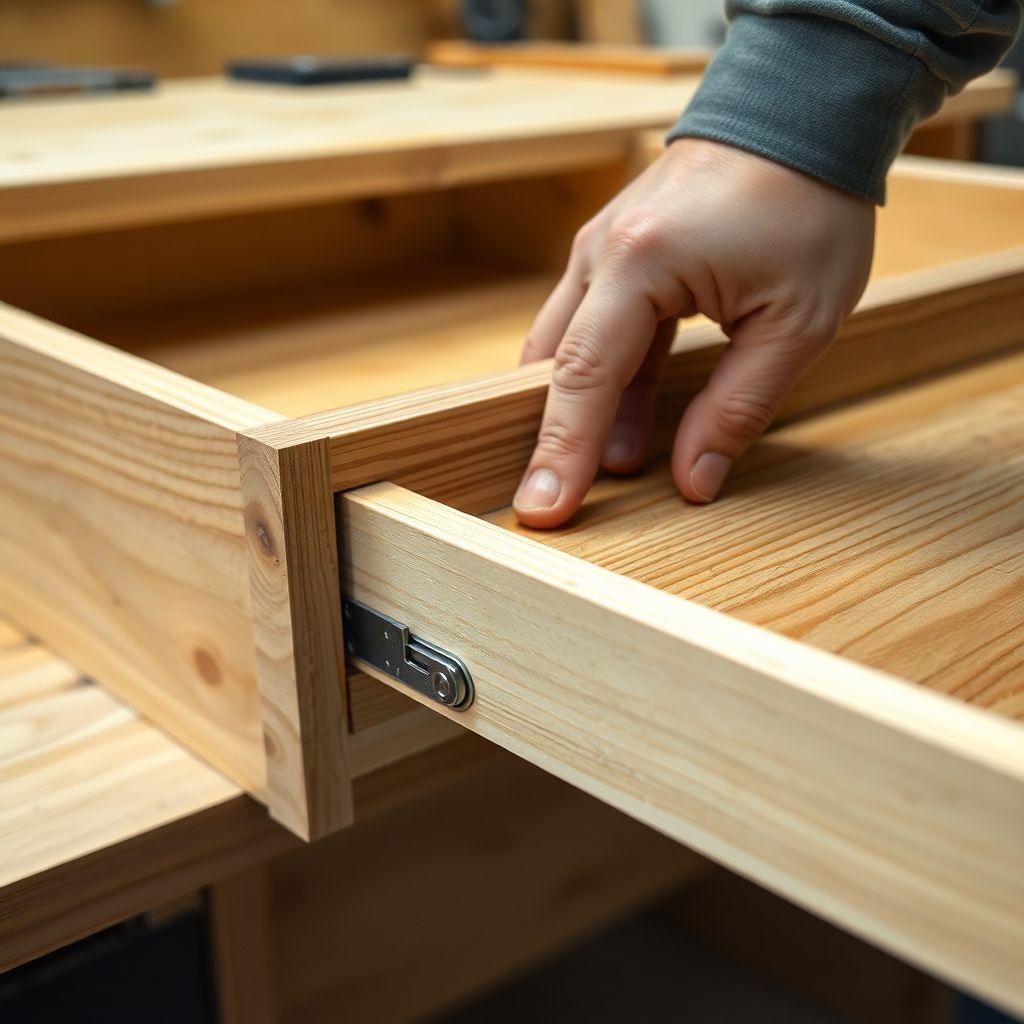
A binding drawer almost always traces to one of five causes. Match your symptom to the fix.
- Binds at the top of travel: the slides are not level, so the drawer racks as it closes. Loosen the screws, rear first, shim the low side with cardstock or a playing card, recheck level, and re-tighten.
- Binds on both sides throughout the full travel: the drawer box is too wide. Hand plane or sand 1/32″ off each side, equally, testing the fit after each pass.
- Binds harder the farther you push it in: the slides are not parallel and converge toward the back. Loosen only the rear screws, nudge the slide in or out at the back, and re-tighten while closing slowly to watch where it contacts.
- Binds only in summer: wood movement in a solid wood drawer box. Sand the sides down for the season, or rebuild the box in plywood to end it permanently.
- Binds randomly all over: the carcass is out of square. Confirm by measuring the diagonals. As a field fix, sand the high spots on the drawer box sides; prevent it next time by clamping the diagonal during glue-up.
Step 7: Sand and Finish
Sand through the grits in sequence: 80, then 120, then 150, then 220. Start at 120 if the stock has no mill marks or deep scratches. Wipe the surface clean between grits.
Species drives your finish. Pine takes stain but blotches, because its alternating grain bands absorb stain unevenly. Wipe on Minwax Pre-Stain Wood Conditioner, let it penetrate 5 to 15 minutes, wipe the excess, and apply stain within 2 hours. Poplar is paint-grade; its greenish undertone shows through stain, so prime and paint it and skip the conditioner.
Topcoat with water-based polyurethane. It is low VOC, recoats in about 2 hours, and reaches full cure in 3 days. Apply 2 to 3 coats, sanding lightly with 220 grit between them. Wipe any glue squeeze-out with a damp cloth within 10 minutes of assembly, because dried glue blocks stain and shows as a light patch. Install the drawer pull last, drilling from the front and bolting from inside the drawer.
Get 16,000+ woodworking plans →
Once this nightstand is done, that library keeps your next bedroom project moving without hunting for cut lists.
FAQ
How much does it cost to build a nightstand?
About $50 to $90 all-in using pine with a plywood drawer box and basic side-mount slides. Budget $90 to $110 if you upgrade to a solid wood drawer box, soft-close slides, or clear knot-free pine.
What wood is best for a nightstand?
Poplar for a painted finish, since its tight grain takes paint cleanly with no knot bleed-through. Pine for a stained finish, as long as you use a pre-stain conditioner. Use 1/2″ Baltic birch plywood for the drawer box because it stays dimensionally stable.
Do I need a table saw to build a nightstand?
No. A circular saw with a clamped straightedge guide makes every cut in this project. A miter saw gives cleaner crosscuts but is optional.
How do I keep my drawer from sticking?
Work through the binding diagnostic: binding at the top means the slides are not level, binding on the sides means the box is too wide, and summer-only binding means wood movement. For minor sticking, rub the drawer box sides with paste wax or a candle.
How long does it take to build a nightstand?
One weekend. Day one covers cutting, the carcass, and the drawer box. Day two covers slides, the face frame, the drawer face, sanding, and finishing. Allow 24 to 48 hours for the polyurethane to cure before use.
What size should a nightstand be?
Standard is 24″ wide, 16″ deep, and 24 to 28″ tall, with the top within 2″ of your mattress surface. Adjust the height to match your bed rather than defaulting to a fixed number.
Can I build a nightstand without a pocket-hole jig?
Yes. Dowels or glued butt joints work, but pocket screws are faster and stronger for a beginner, and they clamp the joint tight while the glue sets.
How do I attach a face frame?
Glue and 1-1/4″ brad nails is the fast method. For no visible nail holes, drive pocket screws from inside the carcass into the back of the face frame. Keep the frame flush or slightly proud of the carcass sides, never recessed.
Related Articles

“DIY woodworking enthusiast who started with zero experience and a YouTube tutorial.
I build simple, practical projects for my home and share free plans
so other beginners can skip the guesswork.If I can build it, you can too.”