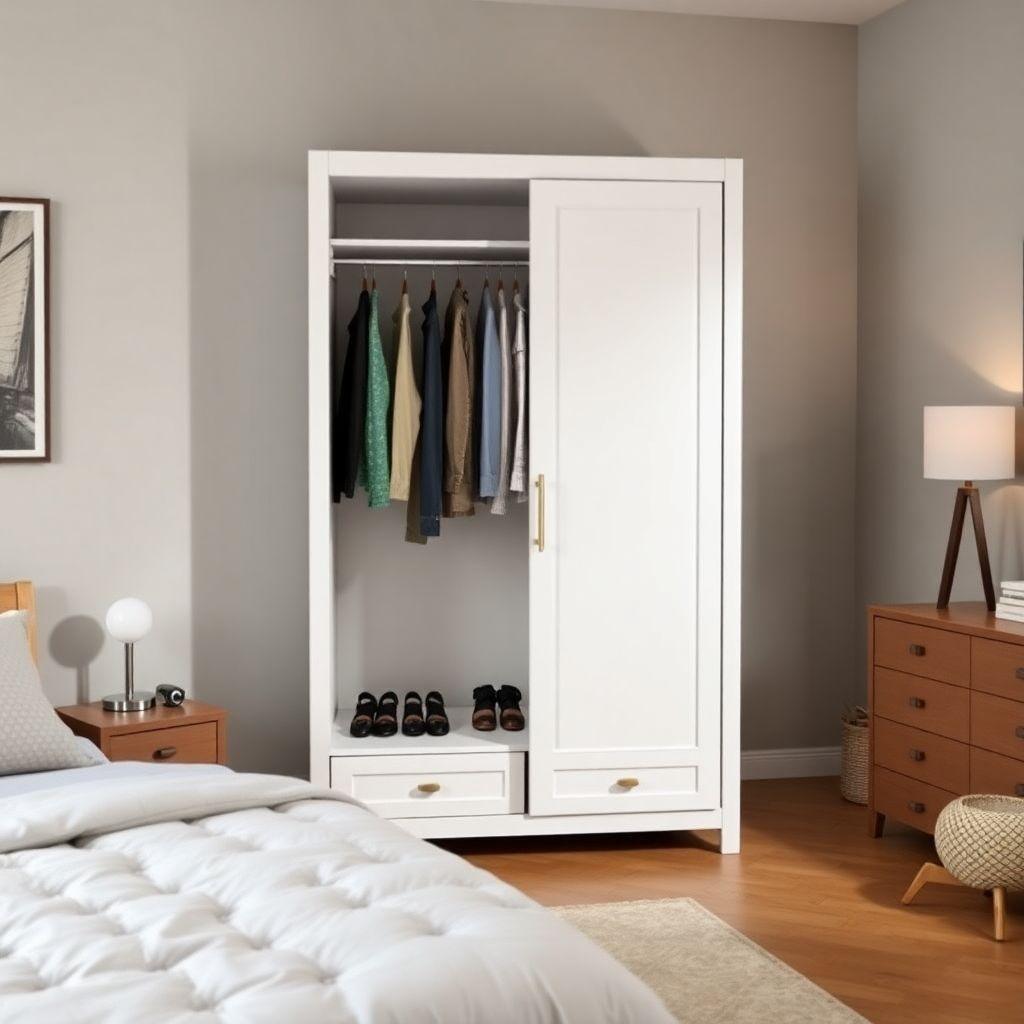

These DIY wardrobe plans solve the no-closet bedroom permanently, and they cost a fraction of what a comparable retail unit runs. If your bedroom came without a closet, or the closet you have is too small, a freestanding wardrobe gives you hanging space and shelves wherever you have a wall. This guide is part of our bedroom furniture plans collection, and it goes past the usual build instructions in three ways: a freestanding-vs-anchored decision guide so you build the right type, full clothing rod specs by clothing type so your hanging section fits what you actually own, and an anti-tip safety section most plans skip entirely. The build is freestanding, 48″W × 24″D × 72″H, joined with pocket screws, and it needs no table saw.
Freestanding vs. Wall-Anchored: Which Type to Build
Looking for more bedroom furniture ideas?
This guide is part of our complete bedroom furniture plans series — compare all options by skill level, cost, and build time.
Want 16,000+ woodworking plans?
Ted’s Woodworking has step-by-step plans for every skill level. Browse Ted’s plans.
Before you cut anything, decide how the wardrobe attaches to the room. This is the question most builders get wrong.
| Freestanding | Semi-Freestanding | Wall-Anchored | |
|---|---|---|---|
| Portable | Yes | Mostly | No |
| Wall damage | None | 2 screws | Yes |
| Stability at 72″ | Needs anchoring | Good | Best |
| Best for | Renters | Most builds | Permanent rooms |
For most builders, realwoodworkplans.com recommends the semi-freestanding approach: build the unit to stand on its own, then secure it with two L-brackets at the top rear into wall studs. You keep the freestanding look and the option to move it, and you gain the stability a loaded 72″ cabinet needs. The two screw holes patch in minutes when you move out.
One rule is not optional. Any unit over 60″ tall with a loaded clothing rod must be anchored, and homes with children should always anchor regardless of height. A tall cabinet full of clothes carries real tip-over risk, covered in Step 6.
Plan Your Interior Layout
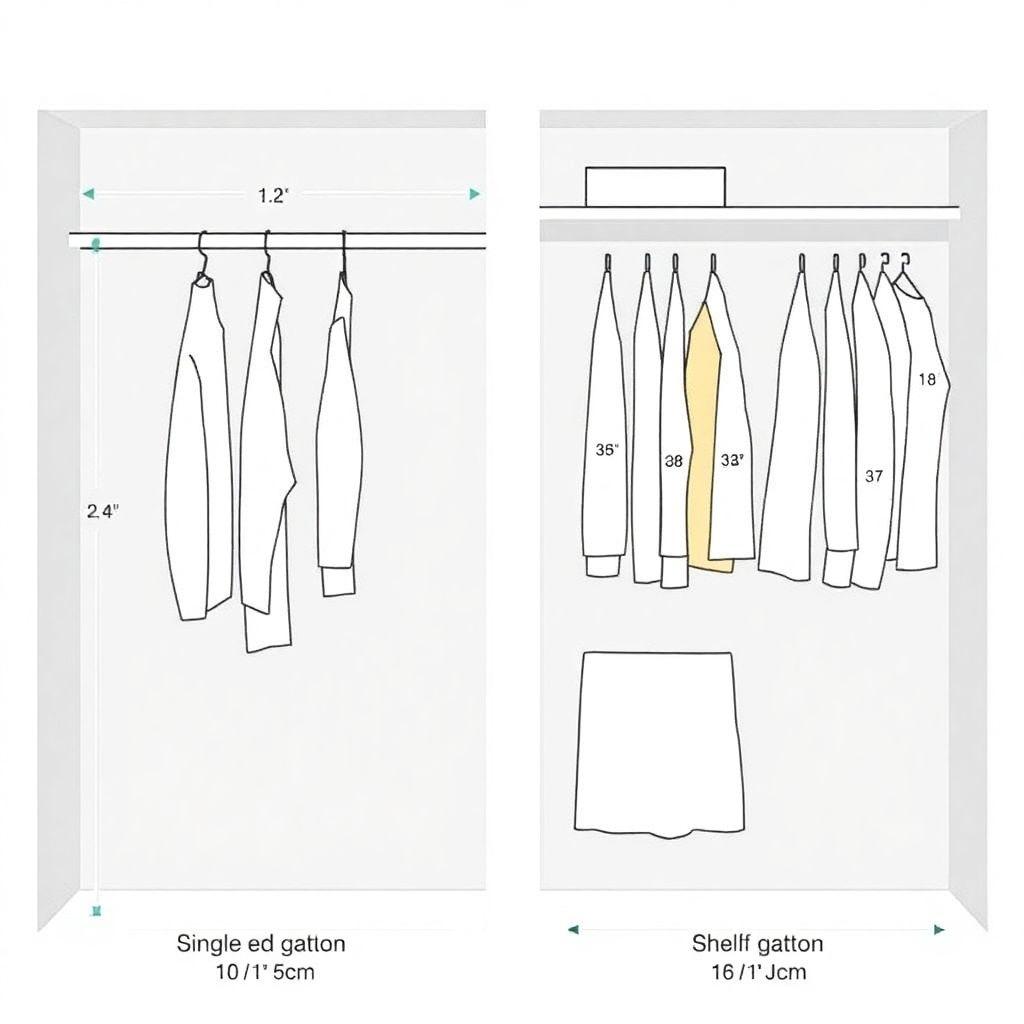

Match the interior to the clothes you own, not to a generic number. Start with depth: build to 24″ minimum. Standard plastic hangers are 17″ to 18″ wide, wooden hangers 19″ to 20″, so a 24″ interior depth clears both with room to spare. Shallower open wardrobes, including the common 16.5″ plans, let clothes protrude past the front edge.
Use this table to place your rod and shelves:
| Clothing Type | Rod Height from Floor | Section Depth | Clear Height Needed |
|---|---|---|---|
| Full-length dresses/coats | 66″–72″ | 24″ | 72″ |
| Single-hang shirts/jackets | 60″–66″ | 24″ | 66″ |
| Double-hang (upper) | 81″–82″ | 24″ | 84″ min height |
| Double-hang (lower) | 40″–42″ | 24″ | N/A |
| Folded items / shelves | N/A | 16″–20″ | 8″–14″ per shelf |
| Shoes | N/A | 12″–16″ | 6″–8″ |
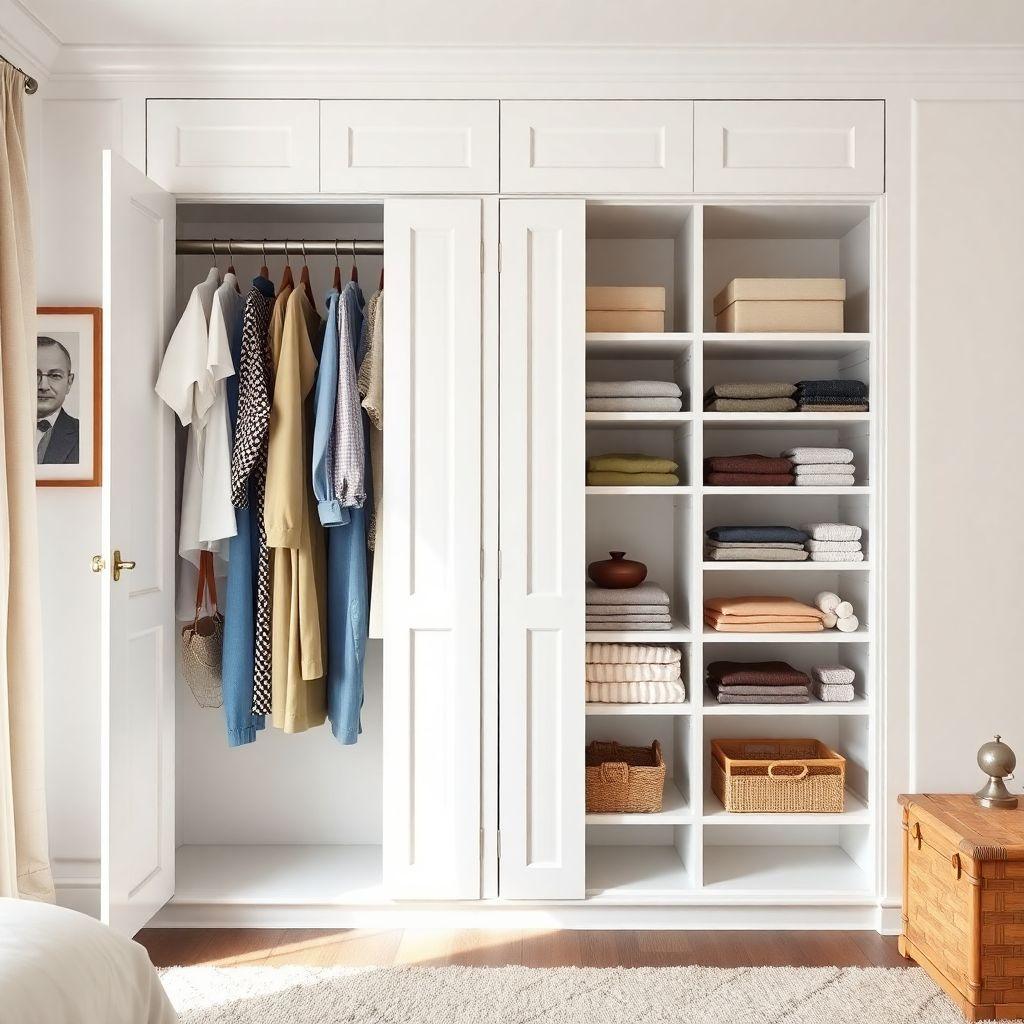
This build puts a single-hang section on the left (24″ wide) and five adjustable shelves on the right (24″ wide). At 72″ total height, the left side handles shirts, jackets, and folded pants over a hanger, while the right side takes folded clothes and shoes on shelves you can move on 32mm spacing.
What You’ll Need
You do not need a shop full of machines. Everything here builds with tools a weekend woodworker already owns.
Tools:
– Circular saw with a straightedge guide
– Drill/driver
– Pocket-hole jig
– 5mm brad-point bit with a stop collar
– Level, tape measure, and framing square
– Sander
Materials: About three sheets of 3/4″ plywood for the carcass and one sheet of 1/4″ plywood for the back, plus the hardware in the cut list.
| Tier | Materials | Cost Range |
|---|---|---|
| Budget | AC/CDX plywood, wood rod, no doors, basic hardware | $80–130 |
| Mid | Birch plywood, wood rod, no doors, pocket screws | $180–260 |
| Premium | Birch plywood + solid doors + soft-close hinges + metal rod | $300–380 |
Lumber prices move month to month. These are July 2026 estimates, and birch has run higher this year, so call a local supplier to confirm before you buy. This is one of the few wardrobe guides that gives you real pricing at all.
Cut List
Cut everything to the sizes below before you start assembly.
| Part | Qty | Thickness | Width | Length | Material |
|---|---|---|---|---|---|
| Side panels | 2 | 3/4″ | 24″ | 72″ | 3/4″ ply |
| Top panel | 1 | 3/4″ | 24″ | 46-1/2″ | 3/4″ ply |
| Bottom panel | 1 | 3/4″ | 24″ | 46-1/2″ | 3/4″ ply |
| Center divider | 1 | 3/4″ | 23-1/4″ | 70-1/2″ | 3/4″ ply |
| Fixed shelf (rod section) | 1 | 3/4″ | 23-1/4″ | 22-1/2″ | 3/4″ ply |
| Adjustable shelves | 5 | 3/4″ | 23-1/4″ | 22-1/2″ | 3/4″ ply |
| Back panel | 1 | 1/4″ | 48″ | 72″ | 1/4″ ply |
| Clothing rod | 1 | 1-3/8″ dia | N/A | 22″ | Wood dowel or metal |
One note before you cut joinery: plywood sold as 3/4″ often measures 23/32″ in reality. Measure your actual stock, because that missing 1/32″ adds up across a carcass and can throw off your panel fits.
Step 1: Drill Shelf Pin Holes
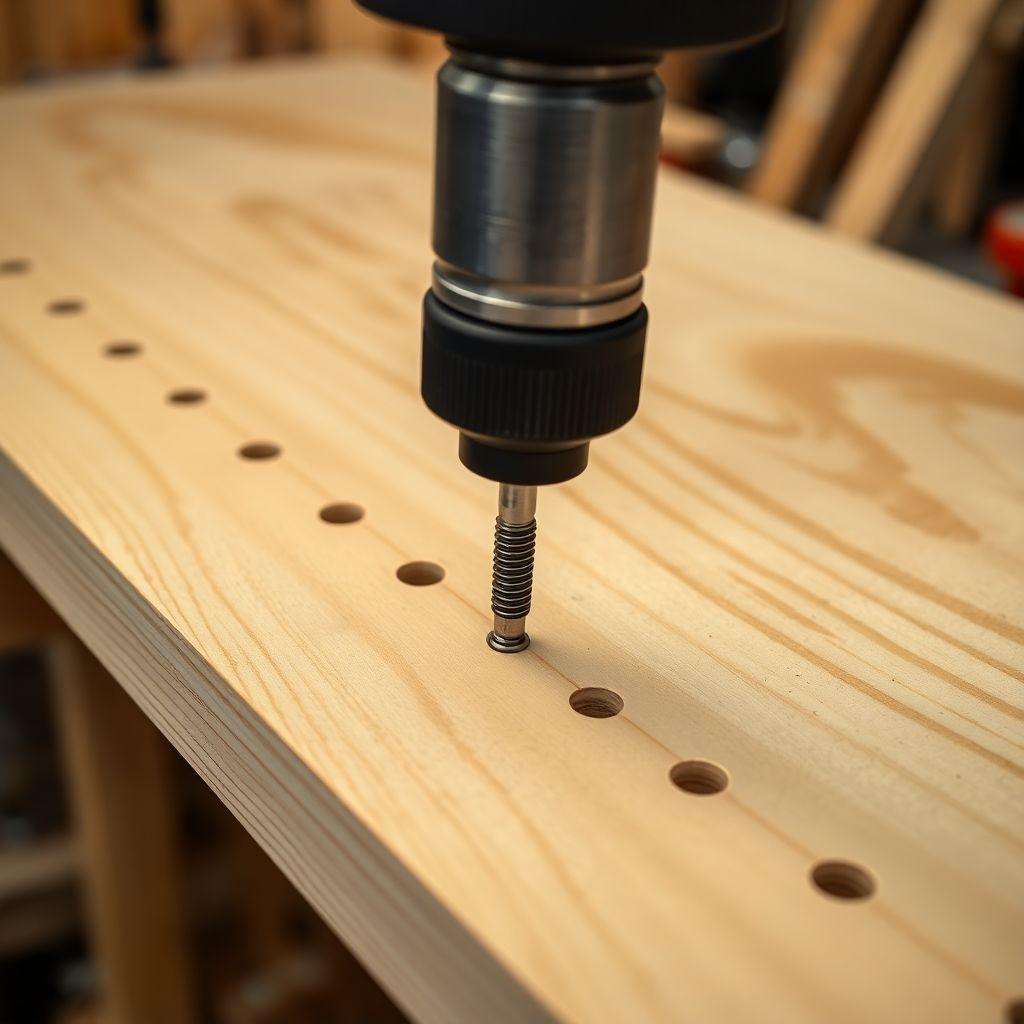

Adjustable shelves ride on pins set into a column of holes. Drill that column now, into both side panels and both faces of the center divider, before any assembly. Doing it accurately after the box is together is nearly impossible.
Space the holes 32mm apart, about 1-1/4″, the industry standard. Buy a jig or make one: a strip of 1/4″ hardboard with holes drilled every 32mm costs nothing in scrap. Set the first hole about 37mm in from the front edge.
Here is the rule that saves the build. Drill every hole from the same reference edge on every panel. Mark “FRONT” and “TOP” on each panel first, and always register your jig off the front edge. If you flip one panel end for end, its holes offset by half the spacing, and any shelf spanning that panel to its neighbor will sit tilted. This is the single most common beginner mistake.
Use a 5mm brad-point bit for clean holes, and set a stop collar for 5/16″ to 3/8″ of depth off the bit shoulder so you do not drill through the panel.
Step 2: Cut and Prep Parts
Cut every part on the cut list with a circular saw guided by a straightedge. Set the blade to 90 degrees and let the guide do the work, since freehand cuts here throw off every joint that follows. No table saw is needed.
Label each piece as you go: side L, side R, top, bottom, divider, and shelves. Lightly sand the inside faces now, while they are flat and easy to reach. Sanding inside a finished carcass is slow and awkward.
Step 3: Assemble the Carcass
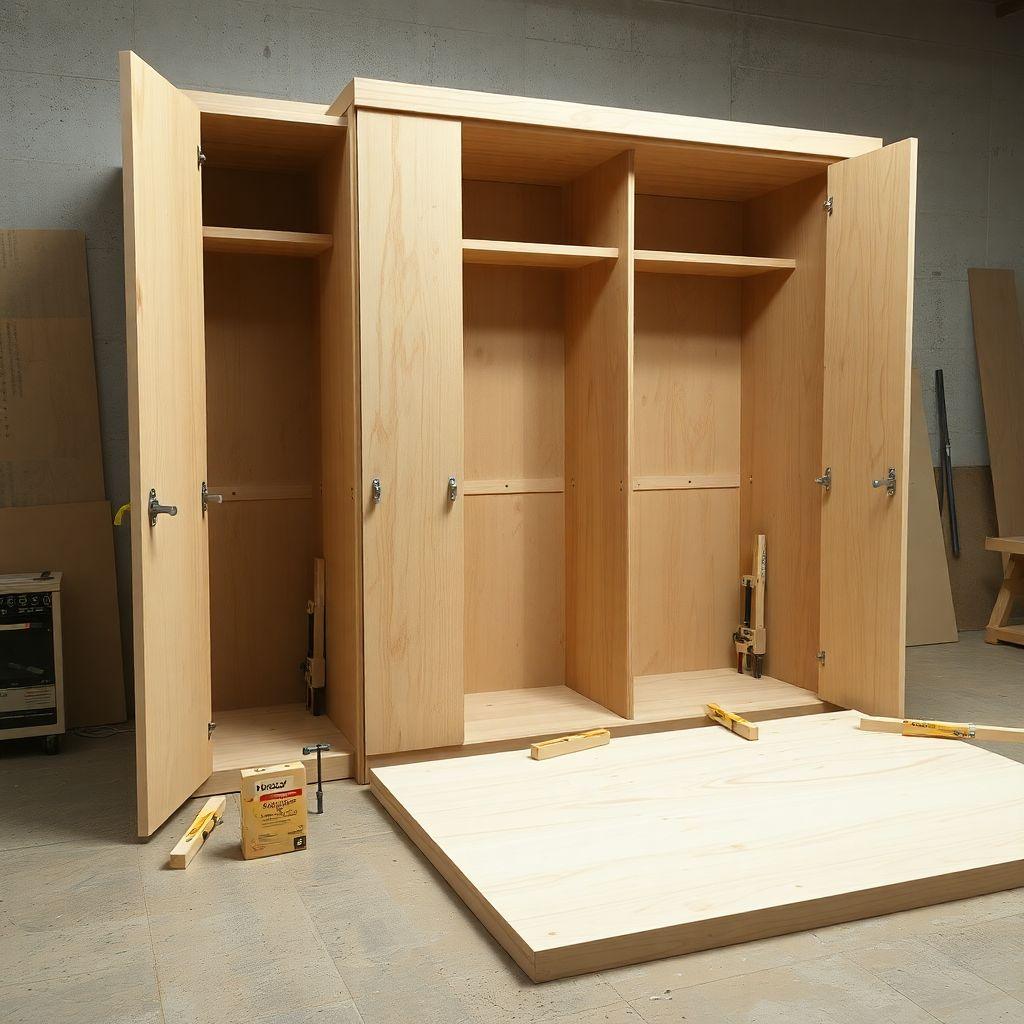

Drill pocket holes with the jig set to 3/4″ material, and drive 1-1/4″ coarse-thread pocket screws. Run a thin bead of wood glue along each mating edge before you screw the joint, because glue plus screws is what makes the carcass rigid.
Assemble in this order:
- Fasten the bottom panel between the two side panels.
- Add the top panel across the top.
- Install the center divider, which splits the 48″ interior into two 22-1/2″ bays.
- Set the fixed shelf in the rod (left) bay.
Position the fixed shelf 66″ from the bottom interior, so the clothing rod hangs just below it in Step 5.
Before the glue sets, check for square. Measure both diagonals across the front of the carcass, corner to corner. They must match within 1/8″. If they do not, clamp the long diagonal until they agree.
Dado joints are a stronger option and a fine upgrade for mid or premium builds, but they need a router or table saw. For this build, pocket screws, glue, and the back panel are structurally sufficient.
Step 4: Attach the Back Panel
Lay the 1/4″ back panel over the rear of the carcass. Run a bead of glue along every carcass edge it touches, then drive 1″ brad nails every 6″ through the panel into those edges.
The back panel is the primary anti-racking element in this build. A thin 1/4″ sheet, glued and nailed on all edges, locks the box square and kills the lateral wobble a bare carcass has. Confirm the carcass is still square one final time before you nail, because the back sets that geometry permanently.
Step 5: Install the Clothing Rod
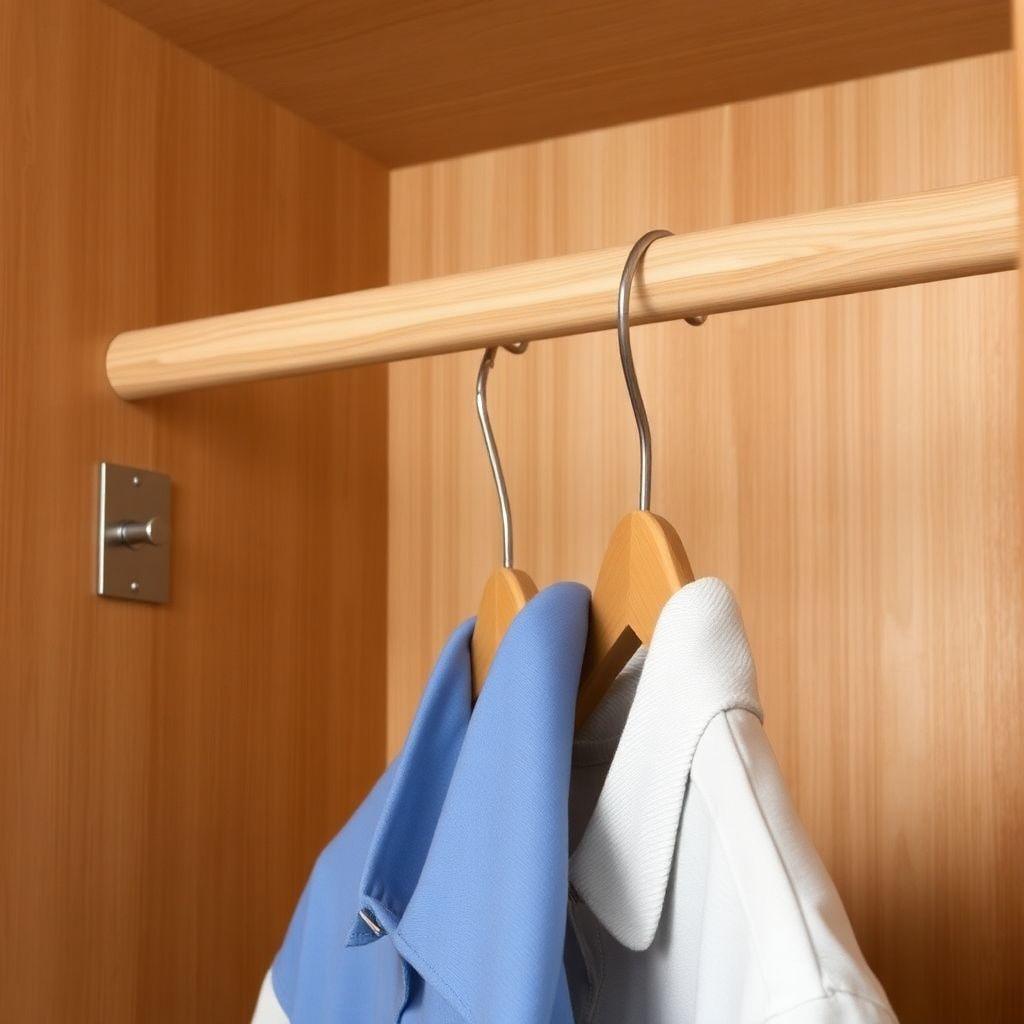

Rod diameter matters more than it looks. Use a 1-3/8″ rod. A 1″ dowel visibly sags under a full load of clothes and eventually bows for good.
Watch the span. A 1-3/8″ wood rod handles up to 48″ of unsupported length before it sags. Beyond 48″, add a center bracket or switch to a steel oval rod, which spans 96″ or more with no support. This build’s rod is only 22″ long, so no center bracket is needed.
Position the rod center 12″ from the back wall, so clothes hang free without pressing against the back panel, and keep the rod center at least 2″ from the side panel. Mount one rod socket into the underside of the fixed shelf and the other into the side panel, then set the 22″ rod between them. A steel oval rod costs about the same as wood, will not sag, and is the stronger choice if you want it.
Step 6: Anti-Tip Anchoring
A 72″ wardrobe loaded with clothes tips as easily as a tall bookcase, and the consequences are real. The CPSC reports roughly 17,800 to 22,000 furniture tip-over ER visits per year in its most recent data, covering 2020 through 2022. Children under five account for most of the fatalities.
The best fix is the semi-freestanding method. Fasten two L-brackets ($3 to $8 each) from the top rear of the wardrobe into wall studs. If you rent and want the smallest footprint, a furniture anti-tip strap kit ($10 to $25) into a single stud leaves only a patchable hole.
Find the studs with a stud finder, or knock along the wall and listen for the solid, higher-pitched sound where a stud sits behind the drywall. Drive the bracket or strap screws into that stud, not into drywall alone. Do not skip this on any unit over 60″ tall, and never skip it in a home with young children.
Step 7: Sand and Finish
Sand the whole cabinet through a grit progression: 80, then 120, then 150. Do not jump straight to fine grit, since 150 alone will not remove saw marks.
Plywood edges need attention before paint. Fill the exposed plies with wood filler and sand flush, or apply iron-on edge banding for a cleaner finished edge. For paint-grade plywood, lay down two coats of primer and two coats of paint. Birch plywood has a fine, even grain: paint it the same way, or finish it natural with two coats of water-based polyurethane to keep the color from yellowing.
Building this yourself lands a solid, custom-sized wardrobe for a fraction of a comparable retail unit, and you can size it to your exact wall and wardrobe. If you want a library of ready-to-cut plans for your next project, Get 16,000+ woodworking plans →.
Adding Doors (Optional)
Doors are easy to add now or later. Cut panel doors from 3/4″ plywood to fit the opening, and hang them on overlay hinges, which need no mortise and run about $5 to $15 a pair. Plan the hinge locations at build time, marking bore positions near the top, middle, and bottom of each opening, so the face frame accepts them cleanly. You can skip doors entirely for now: overlay doors mount to the face frame after the carcass is complete, so nothing about the build below changes if you add them down the road.
FAQ

What is the minimum depth for a wardrobe?
Build to 24″ for standard plastic hangers, which run 17″ to 18″ wide. A 16″ depth only works for folded items. Shallower open wardrobes let clothes protrude past the front edge, so 24″ is the practical minimum for a hanging section.
How far apart should shelf pin holes be?
Space them 32mm apart, about 1-1/4″, the 32mm industry standard. Drill every hole from the same reference edge on every panel so the shelves sit level. If you flip a panel end for end, the holes offset by half the spacing and shelves tilt.
What diameter rod should I use for a wardrobe?
Use a 1-3/8″ wood dowel, or a steel oval rod for zero sag. Avoid a 1″ dowel, which sags under a full clothing load and eventually stays bowed.
How do I stop a freestanding wardrobe from tipping?
Fasten two L-brackets from the top rear into wall studs, or use a furniture anti-tip strap kit into a stud. Both install in about 15 minutes and are the difference between a stable cabinet and a tip-over hazard.
Do I need a table saw?
No. A circular saw with a straightedge guide cuts plywood accurately, and pocket screws replace dado joints. Every cut and joint in this build is doable with a circular saw, drill, and pocket-hole jig.
Can I add doors to this build?
Yes. Plan hinge locations at build time by marking the bore positions on the face frame before assembly. Overlay doors can be hung after the carcass is finished, so you are free to add them later.
How much does it cost to build a wardrobe?
Budget builds with AC plywood and no doors run $80 to $130, mid-range in birch runs $180 to $260, and premium with birch plus doors and hardware runs $300 to $380. These are July 2026 estimates, so confirm current lumber prices with your local supplier.
Related Articles

“DIY woodworking enthusiast who started with zero experience and a YouTube tutorial.
I build simple, practical projects for my home and share free plans
so other beginners can skip the guesswork.If I can build it, you can too.”