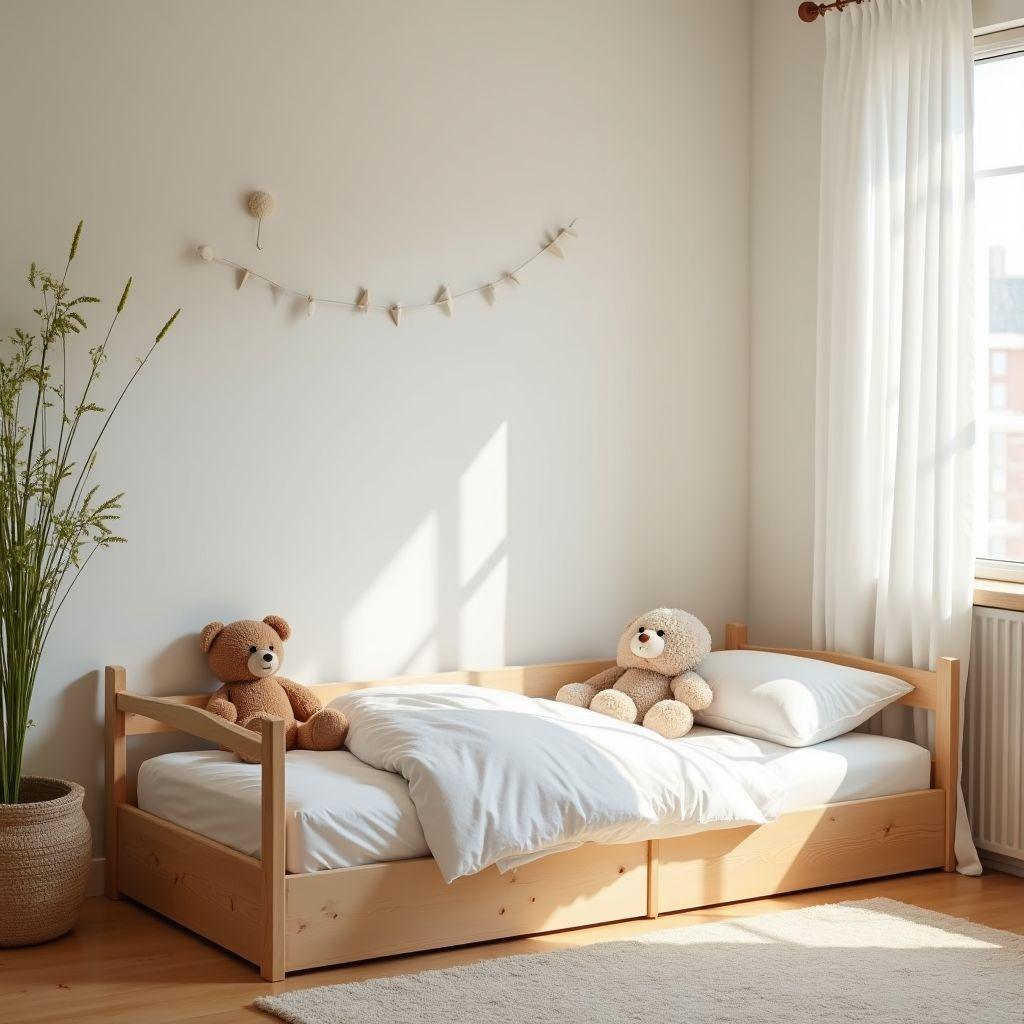
The IKEA KURA costs $179 and Pottery Barn’s version runs $599 to $799, but you can build a safer toddler floor bed for under $100 in a single Saturday afternoon. This guide gives you every number you need to do it. Part of our bedroom furniture plans guide.
A floor bed is a low frame that sits 5 to 10 inches off the ground, not a bare mattress on the floor. That low height matters: a rolling toddler lands safely instead of falling from a standard 20-inch bed. It also fits the Montessori approach, letting your child climb in and out without calling for help, which supports independence and self-regulation.
Here is the problem with many free plans online. Some use slat gaps of 4.25 inches, which exceeds the 3.5-inch child-safety guideline and creates a head-entrapment risk. This build fixes that. You get a free cut list, exact dimensions, CPSC-compliant slat spacing, and non-toxic finish options that are actually safe for a child’s room.
The plan builds a standard twin. A twin grows with your child from toddlerhood through age 10 and beyond, so you build once and use it for years. It is beginner-friendly, takes 2 to 4 hours, and needs no fancy tools.
Step 1: Choose Your Mattress Size and Plan Dimensions
Looking for more bedroom furniture ideas?
This guide is part of our complete bedroom furniture plans series — compare all options by skill level, cost, and build time.
Want 16,000+ woodworking plans?
Ted’s Woodworking has step-by-step plans for every skill level. Browse Ted’s plans.
You have three mattress sizes to consider, and the choice decides how long the bed stays useful.
| Mattress Type | Dimensions | Recommended |
|---|---|---|
| Crib mattress | 28 × 52 in | No, child outgrows by age 2-3 |
| Toddler mattress | 28 × 54 in | No, child outgrows by age 3-4 |
| Twin mattress | 38 × 75 in | Yes, lasts to age 10+ |
Build for the twin. It fits your child from toddlerhood through elementary school, has the widest selection of mattresses and bedding, and means you never build a second bed.
The frame’s outer dimensions are 40 × 77 inches, which gives roughly 1 inch of clearance on each side of the mattress. This clearance is deliberate: the mattress should sit snug with no gap wider than 1 inch, so a child cannot get a limb trapped between the mattress edge and the frame.
Total height is 6 inches, made from the 1.5-inch-thick rail plus a 4.5-inch leg. That keeps you inside the 5-to-10-inch floor-bed range, so any roll-off is a short, safe drop.
Most families switch to a floor bed between 18 months and 3 years, often the moment a toddler starts climbing out of the crib. That climbing is a real fall hazard, which makes the floor bed the safer option.
Step 2: Buy Your Materials (Cut List + Cost Breakdown)
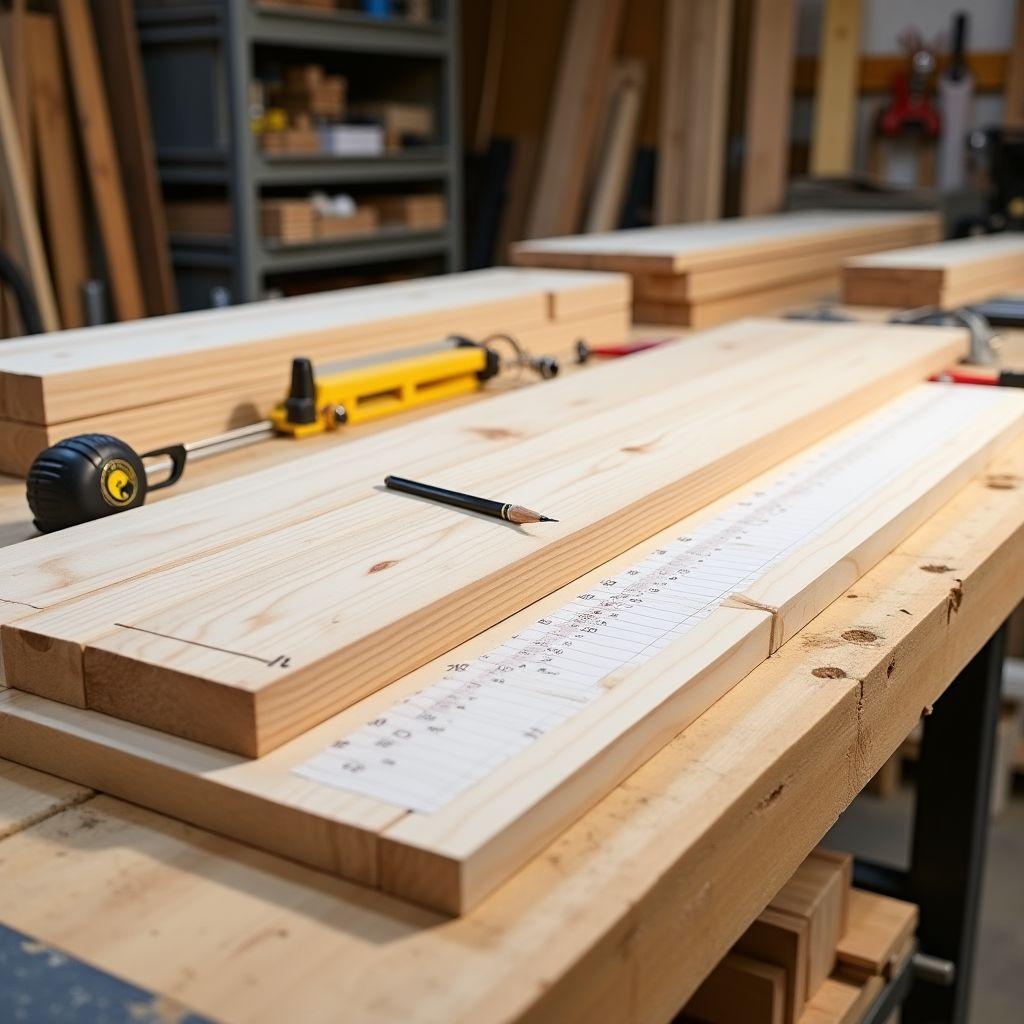
Use pine (SPF, meaning spruce, pine, or fir construction lumber). It is cheap at $4 to $6 a board, stocked at Home Depot, Lowe’s, and Menards, easy to cut and sand, and it takes paint well. Avoid pressure-treated lumber, which contains preservatives you do not want near a child, and avoid MDF, which is heavy and not structural.
Here is the complete cut list:
| Piece | Qty | Size | Lumber | Boards Needed |
|---|---|---|---|---|
| Long side rail | 2 | 1.5 × 5.5 × 77″ | 2×6×8 | 2 |
| Short end rail | 2 | 1.5 × 5.5 × 37″ | 2×6×8 | 1 |
| Slats | 15 | 0.75 × 3.5 × 40″ | 1×4×8 | 8 |
| Legs | 4 | 3.5 × 3.5 × 4.5″ | 4×4×8 | 1 |
| Center support | 1 | 1.5 × 3.5 × 37″ | 2×4×8 | 1 |
Your lumber list totals about $72: three 2×6×8 boards ($18), eight 1×4×8 boards ($40), one 4×4×8 post ($10), and one 2×4×8 board ($4). Add hardware at roughly $15 (2.5-inch wood screws, 1.5-inch pocket screws, and wood glue) and finish at roughly $15 (zero-VOC paint or primer). Full materials come to about $100 to $122, based on 2026 US Home Depot pricing.
If you already own screws, glue, and sandpaper, your cost drops to $72 to $85. Compare that to $179 for the IKEA KURA, $150 to $350 at Wayfair, and $599 to $799 at Pottery Barn Kids. You save at least $57 and as much as $700.
Tools you need: a drill/driver, a circular saw or miter saw, a measuring tape, a speed square, sandpaper, and a couple of clamps. A Kreg pocket-hole jig and a countersink bit are optional but make the joints cleaner.
Step 3: Cut All Your Pieces
Measure twice, cut once. Mark every cut line with a pencil and a speed square before the blade touches wood, then double-check the number against the cut list.
Put on your safety gear first. Safety glasses and hearing protection are mandatory whenever the saw runs, and an N95 dust mask goes on for cutting and sanding.
Cut in this order:
- Long side rails first: two pieces at 77 inches from your 2×6 boards. Each 8-foot board gives one rail with 19 inches of waste, so cut one from each of two boards.
- Short end rails next: two pieces at 37 inches. Both fit on a single 2×6 board (37 plus 37 is 74 inches, well within 96).
- Slats: 15 pieces at 40 inches from your 1×4 boards. Gang-cut them using a stop block clamped to your saw fence so every slat comes out identical. Each 8-foot board yields two slats.
- Legs: four pieces at 4.5 inches from the 4×4 post.
- Center support: one piece at 37 inches from the 2×4.
Label each piece with a pencil as you cut (“long rail,” “slat,” “leg”) so nothing gets mixed up during assembly. A circular saw with a straight-edge guide cuts these just as well as a miter saw.
Step 4: Build the Frame (Side Rails + End Rails)
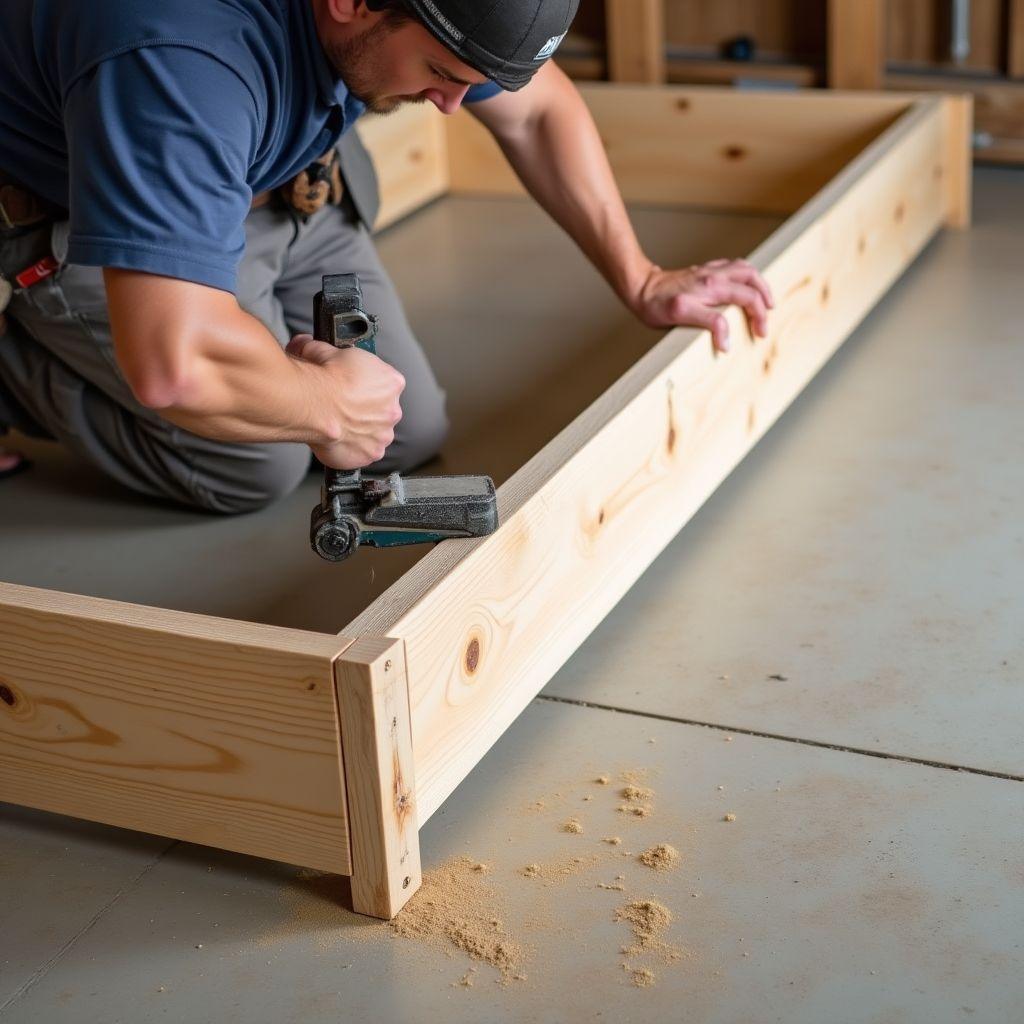
The two short end rails fit inside the two long side rails. That is why the math works out to a 40-inch outer width: 37 inches of end rail plus 1.5 inches of rail thickness on each side equals 40.
The strongest joint here is a pocket screw. A pocket-hole jig drills an angled hole so the screw pulls two boards tight from a hidden spot, leaving a clean face. Drill pocket holes in the ends of the short rails, add wood glue to the joint, then drive 1.5-inch pocket screws into the inside faces of the long rails.
No jig? Pre-drill and countersink instead. Drive 2.5-inch wood screws straight through the outside face of the long rails into the end grain of the short rails, with glue at every joint.
Before you tighten everything, check for square. Measure the diagonal from one corner to the opposite corner, then measure the other diagonal. When both diagonals are equal, the frame is square. Clamp it and let the glue set. Countersink every screw head flush or slightly below the surface, because a child’s bed should have no sharp protrusions anywhere.
Step 5: Add the Legs
Cut your four legs from the 4×4 post to 4.5 inches each. Combined with the 1.5-inch rail thickness, this gives the 6-inch total height that keeps the bed safely inside the floor-bed range.
Position one leg at each corner, on the inside of the frame. Recess each leg 1.5 inches in from the outer edge of the frame. This tuck-in keeps the leg from sticking out where a bare toddler toe could stub against it.
Attach each leg with wood glue plus 3-inch wood screws driven from inside the frame into the leg. Two screws per leg is plenty. The glue does most of the long-term holding, and the screws clamp it while it cures.
Once all four legs are on, set the bed on a flat floor and check that it sits level with no rock. If one corner lifts, sand the bottom of the high leg flat until all four legs make contact. A low, stable frame is what makes a roll-off harmless, so this small check matters.
Step 6: Install the Center Support Rail
Run the center support (your 2×4 cut to 37 inches) across the width of the frame at the midpoint of its length. It spans the same distance as the short end rails and connects to both long side rails.
Attach it with pocket screws into the long rails, or fasten it on top of screwed cleats, setting its height so it supports the underside of the slats. Add glue at each connection.
Here is why you cannot skip this on a twin build. A twin mattress plus a sleeping child puts real weight across a long span. Without a center support, the slats will bow and the mattress will sag in the middle over time. The center rail carries that mid-span load and keeps the sleeping surface flat.
This support is also why you need no box spring. The slats resting across the frame, backed by the center rail, provide full mattress support on their own. A box spring would only raise the height and defeat the whole purpose of a floor bed.
Step 7: Install the Slats (CPSC 3.5″ Spacing Rule)
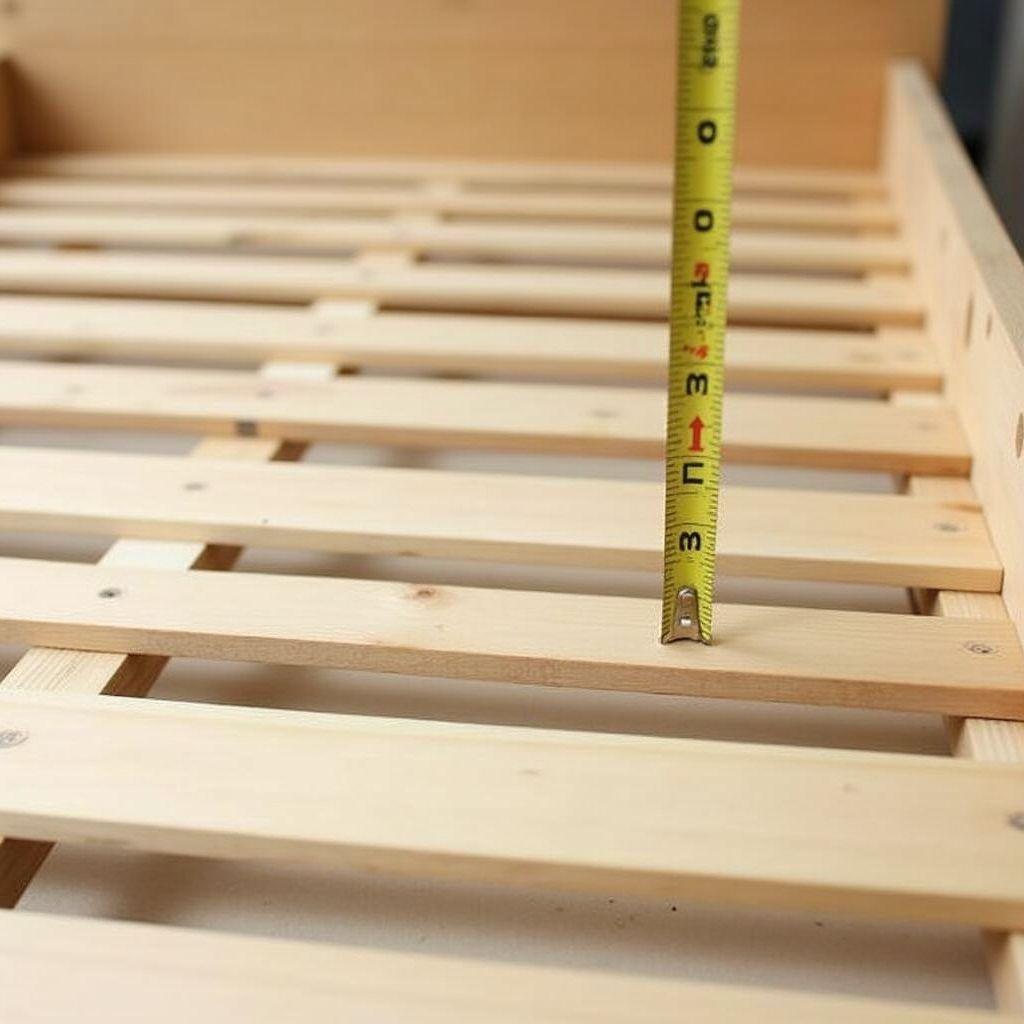
This is the step that makes your bed genuinely safe, and it is where many online plans fail. The CPSC standard, 16 CFR Part 1513, sets a maximum of 3.5 inches for openings between components of a children’s bunk bed structure. That figure is the widely cited benchmark for slat spacing on any children’s bed, because gaps wider than 3.5 inches can trap a child’s head or body.
Some free plans use 4.25-inch gaps, which exceeds that limit. This build uses gaps of about 1.5 inches between the 3.5-inch-wide slats, well under the maximum, for extra safety margin.
The math checks out across your 75-inch interior span: 15 slats at 3.5 inches wide is 52.5 inches, plus 14 gaps at 1.5 inches is 21 inches, totaling 73.5 inches. That fits comfortably inside the frame.
To keep every gap consistent, cut a scrap block exactly 1.5 inches wide and use it as a spacer. Set a slat, butt the spacer against it, set the next slat, and repeat. Screw each slat down with two 2.5-inch screws into each rail, countersunk flush.
Do not glue the slats. Screwing them lets you unscrew and replace a single slat later if one ever cracks or gets damaged.
Step 8: Sand and Finish (Non-Toxic Options)
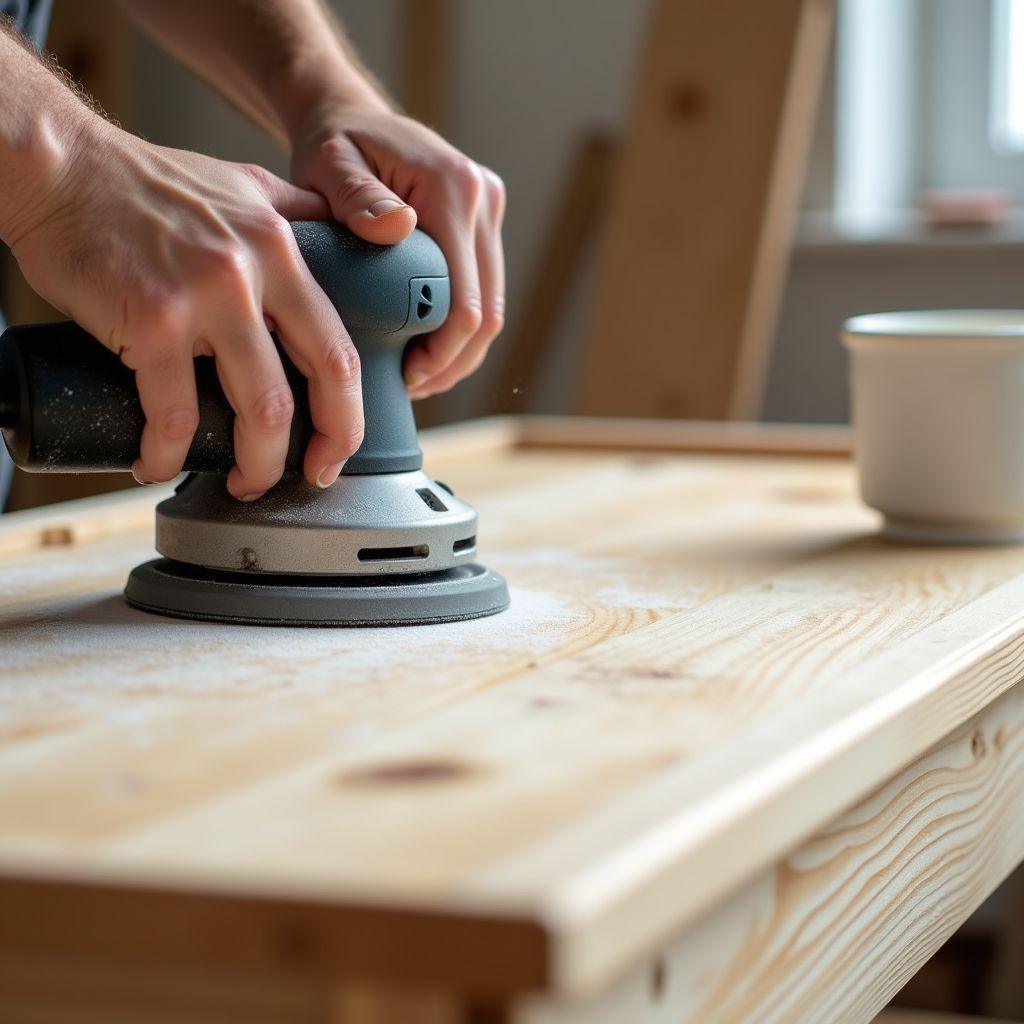
Sand through three grits in order: 80 grit to remove mill marks and rough saw edges, 120 grit for general smoothing, then 220 grit for a final splinter-free surface. A single splinter on a child’s bed is a real hazard, so this progression matters. Round over every edge and corner as you go so nothing is sharp.
Then choose a non-toxic finish. Look for “zero-VOC” on the label, not just “low-VOC”:
| Finish | Best For | Notes |
|---|---|---|
| Zero-VOC latex paint | Most people, wide color range | Benjamin Moore Aura, Sherwin-Williams Emerald, ECOS |
| Milk paint | Natural, matte look | Casein-based, needs a beeswax or oil topcoat |
| Water-based polyurethane | Clear, hardest finish | Minwax Polycrylic, Varathane water-based |
| Rubio Monocoat | Natural wood, food-safe | Plant-based hardwax oil, one coat |
| Beeswax or hemp oil | Most natural look | Zero synthetic chemicals, reapply every 6-12 months |
Avoid oil-based polyurethane, lacquer, shellac, and boiled linseed oil, which either off-gas heavily or contain metallic drier additives. Never use vintage or imported paints that may carry lead or cadmium pigments.
Pro tip: Let the finish cure fully before your child uses the bed. “Dry to touch” is not the same as cured. Allow a minimum of 48 to 72 hours for water-based products, and 5 to 7 days for oil finishes. Ventilate the room during and after application.
Step 9: Safety Check Before Use
Run through this checklist before the mattress goes on and your child climbs in:
- Slat gaps: measure with a tape and confirm every gap is under 3.5 inches.
- Frame stability: shake the frame firmly. There should be no wobble or rock.
- Hardware: every screw head is flush or countersunk. Run your hand over all surfaces and feel for any protrusion.
- Mattress fit: the mattress sits snug, with no gap wider than one finger between the mattress and any frame rail.
- Finish: fully cured, with no lingering paint smell.
- Surfaces: all edges sanded smooth, no splinters anywhere.
- Placement: set the bed on a flat, hard floor, not on thick carpet that could let it rock.
Confirm your child is 18 months or older and mobile enough to reposition themselves before using the bed. If you have an active sleeper or a child under 2, consider adding low-profile guardrails (2 to 4 inches tall) to the long sides, bolted on so you can remove them later.
Looking for more free woodworking plans for kids’ rooms and beyond? Browse hundreds of plans at realwoodworkplans.com.
If you want a complete printable version of these plans with detailed diagrams ready to take to the lumber yard, TedsWoodworking includes toddler bed and platform bed plans among its 16,000+ woodworking projects.
FAQ
When should a toddler transition to a floor bed?
Most families make the switch between 18 months and 3 years. The clearest signal is when your toddler starts climbing out of the crib, because at that point a crib becomes a fall hazard and a floor bed is safer. Some transition earlier, at 12 to 18 months, for Montessori reasons. There is no universal right age; readiness depends on the individual child.
Is a floor bed safe for toddlers?
Yes, for toddlers 18 months and older who are mobile and can reposition themselves. At 5 to 10 inches high, any roll-off is a very short drop, far safer than rolling out of a bed 20 or more inches up. The key requirements are slat spacing under 3.5 inches, a snug mattress fit with no gap over 1 inch, a non-toxic finish, and all edges sanded smooth.
What size mattress fits a DIY toddler floor bed?
A standard twin mattress (38 × 75 inches) is the best choice for a bed you build yourself. It fits your child through age 10 and beyond, giving you years of use from one build. Crib mattresses (28 × 52) and toddler mattresses (28 × 54) work too, but your child outgrows them within a year or two. This plan is built for a twin.
Can I add guardrails to a floor bed?
Yes. Low-profile guardrails 2 to 4 inches tall can be added to one or both long sides. Attach them with bolts so you can remove them as your child gets older. Commercial toddler bed rails from IKEA or Amazon also fit many platform-style frames. At 6 inches of frame height a fall is already very low-risk, but guardrails give peace of mind for children under 2.
How long will this floor bed last?
Built from 2×6 pine with proper joinery, this frame should last 10 to 15 years under normal use. Sized for a twin mattress, it works from toddlerhood through elementary school. The limiting factor is usually the mattress, not the frame, so expect to replace the mattress long before the bed itself wears out.
What is the safest wood finish for a child’s bed?
Use a zero-VOC water-based latex paint, checking for “zero-VOC” on the label rather than just “low-VOC.” Benjamin Moore Aura, Sherwin-Williams Emerald, and ECOS Paints are popular picks. For a natural wood look, Rubio Monocoat or a water-based polyurethane like Minwax Polycrylic are safe once fully cured. Always allow 48 to 72 hours of cure time before placing the mattress.
Related Articles

“DIY woodworking enthusiast who started with zero experience and a YouTube tutorial.
I build simple, practical projects for my home and share free plans
so other beginners can skip the guesswork.If I can build it, you can too.”