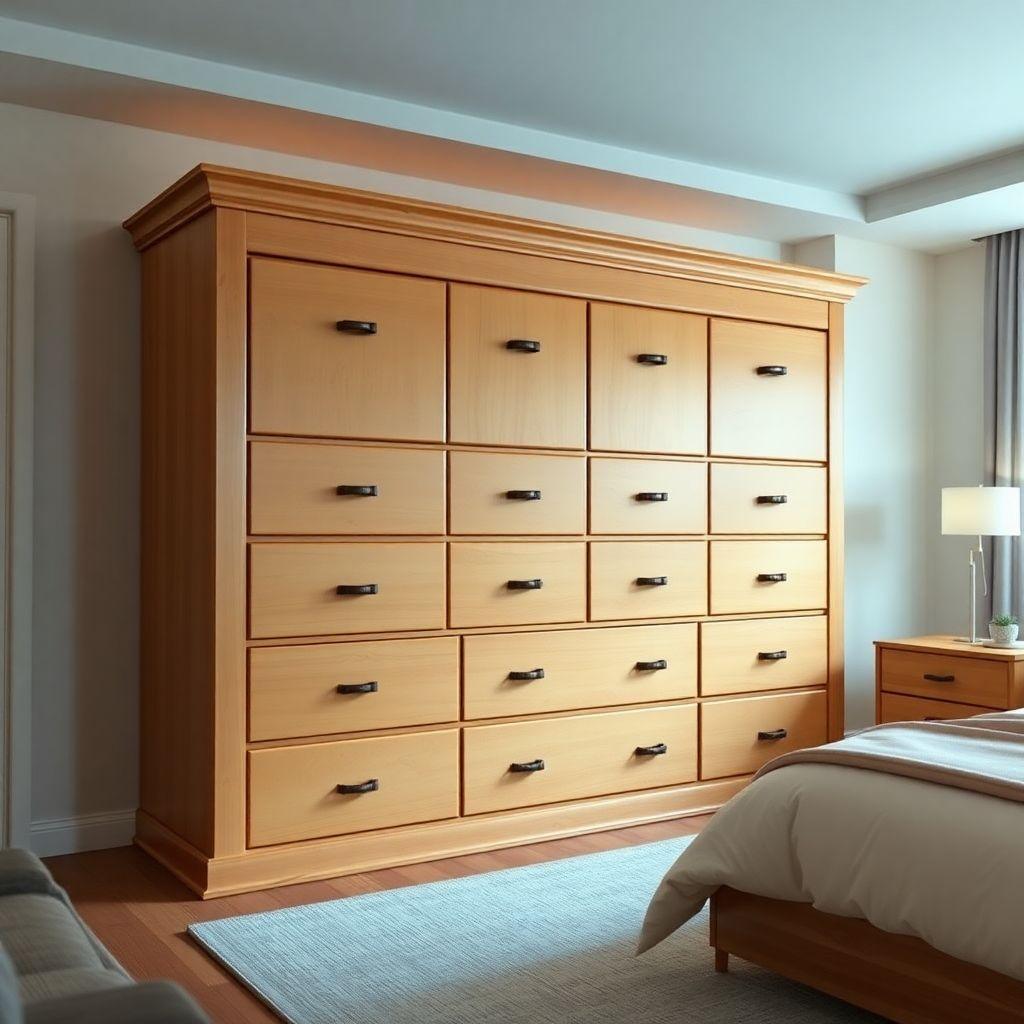
Nine drawers means nine chances to get the fitting wrong. These 9 drawer dresser plans are built for that reality. This is a triple dresser, 62″ wide by 34″ tall by 20″ deep, laid out as three columns by three rows for a clean 3×3 grid of drawers. It is part of our full bedroom furniture plans collection, and it is the most demanding common build in that set.

Most plans online will hand you a cut list and wish you luck. This one goes further on the three things that actually decide whether the finished piece looks factory-built or homemade: dust panels between the rows, racking prevention during the glue-up of a 60″-plus carcass, and a deliberate drawer-fitting sequence that keeps cumulative error from stacking up. This is a nine-drawer, nine-slide project. Treat it like one.
Is This Build Right for You?
Looking for more bedroom furniture ideas?
This guide is part of our complete bedroom furniture plans series — compare all options by skill level, cost, and build time.
Want 16,000+ woodworking plans?
Ted’s Woodworking has step-by-step plans for every skill level. Browse Ted’s plans.
You should have built at least one box with working drawers before this, something at the level of a simple cabinet or a DIY nightstand plans project. That single-drawer build teaches slide installation and reveal fitting on a scale you can recover from. This build repeats those skills nine times, where small errors compound.
Tools you need upfront: a table saw or track saw is strongly recommended at this scale for cutting dados and breaking down full sheets, plus a drill/driver, a Kreg jig, and at least ten bar or pipe clamps. Budget three to four weekends as an intermediate builder. If that feels like a stretch, build the nightstand first and come back.
Two Budget Tiers
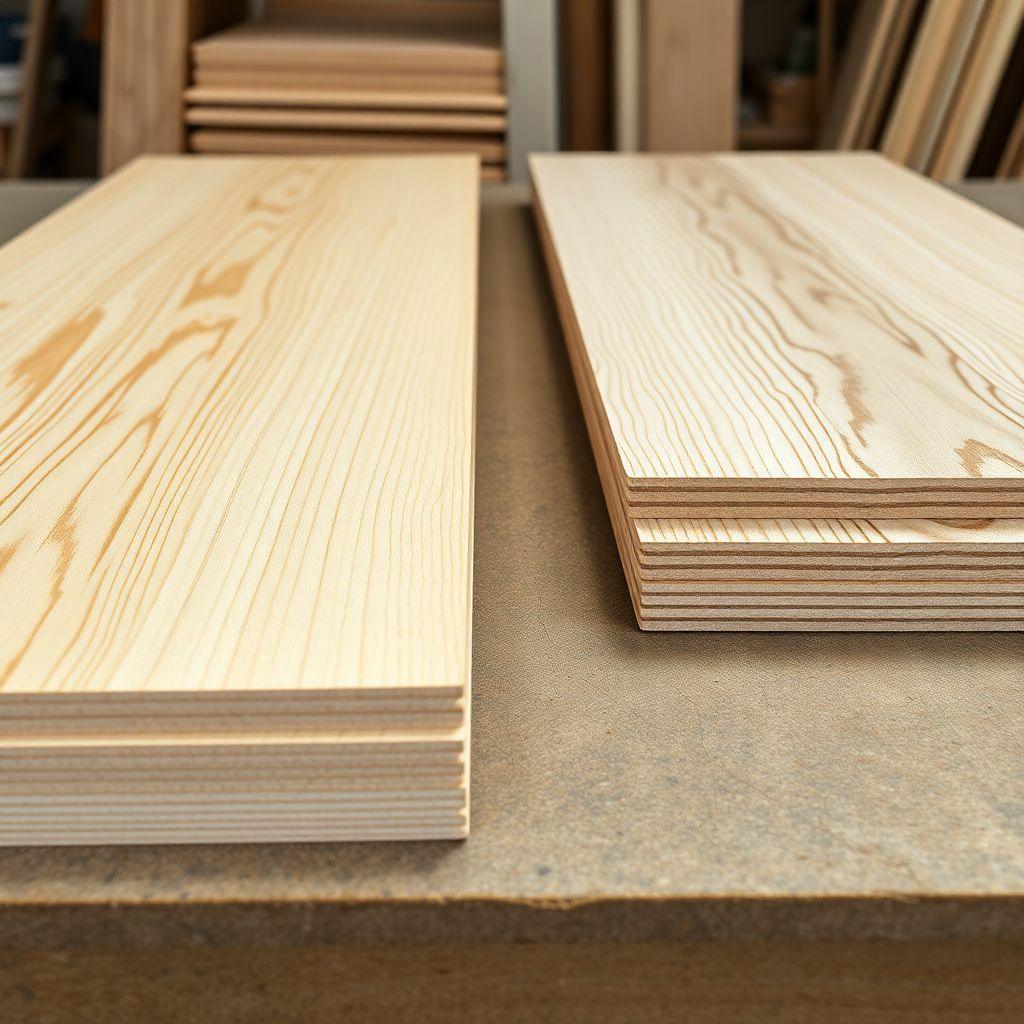
Sheet goods drive the cost here, and in July 2026 birch plywood is not cheap. Five sheets of 3/4″ birch alone run $275 to $400, so the rock-bottom end of most published price ranges is only reachable with pine or poplar plywood and budget slides. We give you both paths.
The Budget build uses pine or poplar plywood, which is paintable and slightly less stiff, paired with budget slides. The Premium build uses birch plywood, which is harder, smoother, and better under a natural finish, paired with mid-range ball-bearing slides. Pick based on whether you are painting or finishing clear.

| Item | Budget Build | Premium Build |
|---|---|---|
| Carcass plywood (5 sheets 3/4″) | Pine/poplar ply $35–50/sheet | Birch ply $55–80/sheet |
| Drawer box plywood (2 sheets 1/2″) | $25–35/sheet | $35–55/sheet |
| Back + dust panels (2 sheets 1/4″) | $20–28/sheet | $25–35/sheet |
| Drawer slides (9 pairs) | Budget $4–7/pair | Mid-range $10–16/pair |
| Hardware, screws, glue | $40–60 | $50–70 |
| Total | $280–420 | $520–780 |
Cut List
Cut everything to the dimensions below before you start assembly. Drawer box heights step up by row: top row boxes are 3-1/2″ tall, middle 4-1/2″, bottom 6″. False fronts run larger than their openings to leave a 1/16″ reveal top and bottom: top 4-1/4″, middle 5-1/4″, bottom 6-3/4″. One note before you cut a single dado: nominal 3/4″ plywood actually measures about 23/32″, so test your dado width against a scrap of your real material, not the label.
| Part | Qty | Thickness | Width | Length | Material |
|---|---|---|---|---|---|
| Side panels | 2 | 3/4″ | 20″ | 34″ | 3/4″ ply |
| Top panel | 1 | 3/4″ | 20″ | 60-1/2″ | 3/4″ ply |
| Bottom panel | 1 | 3/4″ | 20″ | 60-1/2″ | 3/4″ ply |
| Vertical dividers | 2 | 3/4″ | 20″ | 32-1/2″ | 3/4″ ply |
| Horizontal dividers | 6 | 3/4″ | 19-1/4″ | 20″ | 3/4″ ply |
| Back panel | 1 | 1/4″ | 34″ | 62″ | 1/4″ ply |
| Dust panels | 6 | 1/4″ | 19-1/4″ | 19-3/4″ | 1/4″ ply |
| Drawer box sides (top row) | 6 | 1/2″ | 3-1/2″ | 18″ | 1/2″ ply |
| Drawer box sides (mid row) | 6 | 1/2″ | 4-1/2″ | 18″ | 1/2″ ply |
| Drawer box sides (bottom row) | 6 | 1/2″ | 6″ | 18″ | 1/2″ ply |
| Drawer box front/back (top) | 6 | 1/2″ | 3-1/2″ | 17-1/2″ | 1/2″ ply |
| Drawer box front/back (mid) | 6 | 1/2″ | 4-1/2″ | 17-1/2″ | 1/2″ ply |
| Drawer box front/back (bottom) | 6 | 1/2″ | 6″ | 17-1/2″ | 1/2″ ply |
| Drawer box bottoms | 9 | 1/4″ | 17″ | 17-1/2″ | 1/4″ ply |
| False fronts (top row) | 3 | 3/4″ | 4-1/4″ | 19-1/2″ | 3/4″ ply |
| False fronts (mid row) | 3 | 3/4″ | 5-1/4″ | 19-1/2″ | 3/4″ ply |
| False fronts (bottom row) | 3 | 3/4″ | 6-3/4″ | 19-1/2″ | 3/4″ ply |
Step 1: Mill Your Dados First
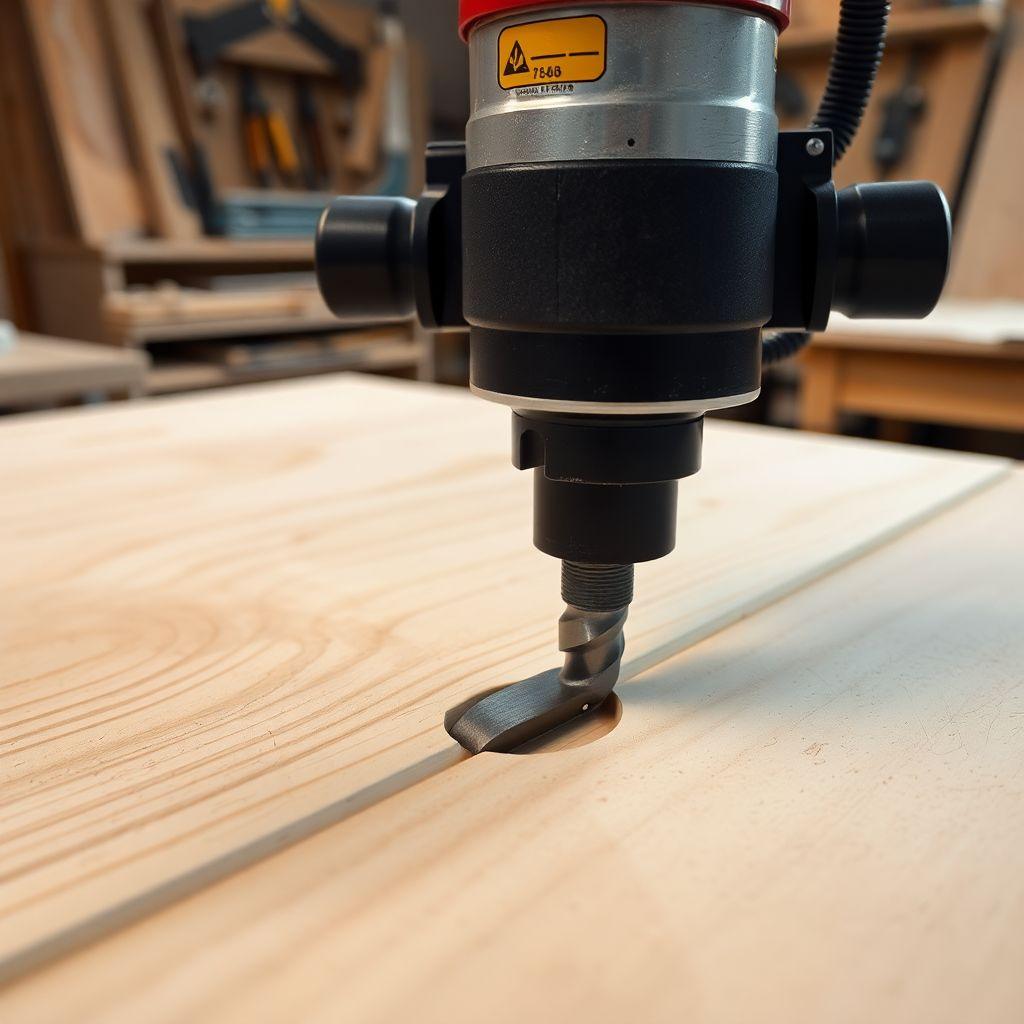
Cut every dado before any assembly. Once the box is glued together, you cannot get a router or a dado stack into these joints, so this is a do-it-now step.
The horizontal dividers sit in dados cut 3/8″ deep by 3/4″ wide (matched to your actual ply thickness) into the side panels and the vertical dividers. Lay these out from the bottom up so your opening heights land where they should: 7″ for the bottom row, 5-1/2″ for the middle, 4-1/2″ for the top. Working bottom-up keeps a stacked measurement error from pushing every drawer opening off spec.
The dust panels ride in their own dados, 3/8″ deep by 1/4″ wide, centered in the span between each pair of horizontal dividers. Cut these at the same time.
Either a router table with a straight bit or a table saw with a dado stack works. Whichever you use, size the cut to a test scrap of your real plywood, then dry-fit every divider before glue touches anything.

Step 2: Dry-Fit and Brace
Assemble the entire carcass dry, with clamps and no glue, to confirm every dado seats fully and every part is cut right. This is the cheapest time to catch a mistake.
Check squareness by measuring both diagonals across the face. They must match within 1/8″. If they do not, something is off before you have committed any glue, and you can fix it now.
A 62″-wide plywood box wants to rack, meaning it wants to skew into a parallelogram before the joints are locked. To hold it square while you glue, cut a scrap 1×4 and clamp it diagonally across the back opening. This temporary brace does the job that the back panel will do permanently, but the back panel goes on after the glue-up cures. The brace covers that gap. Leave it in place through clamping and correction.
Step 3: Glue-Up Strategy
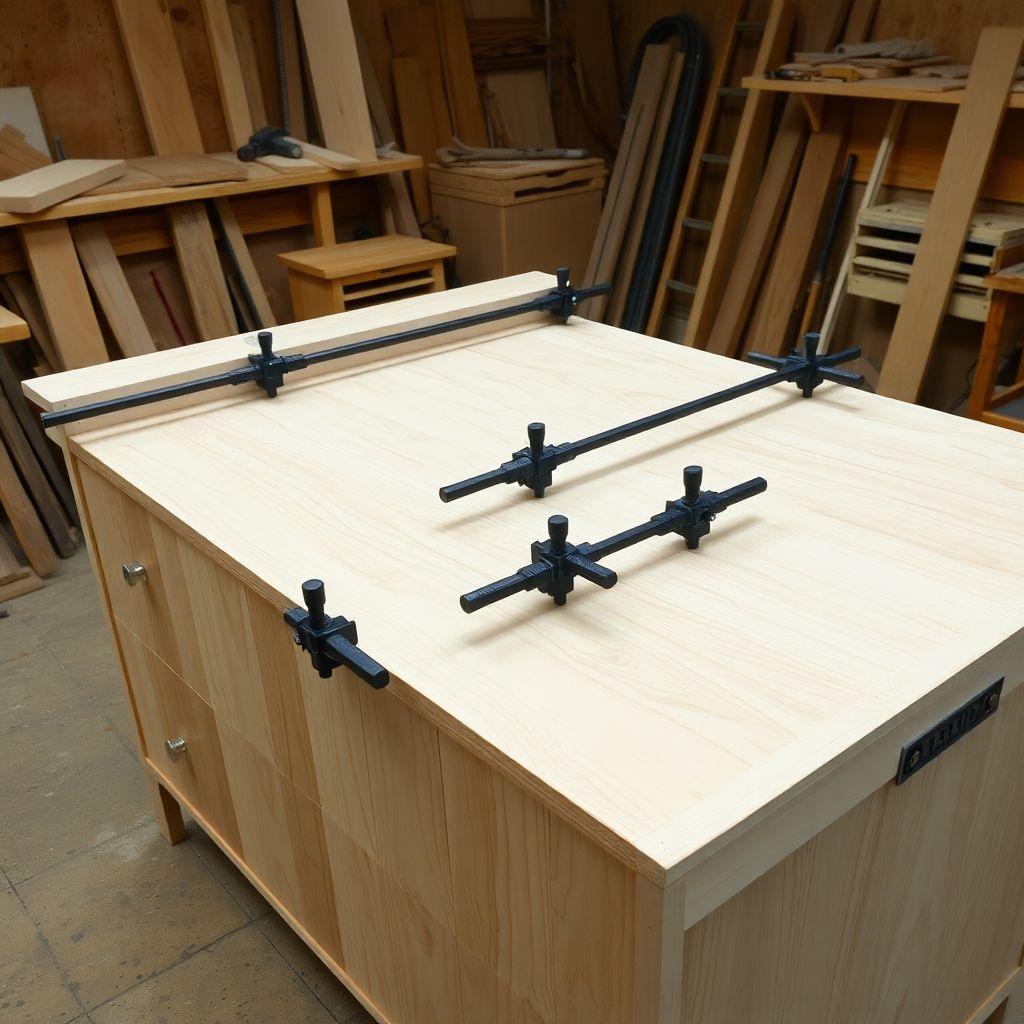
Do not glue the whole carcass in one shot. This is the mistake that ruins big cabinets. With this many joints, glue skins over before you can square a 60″-plus box, and you end up clamping a racked carcass that cures crooked. Stage it instead.
Work in this sequence:
- Glue the two vertical dividers to the top and bottom panels first, forming the three columns. Clamp, check both diagonals, and let this cure about one hour so the frame is stable.
- Add the horizontal dividers and their dust panels, working one column at a time. Slide each dust panel into its dado as you set the dividers, since you cannot add it later.
- Apply the final clamps, at least ten bar or pipe clamps, parallel-jaw if you have them since they resist bowing the panels under pressure. Clamp a diagonal 1×4 brace across the back.
- Check both diagonals one more time. If one is longer, angle your clamps slightly toward that longer diagonal to pull the box back to square. Then let it cure overnight.
That staged sequence is the part most plans skip entirely. They say “glue it up” and leave you to discover on your own that a 62″ box does not cooperate. Take the extra cure step. It is the difference between square and close-enough.

Step 4: Install the Back Panel
Install the 1/4″ back panel only after the carcass glue-up has fully cured, overnight at minimum. Rushing it traps an out-of-square box.
Attach the back with a thin bead of glue and 1-1/4″ brad nails every 4″ or so, either into a rabbet on the inside rear edge or flush to the back edges. Once fastened, the back panel acts like structural sheathing on a framed wall: it locks the carcass square permanently and gives it shear stiffness across the whole face.
Measure your diagonals one last time before you nail. This is the moment the box’s shape becomes permanent, so do not fit a single drawer until this panel is on and the carcass reads square.
Step 5: Build the 9 Drawer Boxes
Nine boxes go fastest with pocket screws: 1/2″ plywood joined with 1-1/4″ fine-thread screws, roughly one to one and a half hours for all nine. Clothing loads are low compared to kitchen drawers, so the extra strength of box joints or dovetails is optional here, not required. If you own a table saw and a box-joint jig and want the upgrade, box joints give four to six times the glue surface and add maybe two to three hours including jig setup. Either is sound. Do not spend 40-plus hours hand-cutting dovetails for a dresser.
Size every box off its opening with three simple rules:
- Box width = column opening minus 1″ (leaves 1/2″ clearance each side for side-mount slides)
- Box height = opening height minus 1″
- Box depth = 1″ less than the interior carcass depth, for slide hardware clearance behind the box
The 1/4″ bottom rides in a groove near the lower edge of the sides and front, which squares the box as it is assembled. Build all nine boxes before you install any slides. Fitting them as a matched set is what keeps the reveals consistent across the whole front, and it lets you catch an oversized box before it is hanging in the carcass.
Step 6: Drawer Slide Selection and Installation
Slides are the single biggest hardware line item on this build, and the price swing across nine pairs is large. Budget accordingly.
| Slide type | Per pair | 9-pair total | Notes |
|---|---|---|---|
| Budget side-mount | $4–7 | $36–63 | 75–100 lb, no soft-close, some wobble |
| Mid-range ball-bearing | $10–16 | $90–144 | 100 lb, full extension, recommended |
| Soft-close side-mount | $15–25 | $135–225 | Built-in soft-close |
| Undermount soft-close | $25–55 | $270–495 | Concealed, needs routed dados, complex |
For a bedroom dresser, mid-range 16″ ball-bearing side-mounts at $10 to $16 a pair are the right call: 100 lb capacity, smooth full extension, no undermount routing. Soft-close is a reasonable upgrade on the top drawers if you want it.
Mark centerlines for all nine slide pairs before you drill a single hole. Cut a spacer block to each opening height and use it to set slide position consistently in every opening. Then run a long level across each column’s three slide pairs. Cumulative height error across three rows is exactly what kills the look, so catch it now with the level, not later with a binding drawer.
Step 7: Fitting Sequence for 9 Drawers
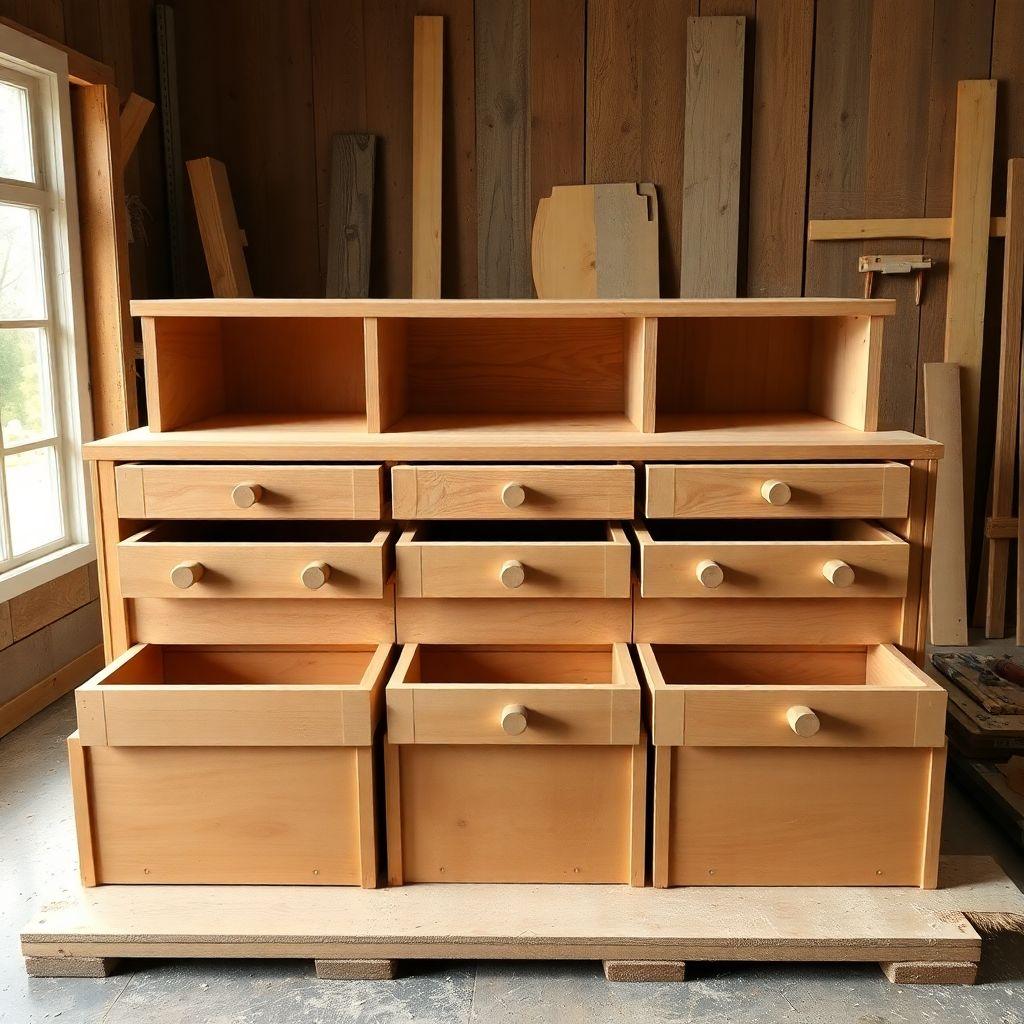
Order matters here, and it is the step competitors skip. Always fit the bottom row first and work up.
The bottom drawers carry the most weight and set the visual baseline for the reveal, so they get the reference position. Test-fit each box dry, without its false front, before you move on. It should slide fully in and out with no binding.
Here is why the order is not optional. If each box comes out 1/32″ too tall, that error stacks: across nine drawers you can accumulate up to 9/32″ of gap, enough to leave sloppy reveals or make the top drawer refuse to fit. Testing row by row lets you correct before the error compounds.
If a box binds on entry, your slides are toed in and not parallel. If it binds only at full extension, the box is out of square, so check its diagonals. Diagnose before you force anything.
For false fronts, stick each one to its box with double-sided tape, adjust until you see a consistent 1/16″ reveal all the way around, then open the drawer and drive screws from inside the box into the front. Position all nine fronts before final tightening so you can nudge them as a set and keep the grid lines straight across the whole dresser.

Wood Movement Warning
If you top this dresser with a solid-wood panel, respect wood movement or the top will destroy itself. A 20″-wide flat-sawn top moves roughly 1/4″ to 5/16″ across its width seasonally in a typical US home.
Never glue or screw a solid top hard to a plywood carcass. The carcass is dimensionally stable and the solid top wants to move. The rigid attachment loses that fight, and the top cracks or the joint blows apart, usually within the first dry winter.
Let the top float instead. Use Z-clips or slotted fasteners set into a groove routed in the top rail, so the top can slide as it expands and contracts. Figure-8 fasteners work but are marginal past about 18″ of width, so on this 20″ top go with slotted Z-clips. Or skip the issue entirely with a 3/4″ plywood top, which does not move; just edge-band it for a clean, finished look. This one decision decides whether the dresser lasts five years or fifty.
Step 8: Sand and Finish
Sand through the grits in order: 80, then 120, then 150, then 220. Skipping grits leaves scratches the finish will amplify, not hide.
For birch plywood, a shellac-based primer such as Zinsser BIN blocks tannins and gives paint a clean base; scuff lightly between coats. Pine and poplar plywood are more porous, so reach for a high-build primer to fill the grain. For a natural finish, two to three coats of water-based poly is the easiest durable route. For a painted build, use latex paint under a clear topcoat.
Give the inside of each drawer box one coat of water-based poly. It keeps the boxes from absorbing moisture and helps them slide smoothly.
Install the pulls last, after the finish has cured. Make a simple drilling template so all nine pulls land in the same spot on every front. Nine drawers make inconsistent pull placement obvious, so the template is worth the five minutes.
If you want more builds like this one, complete with printable cut lists and dimensioned drawings, the full library is worth a look. Get 16,000+ woodworking plans →
FAQ
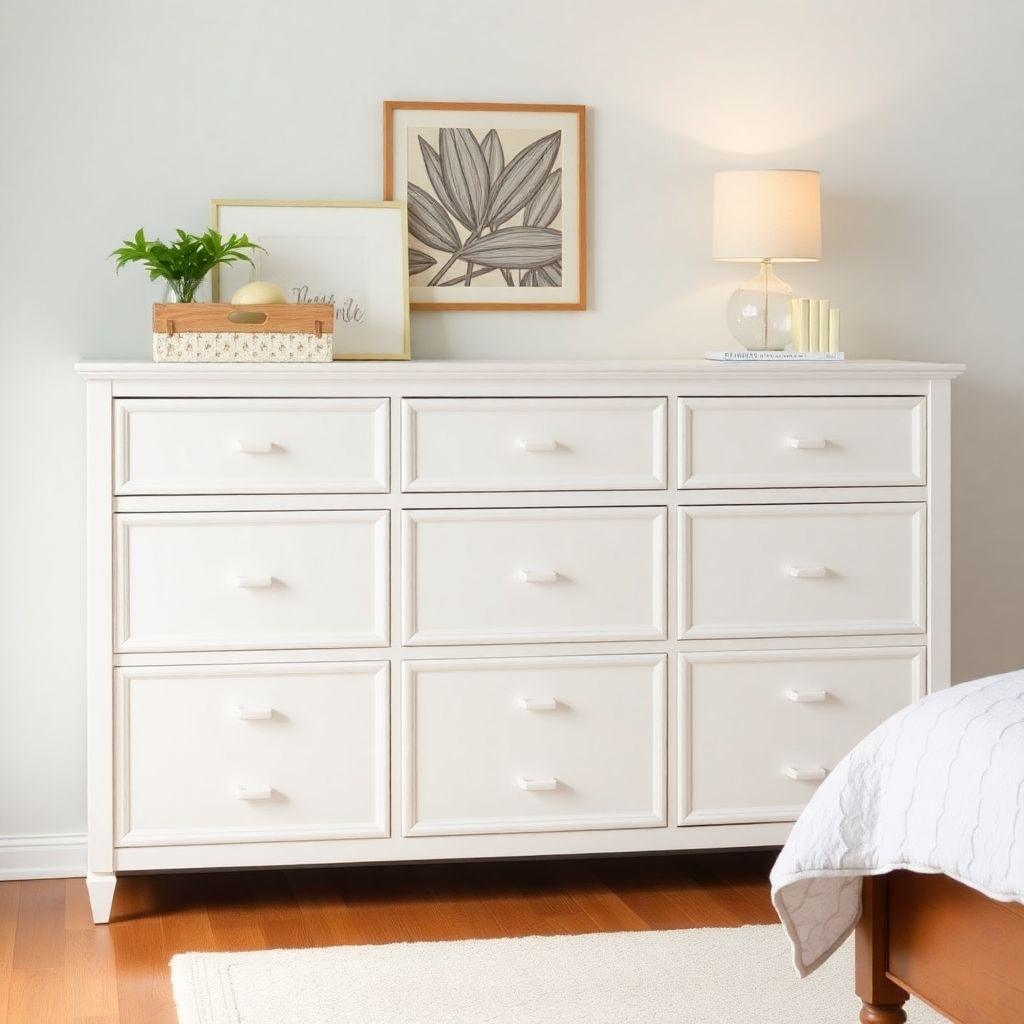
How hard is it to build a 9-drawer dresser?
It is the hardest common bedroom build. The joinery is not exotic, but doing it nine times over with matched reveals demands patience and precision. If you have never fitted a drawer, build a nightstand first, then come back to this.
What wood is best for dresser drawers?
1/2″ birch plywood, ideally Baltic birch. It is dimensionally stable, moves very little seasonally, holds screws well, and gives clean edges. It is the standard for drawer boxes for good reason.
Do I need a table saw?
It is strongly recommended for cutting accurate, repeatable dados. A track saw is an acceptable substitute for breaking down full sheets, but you will still want a clean way to cut the divider and dust-panel dados, so a router table with a straight bit is the backup.
How long does it take?
Plan on three to four weekends as an intermediate builder, including glue-up cure time between stages. The finishing and drawer fitting take longer than most people expect.
What are dust panels?
They are thin 1/4″ plywood panels that sit horizontally between the drawer rows inside the carcass. They stop dust and debris from upper drawers falling into lower ones, keep overstuffed contents from being shoved out the back into the row below, add stiffness, and give the interior a furniture-quality look. They were standard in antique furniture and got dropped from modern plans, which is a regression.
Why does my drawer fitting order matter?
Because tolerance stacks. Each box has a small dimensional error, and if you fit top-down or randomly, those errors accumulate into uneven reveals. Fitting bottom-up, testing each row before the next, keeps the error from compounding across nine drawers.
Can I build this with pocket screws instead of dados?
For the drawer boxes, yes. For the fixed dividers, you can, but dados are better here. They self-align the dividers during a large glue-up and resist vertical load far better than pocket screws alone. Pocket screws work as supplemental fasteners, not as the sole joint on a 62″ carcass.
How do I attach a solid wood top?
Never glue it down. Use Z-clips or slotted fasteners in a routed groove so the top can move seasonally. On a 20″-wide top, skip figure-8 fasteners, which run out of swing on wide panels, and use slotted clips instead. A plywood top sidesteps the problem entirely.

Related Articles

“DIY woodworking enthusiast who started with zero experience and a YouTube tutorial.
I build simple, practical projects for my home and share free plans
so other beginners can skip the guesswork.If I can build it, you can too.”