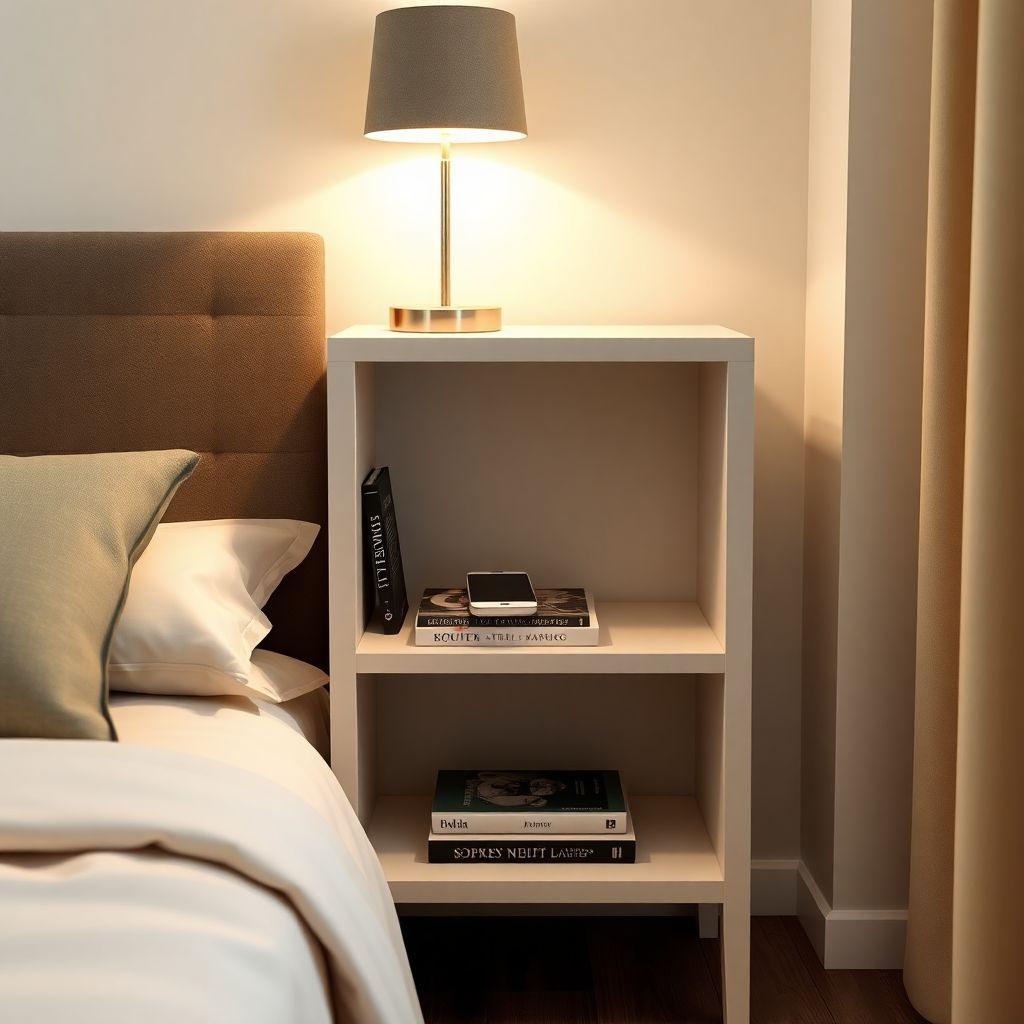

Using a bookcase as nightstand is the smartest first woodworking project you can pick, and this one costs under $85 in materials and takes about half a day to build. It is part of our full library of bedroom furniture plans, and it is designed for someone who has never built anything. You need three tools you can borrow or buy cheap: a drill, a circular saw, and a pocket-hole jig. No table saw. No router. No fancy joinery. Just straight cuts and screws driven at an angle. Follow the steps in order and you end up with a real, sturdy bedside shelf that looks like furniture, not a hardware-store afterthought.
Why a Bookcase Works as a Nightstand
The trick is height. Your nightstand surface should sit about 2 to 4 inches above the top of your mattress. On a standard bed with a box spring, the mattress top lands around 25 inches from the floor, so this 26-inch build hits the sweet spot. If you sleep on a platform bed, your mattress top is lower, usually 18 to 24 inches. Measure from your floor to the top of your mattress with bedding on, then adjust the side panel length if you need to.
Depth matters too. At 12 inches deep (a 1×12 pine board is actually 11-1/4 inches wide), this unit stays out of your walkway. A standard 16-inch bookcase crowds a small bedroom. Open shelves also beat drawers here: they are far easier to build, and they hold a lamp, phone, charger, and a stack of books without a single moving part.
What You’ll Need
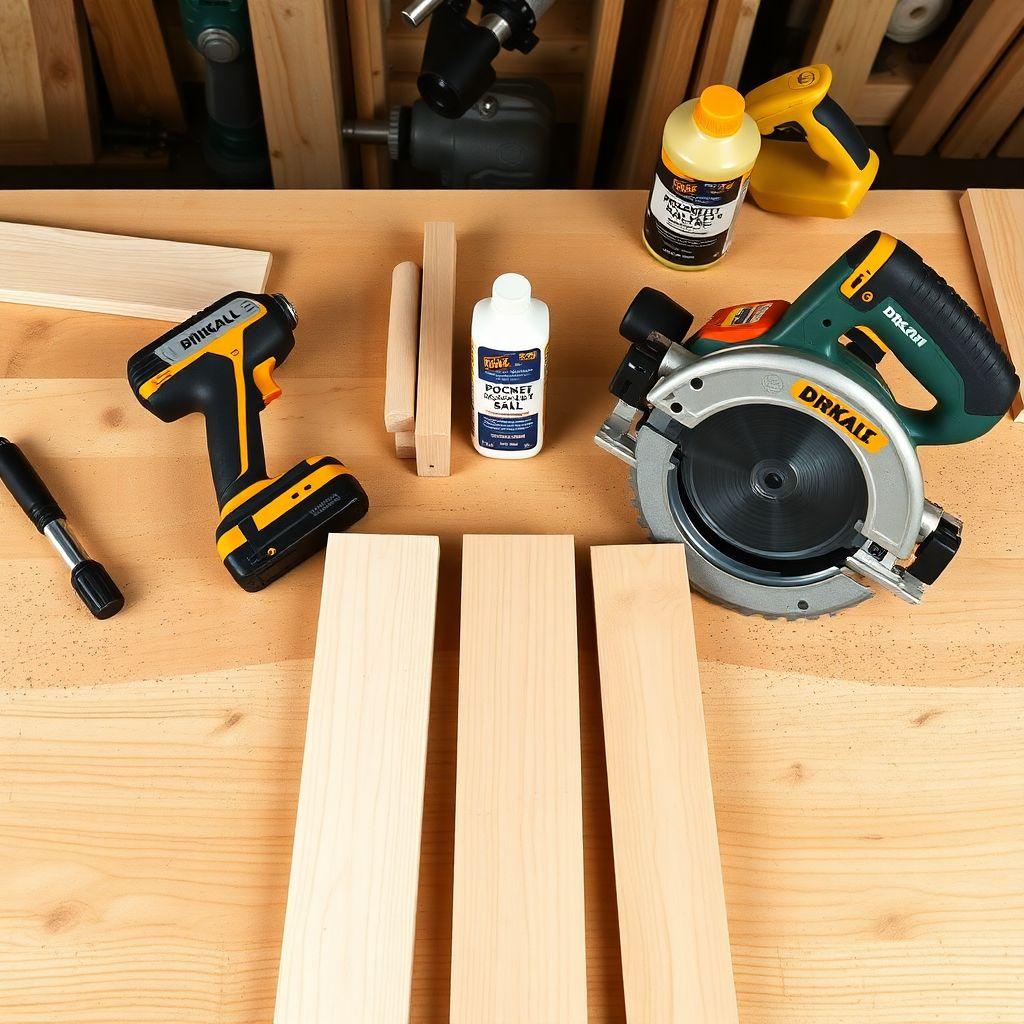

You do not need a workshop. Here are the tools, and note that none of them is a table saw.
Tools:
– Drill/driver
– Circular saw with a straightedge guide (or have the home center cut the boards for you)
– Pocket-hole jig (Kreg R3 or generic, about $15 to $30)
– Tape measure
– Speed square
– 2 to 4 clamps
– Sandpaper
– Brad nailer or staple gun for the back panel (optional; glue alone works)
Tools you do NOT need: table saw, router, miter saw.
Materials and cost:
| Material | Qty | Est. Cost |
|---|---|---|
| 1x12x8′ common pine board | 3 | $54-66 |
| 1/4″ hardboard or plywood (back panel) | 1 partial sheet | $5-10 |
| 1-1/4″ coarse-thread pocket screws | 1 box | $6-9 |
| Wood glue (Titebond II) | 1 | $5-7 |
| Sandpaper (80/120/150 grit) | assortment | $5-8 |
| Anti-tip wall strap kit (metal) | 1 | $10-15 |
| Primer + paint (quart) | 1 each | $12-18 |
| Decorative pulls | 2 | $4-12 |
Materials only, skipping paint and hardware, run $55 to $85. A fully finished build with paint, pulls, and an anti-tip strap runs $80 to $110. Pine prices swing by region, so verify locally. In July 2026, a 1x12x8′ board runs about $18 to $22.
Cut List
Every cut here is a straight crosscut. There is no ripping, which is why you can skip the table saw. Remember that a 1×12 pine board is actually 11-1/4 inches wide, not a full 12. Three boards of 1x12x8′ cover all the solid pine parts, and a fourth cheap board is good insurance against a mistake.
| Part | Qty | Width | Length | Material |
|---|---|---|---|---|
| Side panels | 2 | 11-1/4″ | 26″ | 1×12 pine |
| Top panel | 1 | 11-1/4″ | 16-1/2″ | 1×12 pine |
| Bottom panel | 1 | 11-1/4″ | 16-1/2″ | 1×12 pine |
| Shelves | 2 | 11-1/4″ | 16-1/2″ | 1×12 pine |
| Back panel | 1 | 18″ | 26″ | 1/4″ hardboard |
Step 1: Cut Your Parts
Cut the two side panels first, both to 11-1/4 inches by 26 inches. Then cut the top, bottom, and two shelves from the remaining boards, each to 11-1/4 inches by 16-1/2 inches. Use a circular saw riding against a straightedge guide clamped to the board, or hand the cut list to the home center and let them make every cut. As each part comes off the saw, write its name on it in pencil (side, top, bottom, shelf). Labeling now makes assembly foolproof later.
Step 2: Drill Pocket Holes
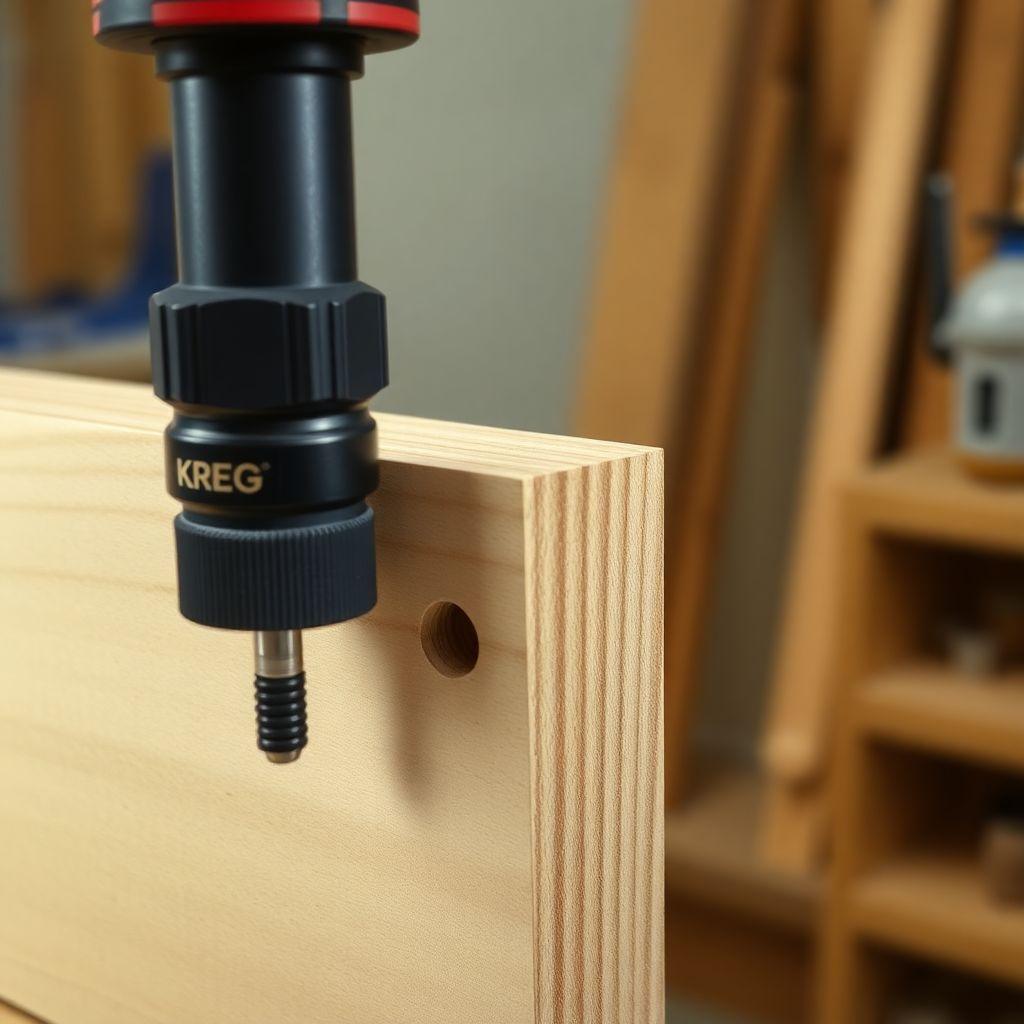

Set your pocket-hole jig collar to the 3/4-inch stock setting, and set the drill bit stop collar to match per the jig’s instructions. Load 1-1/4-inch coarse-thread screws; coarse thread bites softwood pine far better than fine thread, which is meant for hardwoods.
Drill pocket holes on the ends of the top panel, the bottom panel, and both shelves. These are the horizontal pieces that screw into the side panels. Put two pocket holes at each joint end, positioned 1 to 2 inches in from each edge. The side panels get no pocket holes.
Step 3: Assemble the Box
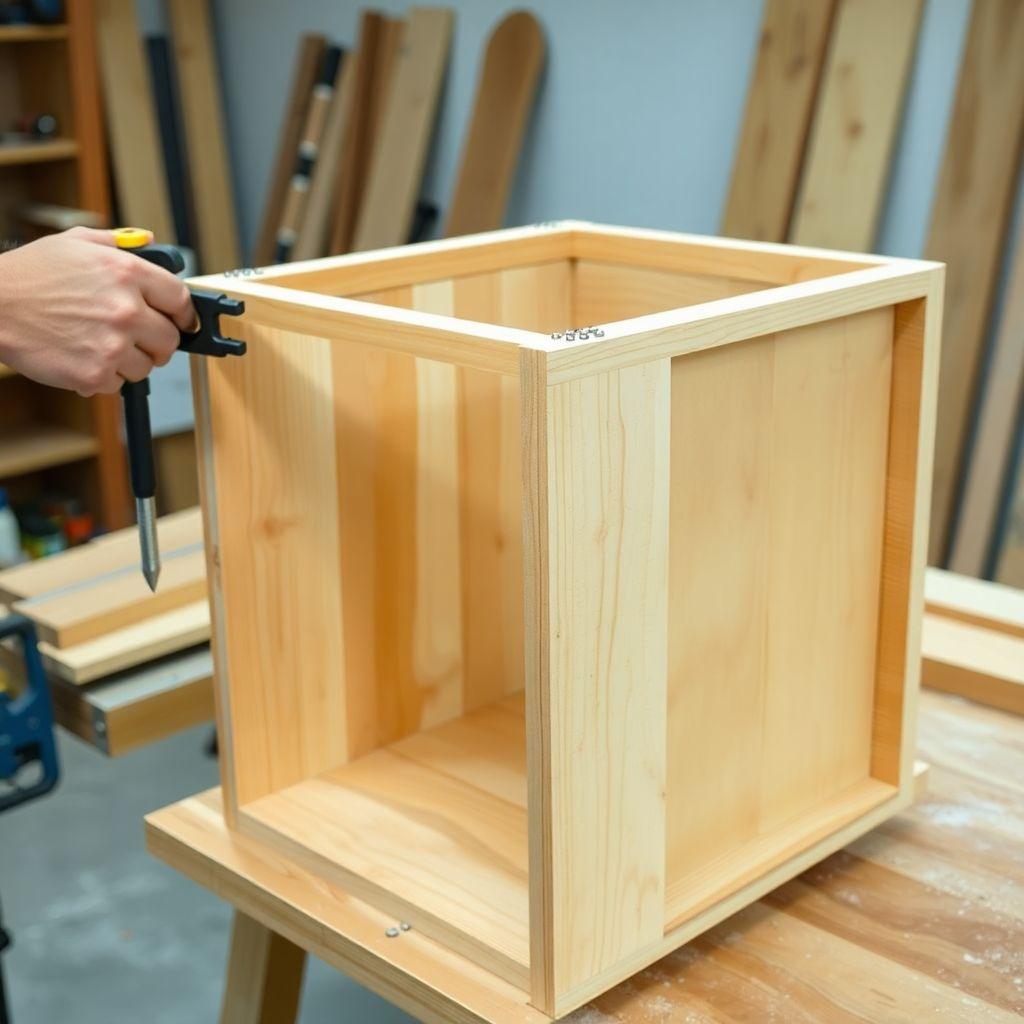

Work on a flat surface and build from the most stable point first.
- Stand the two side panels on edge and attach the bottom panel between them. The bottom sits about 1 inch up from the floor to leave clearance for feet. Run a thin bead of glue along the joint, then drive the pocket screws.
- Attach the top panel between the sides, flush at the very top. Glue and screw the same way. You now have a closed box.
- Mark the shelf positions on the inside faces of both sides. Set the lower shelf so its bottom face lands at about 11 inches from the box bottom (roughly 10 inches of clear space below), and the upper shelf’s bottom face at about 20-1/2 inches (roughly 8 inches of clear space between shelves). The top bay leaves about 6 inches, just right for a lamp.
- Glue and pocket-screw each shelf in place at its marks.
Before the glue sets, measure the box corner to corner both ways. The two diagonal measurements must match within 1/8 inch. If they do not, gently push the long corner until they do, then clamp. Let the glue cure about 30 minutes before you handle the box.
Step 4: Attach the Back Panel
Cut the 1/4-inch hardboard to 18 inches by 26 inches so it covers the entire back. Run a thin bead of glue along all the back edges of the box, set the panel in place flush with the outside edges, and fasten it with staples or 1-inch brad nails every 6 inches. This back panel does more than hide the wall: it locks the box square permanently and stops the unit from racking, meaning leaning side to side under load.
Anti-Tip Safety (Don’t Skip This)
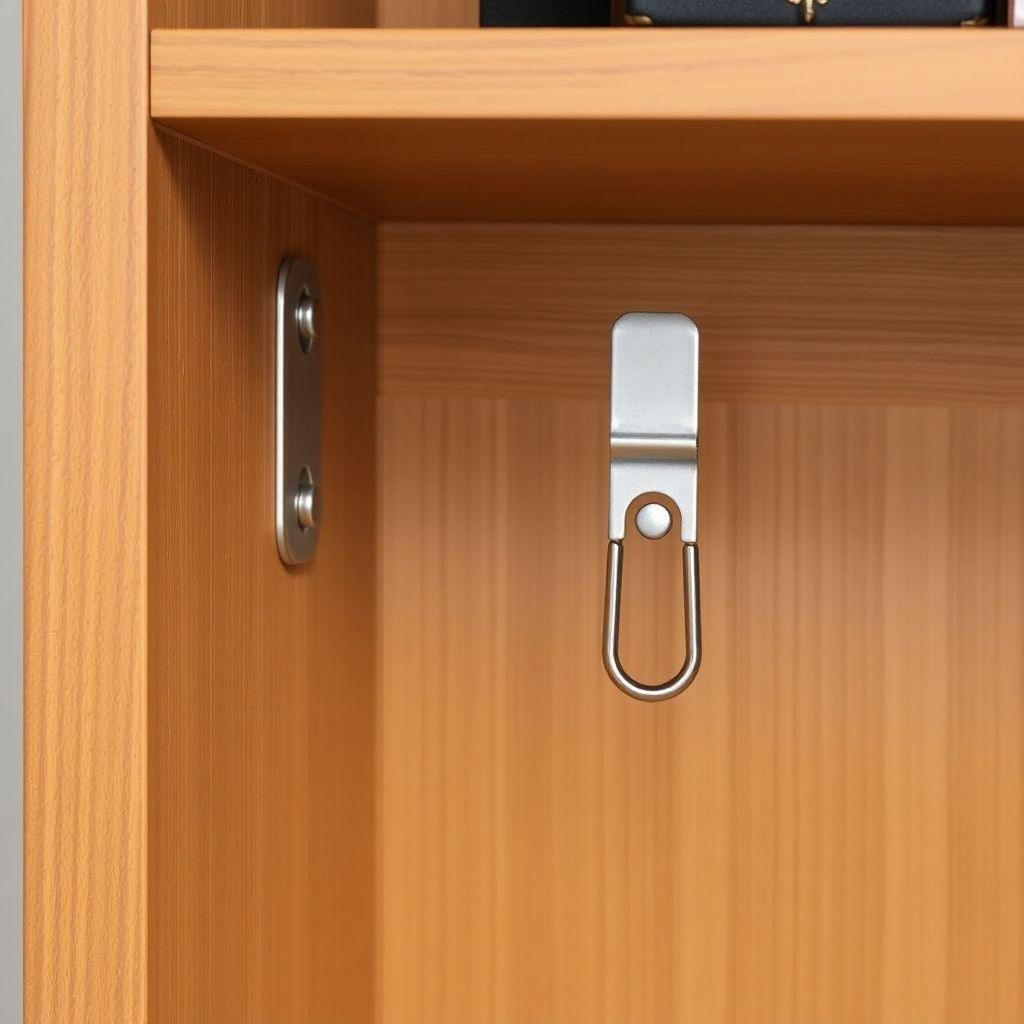

A bedside bookcase with a lamp on top is top-heavy by design, so anchoring it is not optional. The Consumer Product Safety Commission reports about 17,800 emergency room visits every year from furniture, TV, and appliance tip-overs. Children make up a large share of those injuries, and a child is treated every 53 minutes for a tip-over injury. Anchor this piece before you load it.
Metal wall strap (easiest): Screw one end of the strap to the back of the bookcase near the top and the other end into a wall stud. It must go into a stud, not drywall alone. Consumer Reports found stud-anchored straps held up to 347 pounds, while drywall-only anchors failed at low loads. Use metal strap kits only. Avoid plastic and zip-tie style kits, which grow brittle and have been recalled.
L-bracket (most rigid): Screw a steel L-bracket from the top rear of the unit into a wall stud for a more permanent hold.
Finding a stud: Use a stud finder ($15 to $25) or knock along the wall until the hollow sound turns solid. Confirm with a small test nail. US wall studs are typically 16 inches apart.
Step 5: Sand and Prime
Sand the whole box in three passes: 80 grit first to knock down saw marks, then 120, then 150 for a smooth surface. Wipe off the dust.
Pine is full of knots, and knots bleed brown through paint. Seal every knot with Zinsser BIN shellac primer before you paint; regular latex primer will not block them. After the knots are sealed, either roll on two coats of primer followed by two coats of latex paint, or use chalk paint. Chalk paint is the friendliest option for beginners: no sanding to bare wood, no separate primer, and a matte furniture finish.
Make It Look Like a Nightstand
A few finishing choices turn a plain box into something that reads as furniture from across the room.
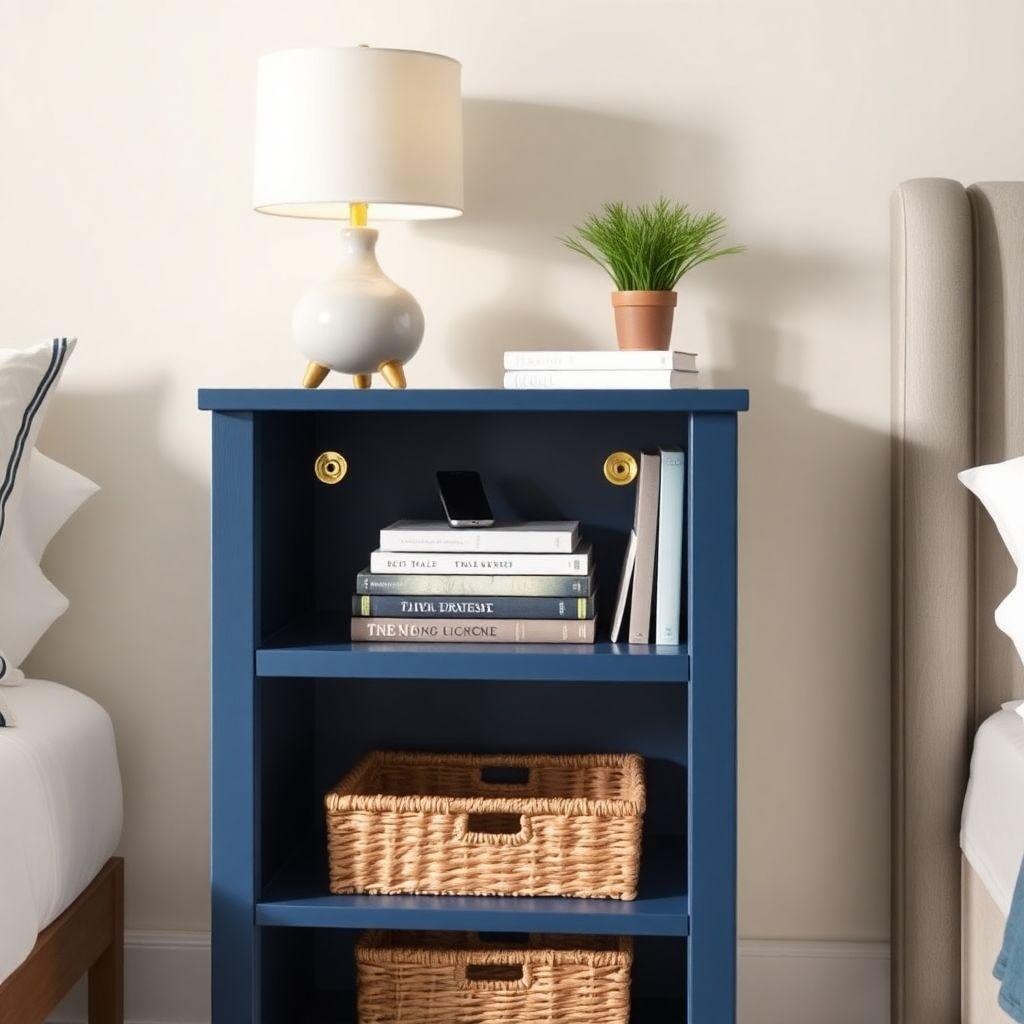
- Paint a solid color. Raw pine looks like a hardware-store shelf. A solid coat of white, black, or navy reads as an intentional piece of furniture. This is the single biggest change you can make.
- Add 2 decorative pulls. Mount two matching pulls on the front face of the middle shelf edge. They do nothing functional, but they are the fastest visual cue that says nightstand, not bookcase.
- Hide the cords. Drill a 1-1/2-inch hole with a spade bit in the lower back corner of the back panel, then thread the lamp cord and phone charger through it. A cord draped over the top rail instantly gives away that this was a bookcase.
- Style the shelves with restraint. Keep the top shelf for the lamp only; that clear lamp silhouette is what your eye reads as a nightstand. Put books, your phone, and glasses on the middle shelf, and larger items or a small basket on the bottom.
Get 16,000+ woodworking plans →
This was your first build. The full plan library takes you from here to beds, dressers, and everything else in the room.
FAQ

Can any bookcase work as a nightstand?
Yes, but depth and height decide it. Look for one that is about 12 inches deep so it does not bump your mattress, 24 to 28 inches tall to match mattress height, and 15 to 20 inches wide. Shallow cube shelves and tall 72-inch bookcases are the hardest to adapt.
How tall should a bookcase nightstand be?
Measure from the floor to the top of your mattress with bedding on, then aim for a surface 2 to 4 inches above that. Most box-spring beds land at 26 to 28 inches. Platform beds usually want 22 to 24 inches.
How do I keep a bookcase from tipping over?
Use a metal wall anchor strap, about $10 to $15, screwed into a wall stud. The stud-anchored straps Consumer Reports tested held up to 347 pounds, while drywall-only anchors were not enough. Do not skip this, especially with kids or pets in the house.
Do I need a table saw to build this?
No. Because 1×12 pine is already 11-1/4 inches wide, nothing needs ripping. A circular saw with a straightedge guide handles every cut, and most home centers will make the cuts for you for a small fee.
What is the best wood for a bookcase nightstand?
Pine is the best budget choice if you plan to paint it: cheap, everywhere, and easy to cut. Poplar costs a little more and takes paint beautifully. Skip oak and maple on a first build; they are hard on both your tools and your wallet.
How much does it cost to build a bookcase nightstand?
Plan on $55 to $85 for materials only. Add paint, pulls, and an anti-tip strap and you land around $80 to $110. A comparable piece from a furniture store runs $150 to $400 or more.
How do I make a bookcase look like a nightstand?
Three moves: paint it a solid color, add two matching pulls to the front face, and keep the top shelf clear except for a lamp. That lamp silhouette is what makes it read as a nightstand from across the room.

“DIY woodworking enthusiast who started with zero experience and a YouTube tutorial.
I build simple, practical projects for my home and share free plans
so other beginners can skip the guesswork.If I can build it, you can too.”