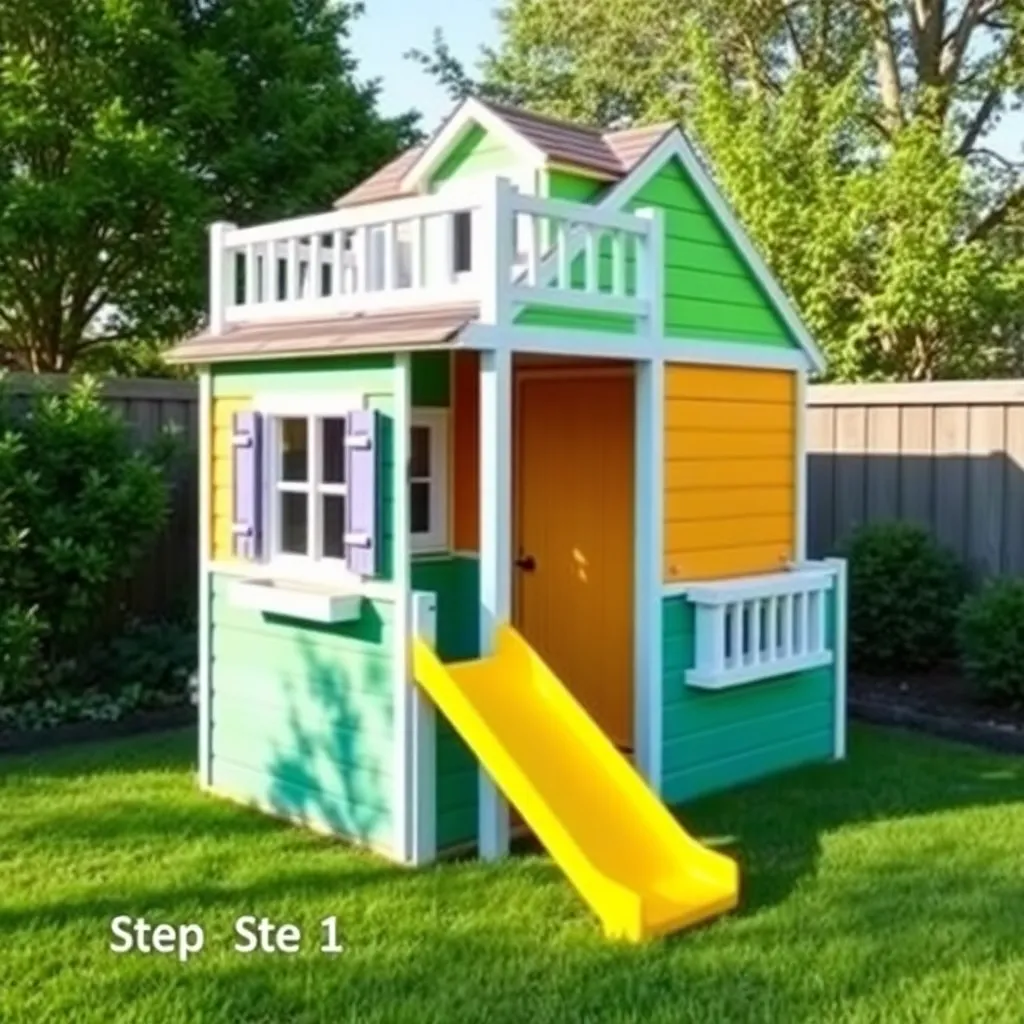
Kids Playhouse Plans: Build a Loft Cottage with Slide and Chalkboard Wall
A playhouse designed specifically for children is different from a miniature house — it needs a loft (because kids climb), a slide (because kids slide), a chalkboard wall (because kids draw on everything), and built-in details that make it a world of its own rather than a scaled-down adult space. These kids’ playhouse plans cover a 6×8-foot cottage-style structure with a 4×6-foot sleeping loft, an exterior slide mounted on the side wall, a full chalkboard wall inside, a built-in bench with toy storage underneath, and a Dutch door with a working mail slot.
Ted’s Woodworking has detailed kids’ playhouse plans with interior layouts, loft framing, and slide mounting guides. Browse Ted’s playhouse plans →
Step 1: Design the Loft Layout
Ted’s Woodworking has over 16,000 step-by-step plans with cut lists, materials lists, and detailed diagrams. Browse Ted’s plans →
The loft is the most important feature — it makes the playhouse feel like a real hideaway. The loft sits at 4 feet above the main floor, which gives 4 feet of clearance below (enough for a child to stand and play) and 3 feet of ceiling height above (cozy, not claustrophobic).
Loft position: Over the rear two-thirds of the playhouse. The front third stays open to the ceiling for height and light.
Loft floor: ¾-inch plywood on 2×4 joists at 16-inch on center, spanning the 6-foot width. The joists are supported by a ledger board bolted to the back wall and a beam bolted to the two side walls at 4-foot height.
Loft railing: 2×4 rail with 1×3 balusters at 4-inch spacing on the open front of the loft. A 4-inch gap maximum is the child-safety standard for railings. Opening width: 24 inches for a ladder or stair access to the loft.
Loft ladder: A simple ship’s ladder (70-degree angle, closely spaced rungs) takes minimal floor space. Build from two 2×3 side rails and 1¼-inch wood dowels for rungs at 8-inch spacing.
Step 2: Frame the Walls With the Loft Opening
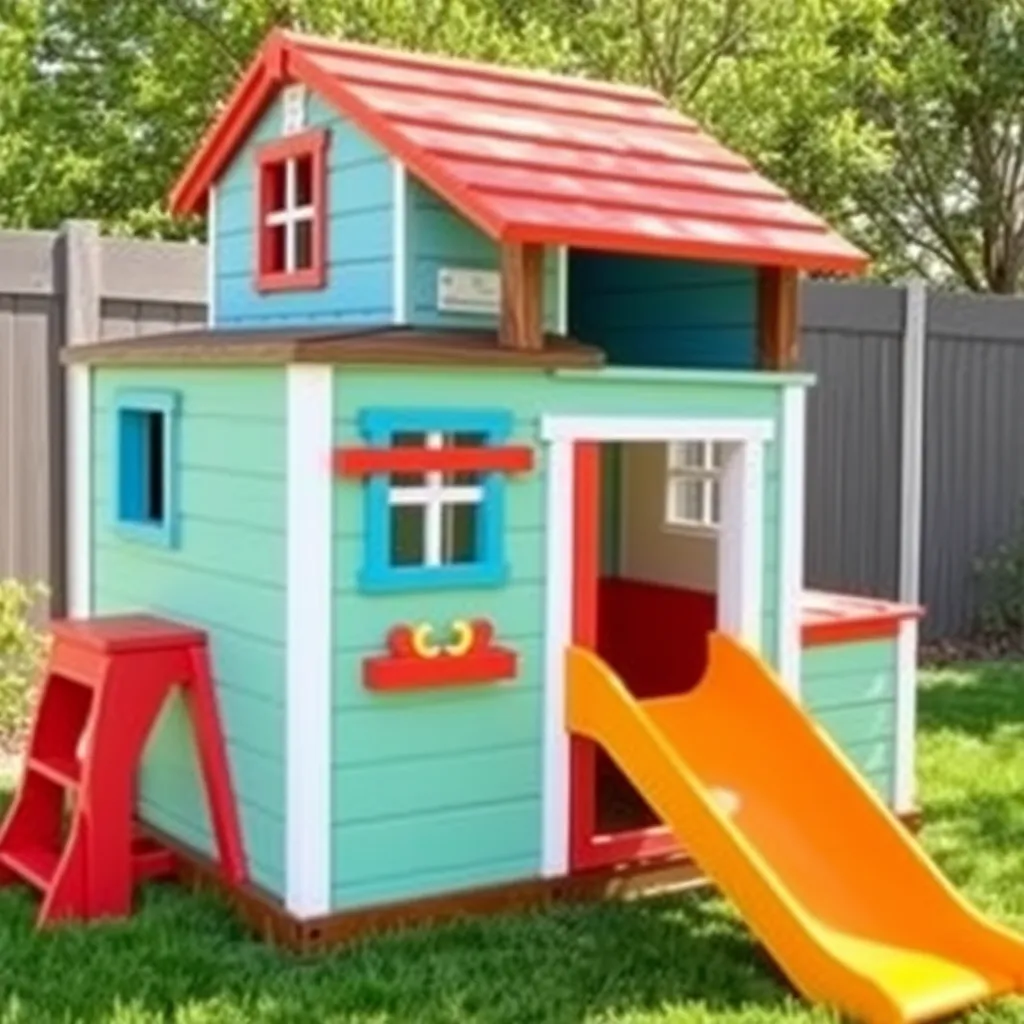
Frame the walls as standard 2×4 stud walls, but build in the loft support beam openings before the walls go up.
Side wall modifications:
- At 4 feet height, install a double 2×4 ledger rail that the loft joists will rest on — this ledger runs the full length of both side walls
- Ensure the ledger is level — the loft floor level depends entirely on the ledger accuracy
Back wall modifications:
- Install a ledger at the same 4-foot height
- Frame a 16×16-inch access hatch opening at the top of the back wall for ventilation (cover with a hinged panel)
Front wall modifications:
- No loft ledger needed here — the loft is open to the main space at the front
- Frame a 32-inch door opening and two window openings as normal
Step 3: Install the Loft and Chalkboard Wall
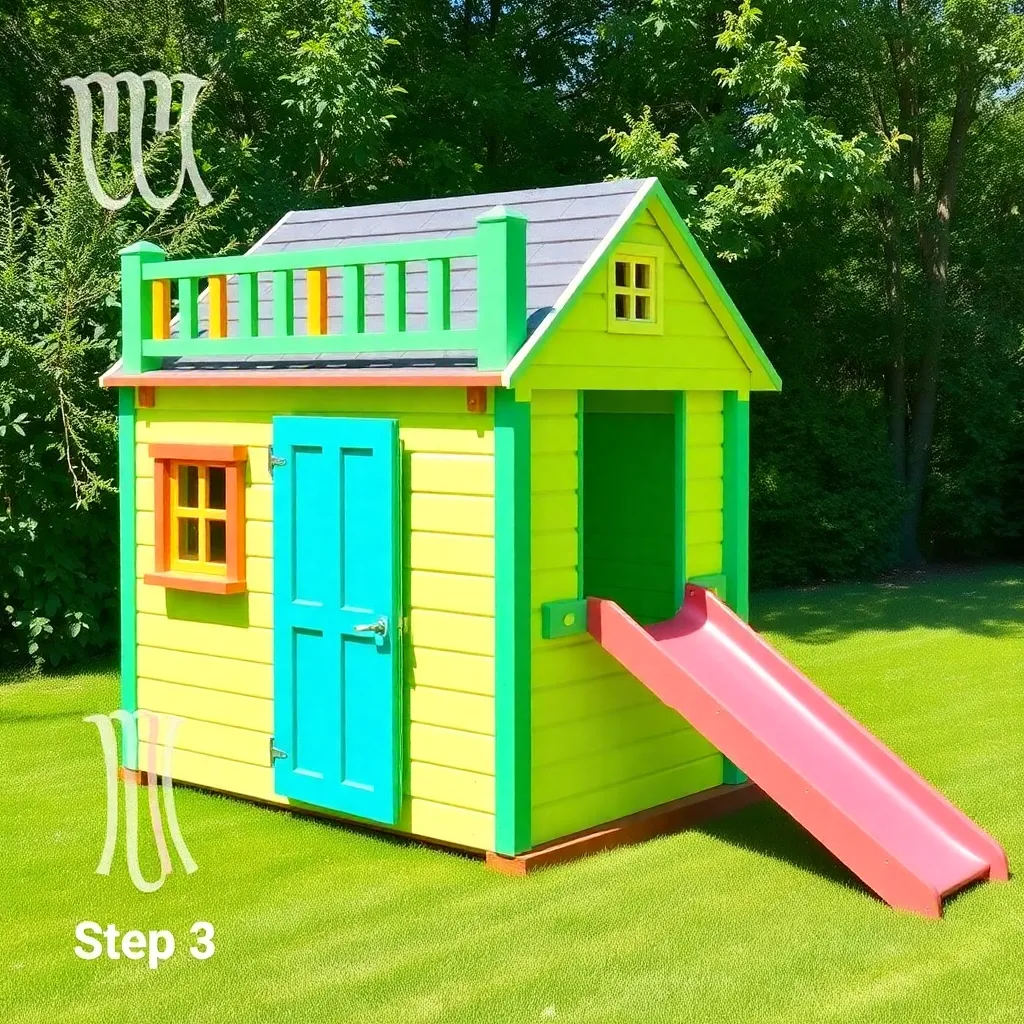
Loft installation:
- Cut 2×4 joists at 72 inches (spanning the 6-foot interior width)
- Rest each joist on the ledger strips in the side walls and nail through the rim joist into joist ends
- Lay ¾-inch plywood deck on top
- Install the loft railing and ladder
Chalkboard wall:
The chalkboard wall is the interior feature that gets the most daily use. Install it on the back wall of the lower level — the full 6-foot width × 4-foot height (from floor to loft floor).
- Apply two coats of chalkboard paint (Rust-Oleum Chalkboard or equivalent) directly to the plywood wall sheathing
- Frame the edge with a wood trim molding to contain chalk dust
- Mount a chalk tray (a simple 1×2 shelf) at the bottom edge
- Season the chalkboard: rub the side of a chalk stick over the entire surface, then wipe clean — this prevents “ghosting” of the first drawings
Step 4: Build the Slide and Bench
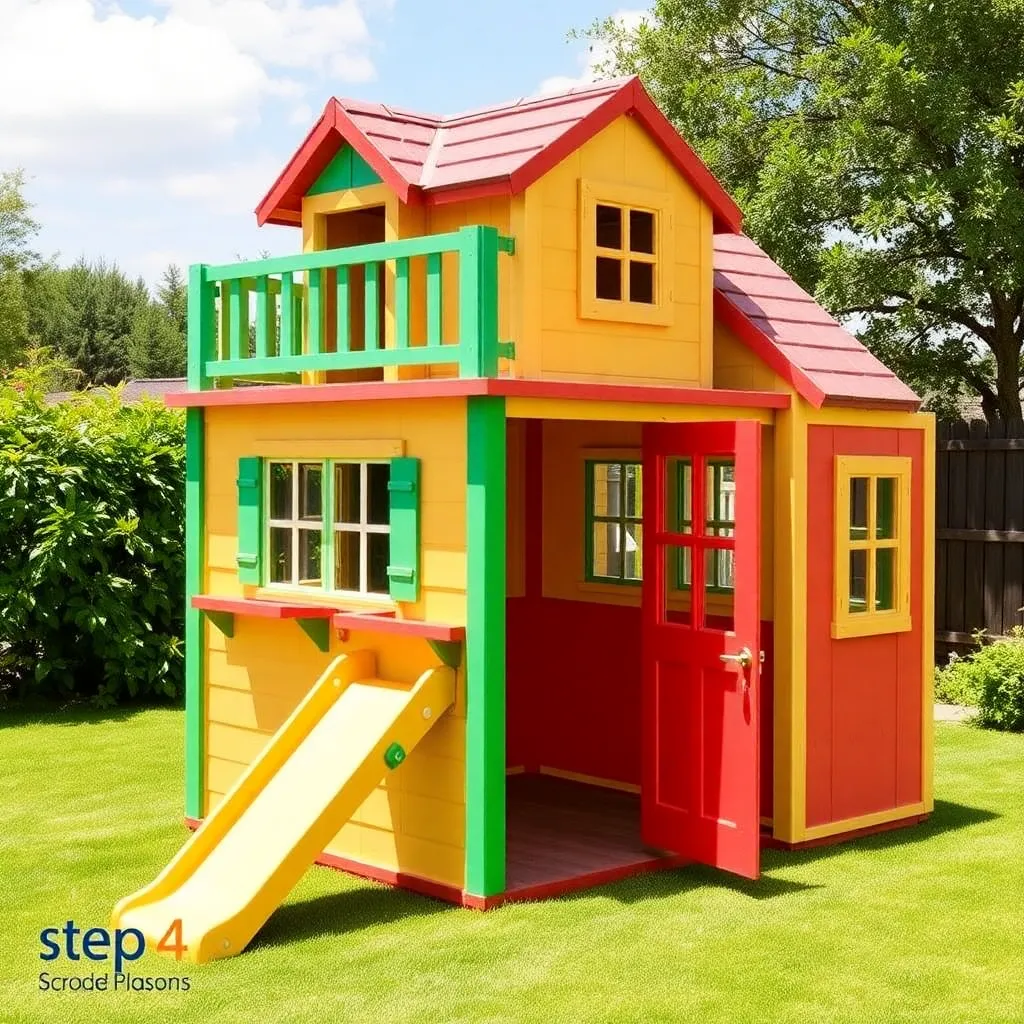
Slide mounting:
A commercial children’s slide (4–6 foot length, plastic or metal) mounts to a framing platform at the side of the playhouse. The slide exit height should be 3 feet or less — this means the slide entry point is at the loft level (4 feet) and the slide descends to the ground at a comfortable angle.
Build a 2×4 frame cantilevered off the side wall studs to support the top of the slide at loft-level. The slide brackets bolt to this frame. Most slides come with installation hardware — adapt the mounting to the specific slide purchased.
Built-in bench with toy storage:
Install a 12-inch-deep bench along the side wall opposite the loft ladder. The bench is a simple torsion box: a 12-inch plywood seat on a 2×4 frame, with a hinged lid for toy storage underneath.
- Seat height: 10–12 inches (comfortable for children 3–8)
- Hinge the lid with a piano hinge along the back edge
- Install a chain limiter so the lid can’t fall backward
Step 5: Roof, Siding, and Exterior Details
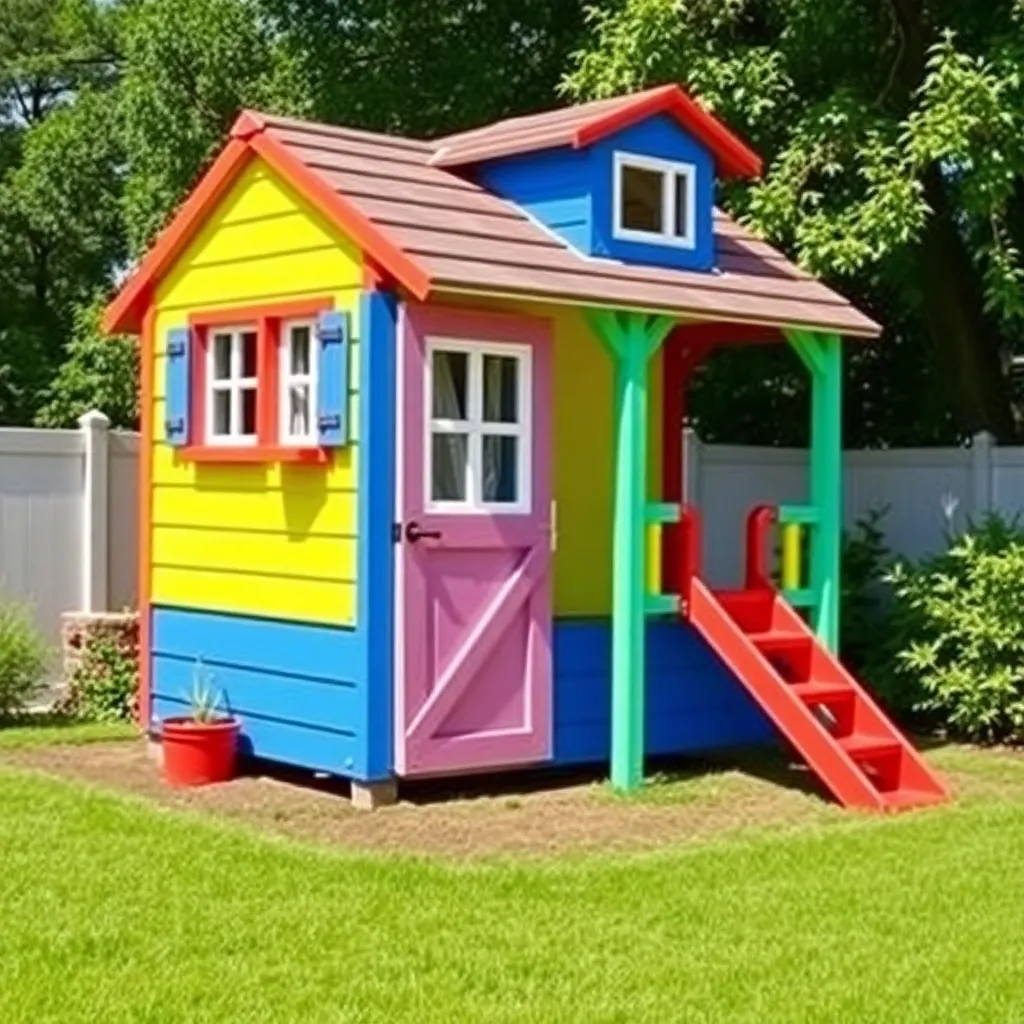
Roof:
A playhouse with a loft needs a taller roofline than a basic playhouse — the ridge height needs to be at least 7.5 feet to clear the loft ceiling. Use a 6:12 or 8:12 pitch to achieve this while keeping the walls at standard height.
Mail slot:
A working mail slot in the Dutch door (or in a side wall) is the detail that children love most. Install a standard interior mail slot (available at hardware stores for $12–$20) in the lower half of the Dutch door. Children will deliver letters, notes, and small toys to each other through it constantly.
Exterior paint:
Choose child-appropriate colors — bright, cheerful, and resistant to fading. Two coats of exterior latex in a satin or semi-gloss finish. Paint the name of the playhouse on a wooden sign above the door.
Ted’s Woodworking has over 16,000 step-by-step plans with cut lists, materials lists, and detailed diagrams. Browse Ted’s plans →
Kids Playhouse Plans FAQ
What age is a playhouse with a loft appropriate for?
A loft at 4 feet height with 4-inch-max baluster spacing and a ship’s ladder is appropriate for children 4 and older with supervision, 6 and older independently. The slide provides a safe exit that doesn’t require ladder descending (which is harder for young children). Below age 4, build without the loft or keep the loft platform very low (2 feet).
How big should a kids’ playhouse be?
For 1–2 children: 4×6 feet minimum (tight but functional). For 2–4 children: 6×8 feet (the standard size for most plans). For 4+ children or an older child who wants a real hangout: 8×10 feet or larger. A 6×8-foot playhouse with a loft effectively doubles the usable floor space.
What is the safest slide for a backyard playhouse?
A wavy or straight plastic slide in the 4–6 foot range with enclosed sides and a slightly curved exit. Avoid metal slides in sunny climates — they heat up dangerously. Mount slides on the shaded side of the playhouse when possible. Ensure the slide exits onto a soft surface (mulch, pea gravel, or rubber matting) rather than bare dirt or concrete.
How do I add electricity to a backyard playhouse?
Run a single GFCI-protected outdoor circuit from the house to the playhouse (buried conduit, minimum 12 inches deep for a 120V circuit). Install one weather-proof outlet and one light fixture. This requires a licensed electrician in most areas and a permit. For most playhouses, battery-powered LED lights are sufficient and require no electrical work.
How much space does a kids’ playhouse need in the yard?
Allow at least 6 feet of clearance on all sides for safe play around the structure. A playhouse with a slide needs 8–10 feet of clearance on the slide exit side. Setback requirements vary by municipality — most require 5 feet minimum from property lines for accessory structures.

“DIY woodworking enthusiast who started with zero experience and a YouTube tutorial.
I build simple, practical projects for my home and share free plans
so other beginners can skip the guesswork.If I can build it, you can too.”