A-Frame Treehouse Plans: Build a Self-Waterproofing Treehouse Between Two Trees
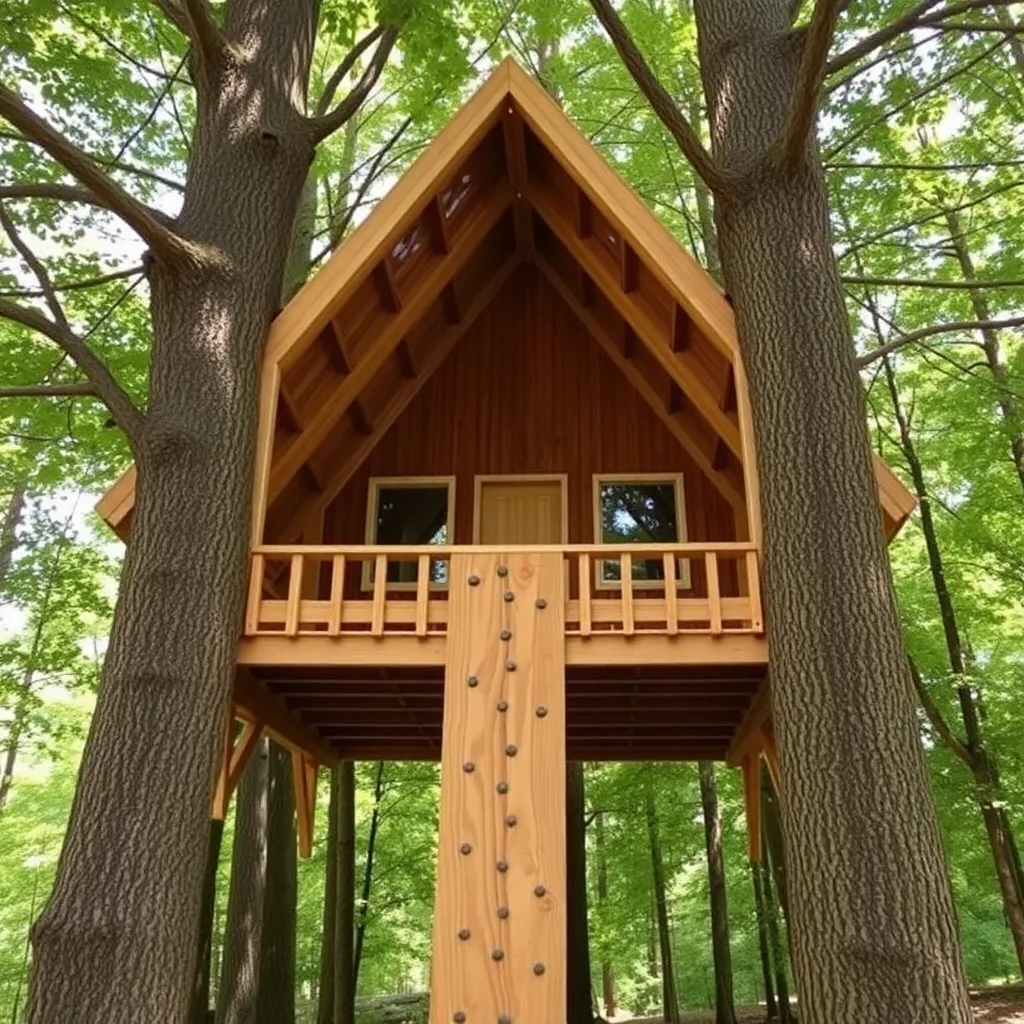
The A-frame is the cleverest treehouse design: the steeply angled sides serve as both walls and roof simultaneously, eliminating the need for a separate roofing system. Rain runs off, snow slides away, and the interior stays dry without any roofing skills or roofing materials beyond a simple waterproof membrane on the outer surface. These A-frame treehouse plans cover a 6×8-foot A-frame mounted between two trees, with a climbing wall on the exterior front face, a hinged door in the center of the front triangle, and a sleeping loft on an interior upper platform.
Ted’s Woodworking has A-frame and multi-tree treehouse plans with hardware specs and beam sizing guides for different tree spacings. Browse Ted’s treehouse plans →
Step 1: Find Two Suitable Trees at the Right Spacing
Ted’s Woodworking has over 16,000 step-by-step plans with cut lists, materials lists, and detailed diagrams. Browse Ted’s plans →
An A-frame between two trees requires:
- Tree spacing: 8–12 feet between trunks (measured at the platform attachment height)
- Trunk diameter: 10 inches minimum for each tree
- Height match: Trees should be within 2 feet of the same height at the attachment point — a big height difference makes the spanning beam difficult to level
- Species: Same requirements as any treehouse — hardwoods preferred, no diseased or rapidly growing trees
The 8–12-foot spacing works for a 6–8-foot interior platform. Wider spacing requires a longer, heavier spanning beam.
Step 2: Install the Main Spanning Beam
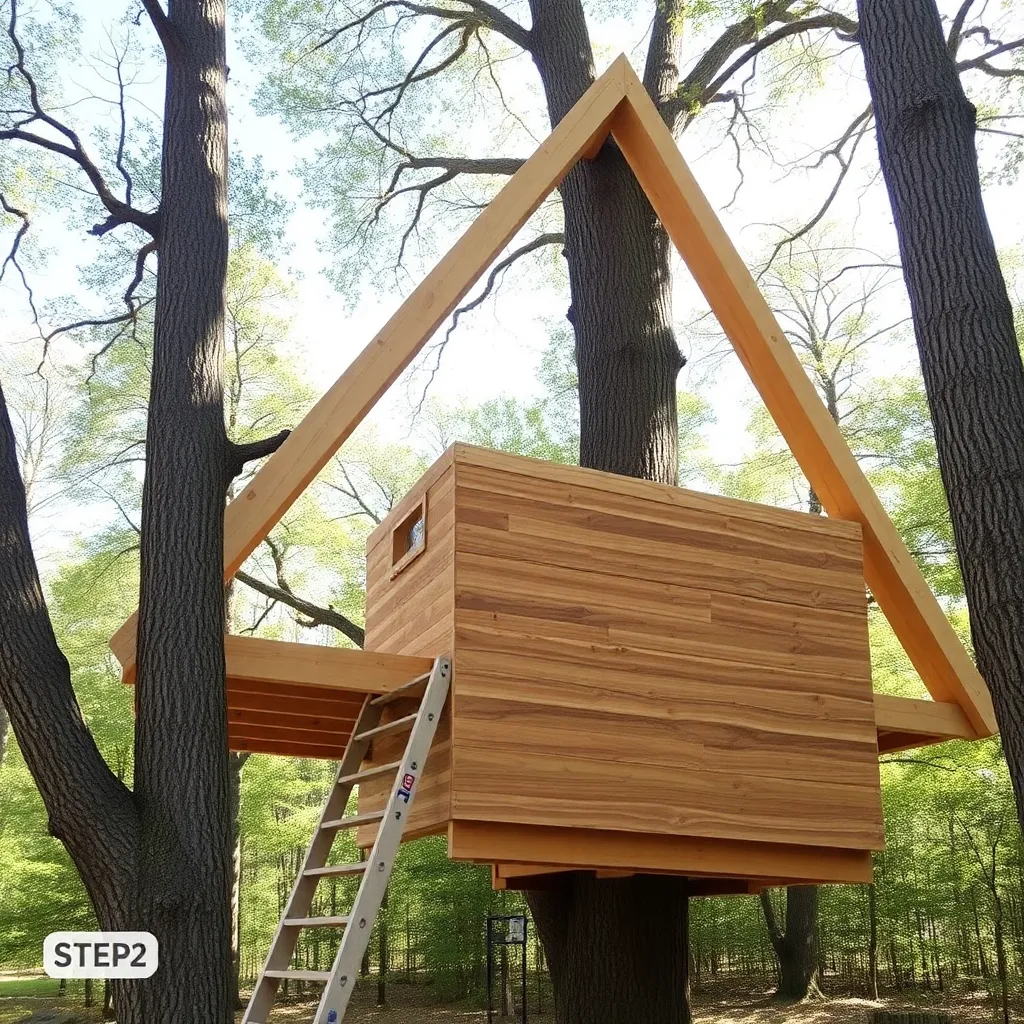
The spanning beam connects the two trees and carries the entire weight of the platform and A-frame. This is the most critical structural element in the build.
Beam sizing for an 8–10-foot span:
- Doubled 2×10 lumber (glued and bolted with ½-inch carriage bolts every 12 inches)
- For a 10–12-foot span: doubled 2×12 or a LVL (laminated veneer lumber) beam
Attachment method:
- Install one TAB in each tree at the same height (level with a water level or laser level)
- The TABs carry the spanning beam — the beam brackets sit on the TABs
- Allow the beam to overhang each tree by 12 inches — this clearance allows the tree to move in wind without the beam’s end hitting the trunk
Installing the beam: This is the hardest physical step. Use a pulley system (a 4:1 block-and-tackle rigged over a high branch) to lift each end of the beam in sequence. This is a 3-person job — two to guide and one to manage the pulley. Do not attempt with only two people.
Step 3: Build the Platform
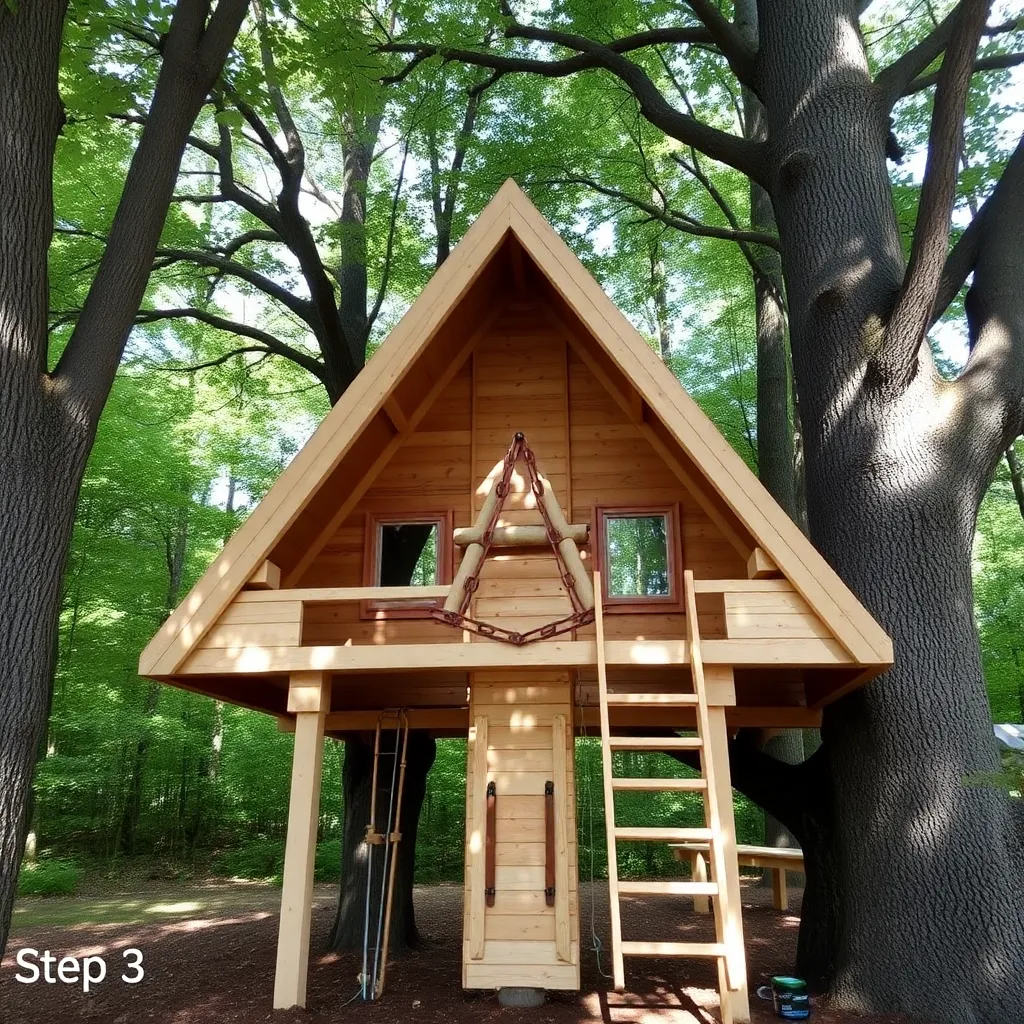
The platform frame hangs below the spanning beam using threaded rods or joist hangers mounted to the underside of the beam.
Platform frame (6×8 feet):
- 2 × long rim joists: 2×6 at 96 inches
- 3 × cross joists: 2×6 at 69 inches
- 4 × suspension points: ½-inch threaded rod with large washers and double nuts, passing through the rim joists and bolted to the spanning beam above
The platform hangs 18 inches below the spanning beam — this gives the A-frame structure room to angle out from the beam to the ground plane.
Platform decking: ¾-inch exterior plywood or pressure-treated 5/4×6 decking.
Step 4: Frame the A-Frame Structure
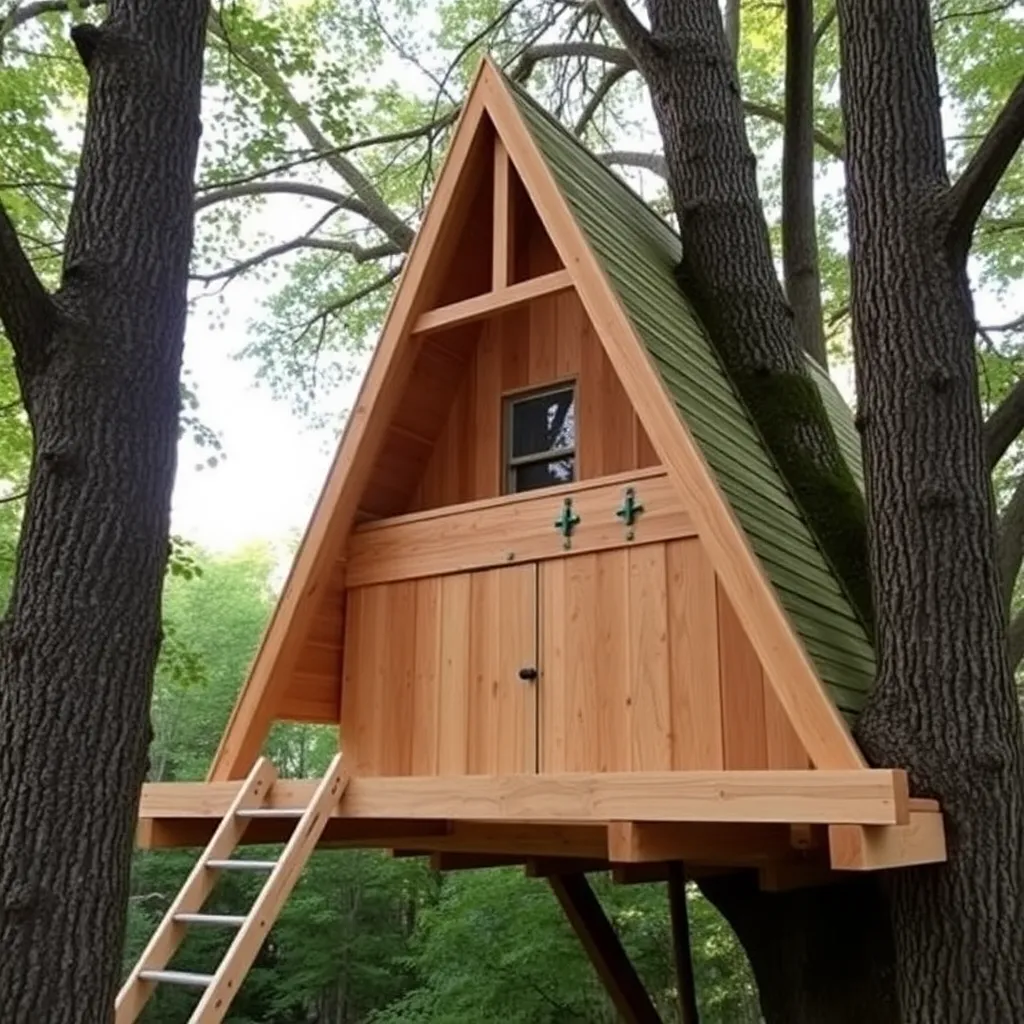
The A-frame consists of triangular bents (frames) that run perpendicular to the 8-foot length of the structure, spaced at 24 inches on center. Each bent is an equilateral triangle (or near-equilateral) with the apex at the ridge and the feet resting on the platform edges.
A-frame dimensions for a 6-foot-wide base:
- Base width: 72 inches (6 feet)
- Ridge height above platform: 7 feet (this gives comfortable head clearance at the center and the dramatic steep angle of the A-frame)
- Rafter length (each side): approximately 7.5 feet (cutting from 2×6 stock)
- Ridge angle: approximately 30 degrees from vertical at the apex
Rafter cuts:
- Apex cut: half the ridge angle (about 15 degrees) on each rafter
- Base cut (bird’s mouth): a seat cut that lets the rafter rest flat on the platform edge
Cut the apex and base of one pair of rafters, test-fit them, confirm the angle and height, then use them as templates.
Bent assembly:
- Pre-assemble each bent on the platform surface
- Nail or screw the apex joint with a gusset plate (½-inch plywood triangle) on each face
- Stand the bent upright and brace temporarily
Space bents at 24 inches — for an 8-foot-long structure, that’s five bents (one at each end, three in between).
Step 5: Sheathe and Waterproof
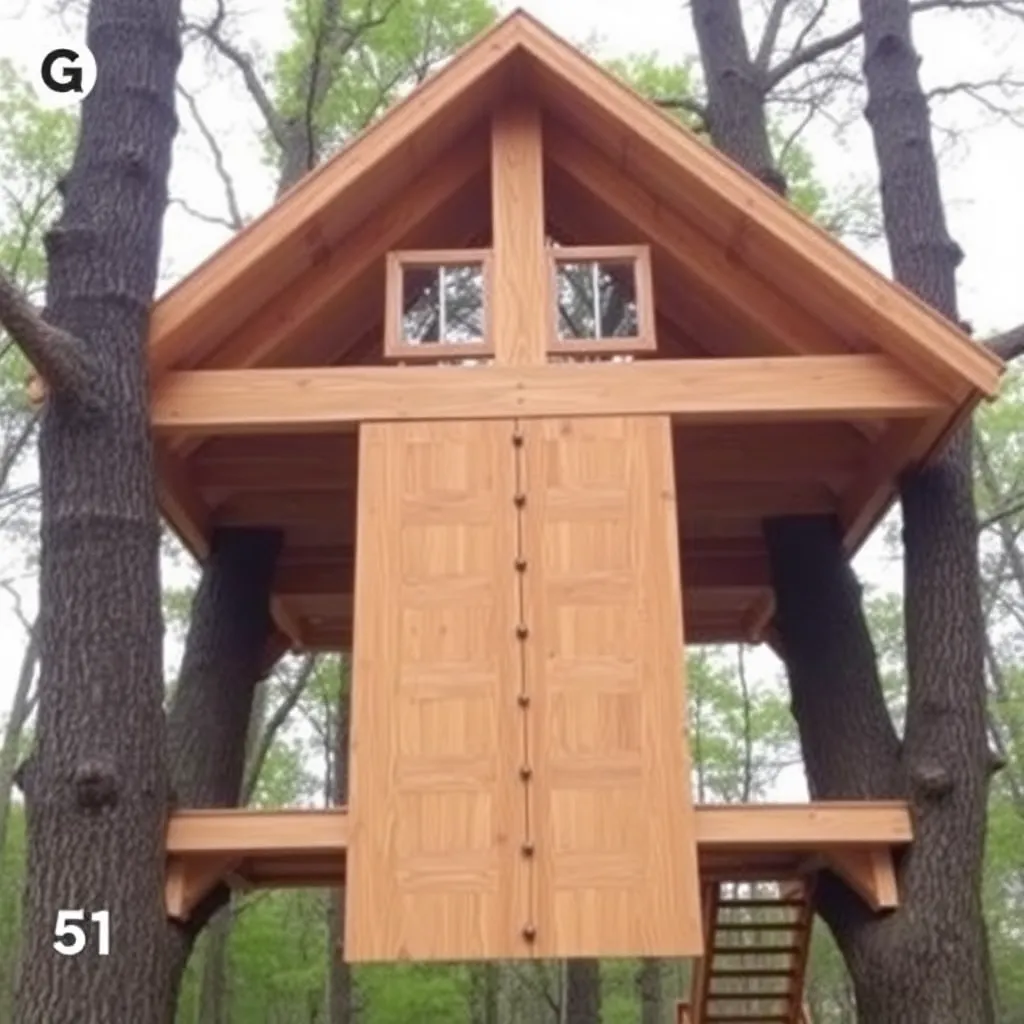
The exterior sheathing acts as both the wall cladding and the roofing. Use ½-inch exterior-grade plywood on all surfaces.
Waterproofing sequence:
- Install ½-inch plywood sheathing over all rafters, running the long dimension perpendicular to the rafters
- Apply a single layer of roofing underlayment (felt paper or synthetic) over the sheathing, starting at the bottom and overlapping each course by 6 inches
- Finish with one of:
– Cedar shingles (most beautiful, $120–$180 for the structure)
– Metal roofing panels (most durable, $80–$120)
– Corrugated metal (fastest, $60–$80)
The steep A-frame angle (typically 60–70 degrees) sheds water faster than any conventional roof pitch — no specialty waterproofing needed if the sheathing is solid and the underlayment is properly lapped.
Front face (climbing wall):
Leave the lower 4 feet of the front A-frame face open. Install ¾-inch plywood on the upper section and fit a door (pre-hung or site-built). Mount climbing holds (from any climbing supply store) on the lower plywood section — these bolt through the plywood with T-nuts on the inside.
Ted’s Woodworking has over 16,000 step-by-step plans with cut lists, materials lists, and detailed diagrams. Browse Ted’s plans →
A-Frame Treehouse Plans FAQ
Why build an A-frame treehouse instead of a conventional treehouse?
The A-frame is self-waterproofing (no separate roof required), structurally efficient (the triangular form is inherently rigid), and visually dramatic — it looks more like architecture than a kid’s project. The main tradeoff is reduced usable floor space relative to the footprint, since the sloped sides cut into the interior volume.
How many trees do I need for an A-frame treehouse?
Two trees at 8–12 feet spacing is the classic setup. You can also build an A-frame between one tree and one or two posts (4×4 or 6×6 posts set in concrete), which eliminates the need for a second suitable tree. The spanning beam connects the tree to the post just as it would between two trees.
What is the best A-frame angle?
60 degrees from horizontal (30 degrees from vertical) is the classic A-frame angle — gives good headroom, an attractive steep look, and excellent water runoff. Shallower angles (45 degrees) give more interior volume but look less dramatic and require better waterproofing. Steeper angles (75 degrees) look striking but reduce interior width significantly.
Do I need special tools to build an A-frame treehouse?
Beyond standard tools (circular saw, drill/driver, level, tape measure), you need: a bevel gauge or digital angle finder for the rafter cuts, a block-and-tackle pulley system for lifting the spanning beam, and safety equipment (harness or work platform) for working at height. A framing nailer (pneumatic) speeds up the rafter installation significantly but isn’t required.
How much does an A-frame treehouse cost to build?
Materials for a 6×8-foot A-frame between two trees: $600–$900. This includes the spanning beam, TAB hardware ($150–$200), framing lumber, plywood sheathing, and roofing. Add $100–$150 for climbing holds and a door. Labor is free if you do it yourself — professional treehouse builders charge $5,000–$20,000 for similar structures.

“DIY woodworking enthusiast who started with zero experience and a YouTube tutorial.
I build simple, practical projects for my home and share free plans
so other beginners can skip the guesswork.If I can build it, you can too.”