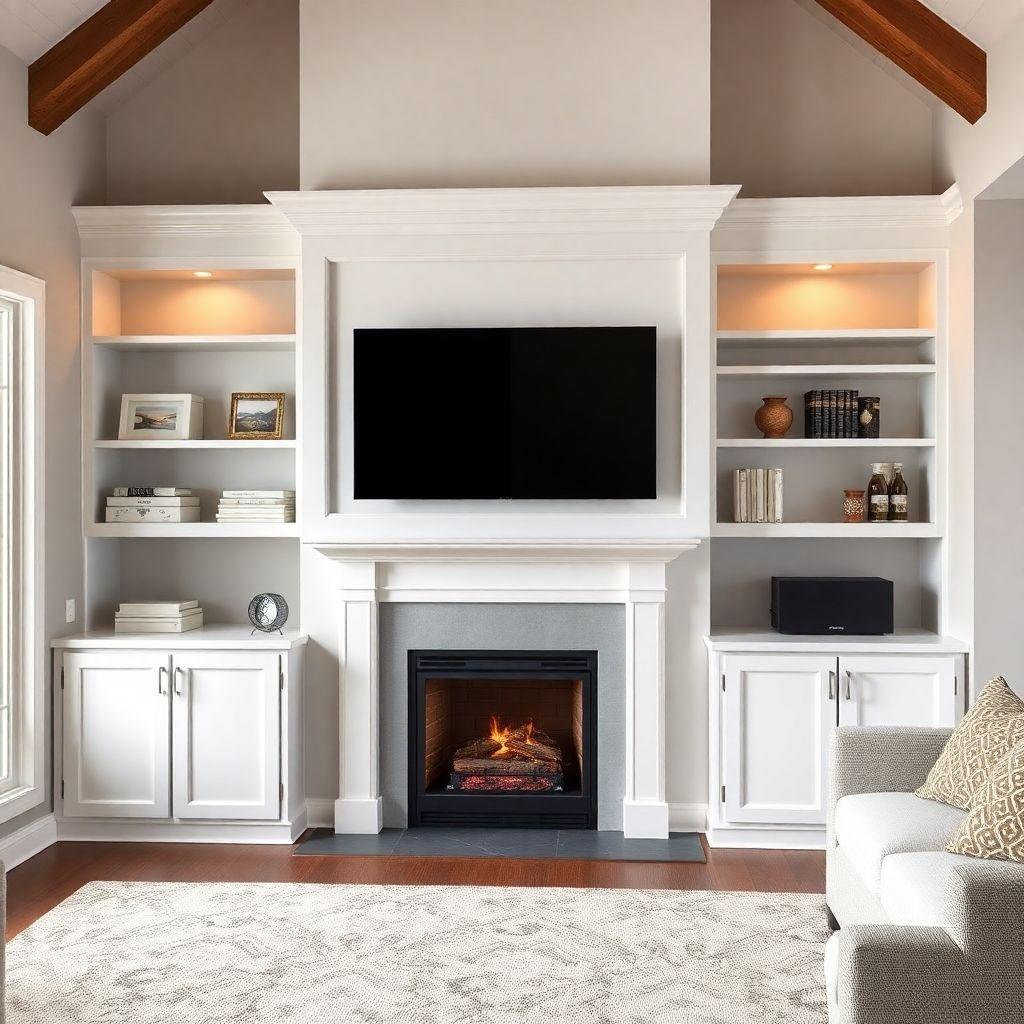
A built in entertainment center turns a blank living room wall into a finished feature that looks like it came with the house. Unlike a freestanding console, a built-in runs floor to ceiling, scribes tight to your walls, and gives you a center opening sized exactly to your TV. This guide walks through building one as three separate cabinet boxes (a 48″-wide center flanked by two 24″-wide towers) that assemble on site into a 96″-wide, 84″-tall unit. It is an intermediate-to-advanced project, so expect a full weekend of shop time plus a day for installation and finishing.
Budget roughly $400 to $700 in painted MDF and plywood, poplar for face frames, and molding, depending on hardware and door choices. If you want to compare this against other builds, this guide is part of our entertainment center plans series covering six types by skill, cost, and build time.
By the end you will have a floor to ceiling entertainment center with a TV opening, adjustable shelves, cabinet doors, scribe molding hiding wall gaps, and crown molding tying it to the ceiling.
Plan the Layout Around Your TV First
Looking for more entertainment center ideas?
This guide is part of our complete entertainment center plans series — compare all options by skill level, cost, and build time.
Want 16,000+ woodworking plans?
Ted’s Woodworking has step-by-step plans for every skill level. Browse Ted’s plans.
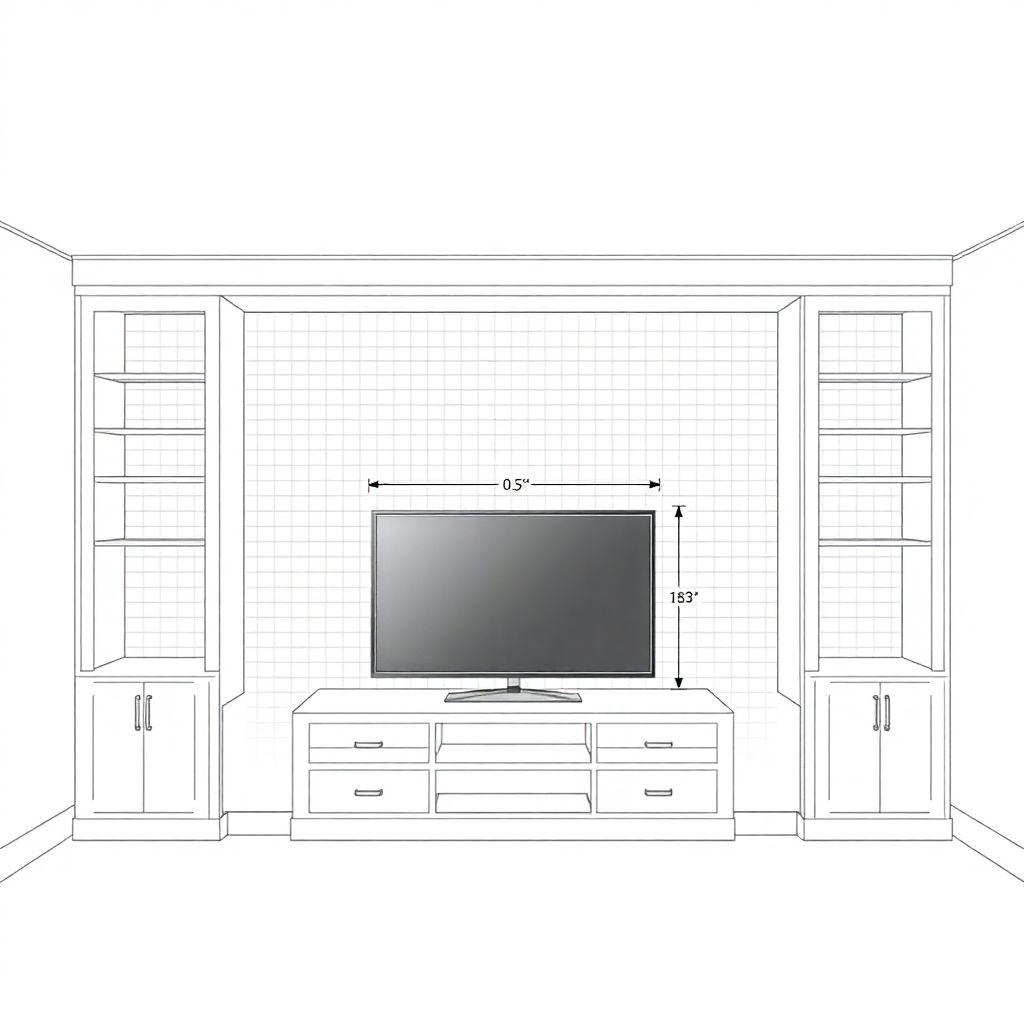
Everything in a built in entertainment center starts with the TV, so plan around it before anything else. Measure your TV diagonally, corner to corner of the screen, then add 6 inches on each side for the center opening. A 55-inch TV needs roughly a 48-inch-wide center opening once you account for the frame and breathing room. That opening width dictates the center box, which in turn sets the width of your flanking towers and the total run of the wall.
Sketch the whole wall on graph paper before you touch a saw. Draw the ceiling height, the floor, and any obstacles like baseboard, outlets, or a fireplace. Let one square equal 3 inches and lay out the center box, the two towers, the shelf positions, and the door openings. This is where you catch problems that are expensive to fix in plywood: a TV opening that is too tight, a tower that blocks a light switch, or a total width that does not center on the wall.
Decide now where power and cables run. Plan a cutout in the back panel of the center box for the TV cord and any console cables, and locate it near an existing outlet so you are not running new wiring. If you want a cable box or game console inside a closed cabinet, plan ventilation and an IR extender so the remote still works.
Confirm your total width leaves a small gap on each side of the wall. That gap is intentional. It gives you room to slide the boxes in and get them plumb, and the scribe molding covers it later.
Materials and Cut List
This cut list builds a three-section unit measuring 96 inches wide by 84 inches tall by 16 inches deep, in painted MDF or plywood. Adjust the center box height and opening to match your own TV before cutting.
Center box (48″ wide):
– Sides: 2 pieces, 3/4″ plywood, 15-1/4″ x 52″
– Top and bottom: 2 pieces, 3/4″ plywood, 15-1/4″ x 46-1/2″
Towers (24″ wide each, 2 towers):
– Side panels: 4 pieces, 3/4″ plywood, 15-1/4″ x 84″
– Top and bottom: 4 pieces, 3/4″ plywood, 15-1/4″ x 22-1/2″
Shelving and backs:
– Adjustable shelves: 3/4″ plywood, 22-1/2″ x 14-3/4″, cut as many as you need
– Back panels: 1/4″ plywood, sized per box
Trim stock:
– Face frame: 3/4″ x 1-3/4″ poplar or maple
– Scribe molding: 3/4″ x 2″ pine, ripped to fit the wall gap
– Crown molding: measure your total linear footage across the top
Buy an extra sheet of 3/4″ plywood beyond what the list calls for. Built-ins always need one more filler strip, scribe piece, or replacement panel than you planned. For a painted finish, MDF gives the smoothest result on flat panels, but use plywood for the sides and any structural members since it holds screws better.
Tools Required
- Table saw or track saw for breaking down sheet goods
- Circular saw for rough cuts
- Miter saw for face frame and molding
- Drill and driver
- Pocket hole jig for face frames and box joinery
- Brad nailer and finish nailer
- Laser level (this is not optional for a built-in)
- 4-foot level and a torpedo level
- Stud finder
- Clamps, plenty of them
- Scribe tool or a compass for marking wall irregularities
- Shims, wood glue, 2-1/2″ screws, and construction adhesive
- Sander, caulk, primer, and paint
Step 1: Build the Cabinet Boxes
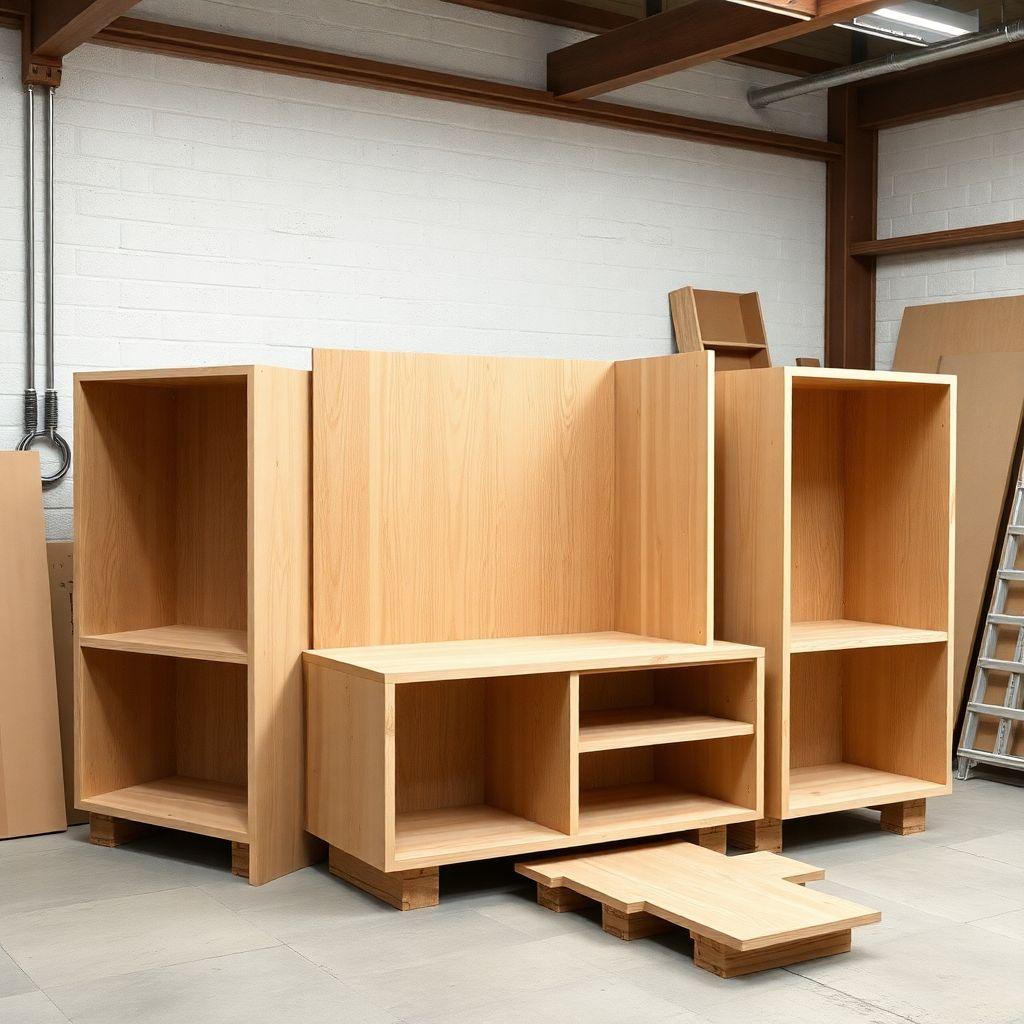
Build the unit as three separate boxes rather than one giant carcass. A one-piece 96-inch unit is impossible to move through a doorway and impossible to level alone. Three boxes assemble on site, level independently, and let you carry each piece by yourself.
Start with the two towers since they are identical. Cut the side panels, top, and bottom for each. Drill pocket holes in the top and bottom pieces, then join them to the sides with glue and pocket screws to form a box. Check for square by measuring both diagonals before the glue sets. If the diagonals match, the box is square.
Build the center box the same way, but note its shorter side height of 52 inches. The center box sits on a base or on top of a lower cabinet section so its opening lands at the right height for the TV. The space below the center opening becomes a media cabinet for components.
Drill shelf pin holes in the tower sides before assembly while the panels are flat on the bench. A shelf pin jig keeps the holes aligned so shelves sit flat later. Cut the 1/4-inch back panels and set them aside; they get attached after the boxes are installed and squared, so they can help hold the boxes square without fighting the wall.
Step 2: Install the Ledger and Level the Boxes
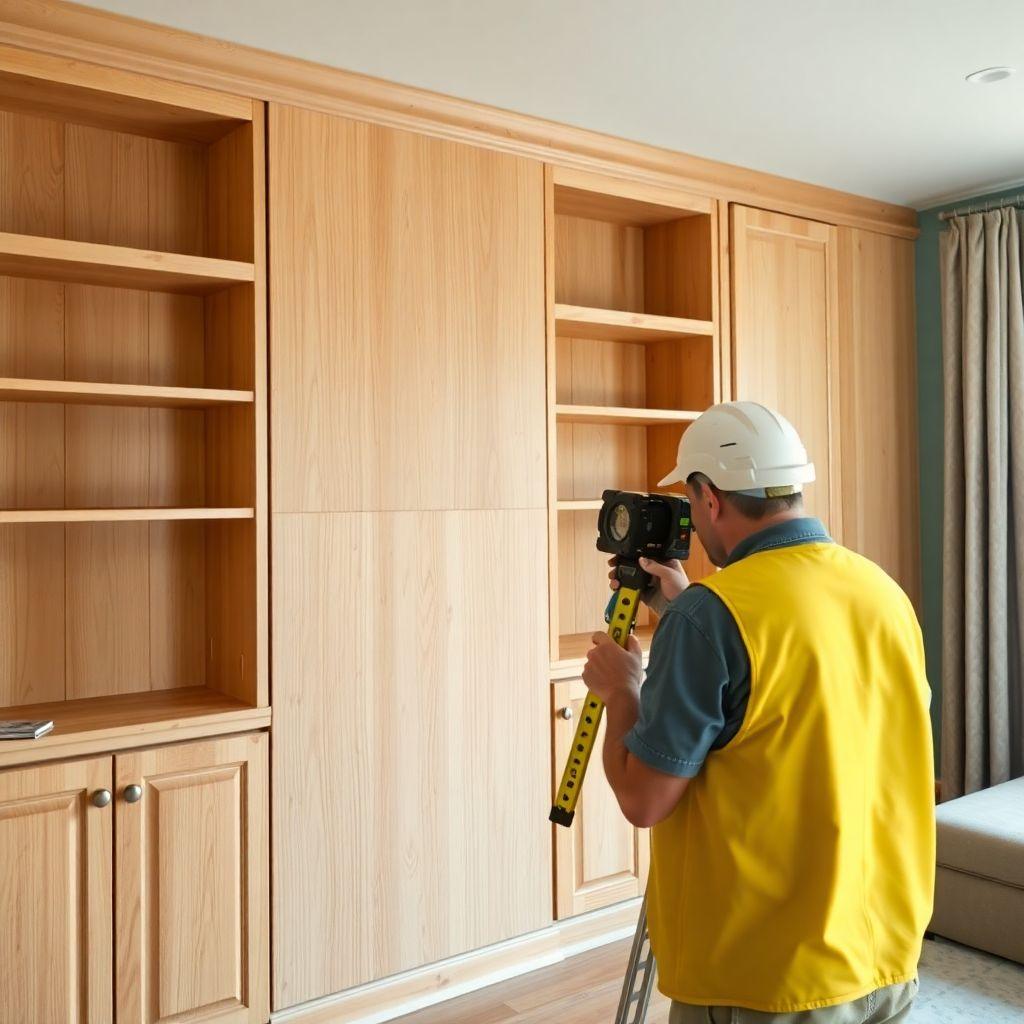
Do not just slide the boxes against the wall and hope. Run a ledger board first. A ledger is a straight length of stock, usually a 1×3 or 1×4, screwed level across the wall at the height where the bottom of your upper boxes will sit. It carries the weight while you fasten everything and guarantees a dead-level starting line.
Snap the laser level across the wall to find your reference line. Floors are rarely level, so find the highest point of the floor along the run first, then set your ledger height from there. Screw the ledger into the studs on your laser line.
Set the boxes in place on the ledger or on their base. Start with the center box, get it plumb and level with shims under the base, then bring the towers in on either side. Shim behind and beneath each box until it is plumb in both directions. Clamp the boxes to each other where the face frames will meet, and check that the front faces sit in the same plane. This is where independent boxes pay off: you level each one on its own instead of fighting a single rigid unit against an uneven floor and wall.
Step 3: Secure to Studs
A built-in has to be anchored to the framing, not just the drywall. Use the laser and stud finder to mark the stud layout across the wall, then transfer those marks to the inside back edge of each box. Drive 2-1/2 inch screws through the back rail of each box into the studs. Every box needs at least two stud connections, and the tall towers should get a screw high and low.
Where a box back does not land on a stud, add blocking. Screw a horizontal cleat to the studs first, then fasten the box to the cleat. Do not rely on drywall anchors for a floor to ceiling unit loaded with a TV and gear. Keep your shims in place as you drive screws so you do not pull the box out of plumb; snug the screws rather than cranking them, which can bow a side panel.
Once every box is anchored, screw the boxes to each other through the sides where they meet, near the front and back. Now attach the 1/4-inch back panels, which lock the boxes square and stiffen the whole assembly.
Step 4: Add Face Frames
Face frames tie the three boxes into one visual unit and hide the seams between boxes. A face frame also adds rigidity, though it narrows each interior opening by about 1-1/2 inches per side, so account for that if you planned tight clearances. The alternative, frameless European-style construction, maximizes interior space but is harder to scribe to walls. For built-ins, face frame is usually the better call because that extra stile gives you material to scribe against an out-of-plumb wall.
Build the face frame from 3/4″ x 1-3/4″ poplar. Cut the vertical stiles and horizontal rails, join them with pocket screws and glue, then attach the assembled frame to the front of the boxes with glue and brad nails. Where two boxes meet, a single shared stile covers both edges, hiding the seam. Set your nails and fill the holes.
Leave the outer stiles slightly wide, at least the full 1-3/4 inches, on the sides that meet the walls. You will scribe those edges to the wall in the next step, and you need extra material to plane away.
Step 5: Fit Scribe Molding and Crown
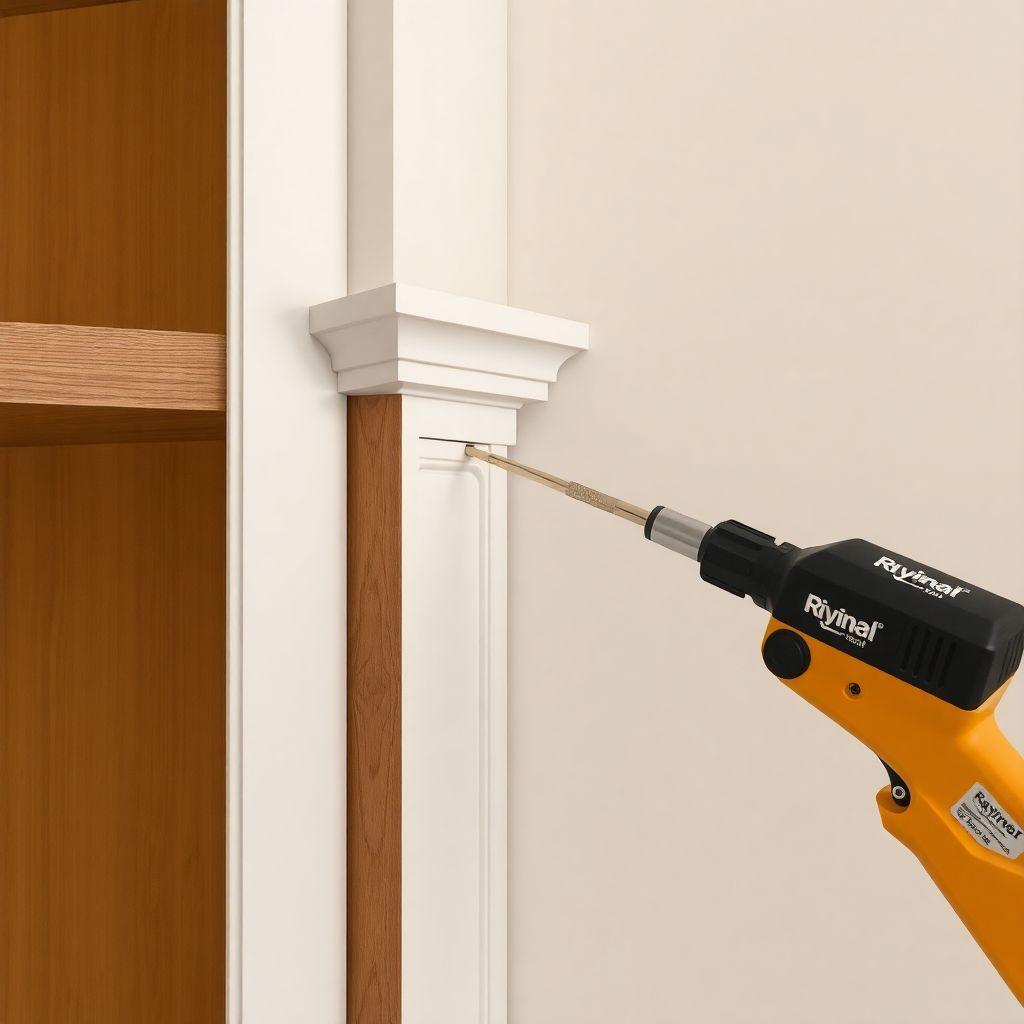
Walls are never perfectly plumb or flat, and the gap between a straight cabinet and a wavy wall will show as an ugly crack if you ignore it. Scribe molding closes that gap. It is a thin strip, ripped from 3/4″ x 2″ pine, that you shape to follow the exact contour of the wall.
Hold the scribe strip against the cabinet edge with its face flush to the face frame. Set a compass or scribe tool to the widest gap between the strip and the wall. Run the compass down the length, keeping the point on the wall and the pencil on the strip, so it traces the wall’s contour onto the wood. Cut to that line with a jigsaw or plane, back-beveling slightly so the front edge makes tight contact. Test fit, adjust, then nail the scribe molding in place. Done right, it looks like the cabinet was built into the wall.
Crown molding goes on last and hides the gap at the ceiling the same way scribe molding hides the wall gap. Ceilings dip and wave, so measure the ceiling-to-box gap after the boxes are set, then scribe a filler strip along the top of the unit to close any large gap before the crown. Cut the crown with your miter saw, coping the inside corners for a tight joint, and nail it to the top of the face frame and into ceiling blocking. Caulk the top edge for a seamless line into the ceiling.
Looking for more entertainment center ideas?
This guide is part of our complete entertainment center plans series — 6 types compared by skill, cost, and build time.
Want 16,000+ woodworking plans?
Ted’s Woodworking has step-by-step plans for every skill level. Browse Ted’s plans.
Step 6: Doors, Shelves, and Finish
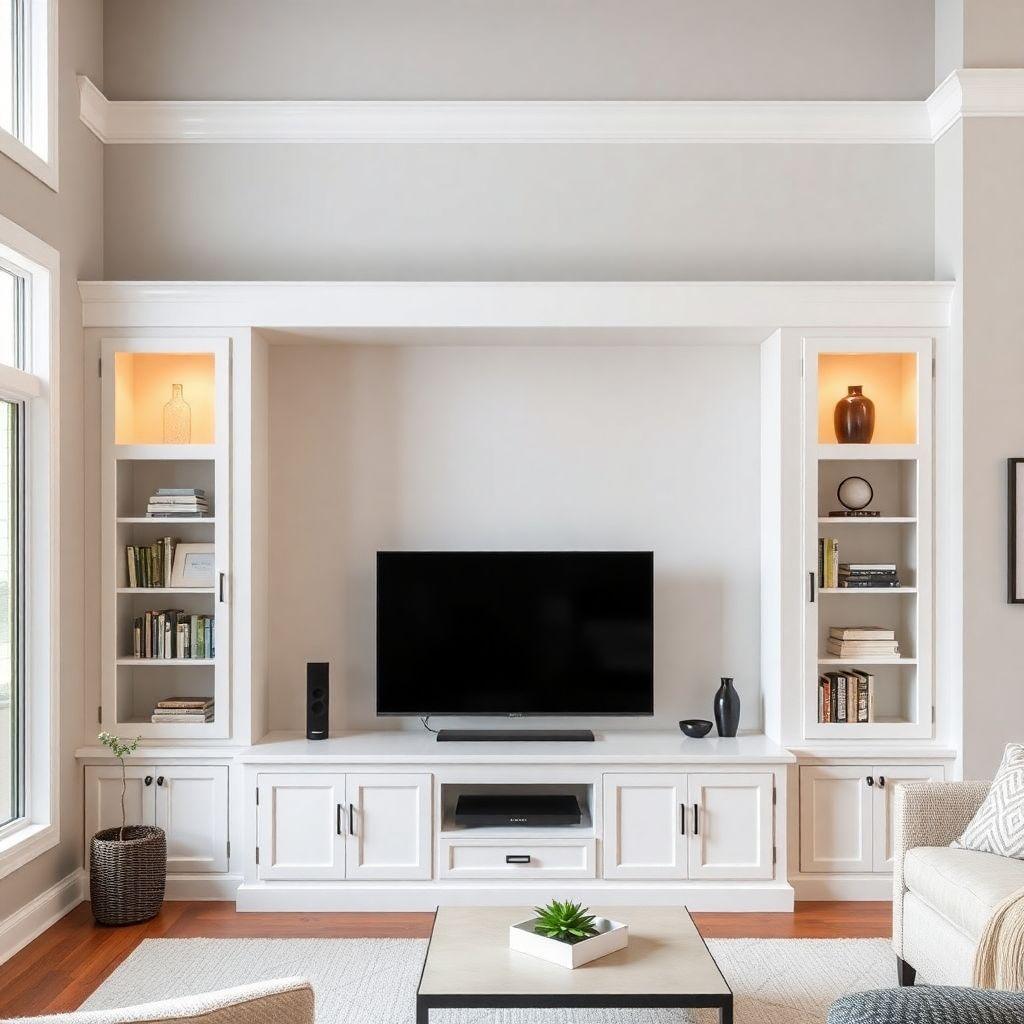
With the boxes anchored and trimmed, hang the doors. Concealed European hinges are the easiest to adjust after the fact, which matters on a built-in where the boxes may not be perfectly square to each other. Cut door panels or build shaker-style frame-and-panel doors to match your openings, allowing a consistent reveal around each. Adjust the hinges until the gaps are even and the doors close flush.
Drop in the adjustable shelves on their pins. The 22-1/2 by 14-3/4 inch shelves span the tower interiors; if a shelf will carry heavy books or gear, add a hardwood edge banding to stiffen it against sagging.
Finish is where a painted built-in earns its keep. Fill all nail holes and seams, sand everything smooth, then caulk the joints between face frame and wall and along the crown. Prime with a quality bonding primer, especially over MDF edges, and sand between coats. Two coats of a durable enamel in satin or semi-gloss give a factory-smooth finish that hides the fact you built it in a garage. Reinstall the TV, run your cables through the back cutout, and the wall is done.
FAQ
How much does a built in entertainment center cost to build?
Expect $400 to $700 in materials for a 96-inch painted unit, including plywood, MDF, poplar face frame stock, molding, hinges, and finish. Glass or custom doors and premium hardware push it higher. That is still a fraction of a comparable custom cabinetry quote, which often runs several thousand dollars.
How long does it take to build a built in entertainment center?
Plan on a full weekend in the shop to cut and assemble the three boxes, plus a second day on site for leveling, anchoring, trim, and a first coat of finish. Paint and door adjustment can spill into a third day. It is not a one-day project.
Face frame or frameless for a built-in?
Face frame is usually better for built-ins. The extra stile gives you material to scribe against uneven walls and adds rigidity, at the cost of about 1-1/2 inches of interior opening per side. Frameless maximizes interior space but is harder to fit tight to a wall.
Do I have to build it in separate boxes?
For anything wider than a doorway, yes. Three to five separate boxes move easily, level independently, and let one person do the install. A single 96-inch carcass cannot get through most doorways and cannot be leveled solo.
How do I hide the gap between the cabinet and the wall?
Scribe molding. Rip a thin strip, set a compass to the widest gap, trace the wall contour onto the strip, and cut to that line. Fitted right, it closes the gap so the unit looks built into the wall. Crown molding does the same job at the ceiling.
Can I build this around an existing fireplace?
Yes, and it is a common layout. Treat the fireplace as the center element and flank it with towers instead of centering the TV. Keep combustible cabinet material clear of the firebox per your fireplace’s clearance specs, and mount the TV above the mantel only if the heat and viewing height allow it.
Related Articles

“DIY woodworking enthusiast who started with zero experience and a YouTube tutorial.
I build simple, practical projects for my home and share free plans
so other beginners can skip the guesswork.If I can build it, you can too.”