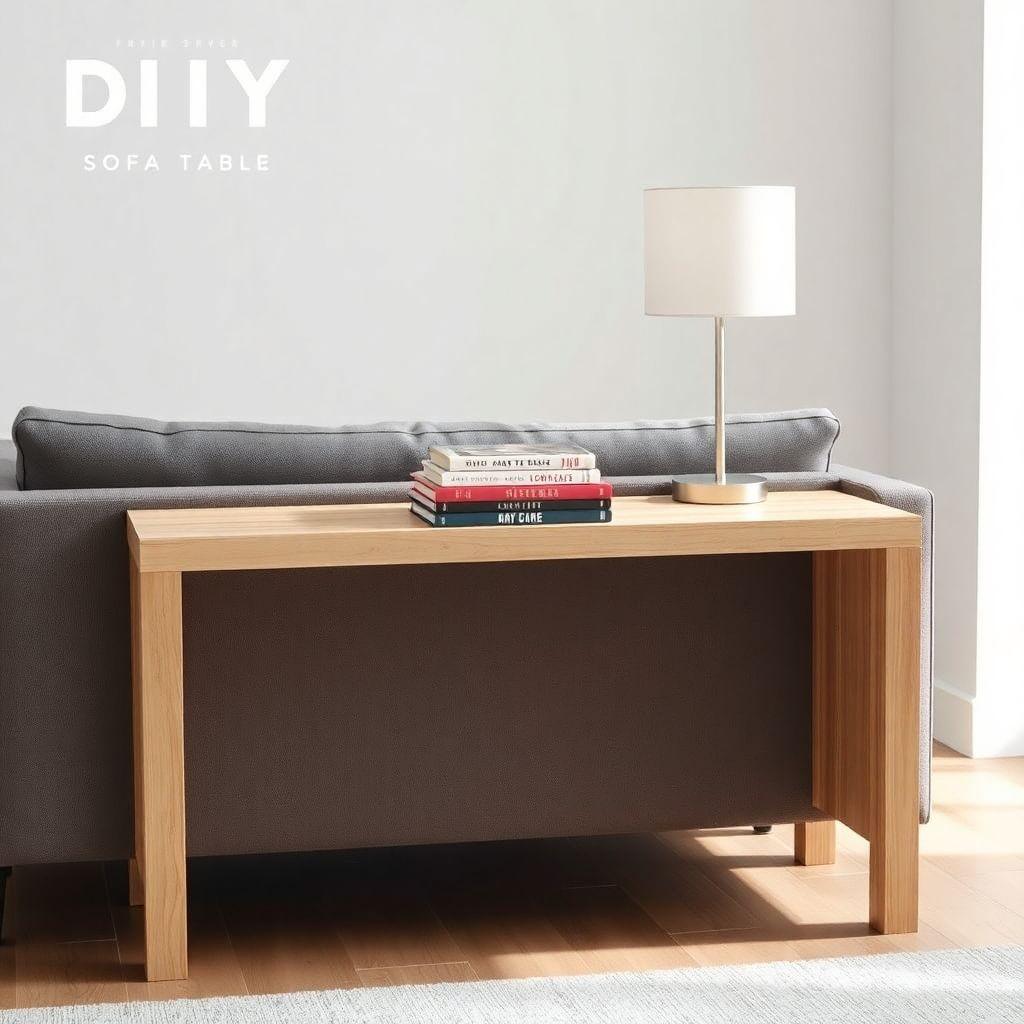
A couch table is one of the best first furniture projects a beginner can take on. It is narrow, it uses cheap pine, and the joinery is simple enough to build in an afternoon with a drill and a pocket hole jig. This guide walks you through a 54″ wide, 12″ deep, 30″ tall sofa table that sits behind your couch and holds a lamp, a few books, or your coffee while you work.
You will build a four-leg base, connect it with apron rails, add a lower display shelf, and top it with a glued-up or solid pine panel. Total material cost runs about $55 in pine, and the whole build takes roughly 4 to 6 hours plus finishing time. No mortising, no dovetails, no fancy tools.
This guide is part of our entertainment center plans series, which compares six build types by skill, cost, and time. If you want a taller media unit instead of a slim behind-sofa table, start there.
Measure Your Sofa Height Before Cutting Anything
Looking for more entertainment center ideas?
This guide is part of our complete entertainment center plans series — compare all options by skill level, cost, and build time.
Want 16,000+ woodworking plans?
Ted’s Woodworking has step-by-step plans for every skill level. Browse Ted’s plans.
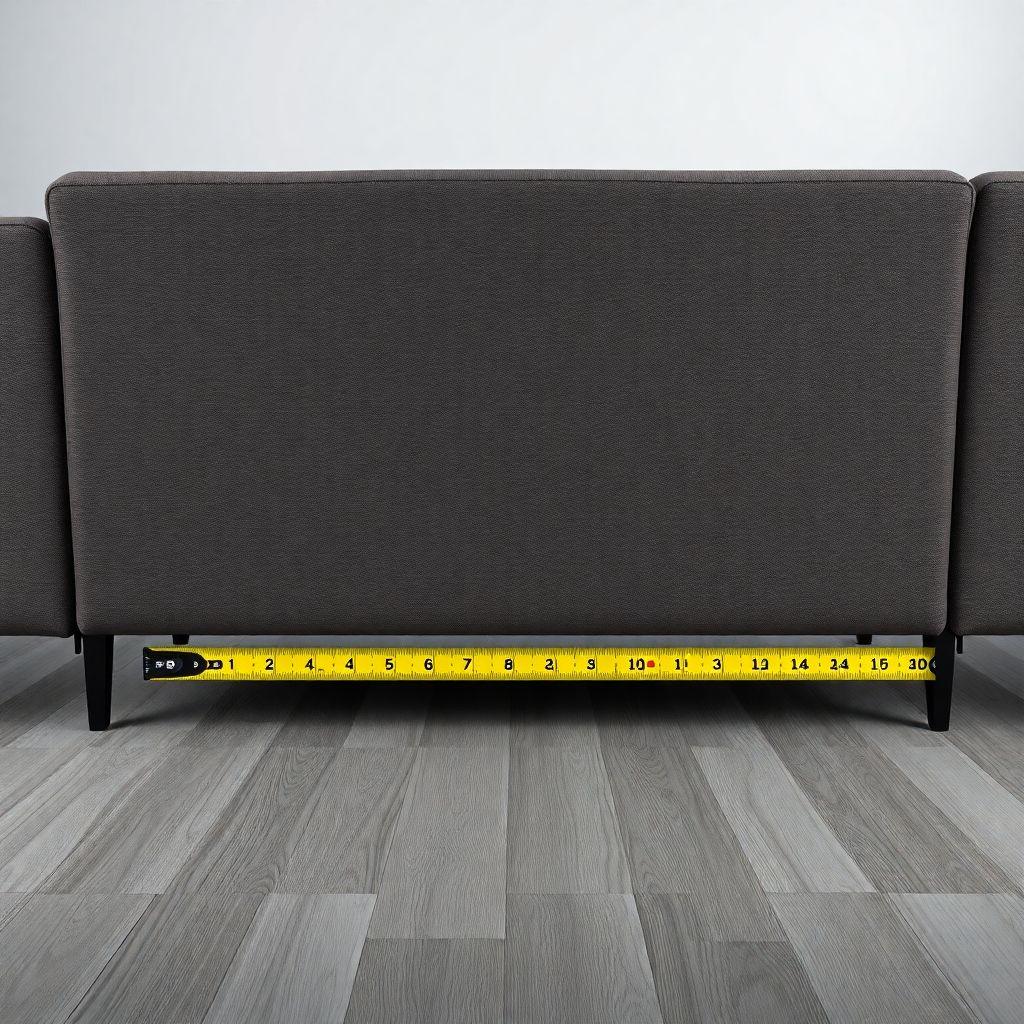
The single most important number in this build is your sofa back height. A couch table should sit at or slightly below the top of the sofa back, never above it. If the table stands taller than the sofa, it looks like a random shelf jammed behind the furniture instead of a built-in piece.
Grab a tape measure and measure from the floor to the top of your sofa back. Most sofas land between 28″ and 34″ tall. The plan below is cut for a 30″ finished table height, which suits a sofa back around 30″ to 32″. If your sofa is shorter or taller, adjust the leg length. Aim for a finished top that is 1″ to 2″ below the sofa back.
To hit a different height, change only the leg length. Every other part stays the same. Finished table height equals leg length plus tabletop thickness (3/4″). For a 30″ table with a 3/4″ top, the legs are cut to 29-1/4″.
The second measurement that matters is depth. If your sofa sits against a wall, keep the table 10″ to 12″ deep at most. Go deeper and the table forces the sofa out into the room. If there is clearance behind the sofa, you can push depth to 14″. This plan uses a 12″ top, which fits nearly every layout.
Materials and Cut List
This cut list builds a 54″W x 12″D x 30″H sofa table in standard pine. All dimensions are final cut sizes.
| Part | Quantity | Material | Dimensions |
|---|---|---|---|
| Legs | 4 | 1-3/4″ x 1-3/4″ pine | 29-1/4″ long |
| Short apron rails (end frames) | 2 | 3/4″ x 3″ pine | 9″ long |
| Long apron rails | 2 | 3/4″ x 3″ pine | 51″ long |
| Tabletop | 1 | 3/4″ pine or plywood | 54″ x 12″ |
| Lower shelf | 1 | 3/4″ pine | 52-1/2″ x 10-1/2″ |
| Shelf supports | 2 | 3/4″ x 1-1/2″ pine | 9″ long |
Shopping notes: buy legs as 2×2 pine (which measures 1-1/2″ x 1-1/2″ nominal) or rip them from thicker stock if you want the fuller 1-3/4″ profile. For the top, glue up two 1×8 boards or use a pre-glued pine panel to reach 12″ wide. A 3/4″ birch plywood top also works and stays flatter.
Fasteners and glue:
- 1-1/4″ pocket screws (one box)
- 1-1/4″ wood screws for the shelf and top
- Wood glue
- 120 and 220 grit sandpaper
- Polyurethane or hardwax oil for the top
Budget: about $55 in pine, glue, and screws. A plywood top can bring it under $45.
Tools Required
- Pocket hole jig (Kreg or similar)
- Drill or impact driver
- Circular saw or miter saw
- Tape measure and speed square
- Clamps (at least two bar clamps)
- Sander or sanding block
You do not need a table saw. A circular saw with a straightedge handles every cut in this plan.
Step 1: Cut the Legs and Apron Rails
Cut the four legs to 29-1/4″. Accuracy matters here more than anywhere else, because uneven legs make the table rock. Cut all four at the same setting, then stand them together and check the tops line up. Sand the ends flush if one is proud.
Cut the two short apron rails to 9″ and the two long apron rails to 51″. These rails set the width and depth of the base. The 9″ short rails plus two 1-3/4″ legs give you the 12″ outside depth. The 51″ long rails plus the legs give the 54″ outside width.
Drill two pocket holes in each end of every apron rail. That is four pocket holes per rail. Set your jig for 3/4″ stock. Use 1-1/4″ pocket screws into the legs. Do not use 3/4″ screws here, they will not bite deep enough into the leg to hold the joint tight.
Step 2: Assemble the End Frames
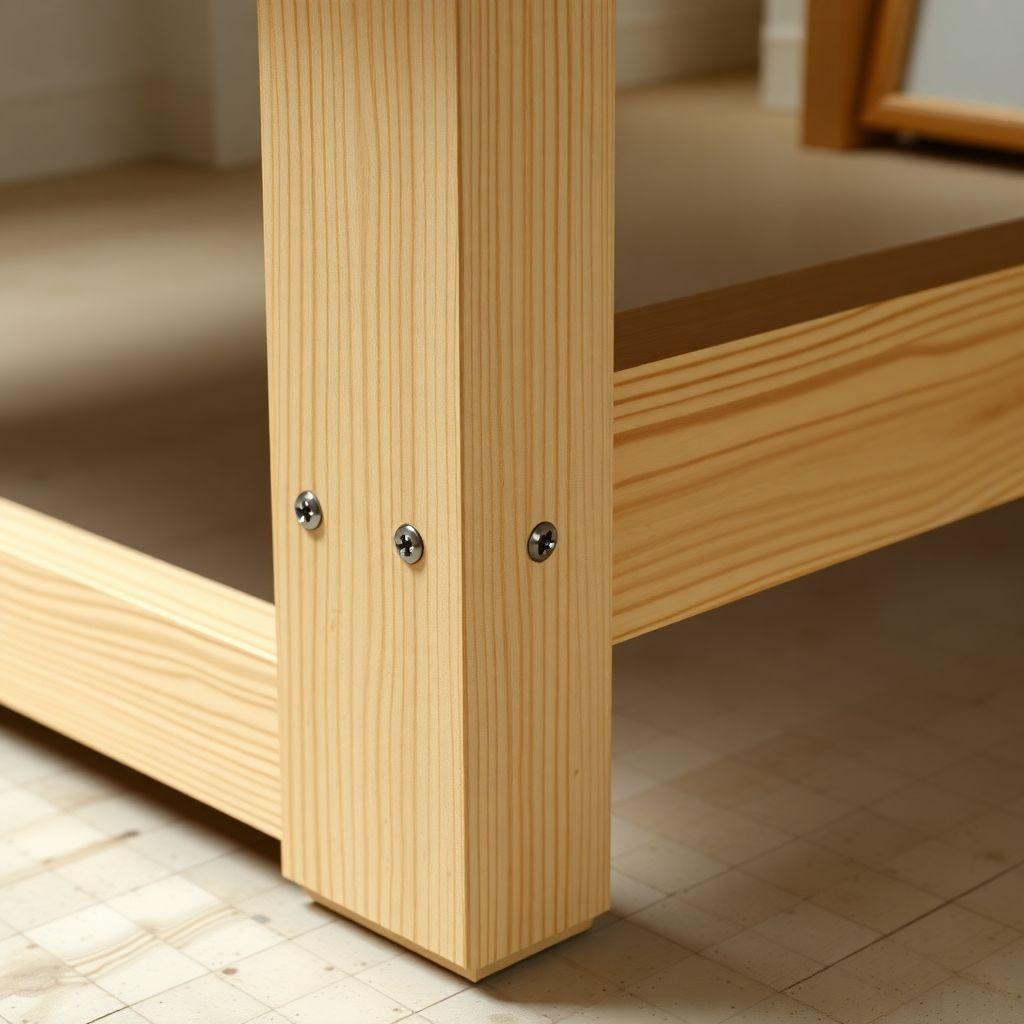
Build the two end frames first. Each end frame is two legs joined by one 9″ short apron rail near the top. Set the top of the apron rail 1″ down from the top of the legs so the tabletop overhangs cleanly later.
Apply glue to the ends of the rail, clamp it between two legs, check the assembly is square with your speed square, then drive the pocket screws. Because this table is narrow and carries light loads, pocket screws into the apron are plenty strong. Mortise and tenon joints are overkill for a lamp table.
Repeat for the second end frame. Let the glue set for at least 30 minutes before moving on.
Step 3: Join the End Frames with the Long Rails
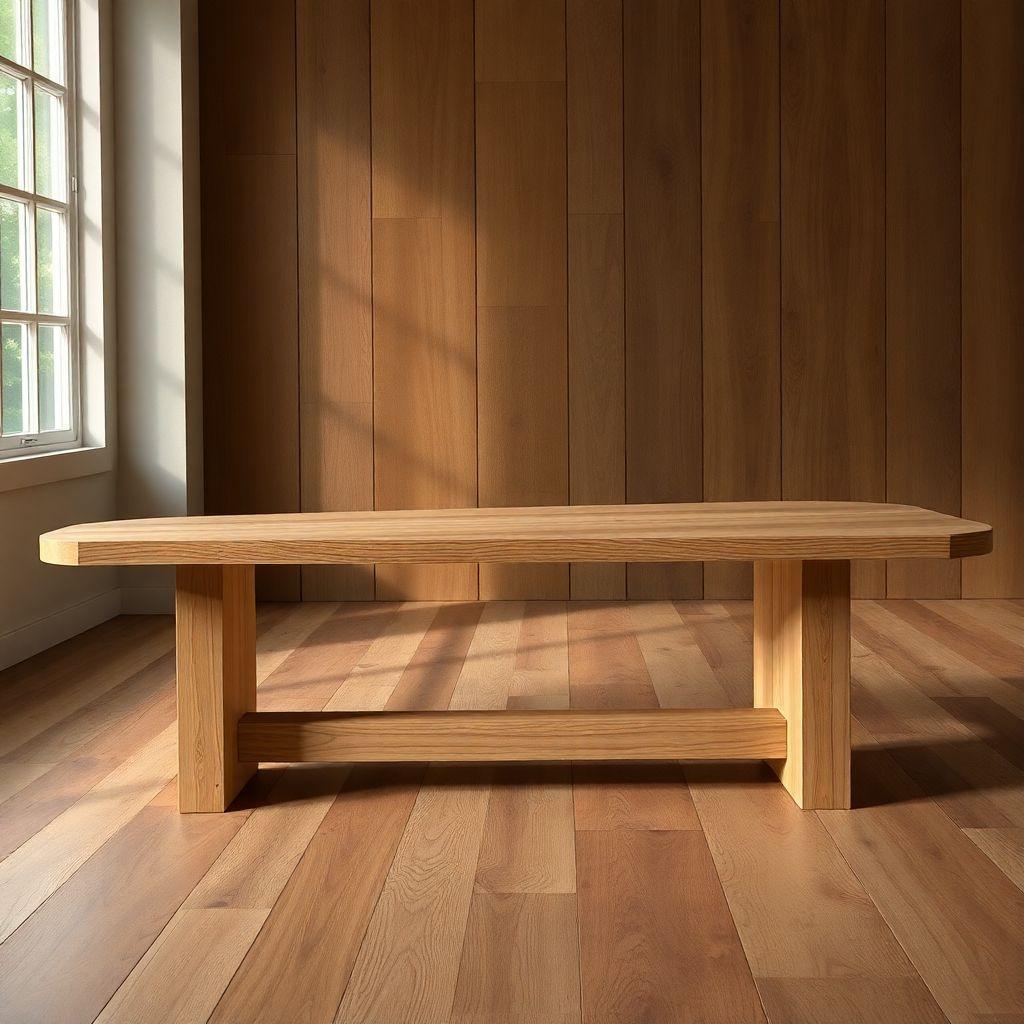
Stand both end frames upright and connect them with the two 51″ long apron rails. One rail goes on the front face, one on the back face, both set 1″ down from the leg tops to match the end frames.
Glue and clamp each long rail, check the whole base is square by measuring corner to corner (the two diagonals should match), then drive the pocket screws into the legs.
Here is the stability tip most plans skip. If your sofa table sits against a wall, the base is stable as built. But if it stands in the middle of a room behind a floating sofa, a narrow 30″ tall table can tip from side pressure. Add a cross-brace on the back face: run a diagonal stretcher from one lower leg to the opposite upper leg, or add a second horizontal stretcher lower down. The lower shelf in the next step also stiffens the base, but a floating table benefits from the extra brace.
Step 4: Add the Lower Shelf
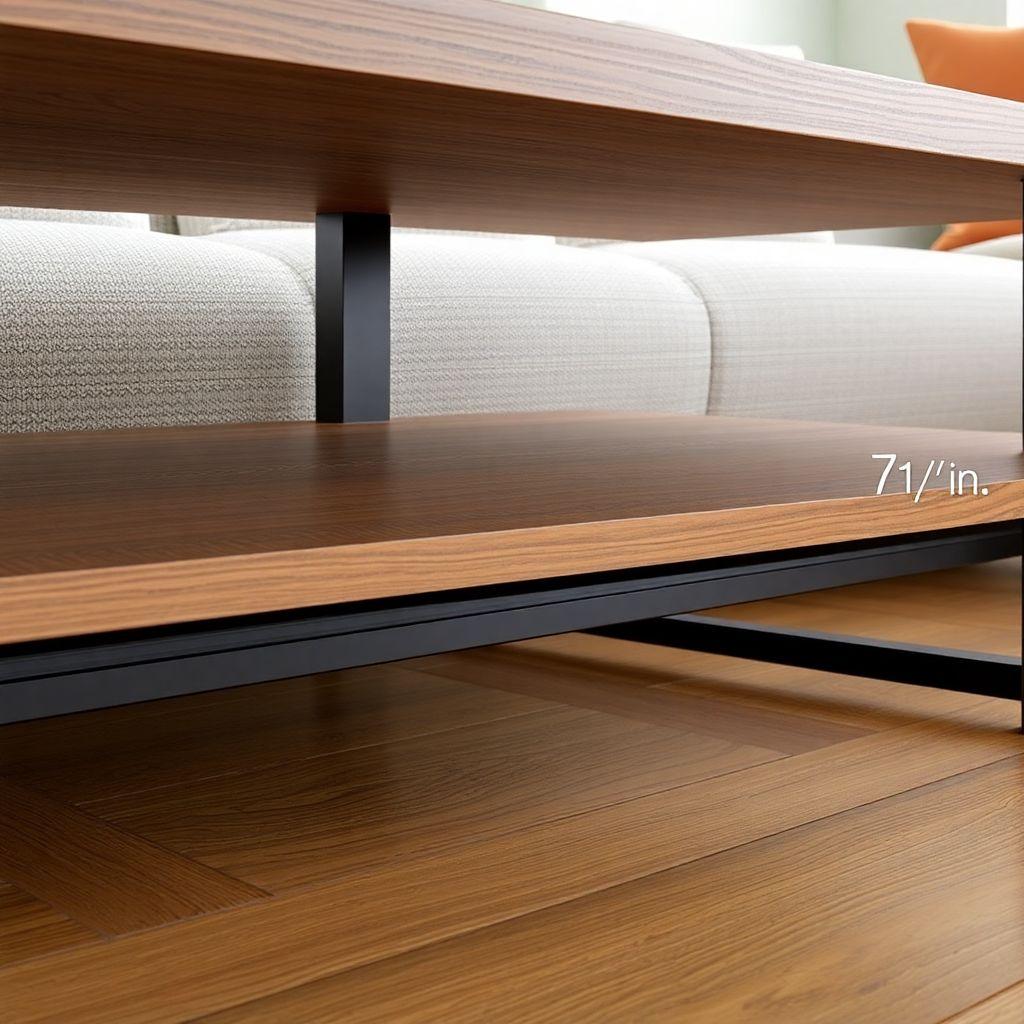
The lower shelf does two jobs: it holds display items and it braces the base against racking. Position it 6″ to 8″ from the floor. That height is high enough to run a vacuum under and low enough that the shelf feels grounded rather than floating halfway up the legs. This plan sets the shelf at 7″.
Cut the two 9″ shelf supports and attach one to each end frame between the legs at the 7″ mark, using glue and 1-1/4″ screws driven through pocket holes or straight through the leg from the outside. These supports carry the shelf ends.
Set the 52-1/2″ x 10-1/2″ shelf on the supports. Notch the two front corners of the shelf around the front legs so it drops in flush (the notch is 1-3/4″ square to clear each leg). Screw the shelf down into the supports from above with 1-1/4″ screws.
Step 5: Cut and Attach the Tabletop
Cut or glue up the tabletop to 54″ x 12″. If you are gluing boards, spread glue on the mating edges, clamp, and let it cure fully before sanding flat. A pre-glued panel skips this step.
Center the top on the base. You should have a small even overhang on all four sides. The top overhangs the front and back apron rails by about 1-1/2″ and the ends by about the same.
Attach the top from underneath so no screws show on the surface. Drive 1-1/4″ screws up through the apron rails into the underside of the top, or use pocket holes drilled into the inside top edge of the apron rails. Do not glue the top down if you used solid glued-up pine, since the top needs room to expand and contract. Screws alone hold it fine.
Step 6: Finish
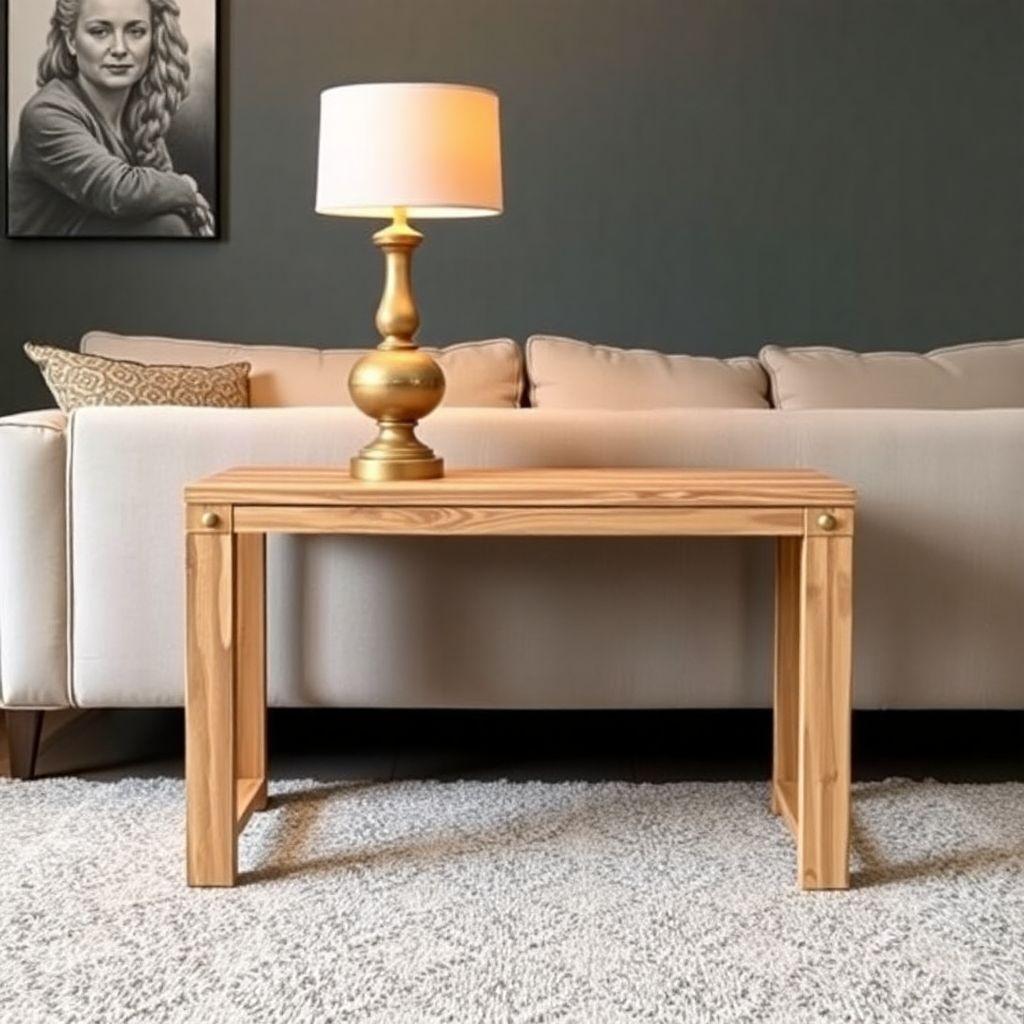
Sand the whole table to 220 grit. Knock down every sharp edge, especially the top corners and the leg bottoms.
The top of a couch table takes the real wear: lamp bases, drink rings, the occasional laptop. Finish the top with two or three coats of polyurethane or a hardwax oil for a durable, wipeable surface. Sand lightly with 220 between coats.
The rest of the table barely gets touched, so you have options. Stain and seal the whole piece for a uniform look, or mix finishes. One practical trick for a behind-sofa location: because the back legs and back rail are hidden against the wall, you can paint them even if the front and top are stained. Nobody sees the back, and paint hides the cheaper grain on hidden faces.
Let the finish cure fully before setting a lamp on top. Slide the table behind your sofa, check it sits at or just below the sofa back, and you are done.
Looking for more entertainment center ideas?
This guide is part of our complete entertainment center plans series — 6 types compared by skill, cost, and build time.
Want 16,000+ woodworking plans?
Ted’s Woodworking has step-by-step plans for every skill level. Browse Ted’s plans.
FAQ
How tall should a couch table be?
It should match or sit slightly below your sofa back height, typically 28″ to 34″. Measure your sofa back from the floor first, then subtract 1″ to 2″ for the finished table height. This plan is built for 30″.
How deep should a sofa table be?
Keep it 10″ to 12″ deep if the sofa sits against a wall, so the table does not push the sofa into the room. If there is open space behind the sofa, you can go up to 14″ deep.
Do I need mortise and tenon joints?
No. A narrow sofa table carries light loads, so 1-1/4″ pocket screws into the apron rails are strong enough. Save mortise and tenon for wide tables that take real weight.
Can I build this without a table saw?
Yes. A circular saw with a straightedge, or a miter saw, handles every cut. A pre-glued pine panel for the top removes the need to glue boards together.
How do I keep a floating sofa table from tipping?
Add cross-bracing on the back face, either a diagonal stretcher or a second low horizontal rail. The lower shelf also stiffens the base. A table against a wall does not need extra bracing.
What finish holds up best on the top?
Polyurethane or hardwax oil. The top sees lamp bases and drinks, so it needs a durable, wipeable surface. The hidden back legs can even be painted to save on stain.
Related Articles

“DIY woodworking enthusiast who started with zero experience and a YouTube tutorial.
I build simple, practical projects for my home and share free plans
so other beginners can skip the guesswork.If I can build it, you can too.”