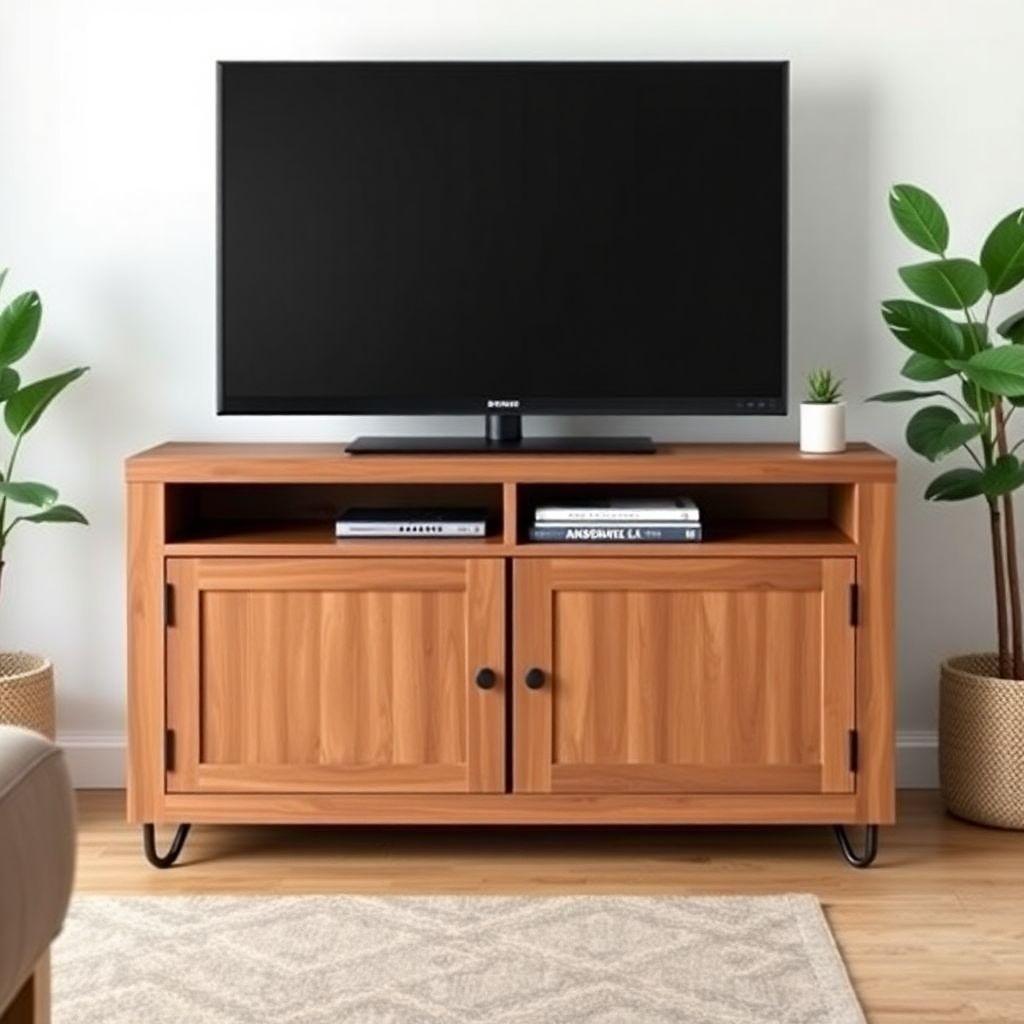
Store-bought TV stands force a choice: cheap particleboard that sags in a year, or solid furniture that costs $600 and still doesn’t fit your components. Building your own solves both. This guide walks you through a 48-inch two-door media cabinet with real plywood construction, hidden cable routing, and ventilated storage for your receiver and consoles. Budget about $130 in materials and a weekend of shop time.
The build is rated intermediate. You need pocket-hole joinery, basic door hanging, and a hole saw, but nothing requires a full cabinet shop. This plan is part of our complete entertainment center plans series, so if a full wall unit or corner build fits your room better, start there and come back.
By the end you’ll have a stand that holds a 65-inch TV, hides every cable, and vents heat so your gear doesn’t shut down mid-movie.
Size Your Stand to Your TV First
Looking for more entertainment center ideas?
This guide is part of our complete entertainment center plans series — compare all options by skill level, cost, and build time.
Want 16,000+ woodworking plans?
Ted’s Woodworking has step-by-step plans for every skill level. Browse Ted’s plans.
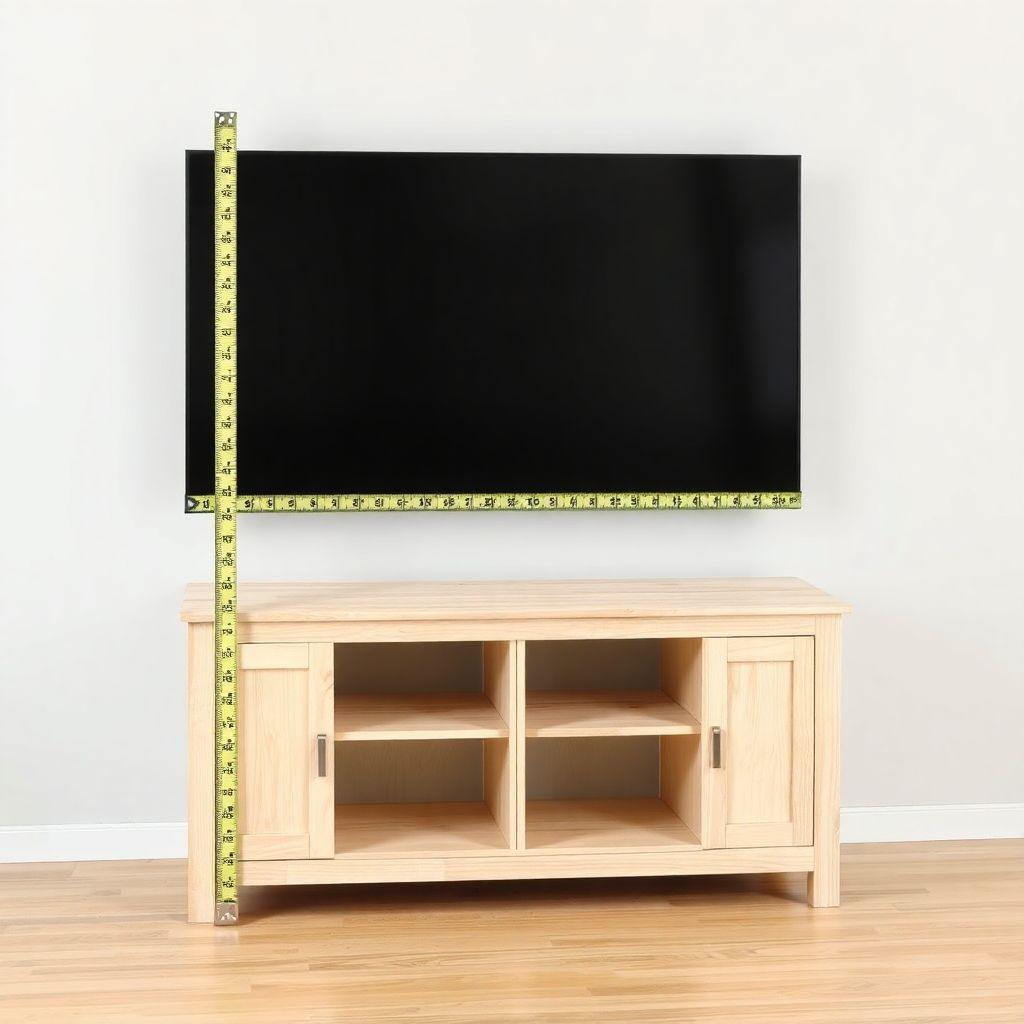
Before you cut anything, get two numbers right: width and height. Get these wrong and a well-built stand still looks off.
Width. The stand should be 2/3 to 3/4 the width of the TV. A 65-inch TV is roughly 57 inches wide, so you want a stand of at least 43 to 49 inches. Wider than the TV is always fine and reads as intentional. Narrower than 2/3 looks unstable and top-heavy, like the TV is about to tip. The 48-inch stand in this plan sits right in the target range for a 65-inch set and works down to a 55-inch TV as well.
Height. The center of the screen should land at seated eye level, which is about 42 inches from the floor for most people on a standard sofa. Here’s the check most guides skip: take your stand height and add half the TV’s height. A 65-inch TV is about 32 inches tall, so half is 16 inches. With an 18-inch stand, the screen center sits at 18 plus 16, or 34 inches. That’s a little low. If you want the center closer to 42 inches, either raise the stand or plan to wall-mount the TV a few inches above the stand. Most media cabinets run 18 to 22 inches tall, and this plan lands at 18 inches plus 6-inch legs for a 24-inch total, which puts the screen center near 40 inches. Close enough for comfortable viewing.
Run both numbers against your actual TV before you touch the saw.
Materials and Cut List
This is a 48-inch wide, 18-inch tall (carcass), 18-inch deep cabinet with two door sections separated by a center divider. Carcass is 3/4-inch plywood; the face frame is poplar.
Sheet goods and lumber
– One 4×8 sheet of 3/4-inch birch or maple plywood
– One 2×4 half-sheet of 1/4-inch plywood (back panel)
– One 1×4 poplar board, 6 feet (face frame)
Cut list
| Part | Material | Size | Qty |
|---|---|---|---|
| Top and bottom | 3/4″ plywood | 46-1/2″ x 17-1/4″ | 2 |
| Sides | 3/4″ plywood | 16-1/2″ x 17-1/4″ | 2 |
| Center divider | 3/4″ plywood | 16-1/2″ x 17-1/4″ | 1 |
| Back panel | 1/4″ plywood | 46-1/2″ x 16-1/2″ | 1 |
| Internal shelf | 3/4″ plywood | 22-1/4″ x 17-1/4″ | 1 |
| Face frame stiles | 3/4″ x 1-3/4″ poplar | 18″ | 2 |
| Face frame rails | 3/4″ x 1-3/4″ poplar | 44-1/2″ | 2 |
| Center stile | 3/4″ x 1-3/4″ poplar | 14-1/2″ | 1 |
| Doors | 3/4″ plywood | 21-3/8″ x 14-5/8″ | 2 |
| Legs (hairpin or turned) | steel or hardwood | 6″ tall | 4 |
Hardware and supplies
– Pocket-hole screws, 1-1/4″
– Wood glue
– Four 1/2-inch overlay cup hinges (two per door)
– Two door pulls or knobs
– Two 2-inch cable grommets
– Wood filler, sandpaper (120 and 220 grit)
– Finish (walnut stain and polyurethane, or hardwax oil)
A word on weight. Don’t second-guess whether this holds a big TV. A 65-inch TV weighs 60 to 80 pounds. Add a receiver and console at roughly 30 pounds, plus games and media at another 20, and you’re near 130 pounds total. A 3/4-inch plywood top carried by four legs and a glued, pocket-screwed carcass handles that without flexing. The weak point in cheap stands is never the material rating, it’s the joinery. Yours will be solid.
Tools Required
- Circular saw or table saw (a track saw makes sheet cuts easier)
- Pocket-hole jig
- Drill and driver
- Hole saw, 2-inch, for cable pass-throughs
- Cup hinge boring bit (35mm Forstner) or hinge jig
- Clamps, at least four
- Tape measure, square, pencil
- Random orbital sander
Step 1: Build the Carcass
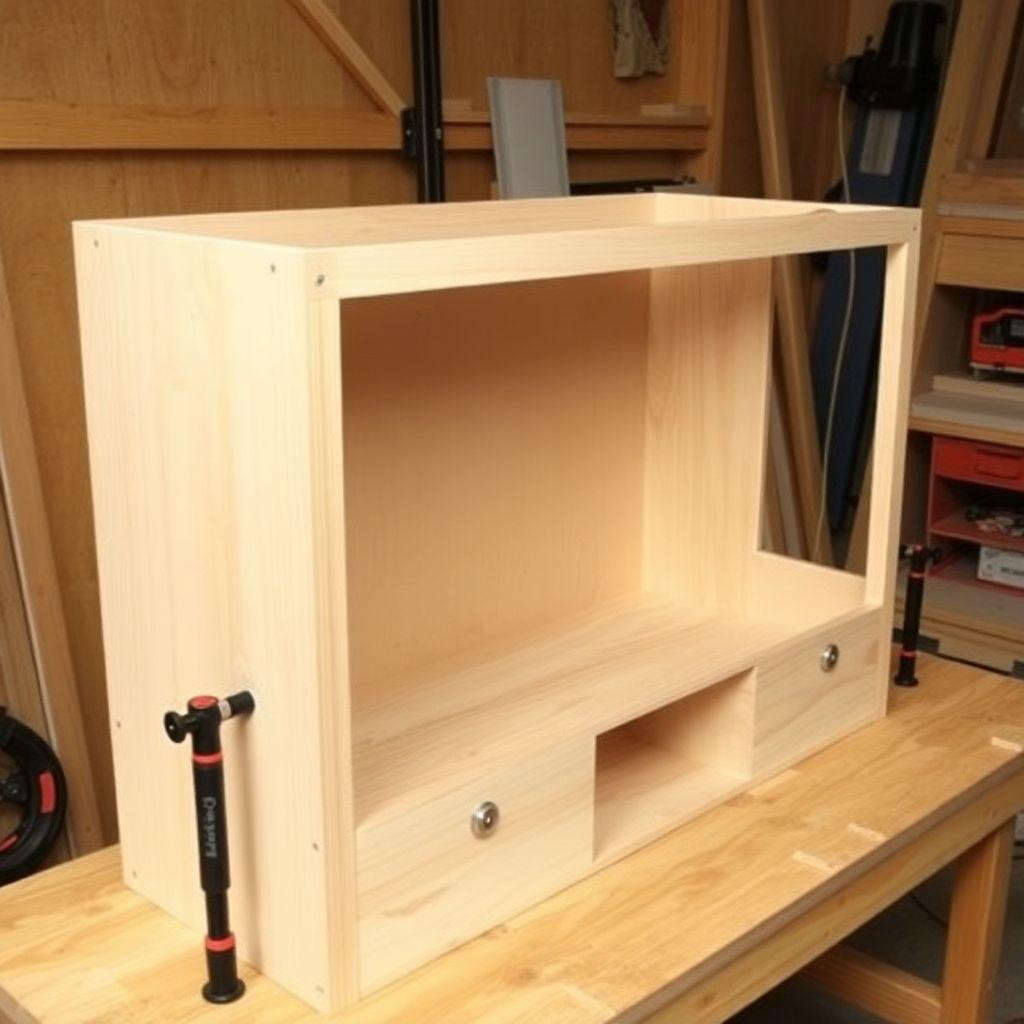
Start by cutting all sheet parts to the sizes in the cut list. Label each piece in pencil on a face that will be hidden.
Drill pocket holes on the underside of the top and the bottom panels where they meet the two sides and the center divider. Three holes per joint is plenty. Also drill pockets in the ends of the center divider.
Dry-fit the box first. Stand the two sides up, set the bottom between them, and clamp. The center divider goes exactly in the middle, splitting the interior into two equal 22-1/4-inch bays. Check that the divider is square to the bottom before driving screws, because it sets the opening size for both doors.
Apply glue to each joint, clamp, and drive the pocket screws. Add the top the same way. Then set the internal shelf into one bay at whatever height suits your components. Support it on 3/4-inch cleats or shelf pins; a glued cleat under the shelf ends is simplest and strongest.
Leave the 1/4-inch back panel off for now. You’ll drill it and the shelves for cables in Step 3, and it’s easier to reach the interior while the box is open.
Step 2: Add the Face Frame
The face frame stiffens the front of the cabinet and gives the doors something to close against. Build it as a flat assembly, then attach it to the carcass.
Cut the two stiles (18 inches), two rails (44-1/2 inches), and the center stile (14-1/2 inches). Lay them out on a flat surface: stiles on the left and right running full height, rails across the top and bottom between them, and the center stile in the middle aligning with the divider behind it.
Join the frame with pocket holes on the back side so they won’t show. Glue and screw the rails to the stiles first, then fit the center stile between the rails. Check the frame is square by measuring both diagonals; they should match.
Glue the finished frame to the front edges of the carcass. Align the center stile directly over the plywood divider. Clamp across the whole front and let it set. A few brad nails hold it while the glue cures if you don’t have enough clamps. The frame should overhang the plywood edges slightly on the outside, which you’ll sand flush.
Step 3: Drill Cable Pass-Throughs
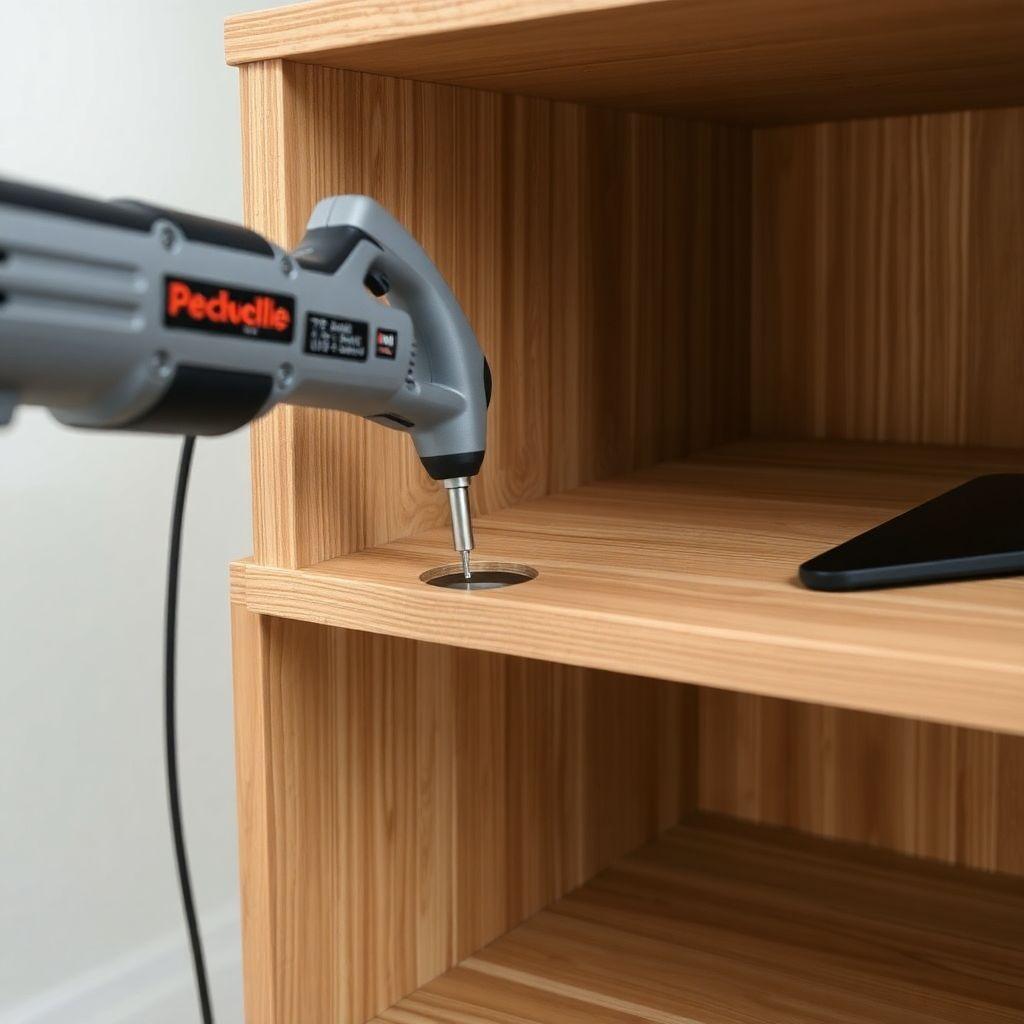
This is the step that separates a real media cabinet from a box with doors. Cables need to reach the right component without draping across the front or bunching behind the stand.
Drill a 2-inch hole at the back of each shelf and the back panel, not just at the top. Put one hole in the top panel behind where the TV or console sits, one in the internal shelf so a cable can drop from the device above to the device below, and one or two in the 1/4-inch back panel so cords exit to the wall outlet.
Position each hole toward the rear corner, about an inch from the back edge, so cables run straight down the back rather than looping. Line every hole with a 2-inch grommet. The grommet hides the raw plywood edge, protects cable insulation, and lets you route cords cleanly. Drill from the finished face into scrap backing to avoid tear-out.
Ventilation matters as much as cable routing. AV receivers and game consoles throw off real heat, and a sealed cabinet will push them into thermal shutdown mid-session. Give that heat somewhere to go. The simplest fix is a ventilated back: cut the back panel opening larger behind the component bay, or replace a section of the 1/4-inch back with pegboard or a grill-cloth panel. If you prefer solid doors, drill a row of 1-inch holes across the back panel behind the receiver. Never enclose a receiver in a fully sealed box with solid doors and a solid back.
Once holes and grommets are in, nail or screw the back panel into the rabbet or against the rear edges of the carcass.
Step 4: Build and Hang the Doors
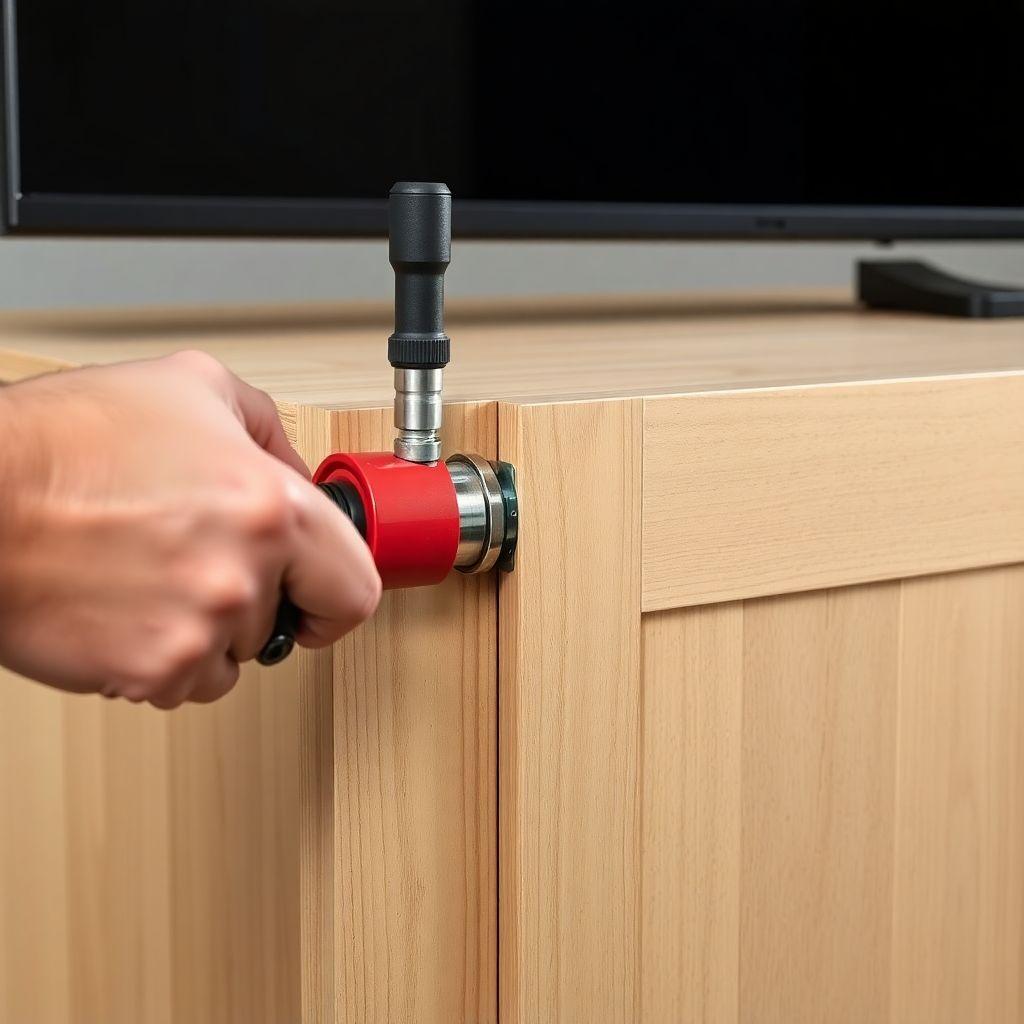
Before you cut hinges, decide on door style, because it changes the hardware.
Full-overlay doors sit in front of the face frame and cover it almost completely, leaving only a thin reveal. They’re the easier option and give a clean, modern look. They require 1/2-inch overlay cup hinges, which are what this plan is built around.
Inset doors sit flush inside the frame opening, level with the face frame surface. They look more like fine furniture but demand precise fitting, with an even 1/16-inch gap all the way around. If your fit isn’t dead-on, inset doors show every error. For a first media cabinet, full-overlay is the forgiving choice.
The cut list gives two doors at 21-3/8 by 14-5/8 inches, sized for full overlay on the two 22-1/4-inch bays. Cut them, sand the edges, and apply edge banding if you want the plywood edge hidden.
Bore the 35mm cup holes on the back of each door, typically 3 to 4 inches from the top and bottom, about 7/8 inch in from the edge. A hinge jig makes this repeatable; a Forstner bit and careful marking also works. Seat the cup hinges, then mount the hinge plates to the face frame stiles. Hang the door and use the hinge adjustment screws to dial in the reveal so both doors line up. Cup hinges adjust in three directions, so take your time here rather than re-drilling.
Install the pulls last, once the doors hang evenly.
Step 5: Add Legs and Finish
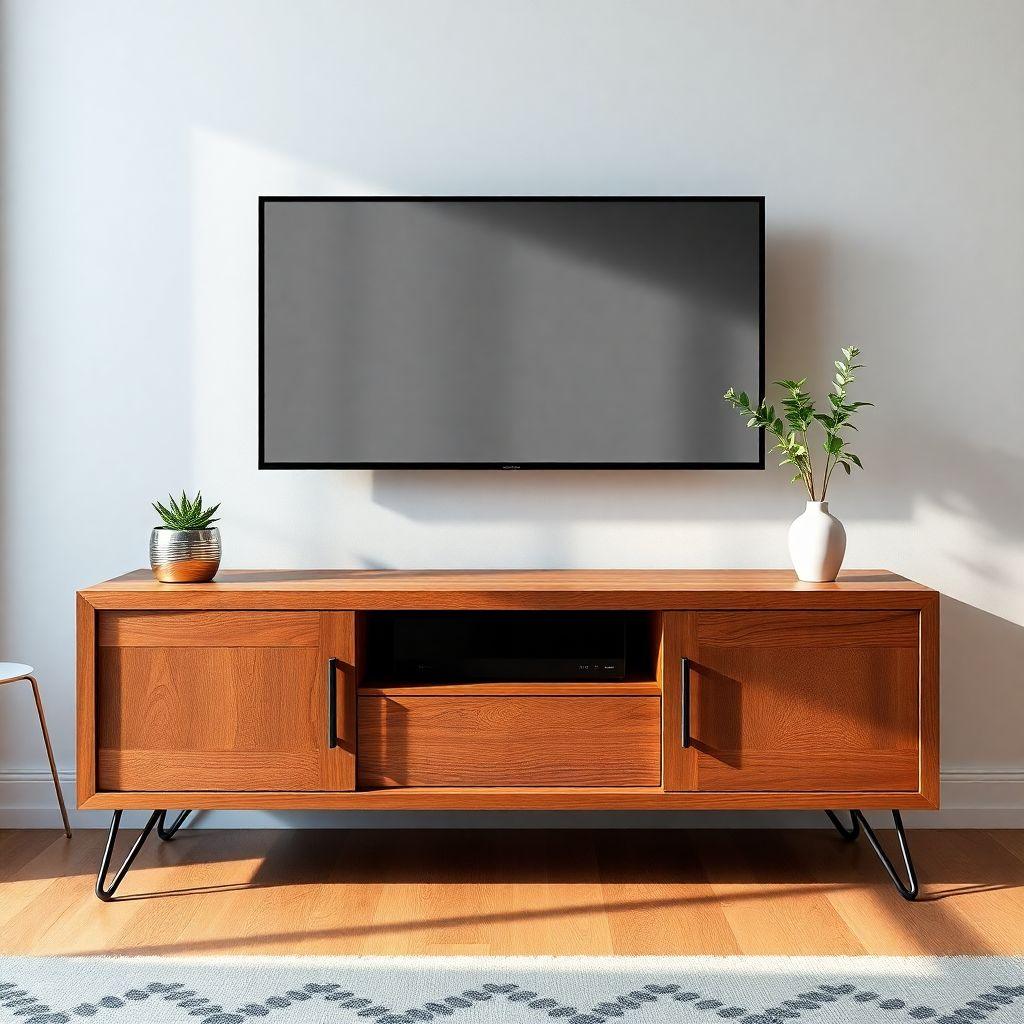
Flip the cabinet upside down on a padded surface. Mark the four leg positions an inch or so in from each corner of the bottom panel. Hairpin legs bolt straight through a mounting plate into the 3/4-inch plywood; use short lag screws or threaded inserts for a stronger hold than wood screws alone. Turned wooden legs attach with angled mounting plates the same way. Six-inch legs raise the screen center to a comfortable height and leave room to sweep under the stand.
Stand it back up and check for wobble on a flat floor. Adjust leg levelers if your legs have them.
For finish, sand everything to 220 grit and knock down any sharp edges. Fill pocket holes that show with wood filler and sand flush. Wipe on walnut stain if you want the darker tone in the reference photos, let it dry, then protect with two or three coats of polyurethane, sanding lightly between coats. Hardwax oil is a faster, lower-odor alternative that’s easy to repair later. Let the finish cure fully before you load components so nothing sticks or off-gasses into a closed cabinet.
Looking for more entertainment center ideas?
This guide is part of our complete entertainment center plans series — 6 types compared by skill, cost, and build time.
Want 16,000+ woodworking plans?
Ted’s Woodworking has step-by-step plans for every skill level. Browse Ted’s plans.
FAQ
How wide should a TV stand be for a 65-inch TV?
At least 43 to 49 inches, which is 2/3 to 3/4 of the TV’s roughly 57-inch width. Wider than the TV is fine and looks intentional; narrower than two-thirds looks unstable. The 48-inch stand in this plan fits a 55 to 65-inch TV well.
Will a plywood TV stand hold a heavy TV and components?
Yes. A 65-inch TV plus receiver, console, and media runs about 130 pounds total. A 3/4-inch plywood top on four legs with glued, pocket-screwed joints handles that easily. Cheap stands fail at the joints, not the material, so solid joinery is what matters.
How do I keep my AV receiver from overheating in a cabinet?
Ventilate it. Use a pegboard or grill-cloth section in the back panel, cut an oversized back opening behind the component bay, or drill a row of 1-inch holes behind the receiver. Never seal a receiver inside solid doors with a solid back, or it will hit thermal shutdown.
Should I use inset or overlay doors?
Full-overlay doors sit in front of the face frame and are far more forgiving to fit; they need 1/2-inch overlay cup hinges. Inset doors sit flush inside the opening and look more like furniture but require a precise, even gap all around. Choose overlay for a first build.
How tall should the TV stand be?
Aim for the screen center near seated eye level, about 42 inches. Add half the TV’s height to the stand height to check. This plan’s 18-inch carcass on 6-inch legs puts a 65-inch screen center near 40 inches, which is comfortable on a standard sofa.
How much does it cost to build this TV stand?
About $130 in materials: one sheet of 3/4-inch plywood, a quarter-sheet of 1/4-inch plywood, a poplar board for the face frame, hinges, legs, grommets, and finish. Prices vary by region and plywood grade.
Related Articles

“DIY woodworking enthusiast who started with zero experience and a YouTube tutorial.
I build simple, practical projects for my home and share free plans
so other beginners can skip the guesswork.If I can build it, you can too.”