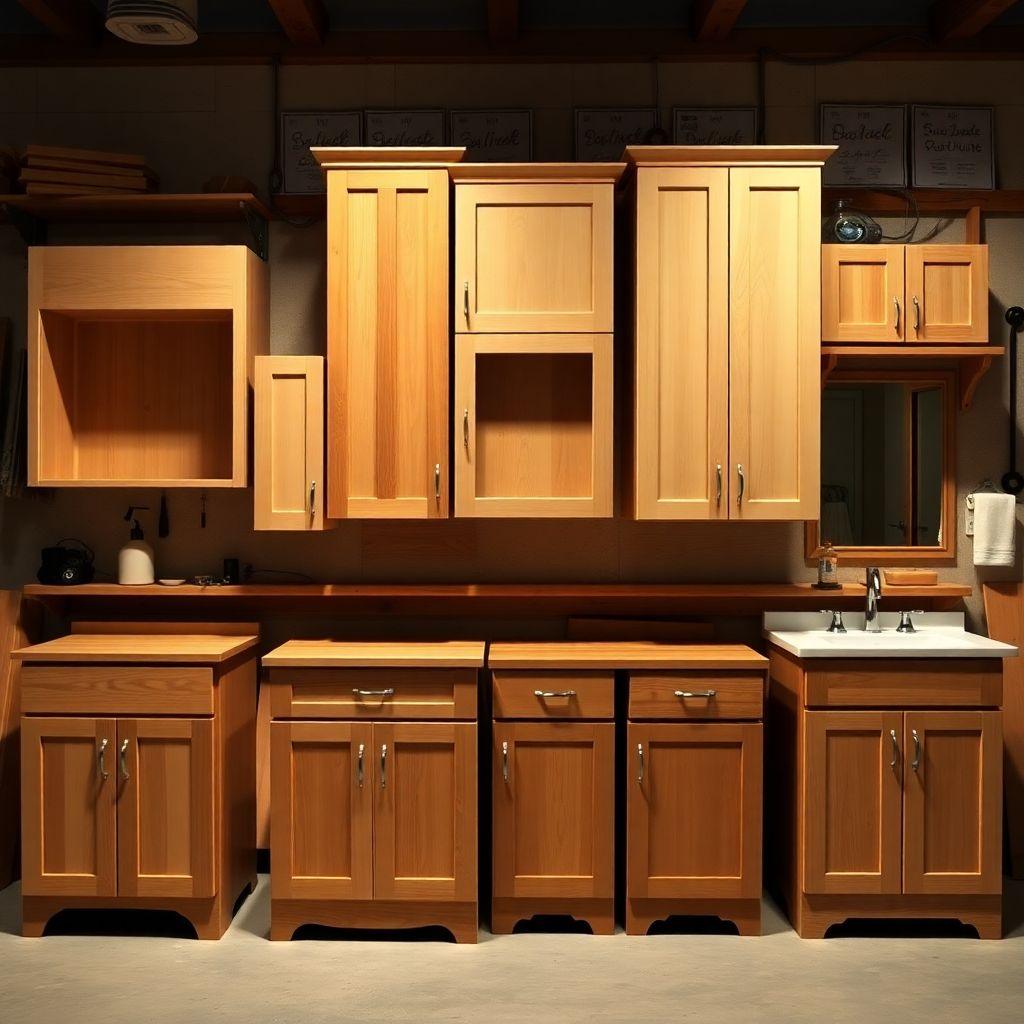
Not all cabinet plans are built the same. A kitchen base cabinet and a wall-mounted upper share a family resemblance, but the joinery, the material list, and the weekend you spend building them are different animals. Pick the wrong plan for your skill level and you either burn through lumber on a project above your grade or waste a weekend on something too simple to matter. This guide is part of our complete woodworking furniture plans library.
This is a decision guide, not a build tutorial. Below you get six cabinet types, each broken down by skill level, 2026 material cost, build time, tools, and joinery so you can figure out which one to build before you cut a single board. Use the comparison table to narrow the field, then read the card for the type you land on.
Cabinet plans get grouped together because they all reduce to the same core idea: a box, a way to close it, and a way to hold what goes inside. What separates them is the demands each one puts on that box. A shop cabinet forgives a gap you would never accept in a kitchen. A vanity has to survive water that would never touch a filing cabinet. Once you see the box underneath all six, choosing between them stops being guesswork and becomes a short checklist of room, load, and finish.
Master Comparison Table
| Cabinet Type | Skill | Cost (2026) | Time | Joinery | Best For |
|---|---|---|---|---|---|
| Kitchen base | Intermediate | $80–200 | 1 weekend | Dados + face frame | Kitchen storage |
| Shaker cabinet | Intermediate | $60–150 | 1 weekend | Rail-and-stile | Any room, timeless look |
| Wall/upper cabinet | Intermediate | $50–120 | Half-day | Pocket screws | Kitchen, laundry |
| Storage cabinet | Beg–Int | $100–300 | 1 weekend | Pocket screws | Shop, garage |
| Wood filing cabinet | Intermediate | $150–350 | 1–2 weekends | Full-ext slides | Home office |
| Bathroom vanity | Intermediate | $200–500 | 1–2 weekends | Dados + waterproof | Bathroom |
Which Cabinet Should You Build
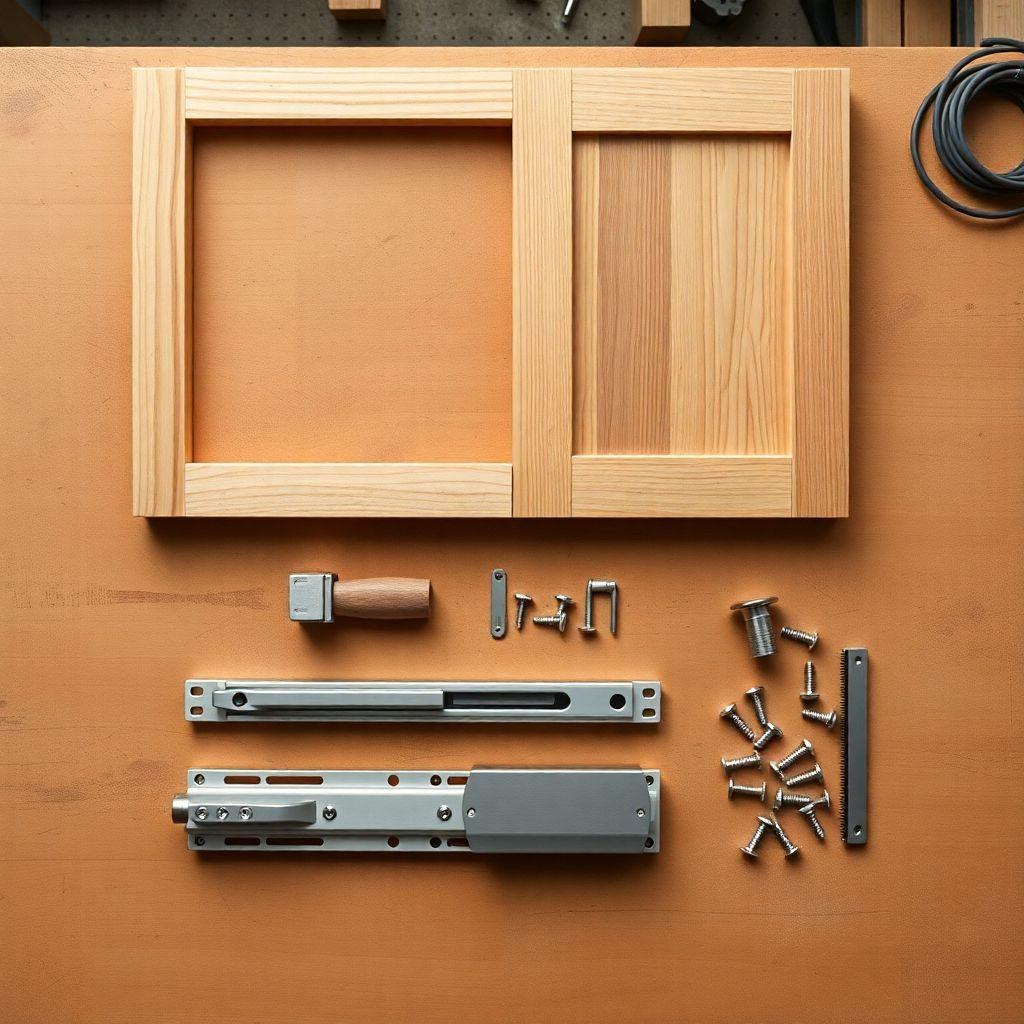
If you are still deciding, work backward from the room and the tools you own. Building for a kitchen means face frames and precise dados. Building for a shop or garage means you can trade appearance for speed and lean on pocket screws. Anything near water means moisture-resistant materials and non-negotiable planning around plumbing.
Skill level is the other filter. Every cabinet here sits at intermediate except the shop storage cabinet, which a confident beginner can pull off. The difference between beginner and intermediate on this list usually comes down to whether the plan requires cut dados, fitted drawers, or a face frame that has to sit flat and square. If you own a table saw, a drill or driver, and a pocket-hole jig, you can build most of these. Add a router and you can build all of them.
Cost is worth a word too. The 2026 ranges below are material only, and they swing hard on your wood choice. The same cabinet built from cabinet-grade birch plywood and poplar can cost half what it does in solid maple with hardwood ply. Hardware is the other variable that moves the number, especially on the filing cabinet where full-extension slides alone can run $30 to $60 a pair. Buy the joinery-critical parts first, the plywood and the slides, and treat the finish wood as the place to save if the budget gets tight.
Type 1: Kitchen Base Cabinet
The kitchen base cabinet is the workhorse of the kitchen and the reference point every other cabinet gets measured against. Standard dimensions are 34.5 inches tall and 24 inches deep so the counter lands at 36 inches once the top goes on. The build is a plywood carcass with a hardwood face frame glued and screwed to the front, which is what gives the cabinet its rigidity and clean door-mounting surface.
Joinery is dados cut into the sides to seat the bottom and any fixed shelves, plus the face frame. This is the plan that teaches you to cut a clean dado and square a box, so it is the best first “real” cabinet if you have a table saw. Budget $80 to $200 per cabinet in 2026 depending on whether you use birch plywood and solid maple or drop to cabinet-grade ply with poplar frames. Plan on a full weekend for your first one, faster after that.
One thing to plan for early is whether the cabinet gets doors, drawers, or both. A door cabinet is the simpler build and the right place to start. Drawers add a bank of slides and drawer boxes that all have to line up, which is a real step up in difficulty. Most first-time builders are better off with a door-and-single-shelf base cabinet and saving the multi-drawer version for their second or third box.
For a complete step-by-step build with cut lists and drawer options, see our full guide to basic cabinets for the kitchen.
- Skill: Intermediate
- Cost (2026): $80–200 per cabinet
- Build time: 1 weekend
- Tools: Table saw, drill/driver, clamps, optional router
- Joinery: Dados plus face frame
- Distinctive: Sets the dimensional standard for the whole kitchen
Type 2: Shaker Cabinet
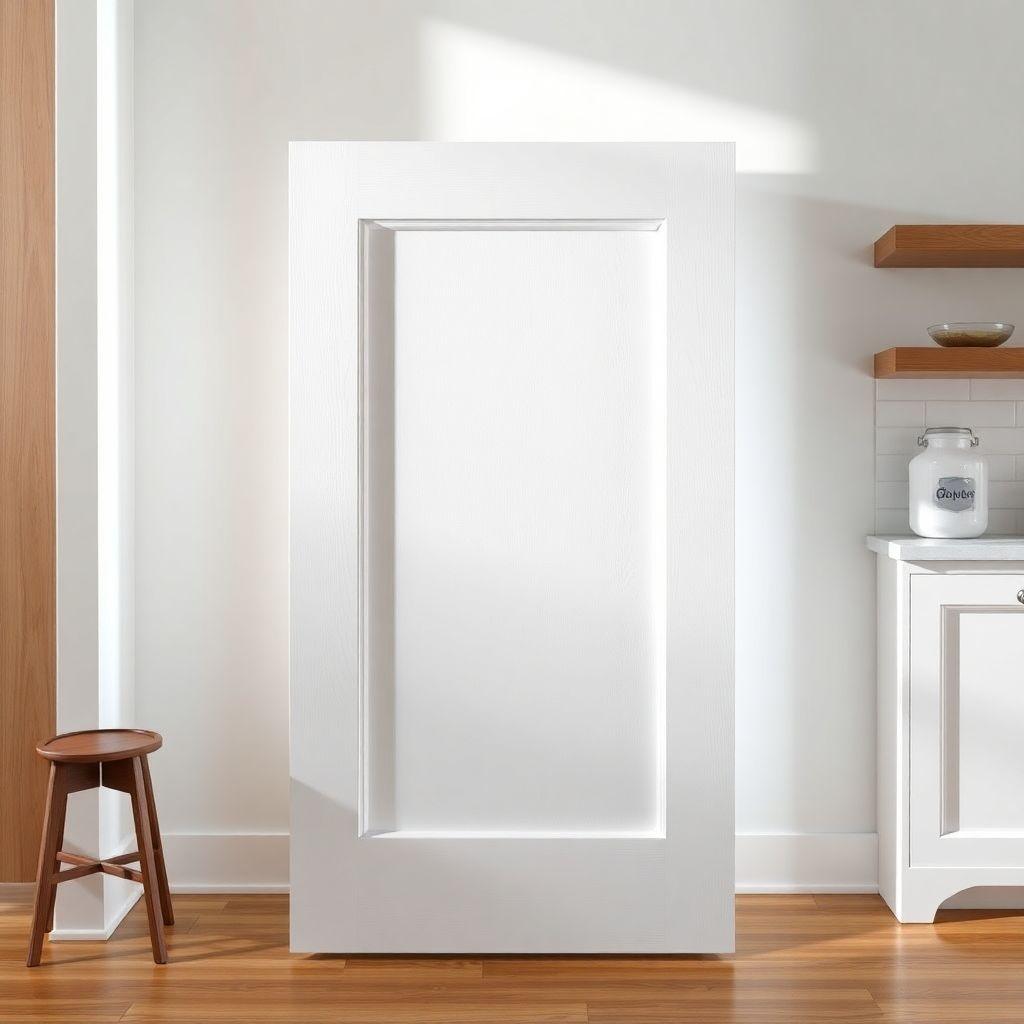
Shaker is less a cabinet type than a style you apply to any of the others, and it is the one worth learning because it never looks dated. The signature is the door: a flat center panel floating inside a frame of rails and stiles, with no raised molding or ornament. Clean lines, honest joinery, done. Good shaker cabinet doors are the difference between a piece that looks homemade and one that looks built.
The door frame is rail-and-stile joinery. Traditional shaker woodworking uses mortise-and-tenon joints for the frame, which is the strongest option and the one that puts you squarely in the tradition. If you are not ready for that, pocket screws on the back of the frame hold up fine for interior cabinet doors and cut the build time significantly. The center panel sits in a groove and floats free so it can expand and contract with humidity without cracking the frame. That floating panel is the detail most beginners get wrong by gluing it in.
The same principles scale up to full shaker furniture like sideboards and dressers, so the door you learn here transfers directly. Learn to build one clean rail-and-stile door and you have unlocked a whole catalog of projects, because that same joint shows up in cabinet fronts, bookcase doors, and paneled sides across the style. Material cost runs $60 to $150 for a single cabinet, and you can build one over a weekend once you have the door process down. Paint it white for the classic look or leave a nice hardwood clear-coated to show the grain.
- Skill: Intermediate
- Cost (2026): $60–150
- Build time: 1 weekend
- Tools: Table saw, router or rail-and-stile bits, pocket-hole jig or mortising setup
- Joinery: Rail-and-stile frame, floating center panel
- Distinctive: Timeless look that works in any room and scales to full furniture
Type 3: Wall Cabinet / Upper Cabinet
The wall or upper cabinet is the lighter cousin of the base cabinet. It is shallower, usually 12 inches deep instead of 24, and it carries less structural load because it holds dishes and pantry goods rather than counters and appliances. That makes it the fastest cabinet on this list to build, often a half-day job once you have a base cabinet under your belt.
The build simplifies to pocket screws through the carcass, since you are not fighting the weight and racking forces a base cabinet sees. The critical part moves from the box to the wall. An upper cabinet full of canned goods is heavy, and it hangs entirely on the fasteners driving into your wall studs. Use a mounting rail inside the top of the cabinet, hit at least two studs, and never trust drywall anchors alone. A cabinet that pulls off the wall is not a cosmetic failure, it is a hazard, so this is the one place on the build where you do not improvise. Cost lands at $50 to $120 because you use less material than a base cabinet. Because the build is quick, uppers are also the ideal cabinet to prototype a finish or a door style on before you commit to a full run.
- Skill: Intermediate
- Cost (2026): $50–120
- Build time: Half-day
- Tools: Drill/driver, pocket-hole jig, stud finder, level
- Joinery: Pocket screws
- Distinctive: Lightest and fastest build, but wall mounting is the whole game
Ready to build? Grab your table saw and pocket-hole jig, pick the type that matches your room and skill, and browse our full plan library for cut lists and drawings. The best cabinet is the one you actually finish this weekend.
Type 4: Woodworking Storage Cabinet
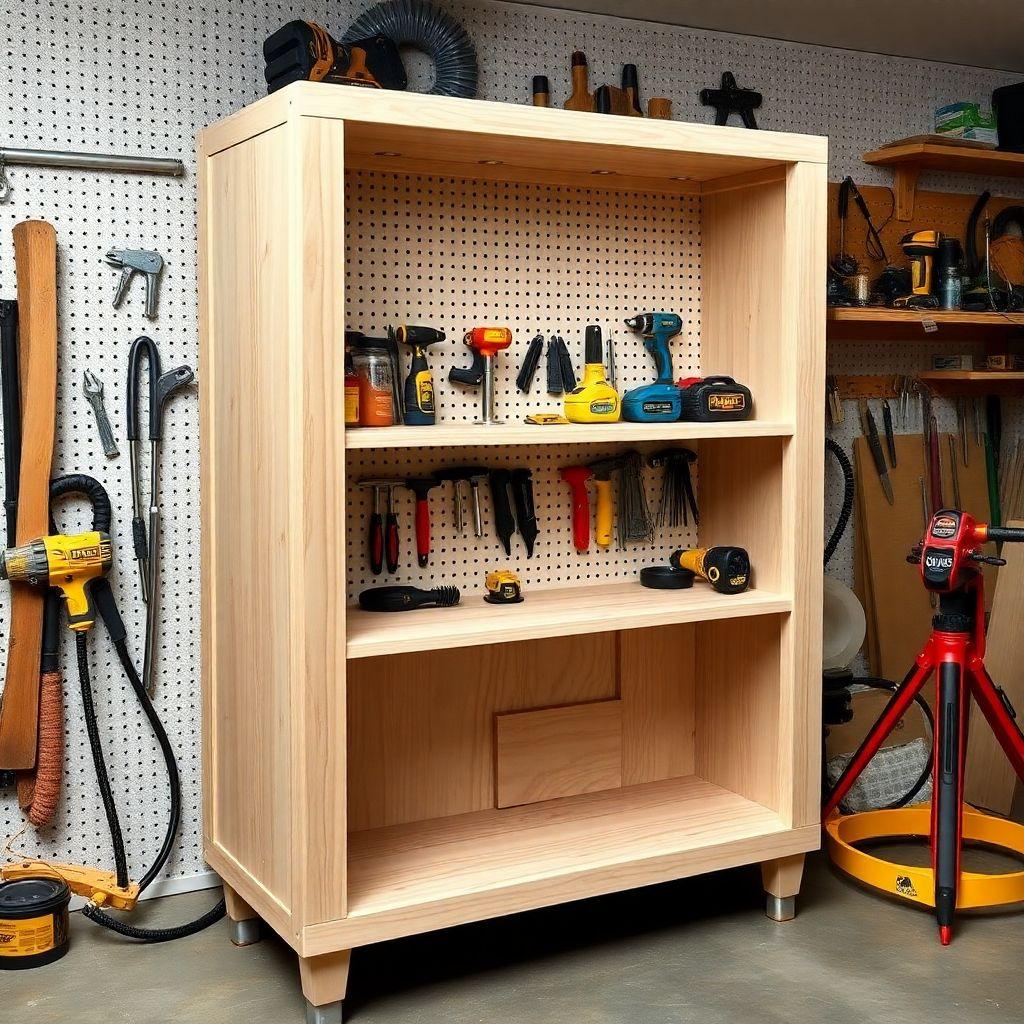
A woodworking storage cabinet for the shop or garage is the most forgiving build here, which is why a confident beginner can start with it. Nobody grades the finish on a shop cabinet, so you can skip the face frame, use construction-grade plywood, and focus on function. This is the project where you learn box construction without the pressure of a kitchen-grade result.
The distinctive features are all about organization. A pegboard back panel turns the inside of the doors and the rear wall into hanging storage for hand tools. Adjustable shelves on shelf pins let you reconfigure as your tool collection grows, which it will. Pocket screws hold the whole thing together fast. Because you are building bigger and using more material, cost runs $100 to $300, but you save every dollar you would have spent on hardwood and premium ply. Plan a weekend, and build it deep enough to swallow power tool cases.
- Skill: Beginner to Intermediate
- Cost (2026): $100–300
- Build time: 1 weekend
- Tools: Circular saw or table saw, drill/driver, pocket-hole jig
- Joinery: Pocket screws
- Distinctive: Pegboard back and adjustable shelves, function over finish
Type 5: Filing Cabinet (Wood)
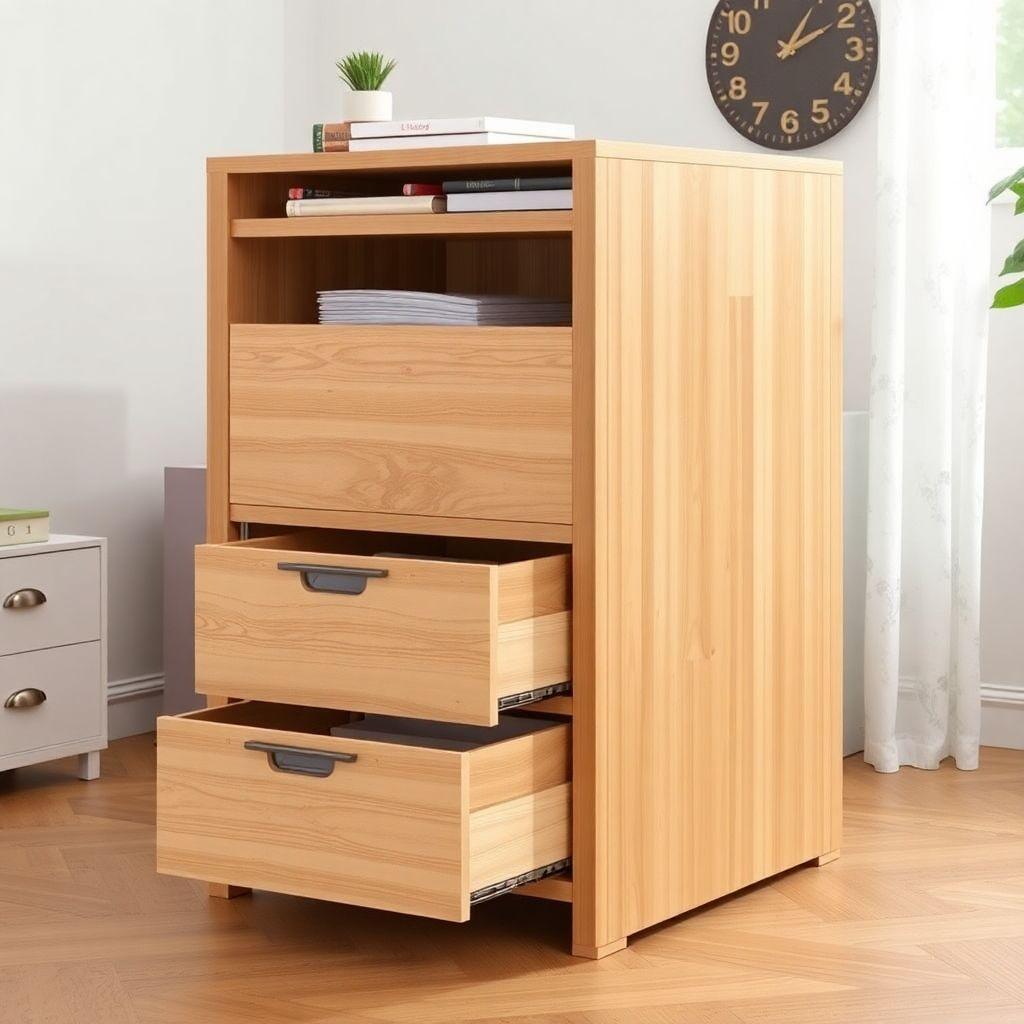
A wooden filing cabinet is where you graduate to real drawer work, and it is the type most likely to teach you that hardware matters as much as woodworking. As a piece of office furniture, a wood filing cabinet looks far better than the gray steel box it replaces, and building your own lets you match existing office pieces. The catch is that hanging file folders are heavy and the drawers have to open all the way.
That last point drives the whole build: you need full-extension drawer slides, not the cheaper three-quarter-extension kind, so the back of a fully loaded drawer clears the cabinet. Size the drawers for letter or legal folders and account for the hanging file rails, which eat into your interior width. Letter folders need a hair under 12 inches of clear interior width between rails, legal needs a hair under 15, and getting that dimension wrong means your folders will not hang. Get the slide spacing right and square, because a rack of drawers punishes any error you make in the carcass, and a drawer that racks even slightly will bind halfway open. Cost runs $150 to $350, most of it in solid wood and quality slides, and a two-drawer unit takes one to two weekends.
- Skill: Intermediate
- Cost (2026): $150–350
- Build time: 1–2 weekends
- Tools: Table saw, drill/driver, clamps, careful measuring setup
- Joinery: Carcass with full-extension drawer slides
- Distinctive: Full-extension slides are required, not optional
Type 6: Bathroom Vanity Cabinet
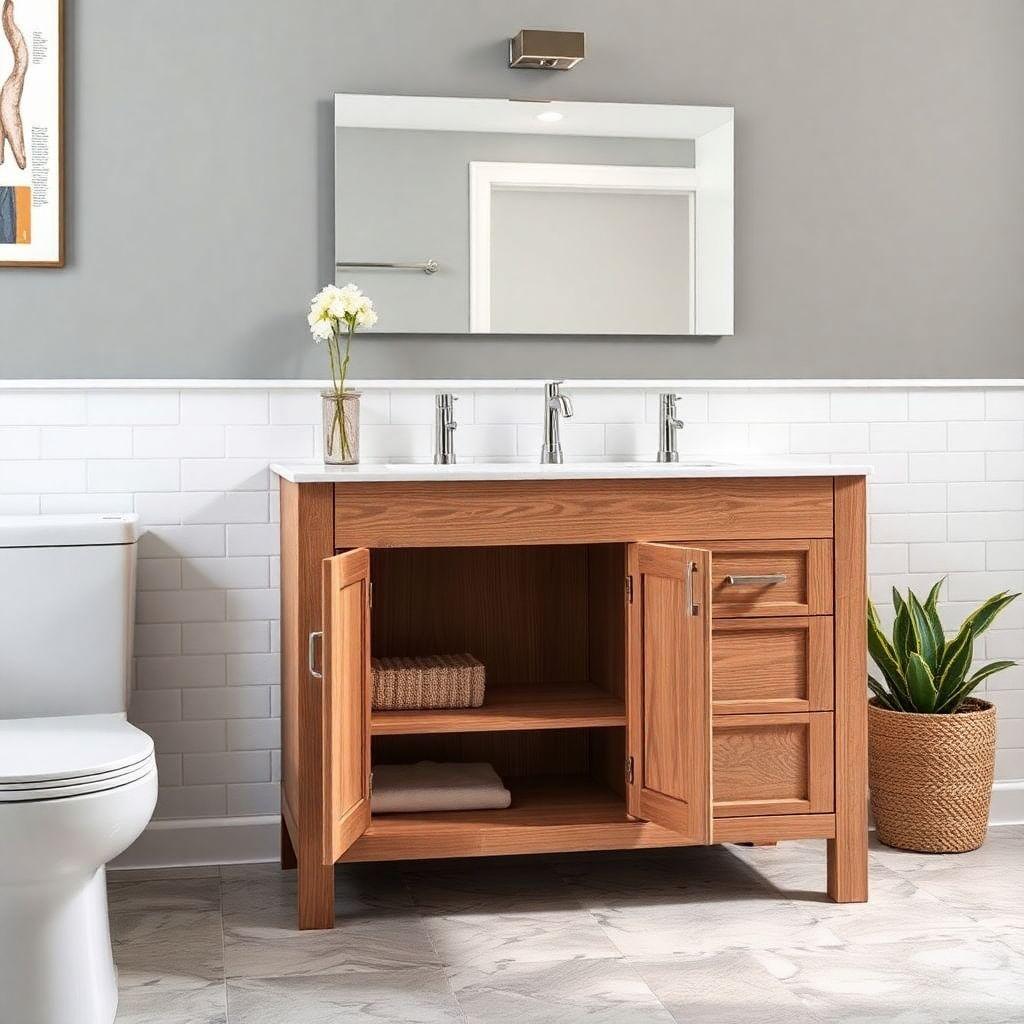
The bathroom vanity is the most demanding cabinet on this list, not because the joinery is harder but because the environment is hostile. A bathroom cycles through humidity every day, and standing water is always one dropped washcloth away. That changes your material list before you cut anything: moisture-resistant plywood, waterproof glue, and a finish rated for wet environments are all non-negotiable.
The other complication is the plumbing. Your vanity has to accommodate the drain and supply lines, which means planning cutouts in the back panel and often the bottom shelf before assembly, not after. Measure the rough-in plumbing first and build the cabinet around it. The carcass itself uses dados like a kitchen base cabinet, so if you have built one of those you already know the box. Budget $200 to $500 depending on size and whether you are building for a vessel sink or an undermount, and give it one to two weekends.
- Skill: Intermediate
- Cost (2026): $200–500
- Build time: 1–2 weekends
- Tools: Table saw, router, drill/driver, jigsaw for cutouts
- Joinery: Dados plus waterproof materials
- Distinctive: Moisture-resistant build and plumbing cutout planning
The Bottom Line
Start with the room and your tool kit and the right cabinet picks itself. For your first real build, the kitchen base cabinet or the shop storage cabinet teaches you box construction with the lowest risk. The shaker door is the single most transferable skill on this list, so learn it early and it pays off across furniture and cabinetry alike. Save the filing cabinet and bathroom vanity for after you are comfortable squaring a carcass, since both punish sloppy work with drawers that bind or panels that swell. Whichever you choose, build to real dimensions, test-fit before you glue, and you will end up with cabinets that look bought and last longer. Pick one type, commit to it this weekend, and let the next five wait their turn.

“DIY woodworking enthusiast who started with zero experience and a YouTube tutorial.
I build simple, practical projects for my home and share free plans
so other beginners can skip the guesswork.If I can build it, you can too.”