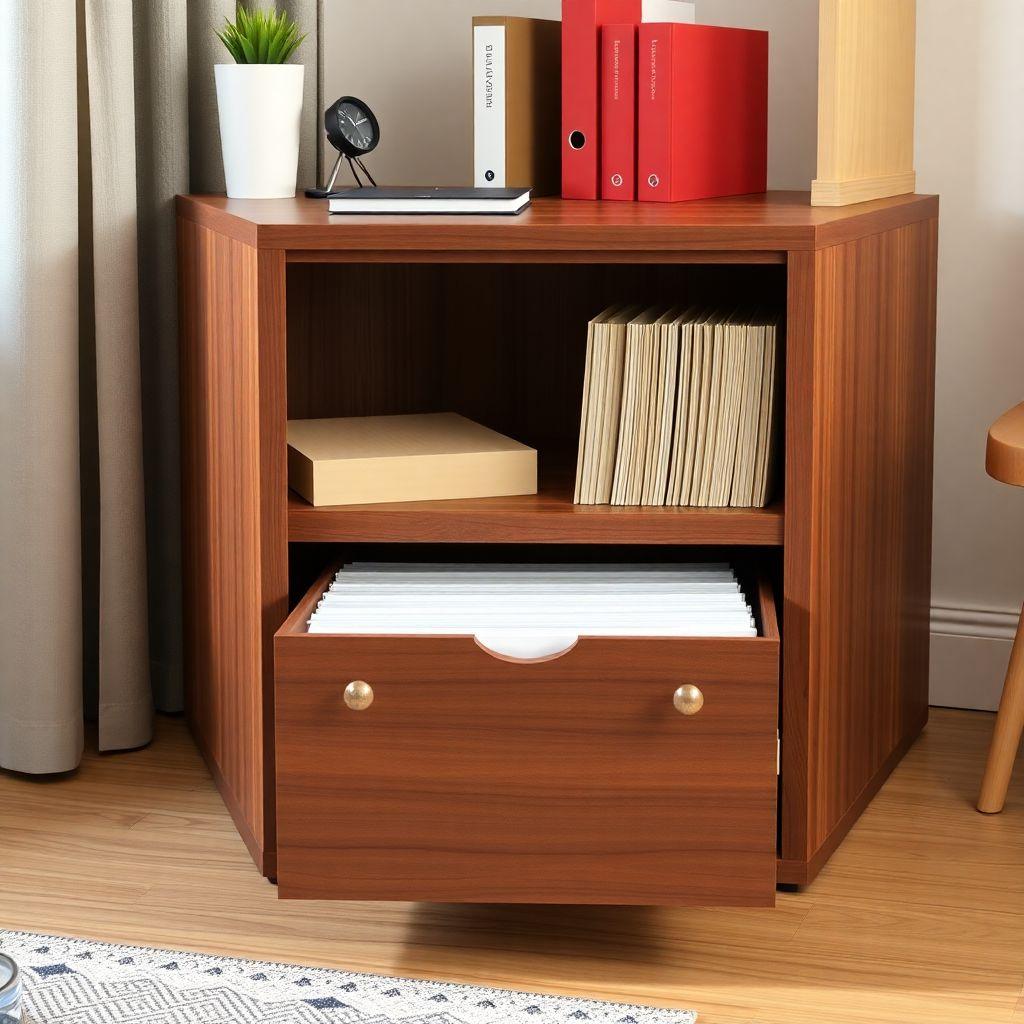
A store-bought wooden filing cabinet runs $300 to $600 and still uses cheap slides that bind when a drawer is full. Build your own and you get real full-extension hardware, wood that matches your desk, and a cabinet that outlasts anything from a big-box store. These wood filing cabinet plans walk you through a two-drawer letter-size unit you can build in one to two weekends for around $175 in materials.
This is an intermediate diy filing cabinet project. If you can cut plywood square and drive a screw straight, you can build it. The tricky parts are drawer slide alignment and drawer face reveals, and both are covered step by step below. This guide is part of our larger cabinet plans series, so if you want to compare filing cabinets against other office furniture filing cabinet wood builds, start there.
What you’ll build: a 24″ tall, 15″ wide, 24″ deep cabinet with two file drawers on full-extension slides, a solid wood top, and drawer faces with a clean 1/8″ reveal all around. Cost is roughly $175. Time is one weekend for a fast builder, two for a careful one. By the end you’ll know how to build a filing cabinet that holds hanging folders properly and won’t tip over when both drawers are loaded.
Letter vs Legal Size: Measure First
Looking for more cabinet ideas?
This guide is part of our complete cabinet plans series — compare all options by skill level, cost, and build time.
Want 16,000+ woodworking plans?
Ted’s Woodworking has step-by-step plans for every skill level. Browse Ted’s plans.
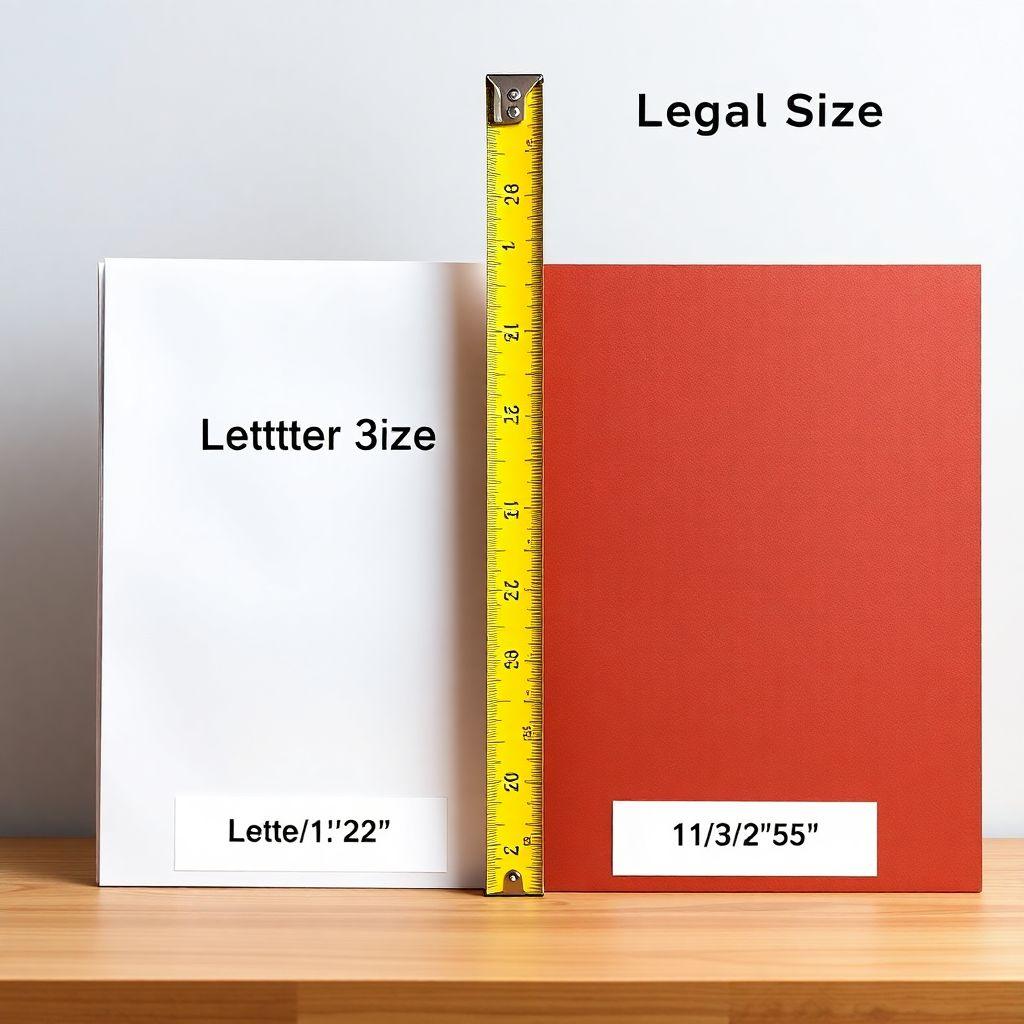
Before you cut a single board, decide which file size you’re storing. This one decision drives every dimension in the cut list.
- Letter size files sit in a drawer box that is 12″ wide inside. Hanging folders for letter run on rails 12-1/4″ apart.
- Legal size files need a drawer box 15″ wide inside, with rails 15-1/4″ apart.
The plans below are built for letter size, which fits most home offices. If you need legal, add 3″ to the width of every horizontal part (top, bottom, divider, back, drawer boxes, drawer faces) and buy legal-length hanging file rails. Everything else stays the same.
Measure your actual files before committing. Pull a folder from your current stash and check it against a tape. Mixed collections happen, and it is cheaper to build one size wider than to rebuild a drawer.
Materials and Cut List
This is a two-drawer letter-size cabinet at roughly 24″ H x 15″ W x 24″ D. For a wooden filing cabinet that looks like furniture, use cabinet-grade plywood (birch, maple, or walnut veneer) for the carcass and a solid hardwood top.
Cut list
| Part | Qty | Material | Size |
|---|---|---|---|
| Sides | 2 | 3/4″ plywood | 23-1/4″ x 24″ |
| Top and bottom | 2 | 3/4″ plywood | 13-1/2″ x 24″ |
| Middle divider | 1 | 3/4″ plywood | 13-1/2″ x 22-1/2″ |
| Back | 1 | 1/4″ plywood | 13-1/2″ x 23-1/4″ |
| Drawer boxes | 2 | 1/2″ plywood | 11-1/2″ x 22″ x 10-1/2″ H |
| Drawer faces | 2 | 3/4″ solid wood or plywood | 13-3/4″ x 11-1/8″ |
| Solid wood top | 1 | 3/4″ hardwood | 16-1/2″ x 25-1/2″ (1″ overhang front and sides) |
Hardware and supplies
- 2 pairs full-extension side-mount drawer slides, 22″ length
- 1 set hanging file rails per drawer (letter length)
- 2 drawer pulls
- 1-1/4″ pocket screws or wood screws
- 1-5/8″ screws for carcass assembly
- 3/4″ brad nails for the back
- Wood glue
- Finish: wipe-on poly or hardwax oil
- 4 slotted screw holes worth of #8 washers (for the top and faces, explained later)
The interior width math matters here. Side-mount slides need exactly 1/2″ of clearance on each side of the drawer box. Slide width plus 1″ total gives you the cabinet interior width. With a 13-1/2″ interior and a 22″ slide, an 11-1/2″ wide drawer box leaves 1/2″ per side. Do not eyeball this. If your box is even 1/8″ too wide the slides will bind.
Tools Required
- Circular saw with a straightedge, or a table saw
- Drill/driver
- Pocket hole jig (optional but faster for drawer boxes)
- Tape measure and square
- Clamps
- Level
- Sandpaper (120 and 220 grit)
- 1/8″ spacers (playing cards or scrap work) for setting the drawer face reveal
Step 1: Build the Carcass
The carcass is a plywood box split by one horizontal divider. This is where you learn how to build a filing cabinet that stays square, so take your time on this step.
- Cut the two sides, top, bottom, and divider to the sizes in the cut list. Check every panel with a square.
- Lay out the divider position. The bottom drawer opening and top drawer opening are equal, so the divider centers between top and bottom. Mark its location on both sides.
- Assemble the box on its back. Attach the bottom between the two sides using glue and 1-5/8″ screws driven through the sides into the bottom edge. Keep everything flush at the front.
- Add the divider at your marked line, again screwing through the sides. Use a square to confirm it sits at 90 degrees.
- Attach the top the same way.
- Measure the diagonals. If both diagonals are equal, the box is square. Clamp it there.
- Cut the 1/4″ back to fit and nail it on with brads and a bead of glue. The back locks the carcass square, so do not skip it.
Let the glue set before moving on. A racked carcass will fight you at the slide step.
Step 2: Install the Drawer Slides
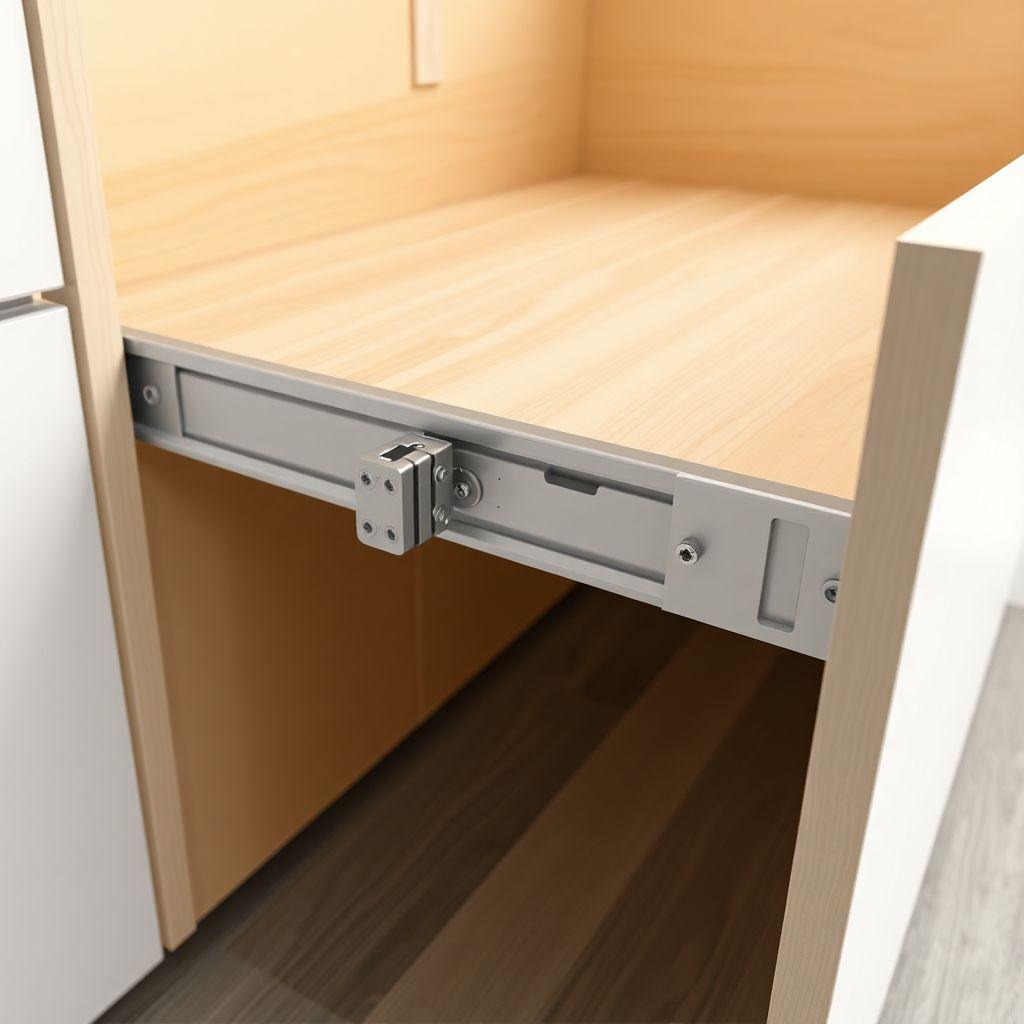
Side-mount full-extension slides are non-negotiable for a filing cabinet. A drawer full of paper is heavy, and full-extension lets you reach the back files without the drawer sagging out of its track. Side-mount is also the easiest slide type for a DIY build because it forgives small height errors.
- Separate each slide into its two halves: the cabinet member and the drawer member.
- Mark a level line inside the carcass for each drawer. The cabinet member’s bottom edge sits on this line. Use a level, not just a measurement, because a tilted slide binds.
- Screw the cabinet member to the carcass side. Start with the front screw, check level, then drive the rest. Repeat on the opposite side, measuring from the same reference so both slides sit at identical height.
- Repeat for the second drawer position.
- Set the drawer members aside. They mount to the drawer boxes in the next step.
Test-fit by holding a scrap the width of your drawer box between the slides. It should slide with no drag. If it binds, one slide is high or the pair is too close together.
Step 3: Build the Drawer Boxes
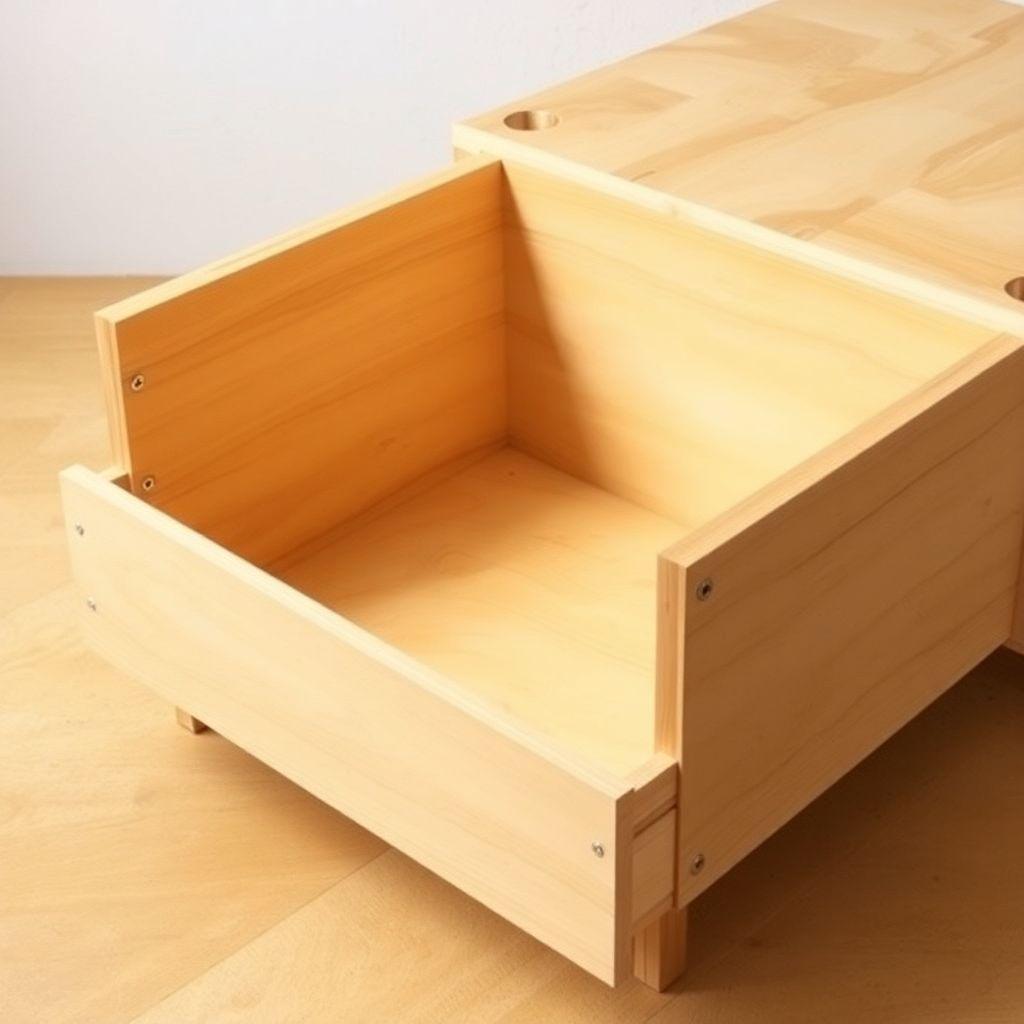
Each drawer box is a simple 1/2″ plywood box, 11-1/2″ wide, 22″ deep, 10-1/2″ tall. Pocket screws make this fast, but glued and screwed butt joints work too.
- Cut the four sides and the bottom for each box. The bottom can sit in a groove or simply screw to the underside of the sides.
- Assemble each box square. Check the diagonals the same way you did the carcass.
- Confirm the outside width is a true 11-1/2″. This is the measurement that has to match your slide clearance. Sand down any proud edges.
- Mount the drawer member of each slide to the box sides. Keep it flush with the front of the box and level along its length.
- Slide each box into the carcass. It should glide the full extension and pull back smoothly. Adjust now if anything drags.
- Install the hanging file rails inside each box, spaced for letter files (12-1/4″ apart).
Step 4: Attach Drawer Faces
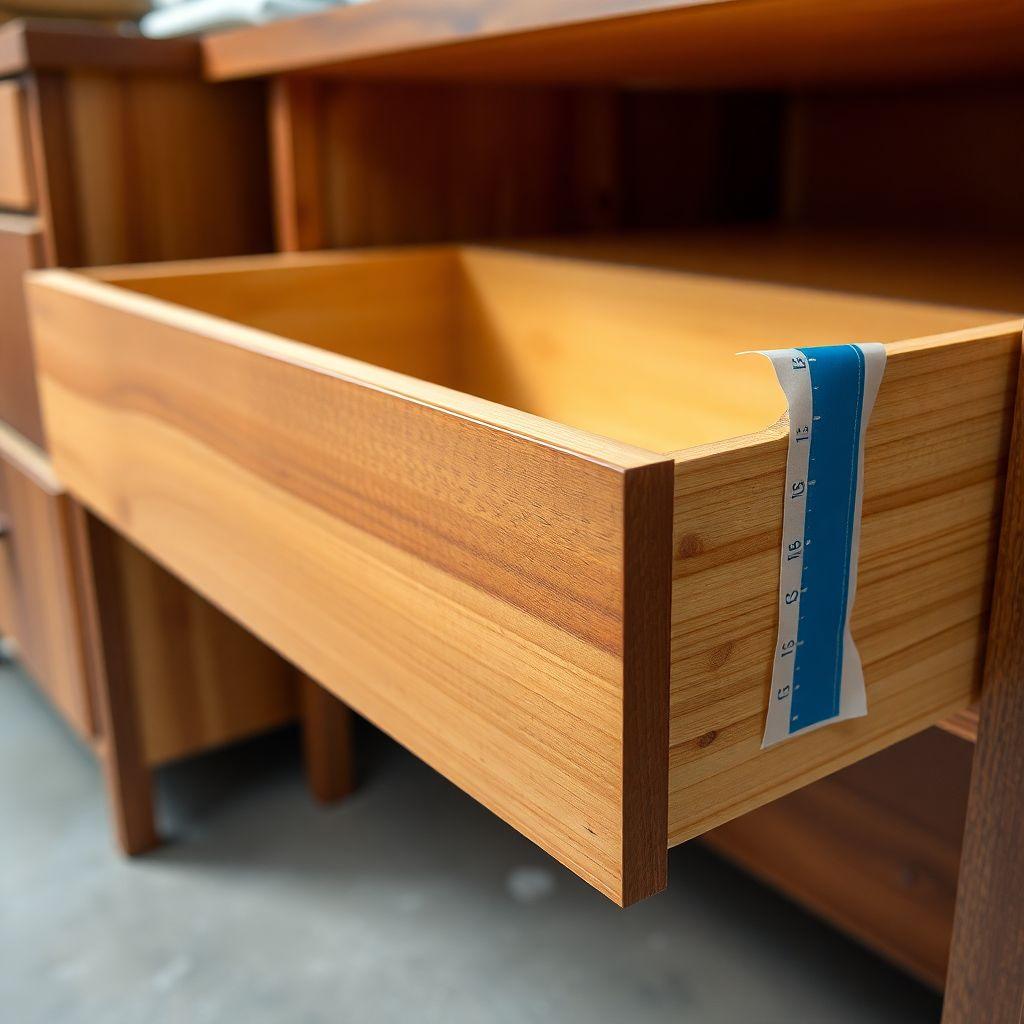
The drawer faces are what people see, so the goal is a consistent 1/8″ gap all around. Mounting the faces after the boxes are on their slides is the trick that makes this easy.
- Cut both faces to 13-3/4″ x 11-1/8″. Dry-fit them against the front of the closed drawer boxes.
- Set your reveal. Place 1/8″ spacers at the bottom and one side, then position the face so it floats 1/8″ off the cabinet on all four edges. The two faces should have an even gap between them too.
- Hold the face in place. From inside the drawer box, drive two screws through the box front into the back of the face. Do not glue yet.
- Open the drawer and check the reveal from the front. Nudge and re-drive if needed.
- Once the gap is right, add the remaining screws. For solid wood faces, this is where wood movement matters.
Wood movement: a solid wood drawer front expands and contracts across its width with the seasons. If you pin it with tight screws in round holes, it will crack or bow. Drill the screw holes in the drawer box front slightly oversized (slotted, side to side) and use a washer under each screw head. Snug the screws firmly but not crushing tight. This lets the face float on its attachment points and move without splitting. Plywood faces are stable and do not need this, but the slotted-hole habit does no harm.
Step 5: Add the Top and Finish
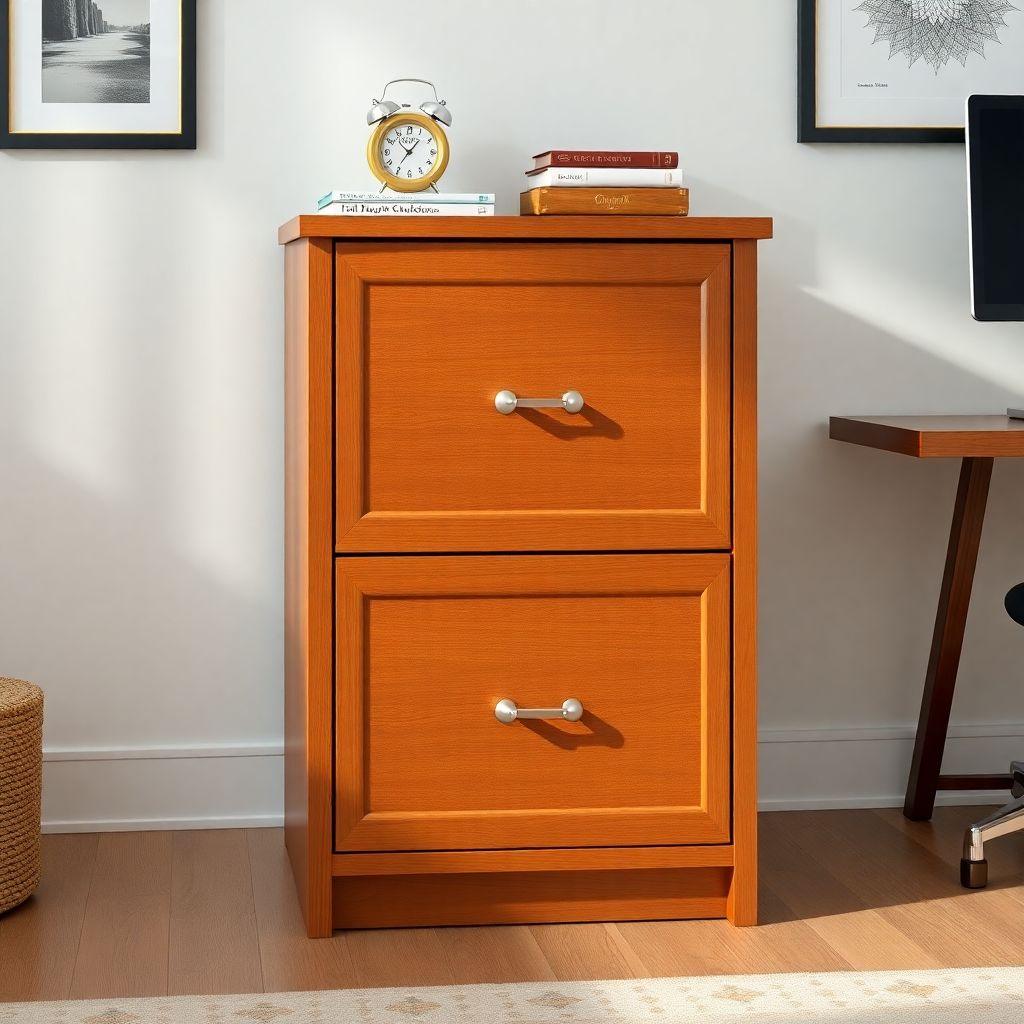
The solid wood top is the furniture-grade detail that lifts this above a shop cabinet.
- Cut or glue up the hardwood top to 16-1/2″ x 25-1/2″. This gives a 1″ overhang on the front and both sides, with the back flush.
- Sand the top to 220 grit and ease the edges slightly.
- Attach the top from underneath. Drive screws up through the carcass top panel into the underside of the solid top. Because this is solid wood over plywood, the same wood movement rule applies: use slotted or oversized holes across the grain and washers so the top can expand without buckling.
- Sand the whole cabinet to 220 grit. Break every sharp edge.
- Apply finish. Wipe-on poly gives durability for a working office piece. Hardwax oil looks more natural and is easy to repair. Two to three coats, sanding lightly between, gives a surface that shrugs off coffee rings.
- Install the drawer pulls last, after the finish is dry.
Looking for more cabinet ideas?
This guide is part of our complete cabinet plans series — 6 cabinet types compared by skill, cost, and build time.
Want 16,000+ woodworking plans?
Ted’s Woodworking has step-by-step plans for every skill level. Browse Ted’s plans.
Safety: Anti-Tip for Filing Cabinets
A loaded file drawer pulled out to full extension throws the cabinet’s center of gravity forward. Open both drawers at once on a two-drawer unit and it can tip onto you. Commercial cabinets solve this with a built-in interlock that only lets one drawer open at a time. Your DIY build needs its own answer.
The simplest solution is a locking bar: a vertical bar mounted inside the carcass that engages a notch on each drawer, allowing only one drawer to be open at any moment. If you do not want to build an interlock, take two lower-cost precautions:
- Anchor the cabinet. Screw the back of the carcass to a wall stud with an L-bracket. This is the single most effective anti-tip measure and takes five minutes.
- Load heavy files in the bottom drawer. Keeping weight low reduces tip risk.
For any cabinet taller than this two-drawer unit, wall anchoring is not optional. Treat it as part of the build, not an afterthought.
FAQ
How much does it cost to build a wood filing cabinet?
About $175 in materials for a two-drawer letter-size cabinet using cabinet-grade plywood, a solid hardwood top, and full-extension slides. Legal size and premium veneers push it toward $250 to $350.
Can I build this for legal-size files instead of letter?
Yes. Add 3″ to the width of every horizontal part (top, bottom, divider, back, drawer boxes, and faces) so the drawer box is 15″ wide inside, and buy legal-length hanging file rails. All other steps stay the same.
What drawer slides should I use for a filing cabinet?
Full-extension side-mount slides rated for the load. Full extension lets you reach the back files, and side-mount is the most forgiving type to install. Skip standard 3/4-extension slides; a full drawer of paper will overload them.
How do I keep the drawer faces even?
Mount the faces after the drawer boxes are on their slides. Use 1/8″ spacers to set an even reveal all around, tack the face with two screws from inside, check the gap, then finish driving screws. This gives a consistent 1/8″ line every time.
Why do solid wood drawer fronts crack, and how do I prevent it?
Solid wood expands and contracts across its width with humidity. Screwed tight in round holes, it cracks. Attach faces and the top through slotted or oversized holes with washers so the wood can float and move freely.
Will a two-drawer filing cabinet tip over?
It can if both loaded drawers are open at once. Anchor the carcass to a wall stud, keep heavy files in the bottom drawer, and ideally add a locking bar so only one drawer opens at a time.
Related Articles

“DIY woodworking enthusiast who started with zero experience and a YouTube tutorial.
I build simple, practical projects for my home and share free plans
so other beginners can skip the guesswork.If I can build it, you can too.”