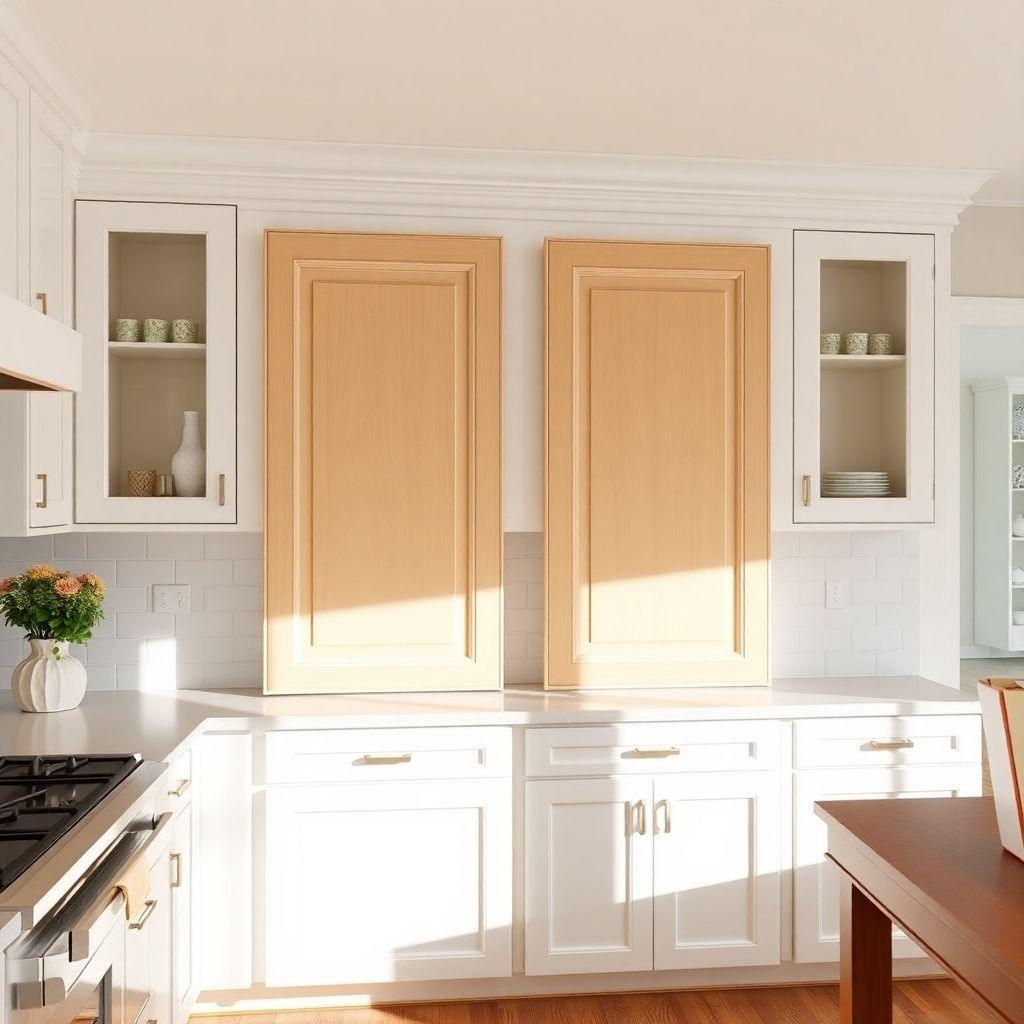
Shaker cabinet doors are the most copied design in woodworking for one reason: they look right in any room and they are simple to build. The style comes from Shaker furniture, the plain, functional pieces made by the Shaker communities in the 1800s. No carving, no ornament, just clean flat frames around a recessed panel. That restraint is why these cabinet doors have outlasted every trend since.
These shaker cabinet plans walk you through both construction methods, the exact cut list for a standard door, and the details most guides skip. Learning how to build shaker cabinet doors takes an afternoon once you understand the frame. Budget $60 to $150 in materials depending on wood choice, and plan on one weekend for a full set. This guide is part of our cabinet plans series, so if you are weighing shaker against other builds, start there.
You will need a router or a pocket-hole jig, a way to cut accurate rails and stiles, and clamps. Intermediate skills help, but the pocket screw method below is beginner-friendly.
What Makes a Shaker Cabinet Door
Looking for more cabinet ideas?
This guide is part of our complete cabinet plans series — compare all options by skill level, cost, and build time.
Want 16,000+ woodworking plans?
Ted’s Woodworking has step-by-step plans for every skill level. Browse Ted’s plans.
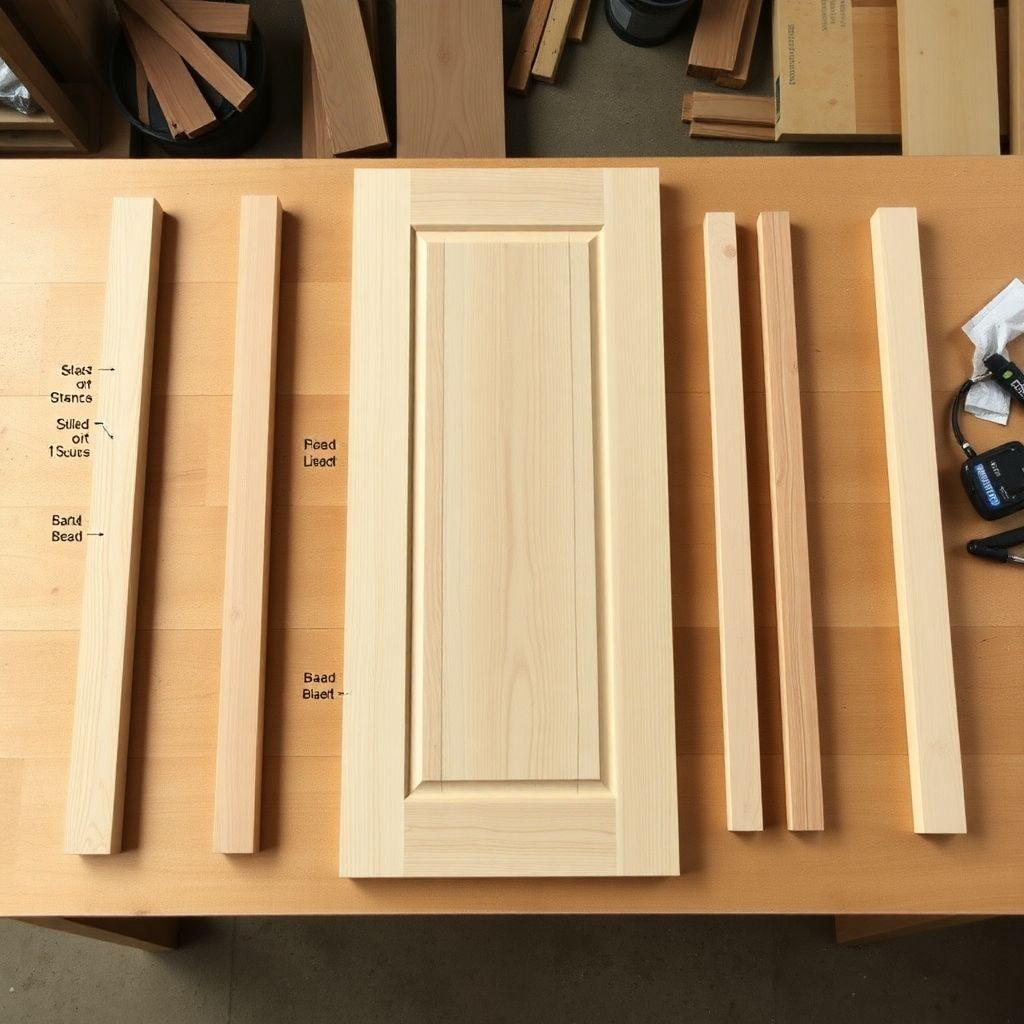
A shaker cabinet door is a five-piece assembly: two vertical stiles, two horizontal rails, and a single flat center panel that floats inside a groove cut into the frame. The frame is called rail-and-stile construction. The panel is not glued. It sits loose in the groove so it can expand and contract with humidity without cracking the frame.
That floating panel is the whole trick. Solid wood moves across its width with the seasons. If you glue the panel in, it either splits itself or pushes the frame joints apart. Leave it floating and the door lasts for decades.
Traditional shaker furniture used a slightly recessed flat panel, which reads as a clean rectangle inside the frame. Modern shaker cabinet doors keep the same look but often swap the solid panel for 1/4″ plywood or MDF, especially on painted doors where grain does not matter.
Materials and Cut List
This cut list is for one standard 12″ wide by 30″ tall shaker door. Scale rail lengths up or down for other widths.
| Part | Qty | Thickness | Width | Length |
|---|---|---|---|---|
| Stiles (vertical) | 2 | 3/4″ | 2-1/2″ | 30″ |
| Rails (horizontal) | 2 | 3/4″ | 2-1/2″ | 7″ |
| Center panel | 1 | 1/4″ | 7-1/4″ | 25-1/4″ |
Notes on the numbers:
- Rail length is the door width minus the two stiles minus a tenon allowance. For a 12″ door: 12 minus 5 (two 2-1/2″ stiles) equals 7″, plus the groove or tenon depth is built into the fit below.
- Panel size is cut so it sits inside the grooves with 1/4″ of float on every side. That gap is deliberate. Do not cut the panel tight.
- Use poplar or maple for painted doors, oak or cherry if you plan to stain.
- The 2-1/2″ rail and stile width is the traditional shaker proportion. Wider stiles look clumsy and off-balance. Do not go past 2-3/4″.
Tools Required
- Table saw or track saw (for ripping rails and stiles to width)
- Router with a 1/4″ straight bit, or a router table
- Pocket-hole jig (Method 1) or a way to cut mortise-and-tenon joints (Method 2)
- Bar or pipe clamps, at least two
- Framing square or combination square
- Wood glue
- Sandpaper, 120 and 220 grit
Method 1: Pocket Screw Shaker Door (Beginner)
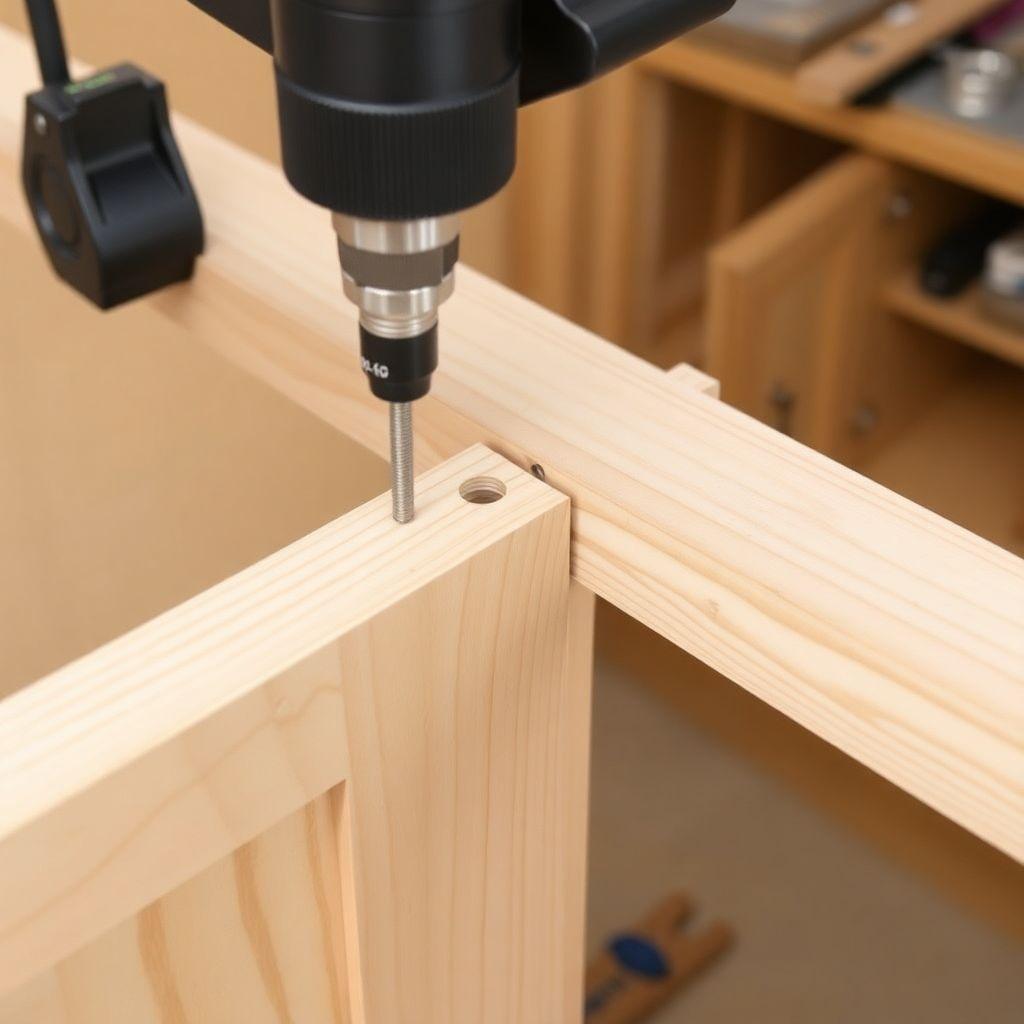
This is the fast way and the right starting point if you have never built a frame door. Instead of cutting interlocking joints, you butt the rails against the stiles and lock them with pocket screws driven at an angle from the back.
- Cut all rails and stiles to the sizes in the cut list.
- Route the 1/4″ panel groove first (see the groove section below). Do this before joining anything.
- Drill two pocket holes into each end of both rails using your jig set for 3/4″ stock.
- Dry-fit the frame around the panel. The panel floats in the grooves.
- Add a thin bead of glue to the rail ends where they meet the stiles. Keep glue off the panel.
- Clamp the frame square and drive the pocket screws.
The pocket screws sit on the back of the door where no one sees them. This method is strong enough for kitchen and bathroom cabinets and goes together in minutes per door.
Method 2: Mortise-and-Tenon Shaker Door (Traditional)
This is real shaker woodworking the way the originals were built. A mortise-and-tenon joint interlocks the rail into the stile, giving a mechanical bond that outlasts any screw. It takes longer and demands accuracy, but it is the strongest frame you can build and the joint you want on doors that will see hard use for generations.
- Cut rails and stiles to size, but add 3/8″ to each rail length for the tenons (so cut rails at 7-3/4″ instead of 7″).
- Cut a 3/8″ long, 1/4″ thick tenon on each end of both rails. The tenon thickness should match your panel groove so the same setup handles both.
- Cut matching 3/8″ deep mortises into the stiles where the rails land. On a shaker door the panel groove often runs the full length of the stile, and the mortise simply deepens that groove at the joint.
- Dry-fit the whole frame with the panel floating inside.
- Glue only the tenons and mortises. Never glue the panel.
- Clamp square and let it cure.
Because the groove and the tenon share the same 1/4″ width, one router setup does most of the work. That is not an accident. Shaker design is efficient by nature.
Step: Route the Center Panel Groove
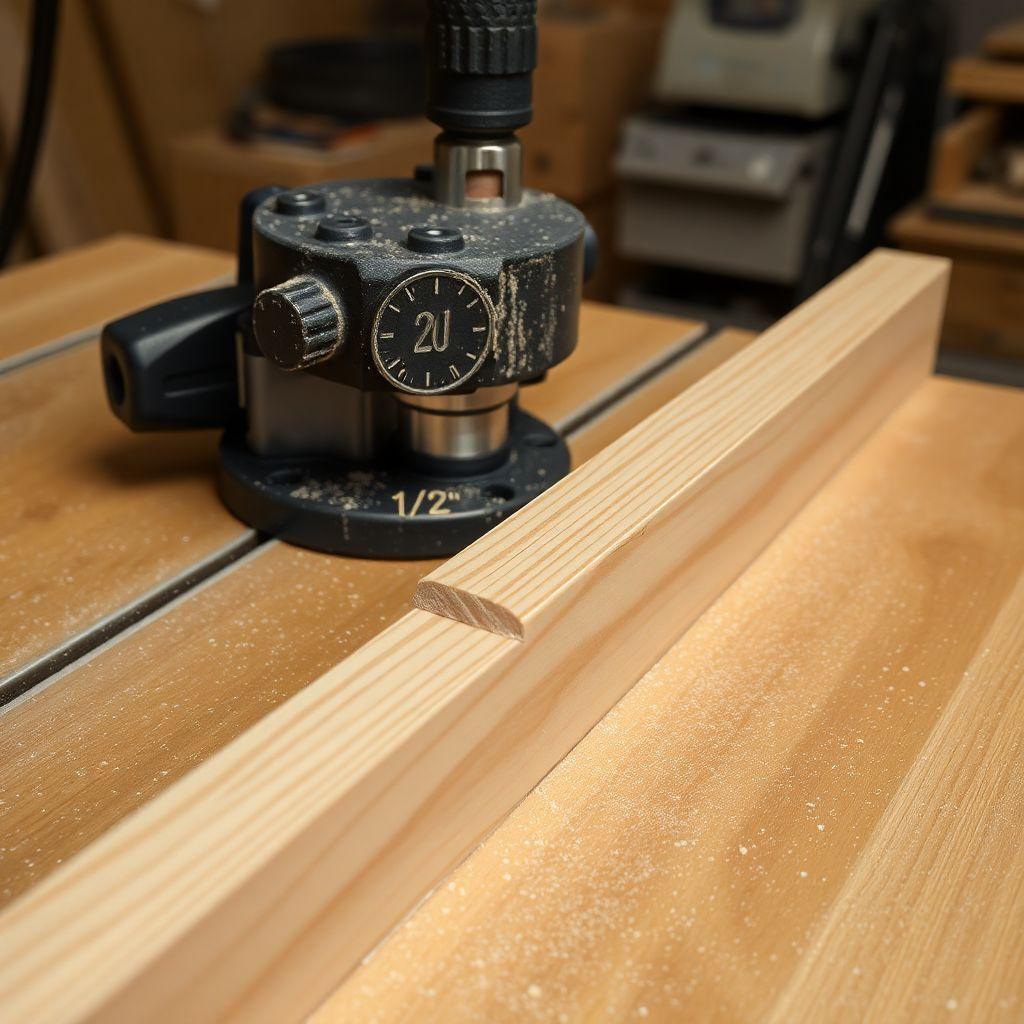
Every shaker door needs a groove running along the inside edge of all four frame pieces to hold the panel. Get this consistent and the door goes together clean.
- Cut a 1/4″ wide groove to a 3/8″ depth.
- Center the groove on the inside edge of the 3/4″ stock. That leaves roughly 1/4″ of wood on each side of the groove.
- Run every rail and stile through the same setup without changing the fence. Consistency here is what makes the frame sit flush.
Use a router table if you have one. It is safer and more repeatable than a handheld router for a cut this narrow. Feed slowly and keep the stock tight to the fence.
Step: Cut and Fit the Center Panel
The panel drops into the grooves you just cut. The dimensions matter more here than anywhere else.
- Panel width equals the opening between stile grooves plus the groove depth on both sides, minus 1/2″ total for float.
- For the 12″ door, that lands the panel at 7-1/4″ wide by 25-1/4″ tall.
- The panel should slide in with a 1/4″ gap on all four sides at the bottom of the groove. It must not be tight.
If you are using solid wood for the panel, this float is non-negotiable. Plywood and MDF move very little, but keep the gap anyway so the panel never bottoms out and rattles the frame. Sand the panel to final finish before assembly, because you cannot reach the edges once the frame is closed.
Step: Assemble and Clamp
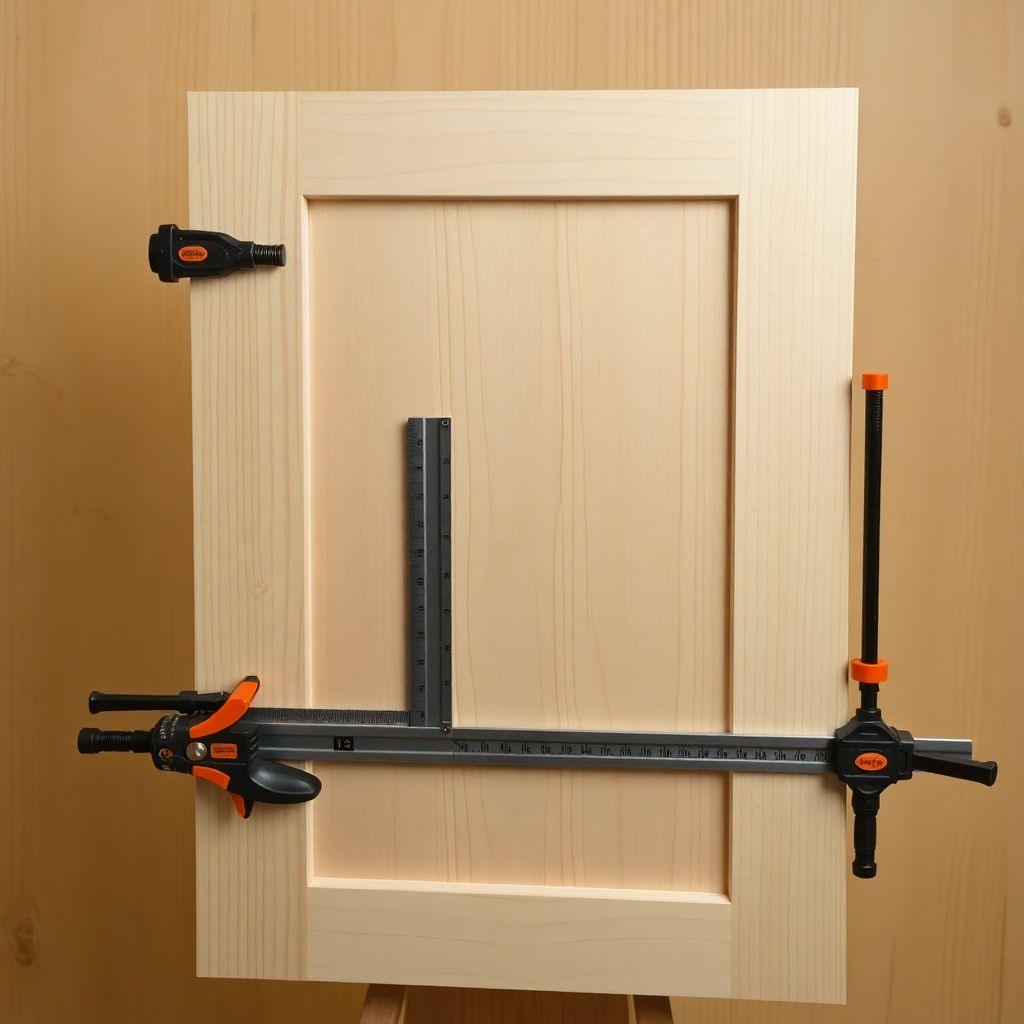
- Lay out both stiles, both rails, and the panel on a flat surface.
- Apply glue only to the joints, whether pocket-screw butt joints or mortise-and-tenon.
- Slide the panel into the grooves. It stays dry and loose.
- Bring the frame together and clamp across the width at both rails.
- Check for square by measuring both diagonals. Equal diagonals mean the door is square. Adjust clamp pressure until they match.
- Confirm the frame is flat and not twisted before the glue sets.
- Let it cure for the full glue open time, usually 30 to 60 minutes clamped, 24 hours before hanging.
A framing square across one corner is a fast check, but diagonal measurement is the reliable one. A door that dries out of square will never hang right.
Fitting the Door to the Cabinet
Build the door slightly smaller than the opening it covers. The gap around the door is called the reveal, and the standard is 1/8″ all the way around.
Your mounting hardware decides how you size and fit:
- European (frameless) hinges mount to the inside cabinet wall and the door overlays the box. These are adjustable in three directions, so you can dial the reveal in after hanging. Most modern kitchens use these.
- Face frame cabinets have a wood frame on the front. Doors can inset (flush with the frame, tighter tolerances) or overlay the frame. Inset doors demand the cleanest 1/8″ reveal because the gap is visible on all sides.
Hang the door, check the reveal, and adjust the hinges until the gap is even. An uneven reveal is the first thing the eye catches on a finished cabinet.
Finishing Shaker Cabinets
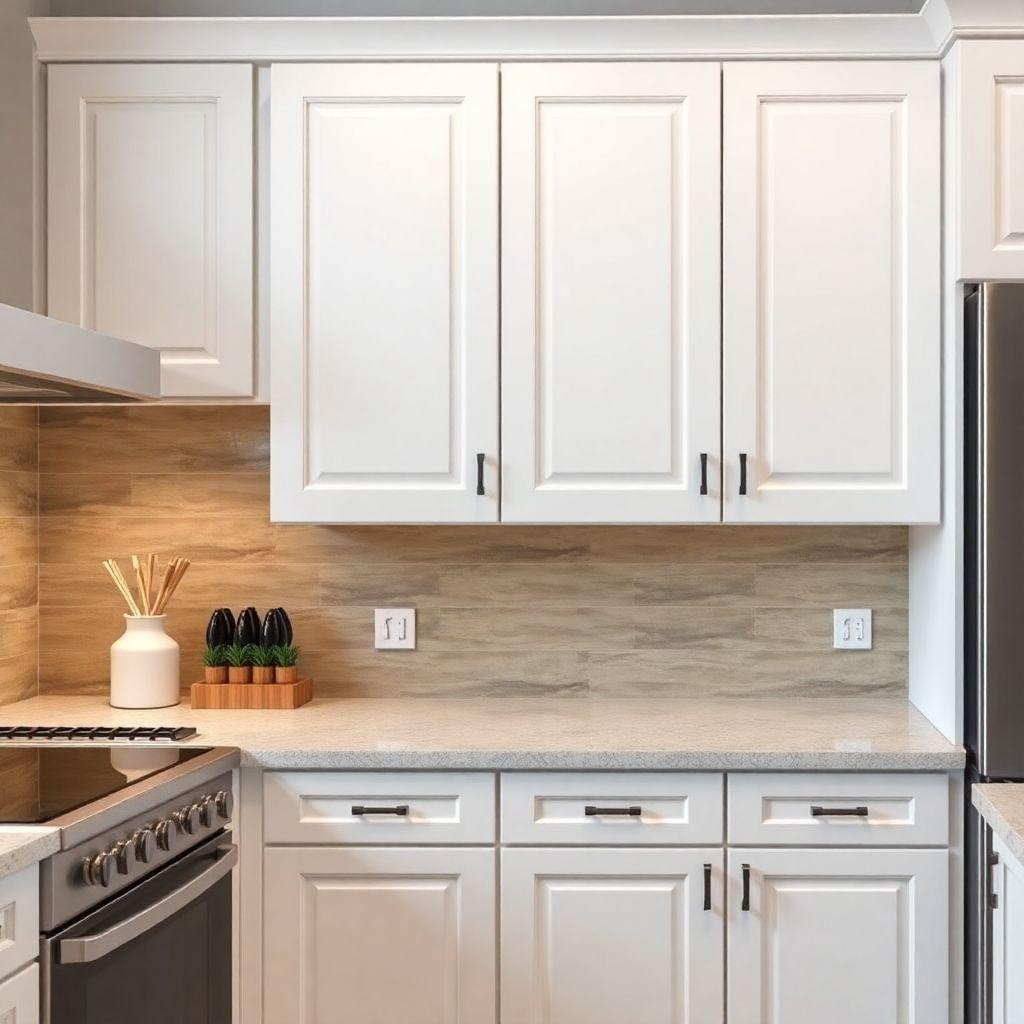
Shaker furniture was traditionally painted, and painted shaker cabinets still dominate kitchens today. White, soft gray, and sage green are the classic choices and the ones that read as authentic shaker.
- Paint hides the joint lines and suits an MDF or plywood center panel, where grain would otherwise show through. Prime first, then two thin coats of a durable cabinet enamel. Paint is the forgiving choice and the traditional one.
- Stain shows off the wood and works when you used a solid-wood panel with matching grain. Skip MDF panels entirely if you are staining, since MDF takes stain poorly and blotches.
Whichever you choose, finish the panel edges before final assembly if there is any chance the panel will shrink and expose bare wood at the groove. A pre-finished panel never shows a raw stripe when the seasons change.
Looking for more cabinet ideas?
This guide is part of our complete cabinet plans series — 6 cabinet types compared by skill, cost, and build time.
Want 16,000+ woodworking plans?
Ted’s Woodworking has step-by-step plans for every skill level. Browse Ted’s plans.
FAQ
What wood should I use for shaker cabinet doors?
Use poplar or soft maple for painted doors, since they are affordable and take enamel well. Choose oak, cherry, or hard maple for stained doors where the grain shows. For the center panel, use 1/4″ plywood or MDF under paint, and solid wood under stain.
Why can’t I glue the center panel in place?
Solid wood expands and contracts with humidity across its width. A glued panel has nowhere to move, so it either cracks itself or forces the frame joints apart. The 1/4″ float on all sides lets the panel move freely and keeps the door intact for decades.
How wide should shaker rails and stiles be?
The traditional shaker proportion is 2-1/2″ wide. This looks balanced on most cabinet doors. Going wider than 2-3/4″ makes the door look heavy and off. Stay in the 2-1/2″ to 2-3/4″ range.
Do I need a router to build shaker doors?
You need some way to cut a 1/4″ groove for the panel. A router or router table is the easiest. A table saw with a dado stack also works. The pocket-screw method still needs the groove, so a router remains the most versatile tool for this build.
What’s the reveal gap for hanging the door?
Standard reveal is 1/8″ all the way around the door. European hinges are adjustable and let you fine-tune the reveal after hanging. Aim for an even gap on all four sides, since an uneven reveal is the most obvious flaw on a finished cabinet.
Pocket screws or mortise-and-tenon for shaker doors?
Pocket screws are faster and beginner-friendly, and they are strong enough for everyday kitchen and bathroom cabinets. Mortise-and-tenon is the traditional, stronger joint and the right choice for doors that will see decades of hard use. Both produce a door that looks identical from the front.
Related Articles

“DIY woodworking enthusiast who started with zero experience and a YouTube tutorial.
I build simple, practical projects for my home and share free plans
so other beginners can skip the guesswork.If I can build it, you can too.”