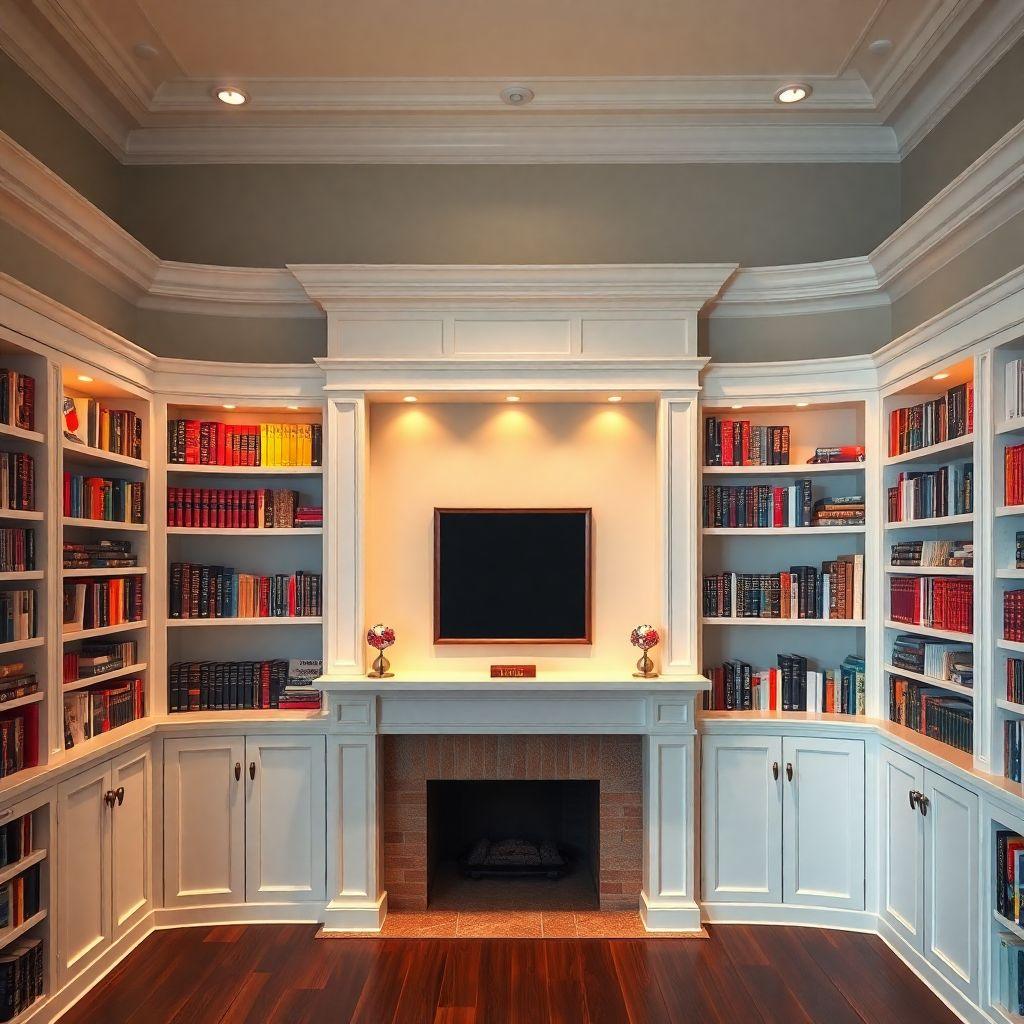
A built-in bookshelf turns a plain wall into the kind of feature that makes a room look finished. Unlike a freestanding unit you buy and shove against the baseboard, a true built-in sits flush to the wall, runs floor to ceiling, and wears trim that ties it into the existing room. That integration is the whole point, and it is also what makes this the most involved project in our bookshelf and shelving plans collection.
These built-in bookcase plans walk you through a single 36-inch-wide, 84-inch-tall wall-to-wall unit built from paint-grade materials. You will build a carcass box, install it level and plumb in a wall that is almost certainly neither, add a face frame, and cap it with base and crown molding coped at the inside corners. Materials run about $250 for a single bay, and the whole job takes two to three weekends depending on how much trim carpentry you are comfortable with.
This is an intermediate-to-advanced diy built in bookshelf. If you have hung a door, run baseboard, or built a cabinet before, you have the skills. If you have never touched trim, read the whole guide first so you understand where the fussy parts are. The reward for the extra effort is a piece that looks built by a finish carpenter, not bought in a box.
Planning Your Built-In: Measure Before You Buy
Looking for more shelving ideas?
This guide is part of our complete bookshelf and shelving plans series — compare all options by skill level, cost, and build time.
Want 16,000+ woodworking plans?
Ted’s Woodworking has step-by-step plans for every skill level. Browse Ted’s plans.
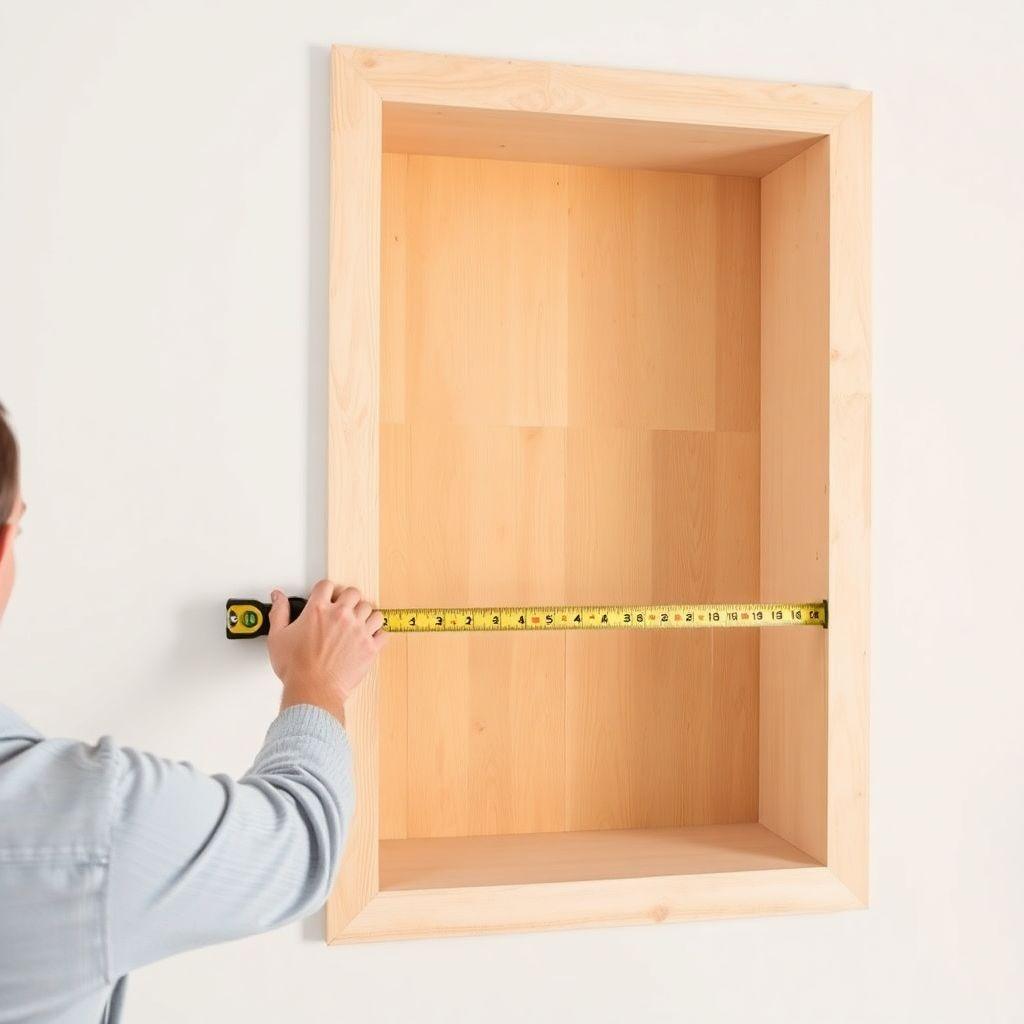
The single biggest mistake in built in shelves diy work is assuming the wall is square. It is not. Drywall bows, corners build up with mud, and floors slope. If you cut your parts to nominal dimensions and hope, you will end up with gaps you cannot hide.
Measure the wall opening in three places: at the top, at the middle, and at the bottom. Do this for the width if you are fitting between two walls, and for the height from floor to ceiling on both sides. Write all the numbers down. It is normal to find a half-inch of difference between top and bottom. Your build has to absorb that difference, and the way you absorb it is with filler strips and scribing, not by forcing parts into a hole they do not fit.
Use the smallest measurement as your working dimension. If the opening is 36-1/2 inches at the bottom and 36 inches at the top, build the cabinet to fit the 36-inch dimension and plan a filler strip to close the wider gap. It is always easier to fill a gap than to shave a cabinet that is already too big.
Check the floor for level with a 4-foot level. If the floor slopes, the low end determines your cabinet height, and you shim the rest up to match. Check the walls for plumb with the same level held vertically. An out-of-plumb wall means your face frame stile will not sit tight against it, and you will scribe a filler to match the wall angle later.
While you are measuring, note the location of any electrical outlets on the wall. You will deal with those before you close in the back, so mark them now.
Choose Your Build Method: Boxes vs In-Place
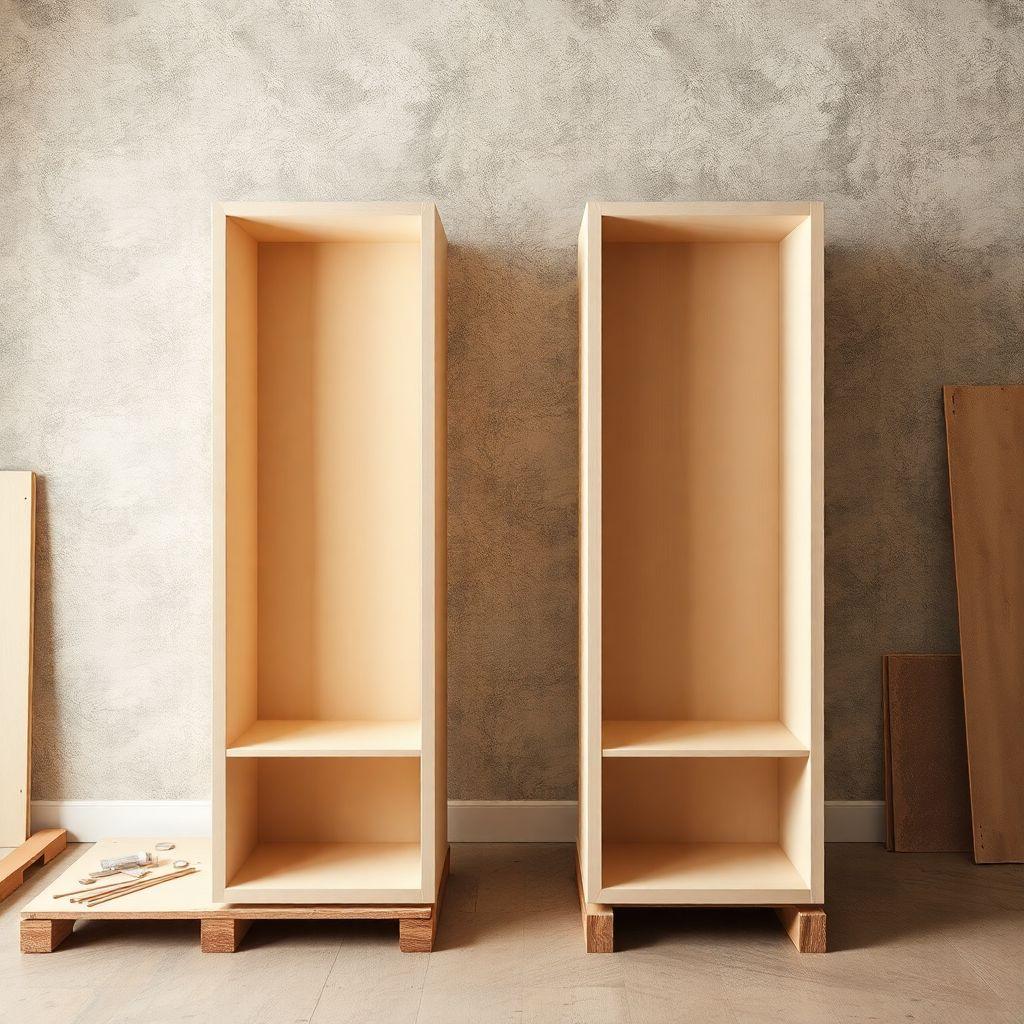
There are two ways to build a built-in, and the choice shapes the entire project.
Build boxes on the floor and slide them in. You assemble the carcass as a complete box on sawhorses or the shop floor, where you can work on a flat surface with square corners, then carry it into the room and set it in place. This is the method these plans use. It is far more forgiving for a DIYer because you build in a controlled environment and only fight the crooked wall during installation, not during assembly.
Build in place. You attach the sides, top, and bottom directly to the wall and floor, one piece at a time, scribing each to fit as you go. Professionals use this for large or irregular runs, but it demands constant leveling and fitting, and a single early error throws off everything after it. For a single bay, it is more work with more ways to go wrong.
Go with boxes-first. Build the carcass square on the floor, get it dialed in, and let the filler strips and trim handle the gap between a square box and a crooked wall. That separation of concerns is what keeps the project manageable.
Materials and Cut List
This cut list is for a single 36-inch-wide by 84-inch-tall bay, paint-grade. For a wider wall, build multiple boxes of the same height and gang them together, then run continuous trim across the front.
Carcass (3/4-inch MDF or birch plywood):
– 2 sides: 11-1/4 inch by 84 inch
– 1 top: 11-1/4 inch by 34-1/2 inch
– 1 bottom: 11-1/4 inch by 34-1/2 inch
– Back panel: 1/4-inch MDF, 34-1/2 inch by 83-1/4 inch
– 3 to 5 adjustable shelves: 11-1/4 inch by 34-1/2 inch
Face frame (1×3 poplar):
– 2 stiles: 84 inch long
– 4 rails: 33 inch long
Trim:
– Toe kick: 1×4, length equals unit width
– Crown molding: measured on site after install
– Base molding to match the room, measured on site
Fasteners and supplies: 1-1/4 inch pocket screws, 2-inch wood screws for wall attachment, 18-gauge brad nails (1-1/4 and 2 inch), shims, wood glue, shelf pins, wood filler, paintable caulk, primer, and paint.
On material choice: for a paint-grade build, MDF is the value pick. It is cheap, dead flat, and has no grain lines to telegraph through paint, so a painted MDF built-in looks glass-smooth. Its downsides are weight and a hatred of moisture, so keep it out of basements and bathrooms. If you want a stain-grade built in bookcase, skip MDF entirely. MDF cannot be stained. Use birch or maple plywood for the boxes and solid poplar or maple for the face frame and trim. Poplar paints beautifully but has green streaks that show under stain, so reserve poplar for paint work and step up to maple when you want a clear or stained finish.
Tools Required
- Circular saw with a straightedge guide, or a table saw for the panels
- Miter saw for trim and face frame parts
- Pocket hole jig
- Drill and driver
- Brad nailer (18-gauge)
- 4-foot level and a torpedo level
- Tape measure, square, and a pencil
- Coping saw for inside trim corners
- Shelf pin jig or a drilling template
- Caulk gun, sanding block, and paint supplies
- Stud finder
Step 1: Build the Carcass Boxes
This is the core of how to build built-in shelves, and it is the same cabinet-box joinery whether your unit is one bay or five. Work on a flat surface.
Drill pocket holes on the ends of the top and bottom panels, three per joint. Stand the two side panels up, and join the top and bottom between them so the finished box is 36 inches wide overall (two 3/4-inch sides plus the 34-1/2 inch interior parts). Apply glue to each joint before driving the pocket screws. Check the box for square by measuring both diagonals. When the two diagonal measurements match, the box is square. Clamp a temporary brace across the back to hold it there until the back panel goes on.
Before the back goes on, drill your shelf-pin holes. Use a jig or a piece of pegboard as a template so the holes on the left and right line up. Two columns of holes per side, set in about 1-1/2 inches from front and back, spaced 1 to 2 inches apart over the range where you want shelves to adjust.
Set the box face down and attach the 1/4-inch back panel with glue and brad nails every 6 inches. The back panel is what keeps the box square permanently, so make sure the box is still reading square on the diagonals before you nail it off. Do not skip the back or the cabinet will rack out of square the moment you stand it up.
Step 2: Install the Boxes
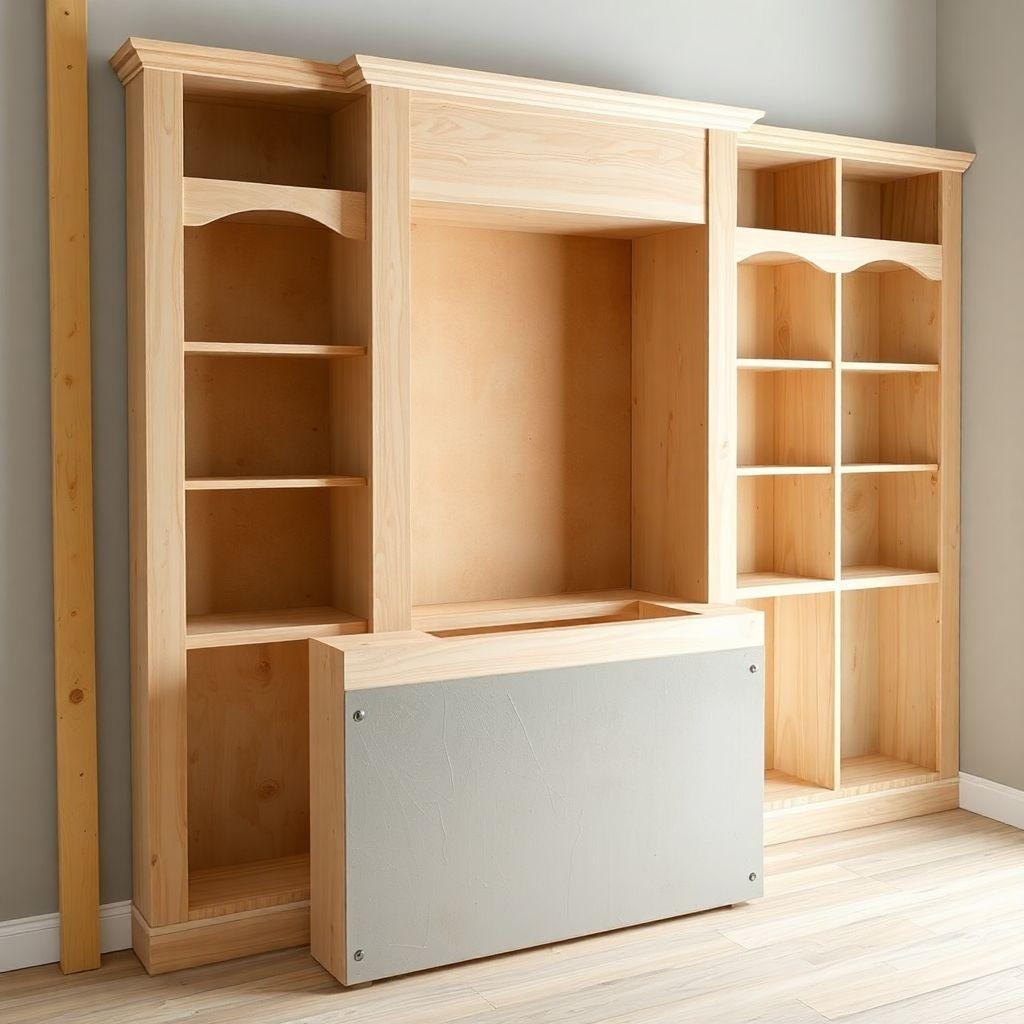
Find the wall studs with a stud finder and mark them. Stand the box up and slide it into position against the wall.
Now the level work begins. Set your 4-foot level on top of the box and check side to side, then front to back. Slide tapered shims under the low corners until the box reads level in both directions. If the floor slopes badly, shim the whole cabinet up to the high point and plan to hide the shim gap behind the toe kick. Check plumb on the sides too, and shim behind the cabinet against the wall studs where needed so the box is not pulled out of square when you screw it down.
Once the box is level and plumb, drive 2-inch screws through the back of the cabinet into the wall studs, near the top and near the bottom. Screw through a solid part of the cabinet, ideally through a rail or the top and bottom panels, into framing. Snug it down but do not crank so hard you pull the cabinet out of level. Score and snap off the shims flush.
If your wall is out of plumb and there is a gap between the cabinet side and the wall, that is where scribing comes in. Cut a filler strip of the same material a little wider than the widest part of the gap. Hold it against the wall, then set a compass or scribe tool to the width of the largest gap and run the point down the wall while the pencil marks the strip. That transfers the exact wall angle onto your filler. Cut to the line with a jigsaw or plane, and the strip drops in tight against the wavy wall. Attach it to the front edge of the cabinet with glue and brads. Scribed fillers are how professionals make a square box disappear into a crooked wall.
Step 3: Build the Face Frame
The face frame covers the raw front edges of the carcass and gives the built-in its furniture look. It is a simple ladder of poplar: two vertical stiles and horizontal rails.
Build the frame flat on your bench first if you can, joining the 33-inch rails to the 84-inch stiles with pocket screws and glue. Keep the top rail and bottom rail flush to the ends, and add a middle rail if you want to break up the opening. The frame should end up the same overall width as the box, 36 inches, so the stiles cover the 3/4-inch side edges and sit flush with the outside of the cabinet.
Attach the completed frame to the front of the carcass with glue and brad nails. Set the frame so it sits flush with the inside faces of the cabinet sides, which leaves a small reveal on the outside. Nail into the cabinet edges every 8 to 10 inches. Where a stile meets an out-of-plumb wall, that stile is the piece you scribe rather than a separate filler, whichever gives the cleaner line.
Step 4: Add the Toe Kick and Crown Molding
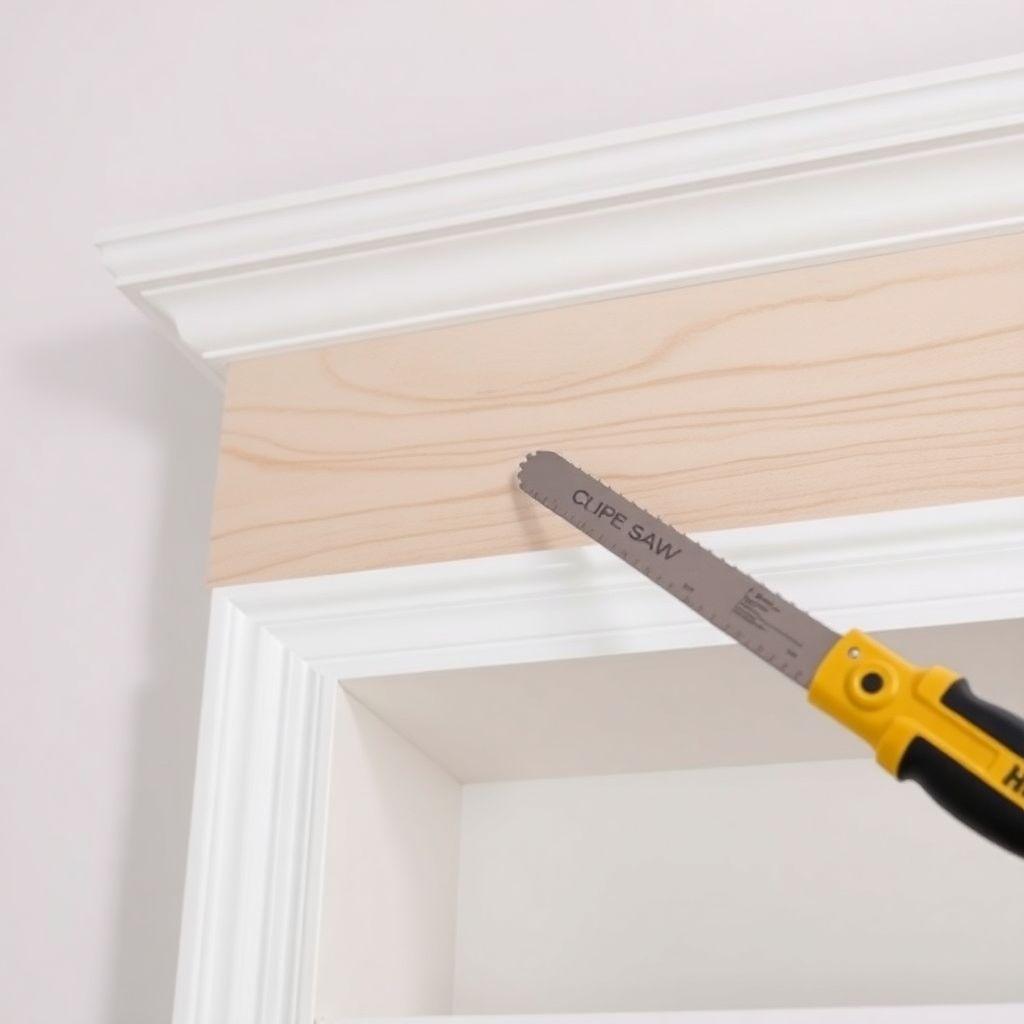
The toe kick closes the gap at the floor and hides your leveling shims. You have two design choices. A recessed toe kick sets back a few inches from the front of the cabinet, the way kitchen cabinets do, which reads as more built-in furniture and lets you stand close to the shelves. A flush toe kick sits in the same plane as the face frame and is simply easier to build because it is one straight board with no return cuts. For a first built-in, flush is the honest choice. Cut the 1×4 to the unit width and nail it across the bottom.
Crown molding at the top is where the built-in earns its keep, and the inside corners are the test. Do not try to miter inside corners. Miters on inside corners open up as the wood moves and as the walls prove out of square, leaving a gap that grows over the seasons.
Cope them instead. Coping means cutting the first piece square into the corner, then cutting the second piece to match the profile of the first so it nests against the face of it. To cope, cut a 45-degree miter on the second piece as if you were mitering, which exposes the profile line of the molding. Then follow that profile line with a coping saw, back-cutting slightly so only the front edge touches. The coped piece fits over the face of the first piece and stays tight even if the corner is not a true 90 degrees. Coped joints are stronger, they do not open up, and they are the mark of real trim carpentry. Run the same cope logic on the base molding at the floor.
Step 5: Fill, Sand, Prime, and Paint
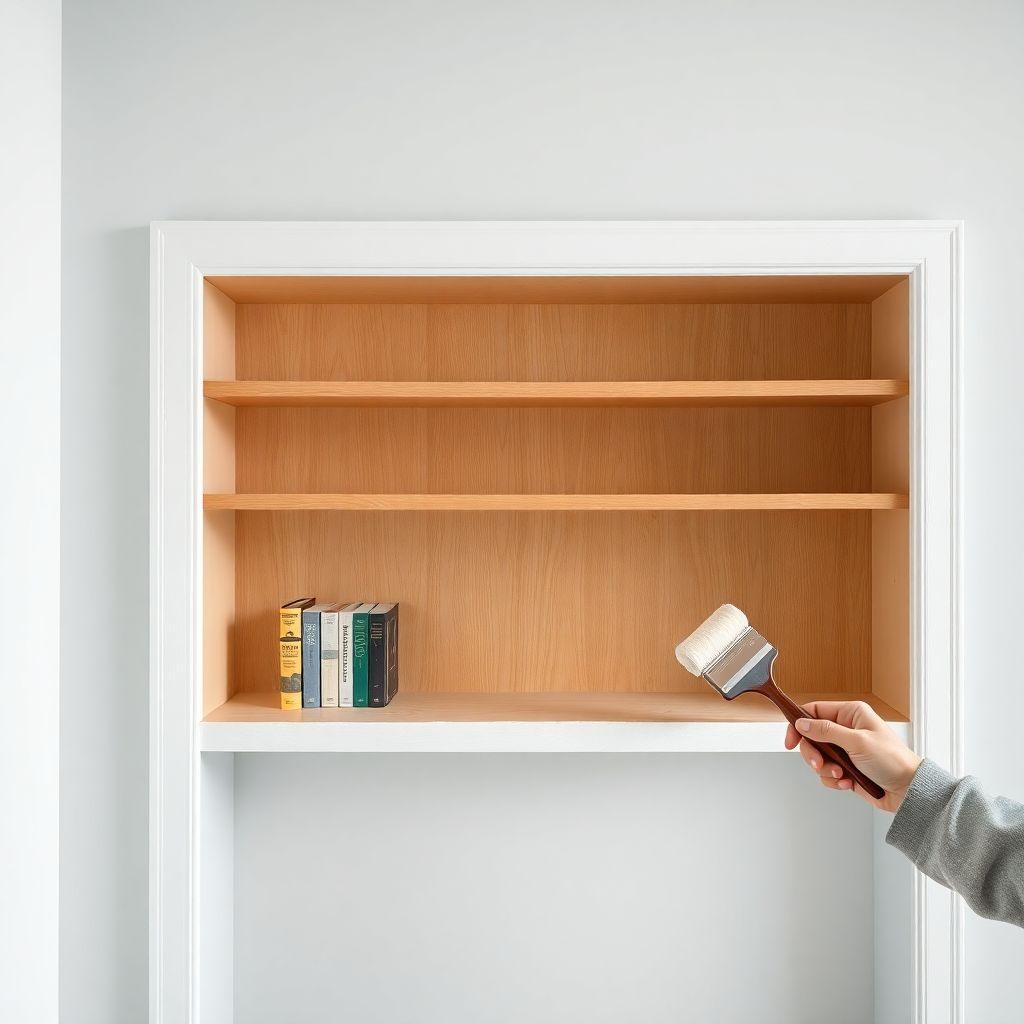
Finishing is where a paint-grade built-in either looks seamless or looks homemade, and the difference is patience.
Fill every brad hole and pocket-screw plug with wood filler. Fill the seams where the face frame meets the carcass. Let the filler dry, then sand everything smooth with 150-grit, knocking down the filler flush and scuffing the whole surface so primer grabs. Vacuum and wipe off the dust.
Prime the entire unit. On MDF, prime the cut edges twice because raw MDF edges drink primer and stay fuzzy otherwise. After the primer dries, run a bead of paintable caulk into every inside corner, the joint where the face frame meets the wall, and the seam where the crown meets the ceiling. Caulk is what makes all the tiny gaps vanish into one continuous surface. Smooth each bead with a wet finger and wipe the excess.
Lightly sand the primer, then paint. Use a brush for the corners and profiles and a small foam roller for the flat faces, which lays down a smoother film than a brush on the big surfaces. Two coats of a quality trim enamel gives the hard, wipeable finish a bookshelf needs. Let the first coat cure per the label before the second. Reinstall the shelves on their pins once the paint is fully dry.
Electrical and Outlet Planning
If there is an outlet on the wall you are covering, deal with it before the back panel closes it in. You cannot legally or safely bury a live outlet inside a cabinet.
The clean solution is a box extension. When your cabinet back and any spacer push the wall surface out past the existing electrical box, code requires the box to be brought flush to the new finished surface with a listed box extender, which is a metal or plastic collar that screws to the existing box and lengthens it. Measure how far the outlet now sits behind your cabinet back, buy an extender to match that depth, and plan the cutout in your back panel before you nail it on.
Cut the opening in the 1/4-inch back panel to line up with the outlet, install the box extension so the receptacle sits flush with the front of your cabinet back, and put on a standard cover plate. If any of this is beyond your comfort level, this is the point to call an electrician. It is a fifteen-minute job for a pro and a code-compliant one, and it is far cheaper than opening the wall back up after everything is painted.
Looking for more shelf ideas?
This guide is part of our complete bookshelf and shelving plans series — 7 shelf types compared by skill, cost, and build time. Find the right build for your space before you buy a board.
Want 16,000+ woodworking plans?
Ted’s Woodworking has step-by-step plans for every skill level — furniture, shelves, outdoor projects, and more. Browse Ted’s plans.
FAQ
How much do built-in bookshelf plans cost to build?
A single 36-inch paint-grade bay runs about $250 in materials: roughly $120 to $160 in MDF or plywood, $40 to $60 in poplar for the face frame, and the balance in trim, primer, paint, and fasteners. A stain-grade version in maple plywood and solid maple can push $400 to $600 for the same bay because the material costs more and there is no cheap paint-grade substitute.
How long does a built-in bookcase take to build?
Plan on two to three weekends for a single bay. One weekend to measure, buy, cut, and assemble the box, a second to install and build the face frame and trim, and part of a third for filling, priming, and painting with proper dry time between coats. Rushing the finish is the fastest way to a mediocre result.
Should I use MDF or plywood for a built-in?
For a painted built-in, MDF is cheaper and gives a smoother painted finish with no grain to telegraph through. For a stained built-in, you must use plywood and solid hardwood, because MDF cannot be stained. Choose MDF for paint, birch or maple plywood for stain, and keep MDF out of damp locations.
How do I deal with a wall that is not square?
Measure the opening in three places and build to the smallest dimension, then close the gaps with scribed filler strips. Set a compass to the widest gap, run it down the wall to transfer the wall’s contour onto the filler, and cut to that line. The square cabinet stays square and the filler absorbs the wall’s imperfections.
Do I have to cope the crown molding, or can I miter it?
Cope the inside corners. Mitered inside corners open up over time as the wood moves and reveal that the corner was never a true 90 degrees. A coped joint nests one profile over the face of the other and stays tight. Miters are only for outside corners.
Can I build a built-in over an electrical outlet?
Not by burying it. Install a listed box extension that brings the receptacle flush to the front of your cabinet back, cut the opening in the back panel to match, and fit a normal cover plate. Handle this before you close in the back, and hire an electrician if you are unsure.
Related Articles

“DIY woodworking enthusiast who started with zero experience and a YouTube tutorial.
I build simple, practical projects for my home and share free plans
so other beginners can skip the guesswork.If I can build it, you can too.”