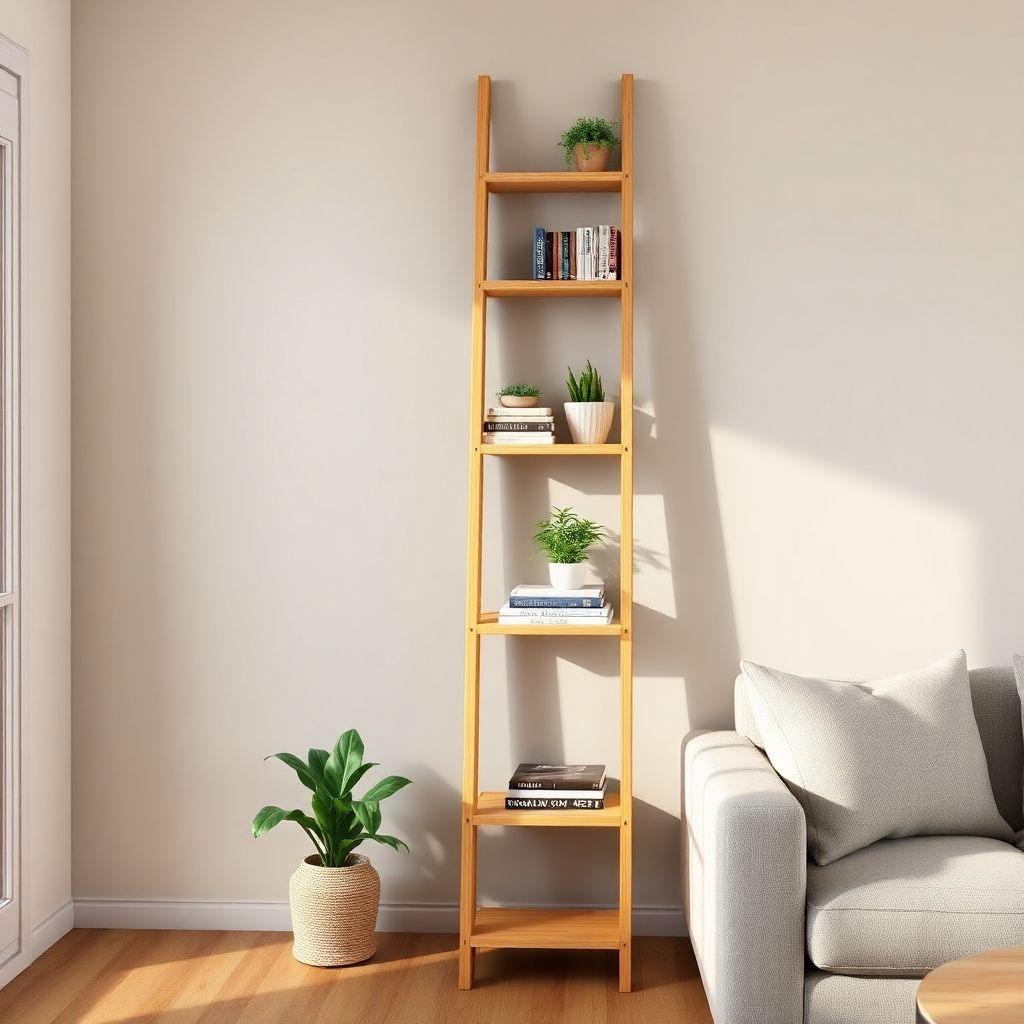
A leaning ladder shelf is one of the best first furniture projects you can take on. It has no drawers, no doors, no complicated joinery required, and it doesn’t even touch your wall with a single screw. It just leans there, holding books, plants, and whatever else you want on display, using nothing but gravity and a smart angle to stay put. That combination of good looks and low difficulty is exactly why this diy ladder shelf keeps showing up on maker lists for beginners.
In this guide you’ll build a five-shelf leaning ladder shelf that stands about 72 inches tall, wide enough for paperbacks, potted plants, folded towels, or a mix of everything. The lumber runs about $25 to $60 depending on the wood you pick, and a confident beginner can finish the build in a single half-day, plus drying time for finish. You need basic tools, a spot to make straight and angled cuts, and a little patience with the geometry. That’s it.
This project is part of our bookshelf and shelving plans cluster, so if you want other options after this one, start there. For now, let’s build a ladder shelf.
Materials and Cut List
Looking for more shelving ideas?
This guide is part of our complete bookshelf and shelving plans series — compare all options by skill level, cost, and build time.
Want 16,000+ woodworking plans?
Ted’s Woodworking has step-by-step plans for every skill level. Browse Ted’s plans.
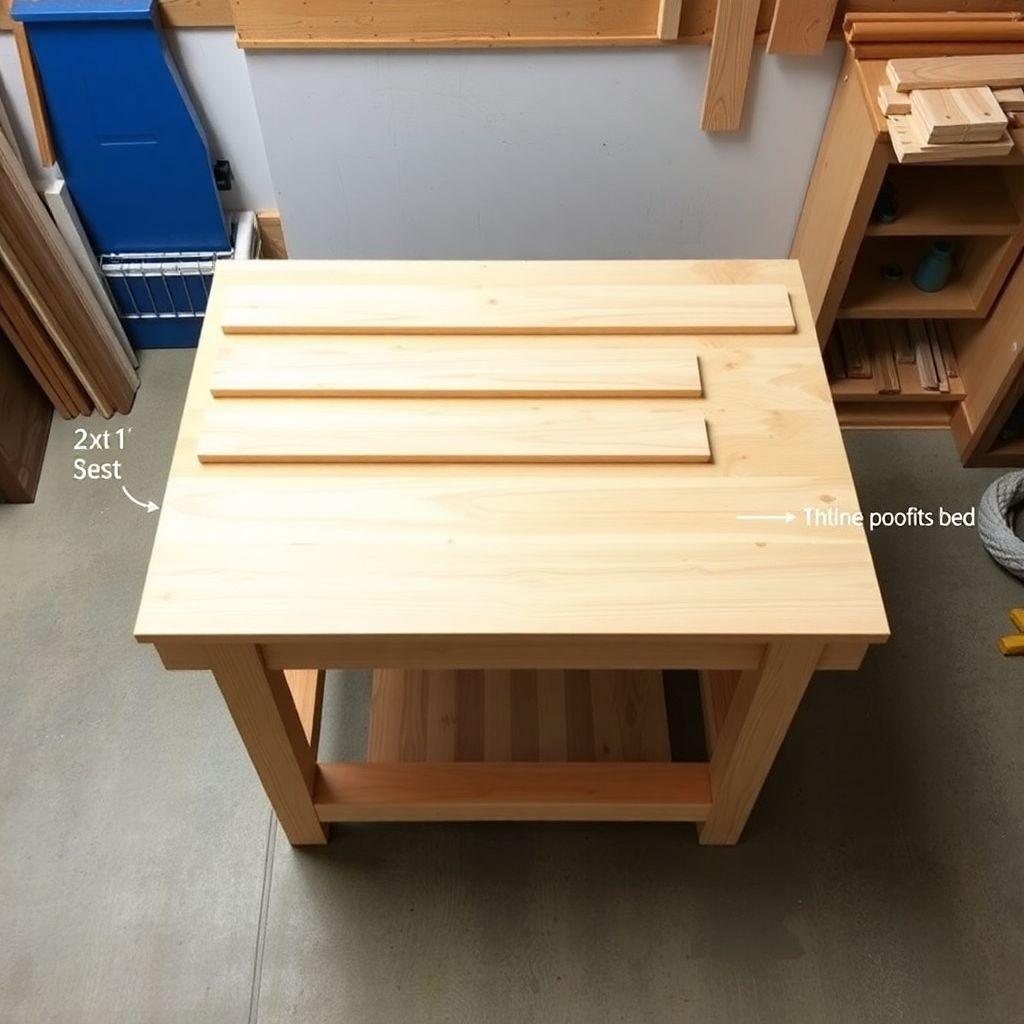
The cut list below is for a five-shelf ladder that stands roughly 72 inches tall with shelves 18 inches wide. The key detail that makes this a leaning shelf and not a wobbly disaster is the tapered shelf depth: the top shelf is shallow and each shelf below it gets deeper. More on why that matters later.
You have a choice on leg stock. 2×2 pine is lighter, cheaper, and plenty strong for books and decor. 2×3 pine is sturdier and better if you plan to load heavier items or want a chunkier look. Both work with these plans; the joinery and geometry don’t change.
Legs (pick 2×2 or 2×3 pine):
– 2x front legs: 72 inches long
– 2x back legs: approximately 68 inches long (cut to match your lean angle, covered below)
Shelves (1×10 or 1×12 pine):
| Shelf | Width | Depth |
|---|---|---|
| Shelf 1 (top) | 18 in | 6 in |
| Shelf 2 | 18 in | 7.5 in |
| Shelf 3 | 18 in | 9 in |
| Shelf 4 | 18 in | 10.5 in |
| Shelf 5 (bottom) | 18 in | 12 in |
All five shelves are the same 18-inch width. Only the depth changes, tapering from 6 inches at the top to 12 inches at the bottom. If your boards are 1×10 (9.25 inches actual) you can cut the top three shelves from that stock and rip nothing; the 12-inch bottom shelf needs a 1×12 (11.25 inches actual) or a glued-up panel. Buy one 8-foot 1×12 and one 8-foot 1×10 and you’ll have enough for all five shelves with a little to spare.
Hardware and consumables:
– 1.25-inch pocket screws (about 20) or wood glue and clamps for half-lap joints
– Wood glue
– 120 and 220 grit sandpaper
– Polyurethane (for shelves)
– Paint or leave bare (for legs and rungs, your choice)
– 4x stick-on rubber feet
– 1x anti-tip wall anchor strap (optional but recommended)
A quick note on lumber: this is a wooden ladder shelf, so buy the straightest boards you can find. Sight down each one at the store and reject anything with a visible bow or twist. Warped legs will make a leaning shelf lean crooked.
Tools Required
You don’t need a full shop. Here’s the minimum:
- Circular saw or miter saw (miter saw makes the angle cuts easier)
- Speed square or protractor for marking angles
- Drill/driver
- Pocket hole jig (if using the pocket screw method)
- Chisel and handsaw or router (only if using the half-lap method)
- Clamps (at least two)
- Tape measure and pencil
- Orbital sander (or sanding blocks and elbow grease)
- Safety glasses and a dust mask
If you’re buying one tool for this project, make it a pocket hole jig. It turns the hardest part of the build into a beginner-friendly task.
The Lean Angle: Getting the Geometry Right
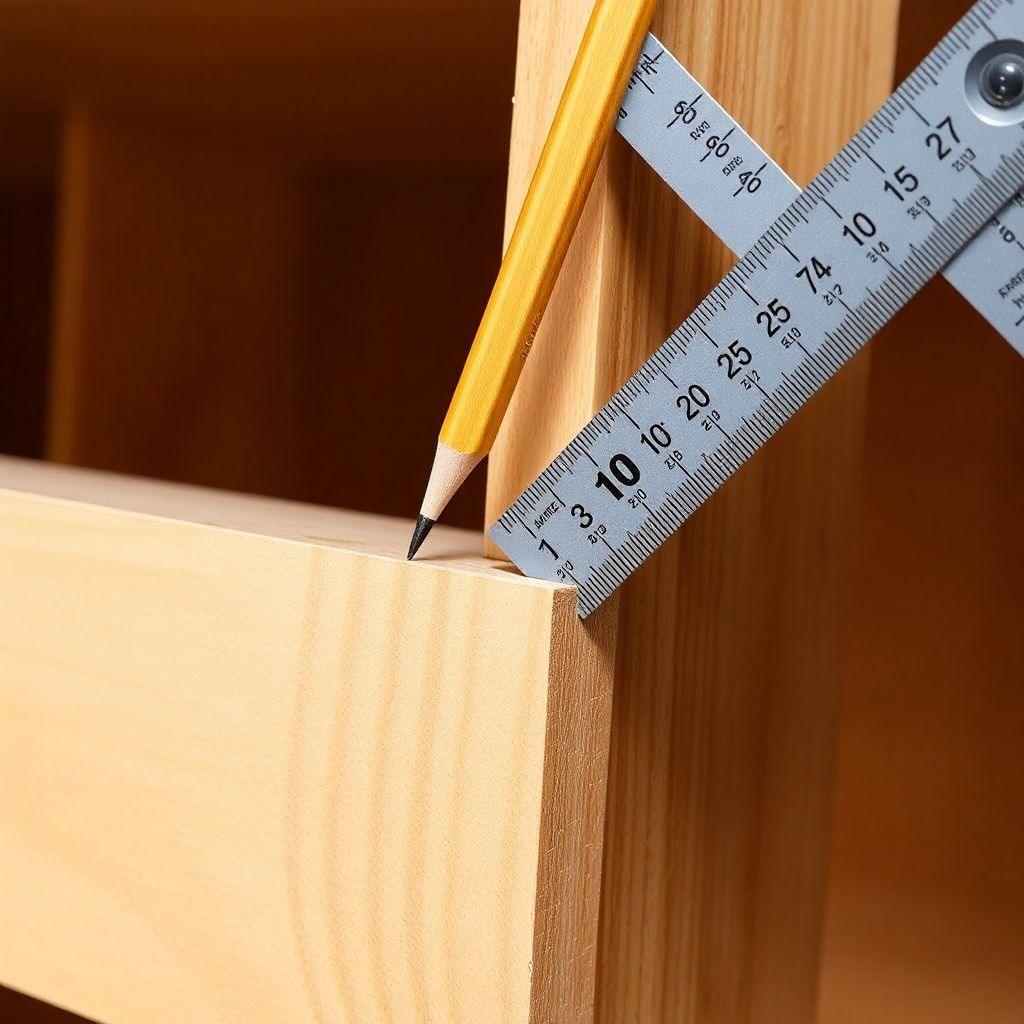
This is the section that separates a leaning ladder shelf that sits flush and solid from one that rocks on two feet. The whole design leans back against the wall at an angle, usually between 9 and 15 degrees off vertical. Ten degrees is the sweet spot: steep enough to be stable and shallow enough that the shelves still hold items without everything sliding to the back.
Here’s the geometry in plain terms. When the ladder leans back, the two legs need to meet the floor and the wall at the same angle, and the shelves need to sit level even though the legs are tilted. Two things have to be right: the leg lengths and the cut angles on the ends of the legs and shelves.
Calculating the leg length difference. When a frame leans back, the top travels away from the wall’s vertical line. For a 72-inch-tall frame leaning at 10 degrees, the horizontal “lean” at the top is about 72 times the sine of 10 degrees, which is 72 x 0.1736, or roughly 12.5 inches of setback from base to top. The legs themselves don’t actually change length much just from leaning; what changes is where you cut them and the angle of those cuts. The reason the plan lists back legs at about 68 inches is that the top of a leaning ladder is often trimmed so the shelf frame ends cleanly and the top shelf sits at a comfortable height rather than at the very tip. Cut your front legs to a full 72 inches first, dry-fit the lean, then mark and trim the tops so both legs end level with each other when the shelf is leaning. Measure twice here.
The angle cuts. Both the top and bottom of each leg get cut at your lean angle so the shelf sits flat on the floor and the top edge is level. For a 10-degree lean:
– Cut the bottom of each leg at 10 degrees so the full foot sits flat on the floor when the ladder leans.
– Cut the top of each leg at 10 degrees the opposite direction so the top is level.
– The shelf notches or mounting points are marked square to the floor, not square to the leg, because the shelves must be level even though the legs tilt.
The easiest way to nail this without trigonometry stress: set your miter saw to 10 degrees and cut every leg end at that setting, flipping the board to reverse the angle for the opposite end. Then, when you mark shelf positions, use a level (not the leg edge) to draw your reference lines. That one habit keeps your shelves horizontal.
Rung spacing runs 11 to 14 inches apart. With five shelves over roughly 72 inches, space them about 13 inches apart, measured along the leg. Mark the top shelf first about 6 inches down from the trimmed top, then step down in equal increments.
Step 1: Cut the Legs
Start with the legs because they set everything else.
- Cut both front legs to 72 inches.
- Set your miter saw (or mark with a speed square and use a circular saw) to 10 degrees.
- Cut the bottom end of each leg at 10 degrees so the foot sits flat when leaning.
- Cut the top end at 10 degrees in the reversed direction so the tops are level.
- Dry-lean the two legs against a wall at your chosen angle and check that both feet sit flat and the tops are even. Trim to match if needed. This is where the back legs typically come out around 68 inches of usable length after the top trim.
Label the legs left and right as soon as they’re cut. It’s easy to mix up mirrored angle cuts and end up with two legs that lean the same way instead of mirroring each other.
Step 2: Cut the Shelves (Tapered Depths)
Now cut the five shelves to the widths and depths in the cut list: all 18 inches wide, with depths stepping from 6 inches at the top to 12 inches at the bottom.
The tapered depth is not just for looks, though it does look good. There are two real reasons for it:
- Stability. A leaning shelf carries most of its tipping risk up high. Keeping the top shelf shallow means less leverage and less weight sitting far out from the wall. The deep bottom shelf puts the heaviest, bulkiest items low and close to the floor, right where a leaning piece wants weight to be. This lowers the center of gravity and makes the whole unit far less tippy.
- Visual balance. A ladder that leans back looks natural when it gets wider toward the base, echoing the shape of an actual ladder or an A-frame. Uniform-depth shelves on a leaning frame look top-heavy and awkward.
Cut each shelf, then sand the cut edges lightly before assembly so you’re not sanding in tight corners later. Dry-fit each shelf against the legs to confirm the 18-inch width sits cleanly between or across your legs depending on your joinery choice.
Step 3: Join the Shelves to the Legs
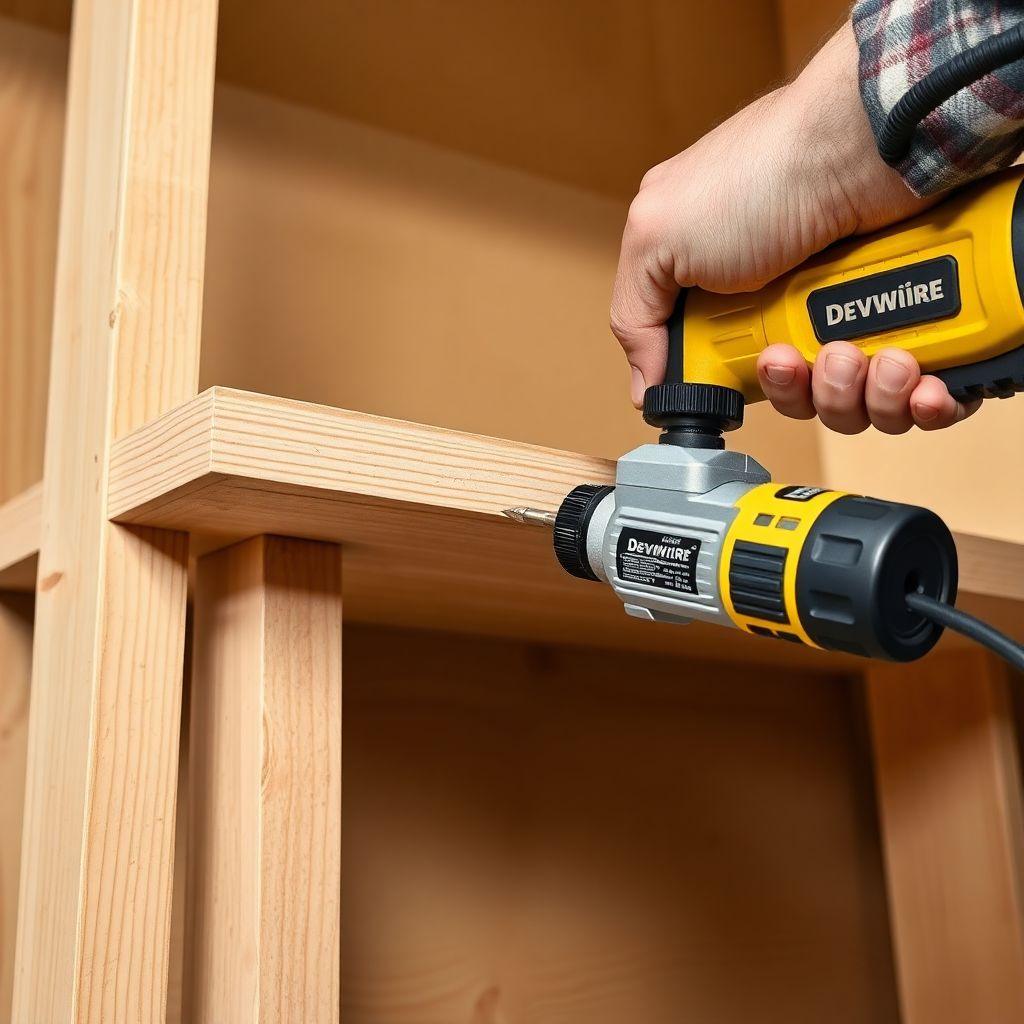
You have two solid options here. Pick based on your tools and how much you care about a clean look. This is the heart of any ladder bookshelf diy build, so read both before choosing.
Option A: Pocket screws (faster, beginner-friendly).
Pocket holes are the fastest route and forgiving for a first build.
- On the underside of each shelf, drill two pocket holes near each end (four per shelf) using your pocket hole jig set for 3/4-inch stock.
- Mark level shelf positions on the inside faces of the legs using a level, per the geometry section.
- Clamp each shelf in position, level, and drive 1.25-inch pocket screws into the legs. Add a bead of wood glue at each joint before screwing for extra strength.
The pocket holes hide on the undersides, so the finished front stays clean. This is the recommended method for beginners.
Option B: Half-lap notches (stronger, cleaner look).
Half-lap joints let each shelf seat into a notch cut in the leg, so the shelf carries its load on solid wood rather than on screws alone. It looks built-in and holds more weight, but it takes more skill.
- On each leg, mark the shelf positions and the depth of the shelf board (3/4 inch).
- At each mark, cut a notch half the thickness of the leg deep and as wide as the shelf board, using a handsaw for the shoulder cuts and a chisel (or router) to clear the waste.
- Test-fit each shelf into its notches; the shelf should slide in snug.
- Glue the notches, seat the shelves, clamp, and reinforce with one screw or brad per joint driven from the back.
Half-laps take longer and demand accurate notches, but the payoff is a stronger joint and a cleaner face with no visible hardware. If you own a router and a straight bit, the notches go quickly with a simple jig.
Whichever method you choose, assemble on a flat surface and check for square and level as you go. Once all five shelves are attached, let any glue cure before moving on.
Step 4: Sand and Finish
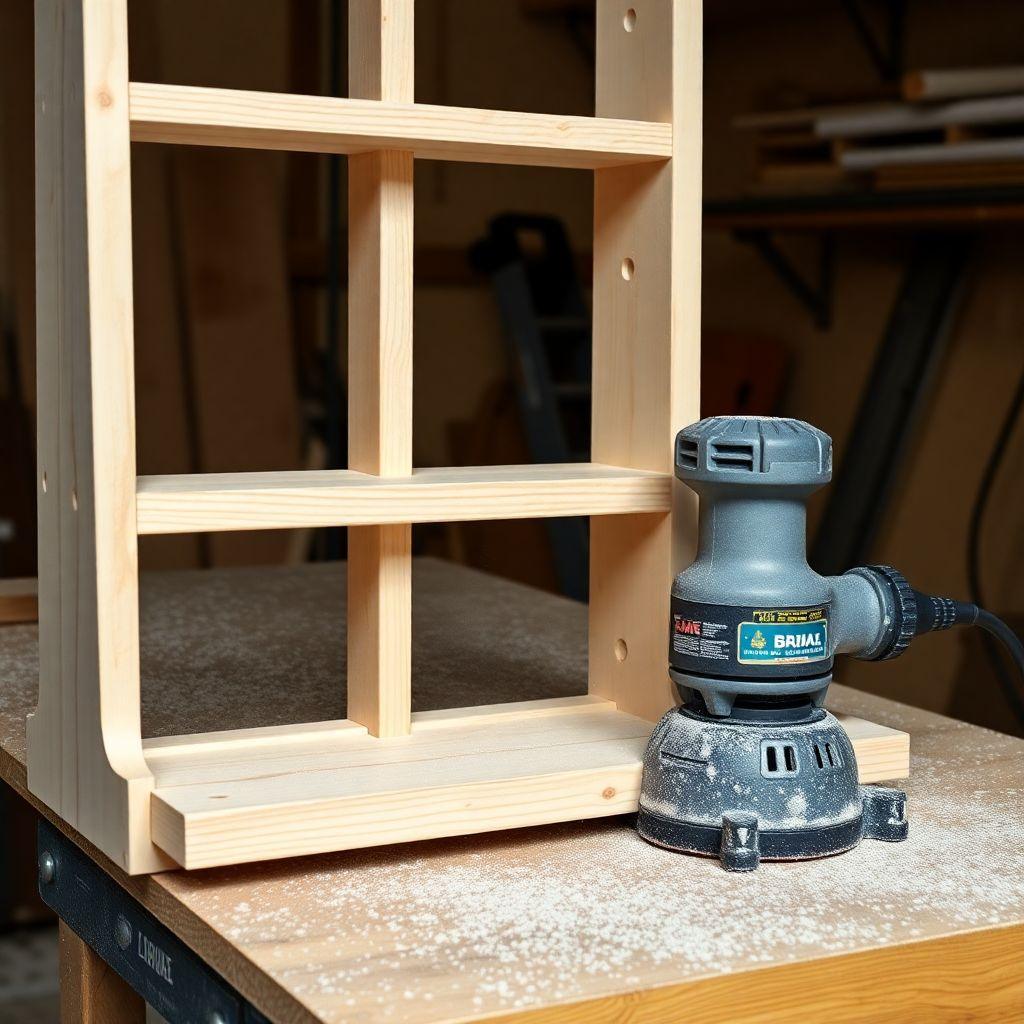
Sand the whole assembly, starting with 120 grit and finishing with 220 grit. Knock down every sharp edge and corner, pay attention to the shelf tops where hands and items make contact, and wipe off all dust with a tack cloth or damp rag before finishing.
Here’s a finishing detail worth doing: treat the rungs and the shelves differently.
- Shelves carry weight, take spills, and get handled, so they benefit from a durable film finish. Apply two to three coats of polyurethane, sanding lightly with 220 grit between coats. Poly protects against water rings from plant pots and scuffs from books.
- Legs and rungs are structural, not surfaces you set drinks on, so you have more freedom. Leave them bare for a raw pine look, or paint them a contrasting color (black legs with natural shelves is a popular combo). Bare or painted legs against poly-finished shelves gives the piece a considered, two-tone look with almost no extra effort.
Let each coat dry per the can’s instructions, usually a few hours, and give the final coat a full day to harden before you load the shelves.
Step 5: Set Up and Stabilize
Carry the finished ladder shelf to its spot and lean it against the wall at your build angle. A few setup checks:
- Confirm all four points of contact. Both feet should sit flat on the floor and both top leg ends should meet the wall. If it rocks, sand or shim the high foot until all four contact points are solid.
- Add rubber feet. Stick a rubber foot on the bottom of each leg. These stop the shelf from sliding out on hard floors (the main failure mode for leaning shelves) and protect the floor from scuffs.
- Load from the bottom up. Put heavy books and pots on the deep lower shelves and keep the shallow top shelf light. This respects the whole point of the tapered design.
At this point the shelf is functional. But before you call it done, read the safety section, especially if there are kids or pets in the house.
Safety: Tip Risk and Anti-Tip Options
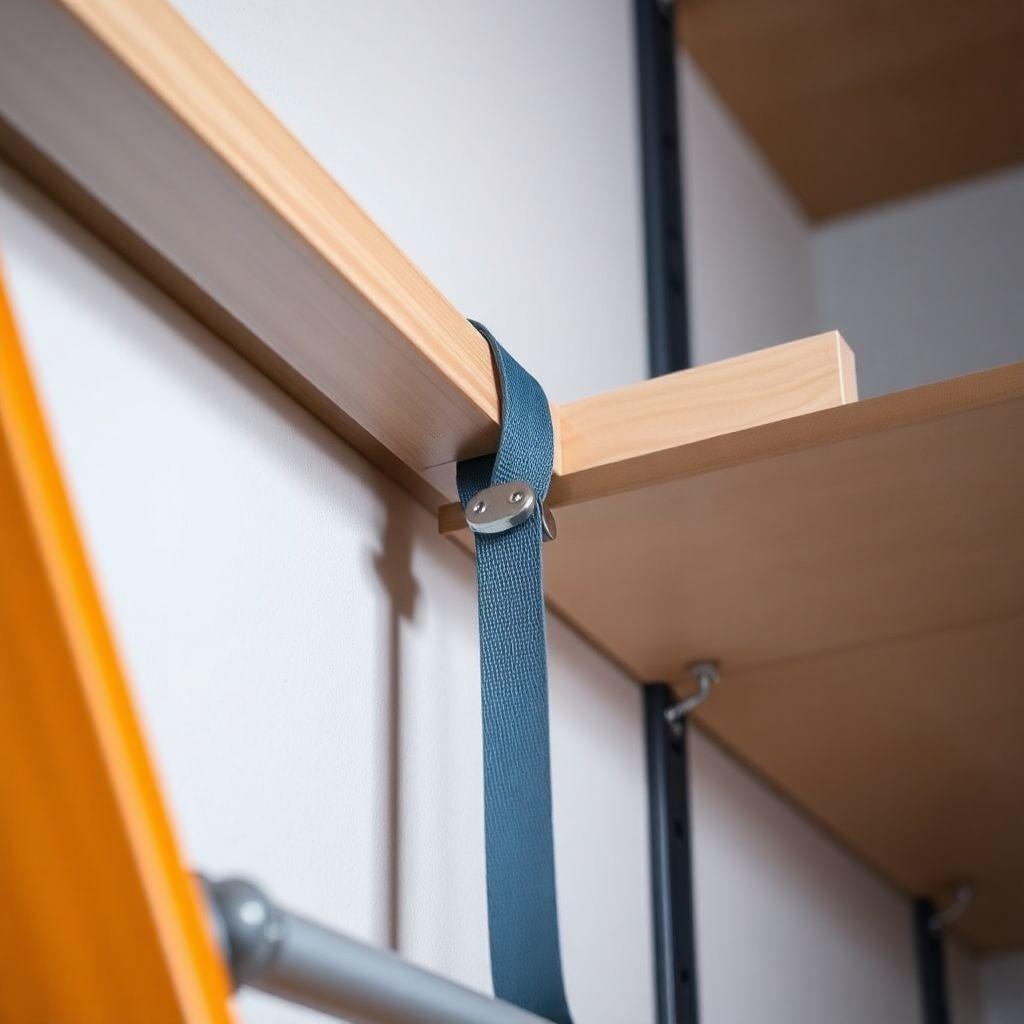
A leaning ladder shelf is freestanding. Nothing bolts it to the wall by default, and that’s part of the appeal. But freestanding also means tippable. The tip risk is real if the shelf gets loaded top-heavy, bumped, or climbed on. Take it seriously.
The two-part anti-tip strategy:
- Rubber feet at the base. Covered above, but worth repeating because it’s the most common failure. On smooth floors, an unsecured leaning shelf can slowly slide its feet outward until it drops flat. Rubber feet add grip and largely solve this. This is the minimum for any leaning shelf.
- A wall anchor strap at the top. For homes with children or pets, add an anti-tip strap (the same kind sold for dressers and bookcases). Screw one end into a wall stud and the other into the top rung or top of a leg. It’s a small, cheap piece of hardware that turns a tippable shelf into one that physically cannot fall forward. Toddlers climb, cats leap, and a strap is the difference between a wobble and an emergency room visit.
Even with a strap, keep heavy items low and never let anyone climb the shelf. It’s a shelf, not a ladder, despite the name.
Looking for more shelf ideas?
This guide is part of our complete bookshelf and shelving plans series — 7 shelf types compared by skill, cost, and build time. Find the right build for your space before you buy a board.
Want 16,000+ woodworking plans?
Ted’s Woodworking has step-by-step plans for every skill level — furniture, shelves, outdoor projects, and more. Browse Ted’s plans.
FAQ
How much weight can a ladder shelf hold?
With pocket screw joints and 2×2 legs, each shelf comfortably holds 15 to 25 pounds of books or decor. Upgrade to 2×3 legs and half-lap joints and you can push individual shelves toward 40 pounds. Always keep the heaviest loads on the lower, deeper shelves regardless of build.
Do I have to attach it to the wall?
No. The lean angle and rubber feet keep it stable for normal use. But if you have kids or pets, a wall anchor strap is strongly recommended. It’s cheap insurance against a tip-over.
What angle should a leaning ladder shelf be?
Between 9 and 15 degrees off vertical, with 10 degrees being the reliable default. Steeper than 15 degrees and the shelves start to feel like they’re pitching items backward; shallower than 9 degrees and stability drops.
Can I make this ladder bookshelf diy project with only a circular saw?
Yes. A miter saw makes the angle cuts cleaner, but a circular saw with a speed square guide handles every cut in this plan. Mark your angles carefully and clamp a straightedge as a cutting guide for consistent results.
What wood is best for a ladder shelf?
Pine is the go-to for a first build: cheap, light, easy to cut, and easy to finish. Use 2×2 pine legs for a lighter shelf or 2×3 for heavier loads. If you want to upgrade later, poplar (for paint) or oak (for stain) both work with the same dimensions.
How tall should the shelves be spaced?
Space rungs 11 to 14 inches apart. For a 72-inch ladder with five shelves, about 13 inches between shelves works well and fits standard hardcover books upright on most shelves. Adjust the top shelf spacing to sit around 6 inches from the trimmed top.
That’s the whole build. Cut your legs, taper your shelves, pick your joint, finish it in two tones, and lean it back at 10 degrees. For more shelving projects at every skill level, head back to our bookshelf and shelving plans hub.
Related Articles

“DIY woodworking enthusiast who started with zero experience and a YouTube tutorial.
I build simple, practical projects for my home and share free plans
so other beginners can skip the guesswork.If I can build it, you can too.”