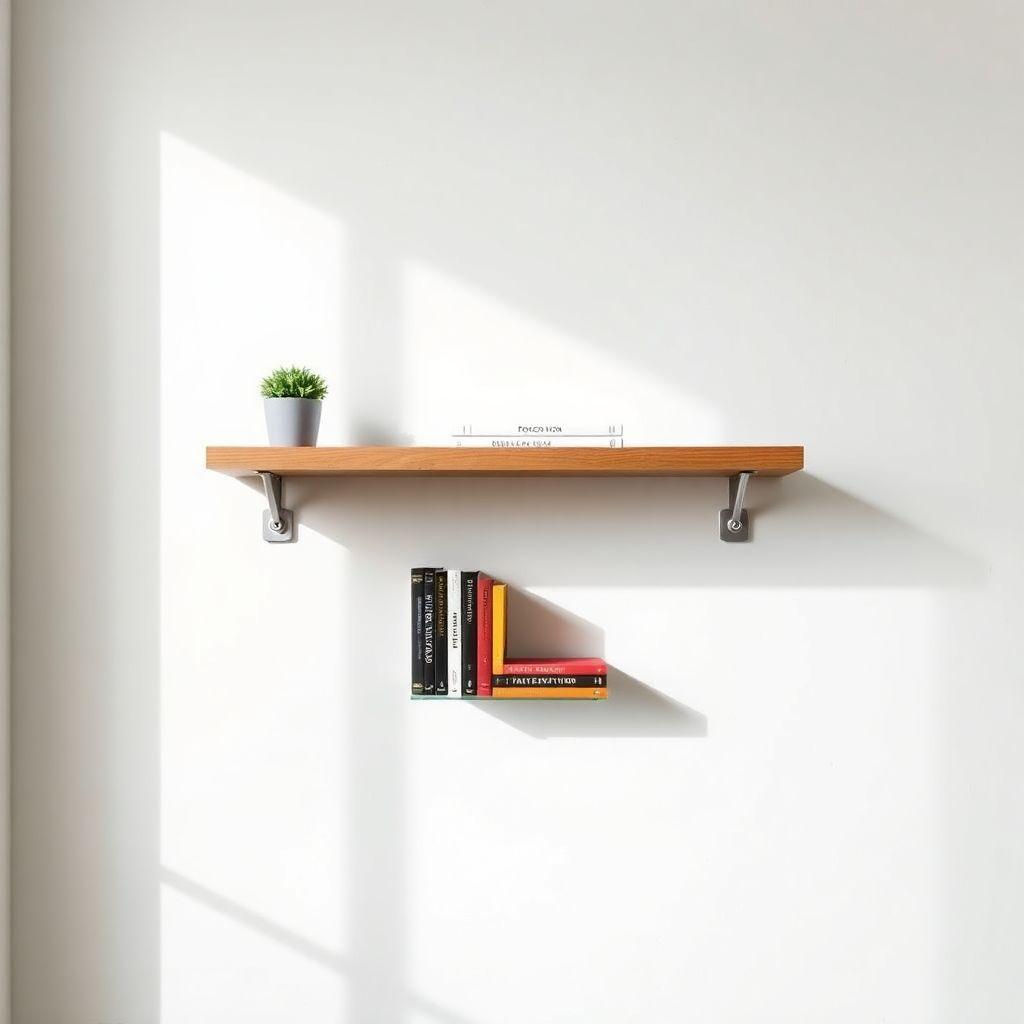
These floating shelf plans walk you through building a solid pine floating wall shelf for about $20 in materials and one to two hours of work. There are no visible brackets, no fussy joinery, and no power tools you probably don’t already own. If this is your first shelf build, you are in the right place. This guide covers how to build a floating shelf two different ways, how to match your anchors to your wall, and how to figure out how much weight the finished shelf will actually hold.
A floating shelf is just a board that appears to hang on the wall with nothing holding it up. The trick is hidden mounting hardware that carries the load back into the wall studs. Get the mounting right and a simple diy floating shelf will hold books, plants, dishes, or bathroom clutter for years. Get it wrong and it sags or pulls out of the drywall. This build focuses on getting it right the first time.
For more shelf projects at every skill level, see our full bookshelf and shelving plans collection.
Skill: Beginner | Cost: $15 to $40 | Time: 1 to 2 hours
Materials and Cut List
Looking for more shelving ideas?
This guide is part of our complete bookshelf and shelving plans series — compare all options by skill level, cost, and build time.
Want 16,000+ woodworking plans?
Ted’s Woodworking has step-by-step plans for every skill level. Browse Ted’s plans.
This build uses a standard 1×10 pine board, which measures 3/4 inch thick by 9-1/4 inches wide once milled. That depth is right for books, kitchen items, and display pieces. Cut the length to fit your space. A 24 to 48 inch shelf is the typical range. Longer than 48 inches and you will want a third stud anchor in the middle.
Shelf board
– 1×10 pine board, actual 3/4 in x 9-1/4 in, cut to your chosen length (24 to 48 in)
Keyhole bracket mounting hardware
– 2x keyhole bracket plates
– 1-5/8 in wood screws to fasten the brackets to the underside of the shelf
– 2x 2-1/2 in lag screws to anchor the brackets into the wall studs
– Wall anchors sized to your wall type (see the anchor guide below) if a bracket does not land on a stud
French cleat mounting hardware (alternative)
– 1×4 pine board, ripped down the middle at 45 degrees to make two matching cleats
– 2-1/2 in wood screws to fasten the wall cleat into the studs
– 1-1/4 in wood screws to fasten the shelf cleat to the underside of the shelf
Finishing
– 120 and 220 grit sandpaper
– Wood stain or paint (optional)
– Polyurethane or wipe-on finish
Tools Required
- Stud finder
- Tape measure and pencil
- Circular saw, miter saw, or hand saw for the shelf board
- Table saw or circular saw with a rip guide (French cleat method only, for the 45 degree rip)
- Drill and drill bits
- Screwdriver bits
- Level, or a phone with a level app
- Orbital sander (a sanding block works too)
Mounting Method: Keyhole Bracket vs French Cleat
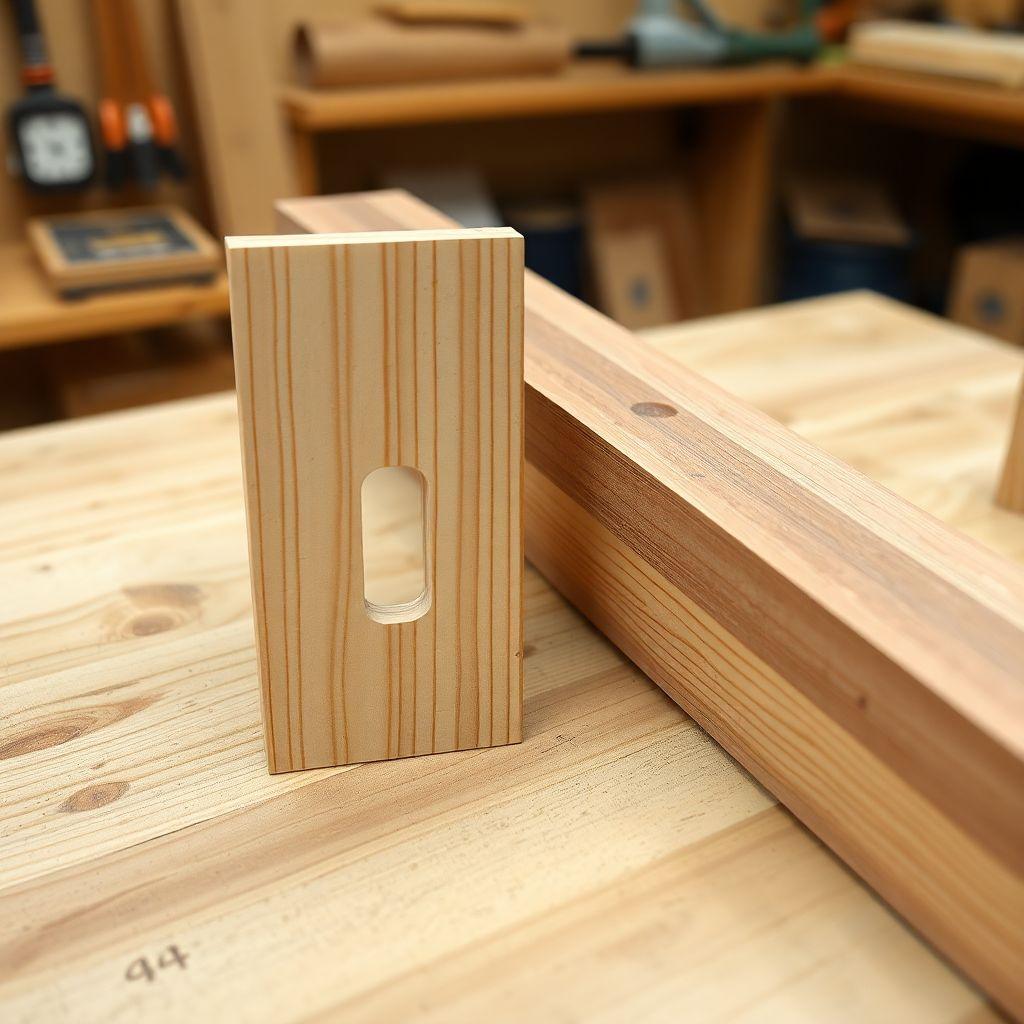
Both methods hide the hardware and hang the shelf off the studs. They differ in how they cut, how forgiving they are, and how much weight they carry. Choose based on your tools and your load.
Keyhole bracket. These are stamped metal plates that screw to the underside of the shelf. Each plate has a keyhole slot that drops over a lag screw head in the wall. No angled cuts, no table saw. This is the faster and more beginner-friendly method.
- Pros: cheap, no special cuts, fast to install, easy to level because you can shim the lag screw depth
- Cons: leveling the two lag screws to each other takes care, holds less weight than a full cleat, harder to reposition once hung
- Best for: light to medium loads, first-time builders, a quick display shelf
French cleat. You rip a board at 45 degrees to make two interlocking strips. One strip screws to the wall, the other to the shelf. The shelf drops on and the angled faces lock together along the entire length.
- Pros: carries the most weight, self-aligns along its full length, slides sideways to reposition, spreads the load across the whole shelf
- Cons: needs a table saw or a circular saw with a rip guide for the 45 degree cut, slightly more setup
- Best for: heavy loads like stacked books or dishes, longer shelves, anyone comfortable making a rip cut
For a first floating wall shelf holding books or decor, the keyhole bracket is the simpler path. If you own a table saw and plan to load the shelf heavily, the French cleat is worth the extra ten minutes.
Step 1: Find the Studs and Mark the Wall
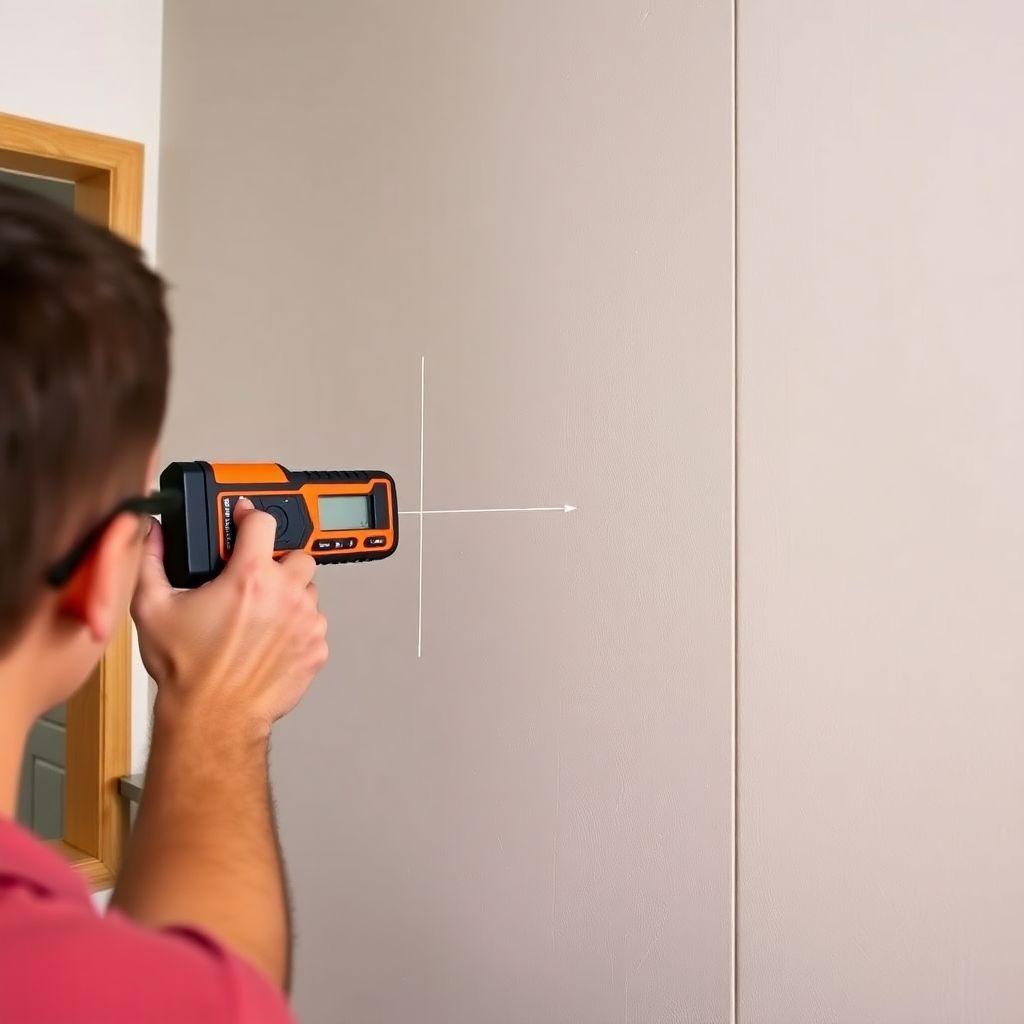
Run the stud finder across the wall at the height you want the shelf and mark the center of each stud with a pencil. Studs are usually 16 inches apart, sometimes 24. Mark at least two studs within the length of your shelf. These studs carry the load. Screwing into drywall alone will not hold a loaded shelf.
Once you have your studs, mark the mounting line. Measure up from the floor to your shelf height at two points and connect the marks. This gives you a reference line for the hardware. Do not eyeball it, small errors here show up as a visible tilt later.
Anchor selection by wall type. If both of your mounting points land on studs, you screw straight into wood and no anchors are needed. When a point falls between studs, the anchor has to do the work, and the anchor must match the wall:
- Drywall (1/2 in): Use heavy-duty toggle bolts or self-drilling metal anchors rated for the load. Plastic expansion anchors are not enough for a loaded shelf.
- Plaster and lath: Use toggle bolts. Plaster is brittle, so drill slowly and avoid overtightening.
- Tile (over drywall or backer): Drill through the tile with a carbide or diamond bit first, then set a toggle or sleeve anchor in the material behind. Never let the anchor expand against the tile itself.
- Concrete or brick: Use a masonry bit and concrete sleeve anchors or Tapcon screws. These hold far more than any drywall anchor.
Whenever possible, hit the studs and skip anchors entirely. A stud will always outhold drywall hardware.
Step 2: Cut the Shelf Board
Measure and mark your final length on the 1×10, then cut it square. A miter saw gives the cleanest cut, but a circular saw with a speed square as a guide works fine. Sand the cut ends lightly so they are flush and splinter-free.
If you are using the French cleat method, this is also when you rip the 1×4 at 45 degrees. Set your table saw blade to 45 degrees and rip the board down the center so you get two mirror-image cleats. Cut both cleats a couple inches shorter than the shelf so they stay hidden.
Step 3: Sand and Finish
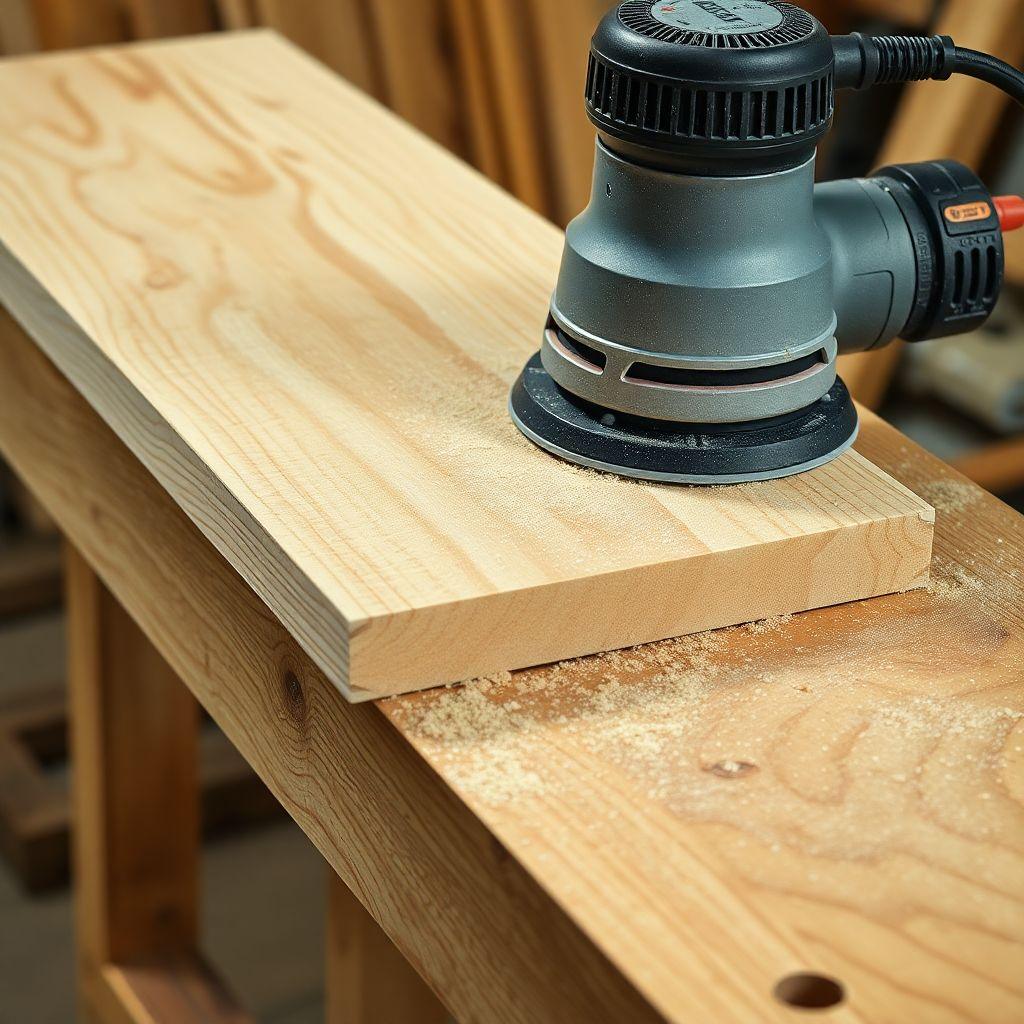
Sand the whole board with 120 grit, then again with 220 grit, always going with the grain. Knock down the sharp edges so they feel soft to the touch.
Finish the shelf now, before it goes on the wall. This matters. Finishing off the wall means you can lay the board flat, reach every edge and the underside, and avoid dripping stain or poly down your wall. Trying to finish a mounted shelf leaves you working around brackets, missing the underside, and taping off the wall to protect it. Apply stain or paint, let it dry, then add two coats of polyurethane or a wipe-on finish, sanding lightly with 220 between coats. Let it cure fully before you hang anything on it.
Step 4: Install the Mounting Hardware
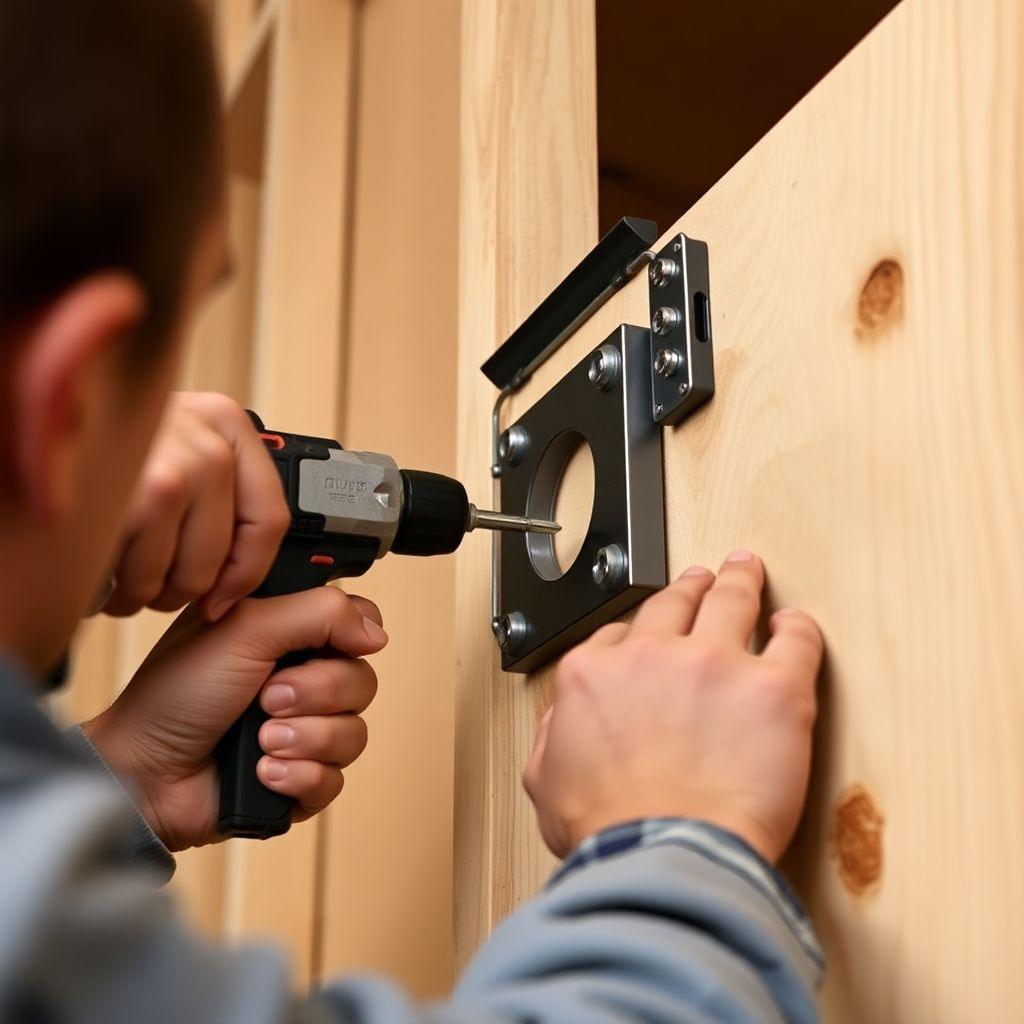
Keyhole bracket method. Position the two keyhole plates on the underside of the shelf, set in from each end so they will line up with your studs. Fasten them with the 1-5/8 in wood screws. Do not use screws longer than the board is thick or they will poke through the top. Now transfer the bracket spacing to the wall. Drive a 2-1/2 in lag screw into each stud along your mounting line, leaving the head standing off the wall by the depth the keyhole slot needs, usually about 1/8 to 1/4 inch. Check the two lag screw heads are level with each other before you hang the shelf.
French cleat method. Screw the wall cleat to the studs with the 2-1/2 in screws, angled face pointing up and toward the wall so it forms a hook. Level it carefully, this cleat sets the shelf angle. Fasten the matching cleat to the underside of the shelf with the 1-1/4 in screws, its angle mirroring the wall cleat so the two lock together.
Step 5: Hang the Shelf and Level It
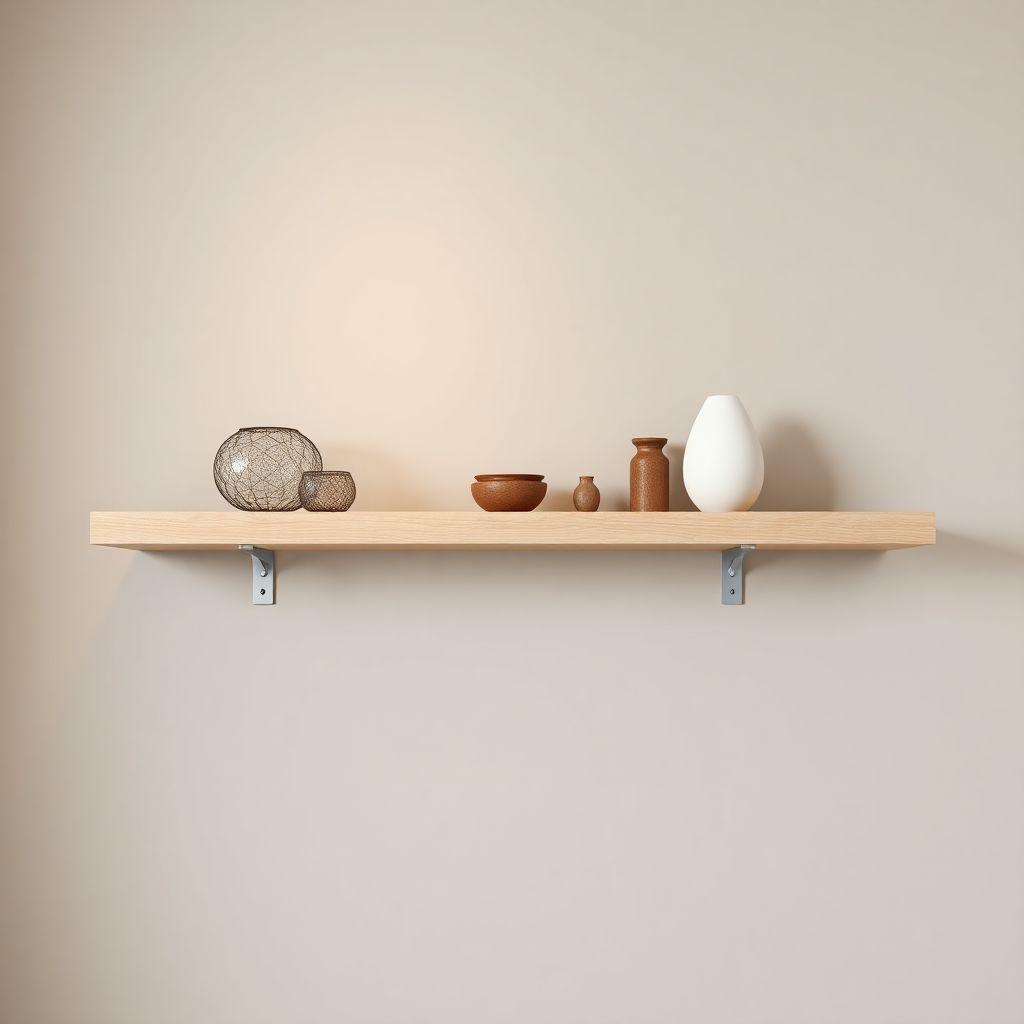
For the keyhole method, line the plate slots up over the lag screw heads and press the shelf down so it drops into the narrow part of each slot. For the French cleat, set the shelf cleat over the wall cleat and let gravity pull the angles together.
Check level. If you do not own a level, use a level app on your phone laid flat on the shelf, or make a water level by holding a clear tube of water at each end and matching the water lines. To correct a keyhole shelf that tilts, back one lag screw in or out slightly to raise or lower that end. For a French cleat, loosen the wall cleat, adjust, and re-drive.
Once it sits level, the shelf is done. Load it gradually and watch how it behaves before you trust it with anything heavy.
How Much Weight Can a Floating Shelf Hold?
Capacity comes down to three things working together: the shelf material, the bracket or cleat spacing, and the anchor holding it to the wall. The weakest of the three sets your real limit.
- Shelf material. A 3/4 in pine 1×10 is stiff enough to carry a normal book or decor load across a 48 in span without noticeable sag. Push past that span or stack heavy items in the middle and the board itself starts to flex.
- Bracket spacing. Two anchor points into studs 16 in apart on a 32 in shelf is solid. The wider your unsupported ends overhang past the outer anchors, the more leverage works against you. Keep the anchors spread out toward the ends.
- Anchor type. This is usually the limit. A 2-1/2 in lag into a stud will hold well over 50 lb per point. A good toggle bolt in 1/2 in drywall holds far less and depends on the drywall not tearing. A concrete sleeve anchor holds the most.
A realistic rule of thumb: a pine shelf lagged into two studs will comfortably carry 40 to 50 lb of evenly distributed weight. Anchored only into drywall with toggles, plan on a fraction of that and keep the load light.
The mistake to avoid: drywall flex under heavy loads. Even when your anchors hold, 1/2 in drywall is not rigid. Load a shelf heavily on anchors set between studs and the whole wall surface can flex and bow, letting the shelf pull away over time even though nothing technically failed. This is why hitting studs matters so much. Studs give you a rigid backing that does not move. If you cannot hit a stud at your chosen height, either move the shelf or add a mid-span anchor into a stud and keep the load modest.
Looking for more shelf ideas?
This guide is part of our complete bookshelf and shelving plans series — 7 shelf types compared by skill, cost, and build time. Find the right build for your space before you buy a board.
Want 16,000+ woodworking plans?
Ted’s Woodworking has step-by-step plans for every skill level — furniture, shelves, outdoor projects, and more. Browse Ted’s plans.
FAQ
Do floating shelves need studs?
For anything but the lightest decor, yes. Studs give you a rigid anchor that will not flex or tear out. If you must mount between studs, use heavy-duty toggle bolts sized to your wall and keep the load light.
How thick should a floating shelf be?
A 3/4 in board is the standard and works for most spans up to 48 inches. Thicker stock adds stiffness and lets you recess deeper hardware, but 3/4 in pine is plenty for a first build.
Can I build a floating shelf without a table saw?
Yes. Use the keyhole bracket method. It needs only a saw to cut the board to length and a drill. The French cleat is the only part of this build that calls for a rip cut.
How far apart should the brackets be?
Match them to your studs, typically 16 inches apart. Set the anchors toward the ends of the shelf rather than clustered in the middle so the shelf is supported across its width.
What is the cheapest way to build one?
A single 1×10 pine board and two keyhole brackets will run you around $15 to $20. Skipping stain and just sealing the raw pine keeps the cost and the time down, which is why floating shelves diy projects are such a common first build.
Should I finish the shelf before or after mounting?
Before, always. Finishing off the wall lets you reach every surface, keeps drips off your wall, and means the shelf is ready to load the moment it is level and hung.
Related Articles

“DIY woodworking enthusiast who started with zero experience and a YouTube tutorial.
I build simple, practical projects for my home and share free plans
so other beginners can skip the guesswork.If I can build it, you can too.”