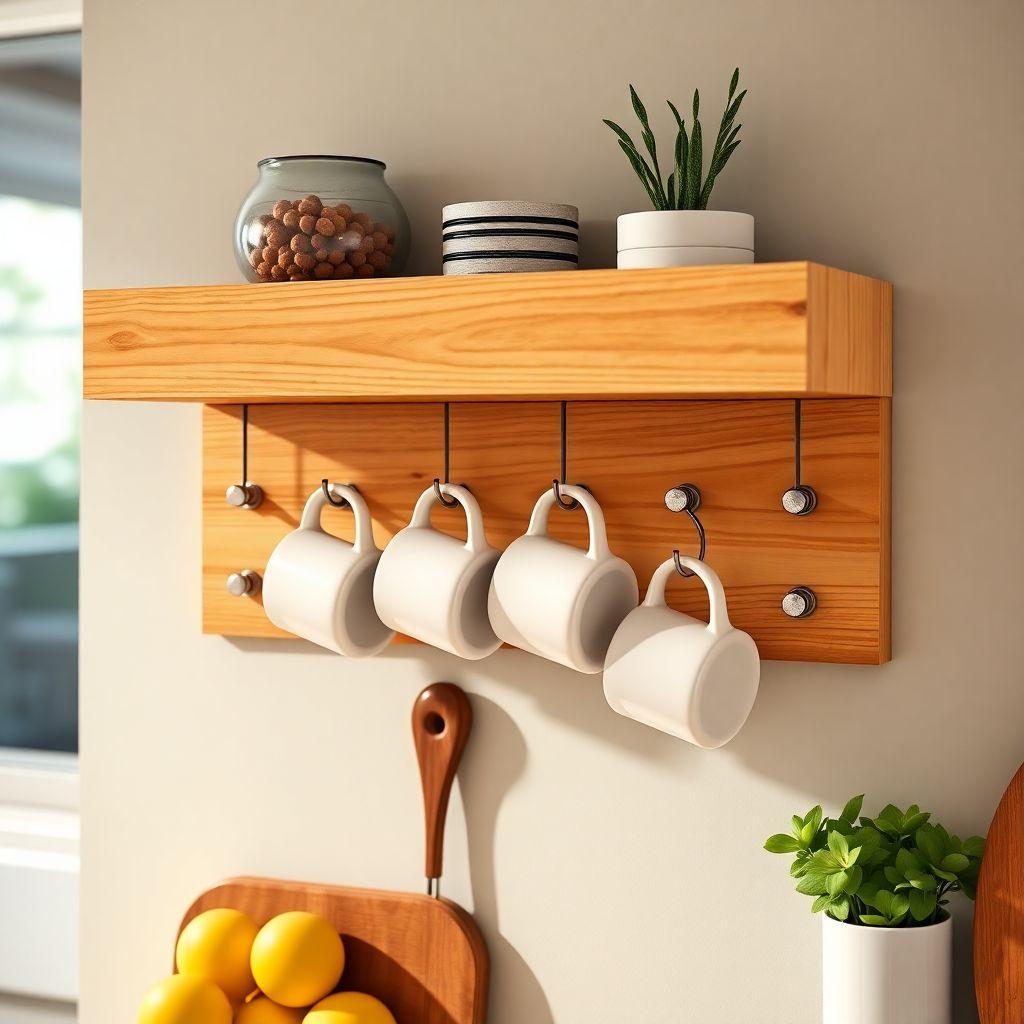
A mug shelf is one of the best first projects for a new woodworker. It uses a single board, a handful of cup hooks, and about two hours of your time. When you’re done, you have a wall-mounted rack that clears your cabinet clutter and turns your favorite mugs into a display over your coffee bar.
This guide walks you through a complete diy mug shelf from raw lumber to hung-on-the-wall. You’ll get a full cut list, the exact hook spacing math so you know how many mugs actually fit, two ways to build the front lip, and the finishing details that separate a rustic stained look from a clean farmhouse white. Total cost runs about $15 to $35 depending on your finish and hardware. Skill level: beginner. Time: roughly 2 hours plus drying.
For more shelving builds at every skill level, see our full bookshelf and shelving plans hub.
Materials and Cut List
Everything here comes from one trip to the hardware store. Pine is the cheapest and easiest wood to work with, which is why this coffee mug shelf uses it throughout.
Cut list:
| Part | Material | Dimensions | Qty |
|---|---|---|---|
| Shelf board | 1×6 pine | 24 to 36″ long | 1 |
| Front lip | 1×2 pine | Same length as shelf | 1 |
| Cup hooks | 1-1/4″ screw-in | See spacing math below | 4 to 8 |
| Mounting hardware | Keyhole brackets or picture hangers | — | 2 |
Shopping notes:
- A 1×6 board actually measures 3/4″ thick by 5-1/2″ wide. That depth is plenty for mug bodies to sit against the wall without tipping.
- Buy the straightest board you can find. Sight down the length and reject anything with a bow or twist.
- Cup hooks come in brass, white, and black. Brass suits a stained shelf; white or black suits a painted one.
- Grab a small can of stain or paint, wood glue, and 1-1/4″ brad nails or finish nails if you’re building the nailed-on lip.
Tools Required
You don’t need a full shop for this.
- Miter saw, circular saw, or a hand saw and miter box
- Drill/driver
- Drill bits (including a small bit for pilot holes, sized below)
- Tape measure and pencil
- Sandpaper (120 and 220 grit)
- Nail gun or hammer (for the nailed-on lip option)
- Router with a straight or core-box bit (only for the routed-groove lip option)
- Stud finder and level for mounting
Hook Spacing: How Many Mugs Fit?
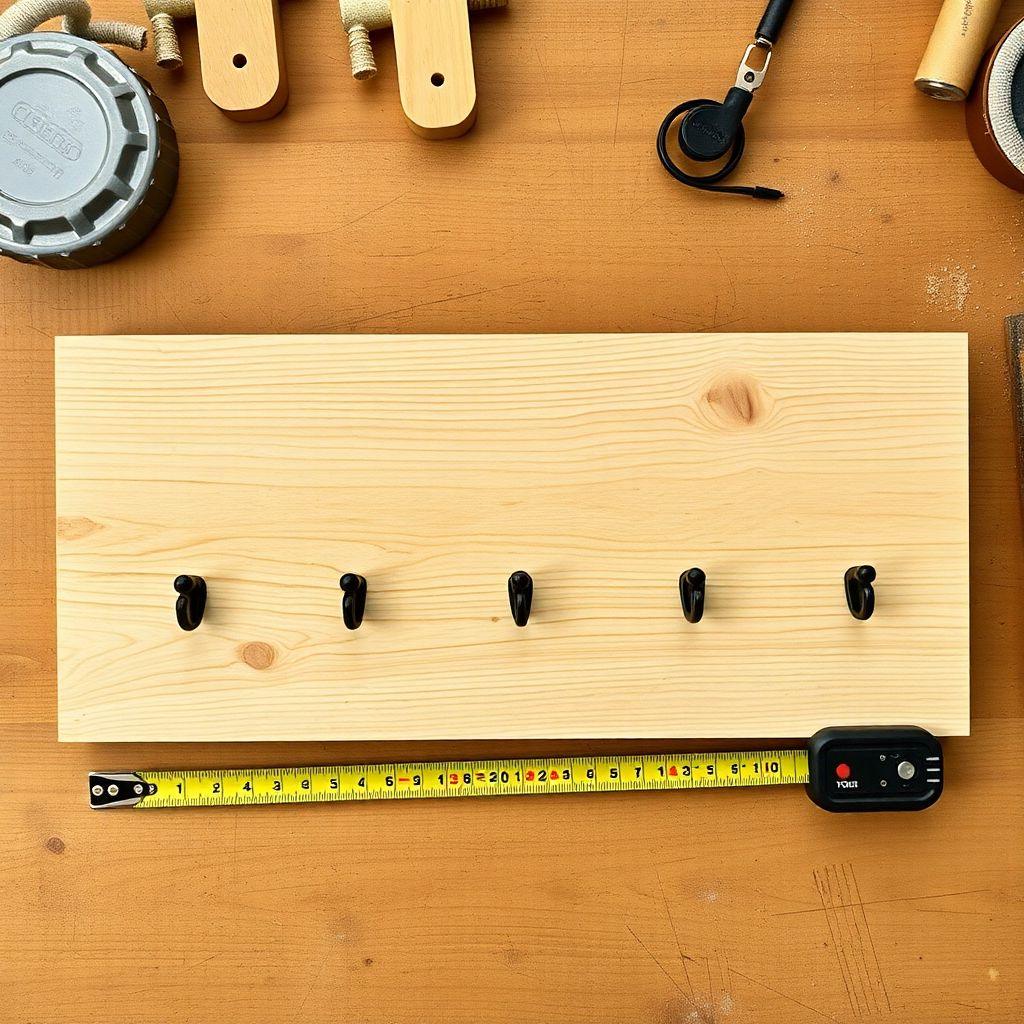
This is the part most plans skip, and it’s the difference between a shelf that holds your mugs and one where the handles bang together.
The rule: 3 inches on center for small mugs, 4 to 5 inches for large or wide-handled mugs. “On center” means you measure from the center of one hook to the center of the next, not the gap between them.
To find how many hooks fit on your board:
- Start with your shelf length.
- Subtract 2 inches so the end mugs don’t hang off the edge (1 inch of margin per side).
- Divide by your hook spacing.
- Round down to a whole number.
Worked example: a 30″ shelf with standard mugs at 4″ spacing.
- 30 − 2 = 28 usable inches
- 28 ÷ 4 = 7
- You fit 7 cup hooks, holding 7 mugs.
If you use big diner-style mugs, bump to 5″ spacing: 28 ÷ 5 = 5.6, round down to 5 hooks. Mark your hook centers with a pencil before you drill so the spacing stays even across the board.
Step 1: Cut and Sand the Board
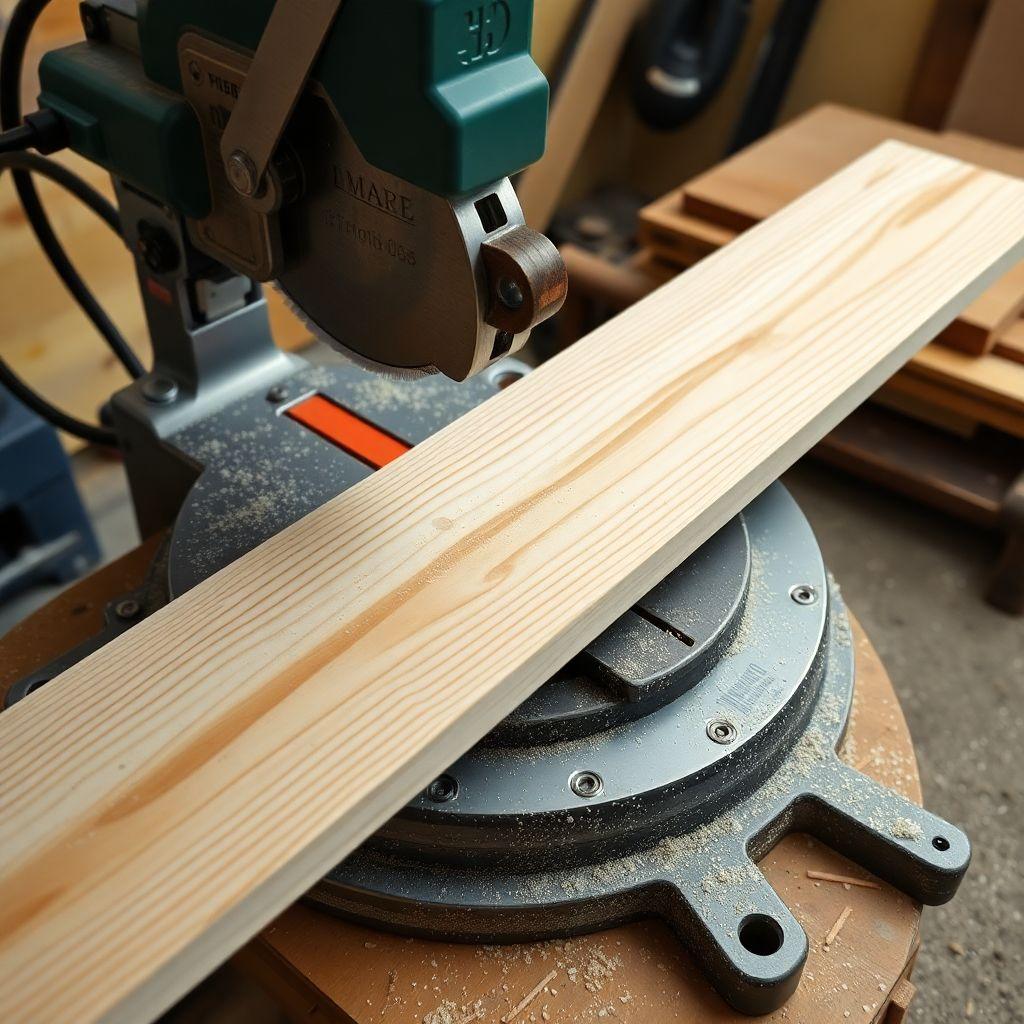
Decide your final length based on the wall space above your coffee station. Anywhere from 24 to 36 inches works. Measure the wall, subtract a couple inches of breathing room on each side, and cut your 1×6 to that length.
Cut the 1×2 lip strip to the exact same length so the ends line up flush.
Sand both pieces. Start with 120 grit to knock down saw marks and any roughness, then finish with 220 grit for a smooth surface that takes stain evenly. Pay attention to the edges and the cut ends, which soak up finish fast and look blotchy if left rough. Wipe off the dust with a tack cloth or damp rag before you move on.
Step 2: Add the Lip (Two Options)
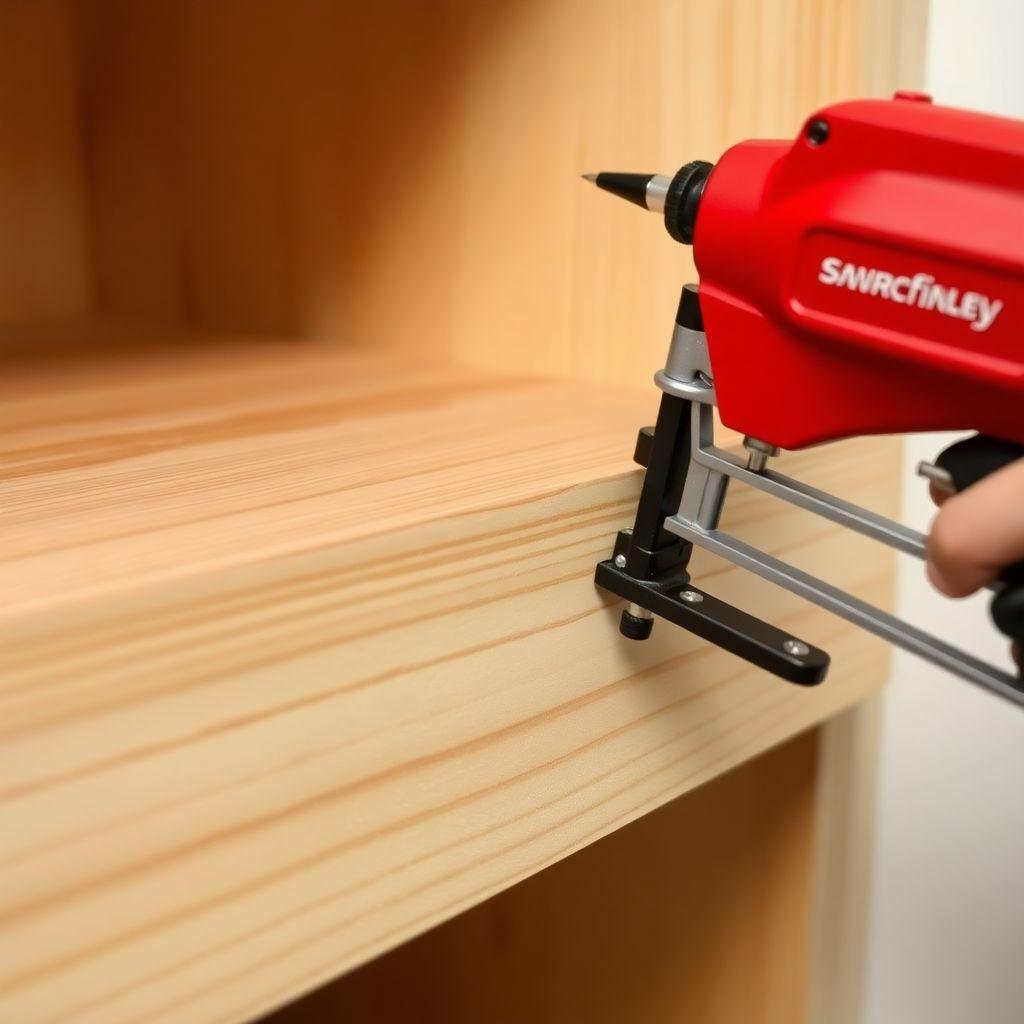
The lip is what keeps mugs from sliding off the front when you bump the shelf. You have two ways to build it, and both work. Pick based on the tools you own and the look you want.
Option A: Nailed-on 1×2 front lip. This is the beginner-friendly route. Run a bead of wood glue along the front edge of the shelf board, set the 1×2 on top of the shelf flush with the front edge so it stands up like a small wall, and nail it down with 1-1/4″ brads every 6 inches. The raised lip gives you about 3/4″ of ledge that mugs rest behind. No router needed.
Option B: Routed groove. If you own a router, cut a shallow groove (about 1/4″ deep) running the length of the shelf, an inch back from the front edge. The mug bases sit down in the groove, which stops them from sliding without adding a raised lip. This gives a cleaner, flatter profile. It only makes sense if your mugs sit base-down on the shelf rather than hanging, so most builders hanging mugs from hooks go with Option A.
For a hanging mug rack, the nailed-on lip is the standard choice. Use the routed groove if you also want to stand a few mugs upright on the shelf surface.
Step 3: Drill Pilot Holes and Install Cup Hooks
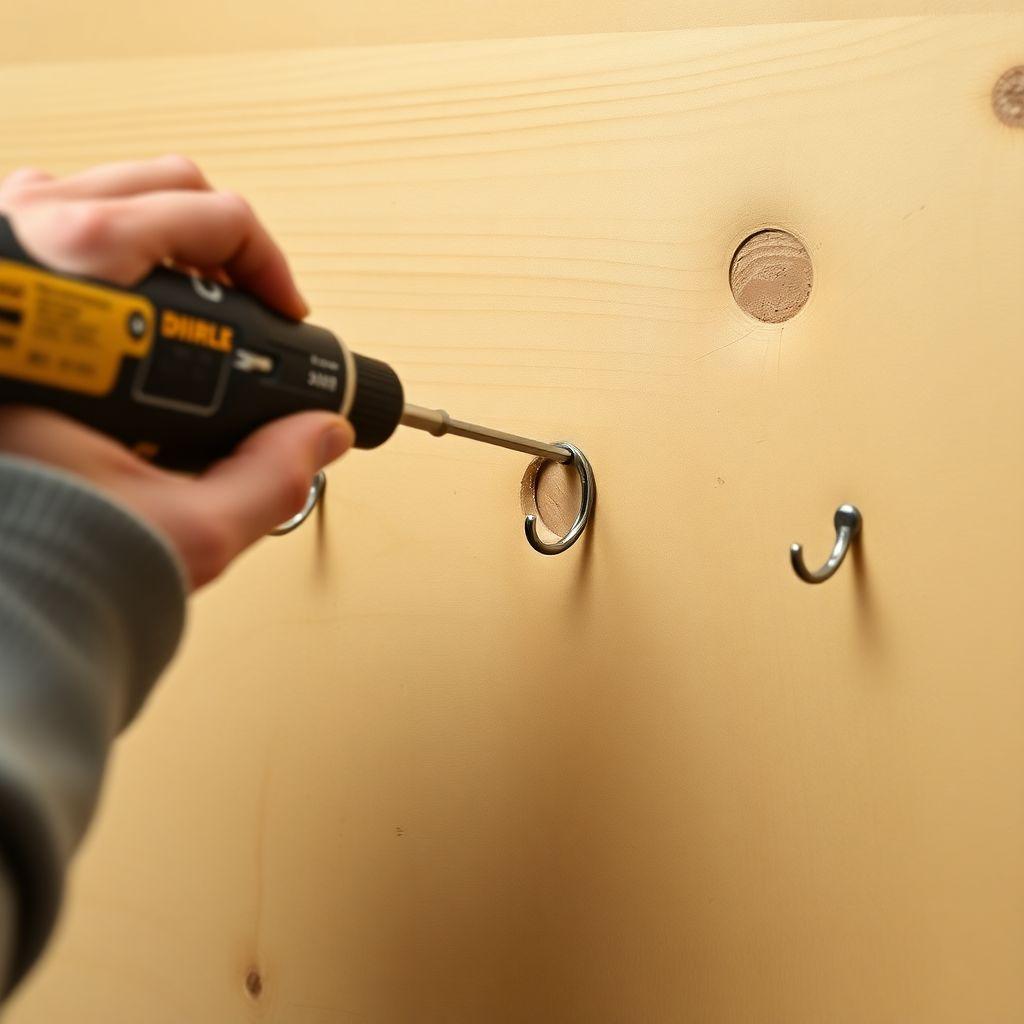
Never screw a cup hook straight into pine without a pilot hole. Pine splits easily, and a split right at a hook ruins the board.
Pilot hole sizing: use a drill bit slightly smaller than the hook’s threaded shaft, roughly 1/16″ for a 1-1/4″ cup hook. Hold the bit next to the hook’s screw threads. The bit should match the solid inner core of the screw, not the outer thread diameter. When in doubt, go smaller. The threads need wood to bite into.
Mark your hook centers using the spacing math from earlier. Drill each pilot hole about 1/2″ deep, straight and level along the underside front of the shelf (or along the lip face, depending on your design). Then screw the cup hooks in by hand. They turn easily for the first few threads, then need a firm twist. If a hook won’t budge, back it out and open the pilot hole slightly rather than forcing it.
Set all hooks so the open side of the hook faces the same direction so mugs hang uniformly.
Step 4: Stain or Paint
This is where you choose the shelf’s personality.
Stain shows off the pine grain and gives a warm, rustic look that suits a coffee bar or farmhouse kitchen. Apply with a rag or brush, wait a few minutes, then wipe off the excess. One coat reads light; two coats go richer. Let it dry fully, then seal with a wipe-on polyurethane so spills and steam don’t stain the wood.
Paint hides the grain and gives a clean, uniform finish. Farmhouse white is the popular pick for a wooden mug shelf, but any color works. Prime first so the pine doesn’t blotch, then two thin coats of paint, sanding lightly with 220 grit between coats.
Whichever you choose, finish the shelf before you hang it and, if possible, before installing the cup hooks, since finishing around hardware is fiddly. Let everything cure per the can’s instructions, usually overnight.
Step 5: Mount the Shelf
A loaded mug shelf is heavier than it looks. Six ceramic mugs can add 6 to 10 pounds, so mount it into something solid.
Best case: hit a stud. Use a stud finder to locate framing, then drive screws through the shelf back (or through keyhole brackets) directly into the stud. This is the strongest mount and the right call for a heavy mug rack wall display.
If no stud lines up: use two keyhole brackets on the back with heavy-duty wall anchors rated for the combined weight, or picture-hanging hardware for a lighter load. Picture hangers are fine for a short shelf holding three or four mugs. For a full 30″ shelf loaded with mugs, step up to a French cleat: a two-part beveled strip where one half mounts to the wall and the other to the shelf, distributing the weight along the whole length. A French cleat is the most secure option and lets you lift the shelf off the wall for cleaning.
Level the shelf before final tightening. A mug rack wall that sits crooked is obvious the moment you hang the first mug.
Bonus: Add a Towel Bar
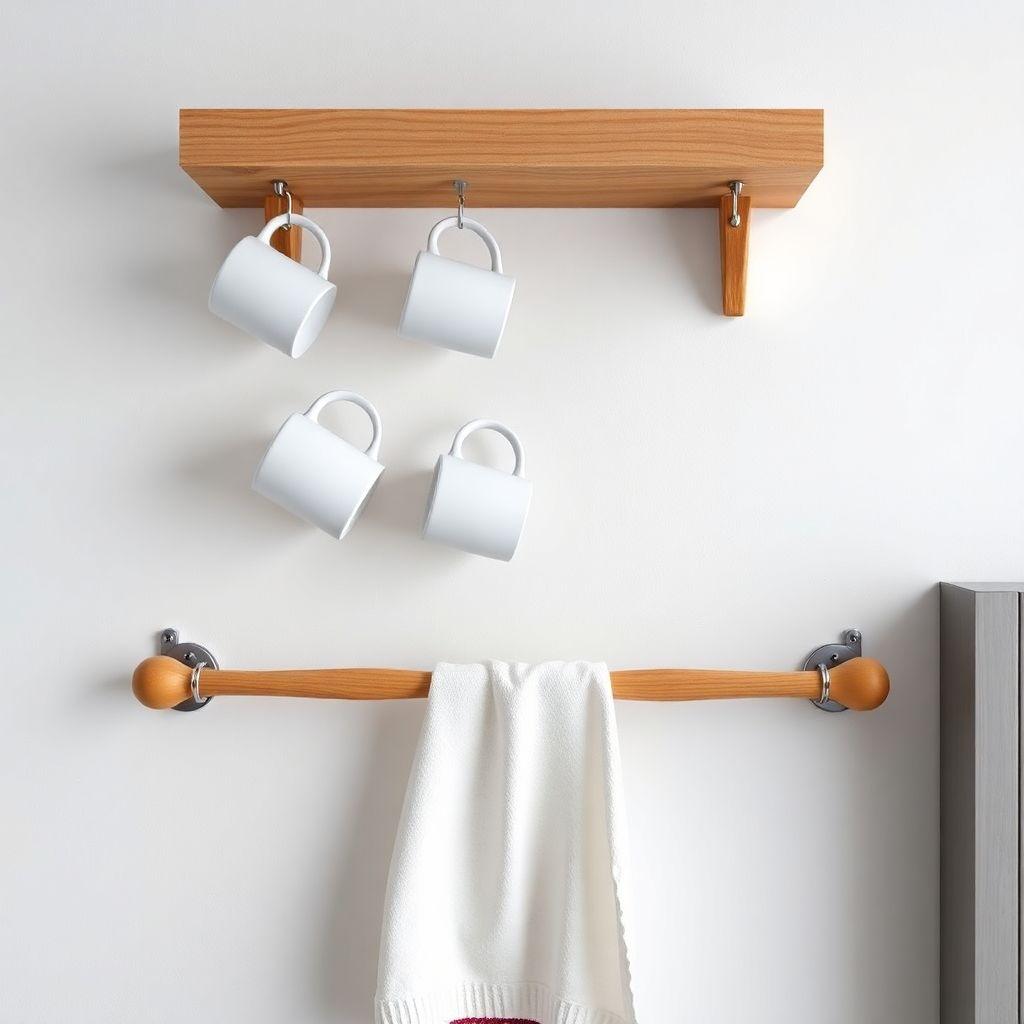
Since you already have the tools out, add a dish-towel bar below the shelf in about ten minutes.
Cut a length of 3/4″ or 1″ wooden dowel to match your shelf length. Drill a matching-diameter hole about 1/2″ deep into two small wooden brackets (or into the underside ends of the shelf if it’s mounted with space beneath). Glue the dowel ends into the brackets, mount the brackets a few inches below the shelf, and you have a towel bar for dish towels or hand towels right where you need them at the coffee station.
Looking for more shelf ideas?
This guide is part of our complete bookshelf and shelving plans series — 7 shelf types compared by skill, cost, and build time. Find the right build for your space before you buy a board.
Want 16,000+ woodworking plans?
Ted’s Woodworking has step-by-step plans for every skill level — furniture, shelves, outdoor projects, and more. Browse Ted’s plans.
FAQ
How much does a DIY mug shelf cost to build?
Around $15 to $35. A pine 1×6 and 1×2 run about $10 to $15 together, cup hooks are a few dollars, and stain or paint and mounting hardware make up the rest. If you have finish and a drill on hand, you can come in under $20.
How far apart should cup hooks be on a mug shelf?
3 inches on center for small mugs, 4 to 5 inches for large or wide-handled mugs. Subtract 2 inches from your shelf length for edge margin, divide by your spacing, and round down to get your hook count.
What size pilot hole do I drill for cup hooks in pine?
About 1/16″ for a 1-1/4″ cup hook, matched to the solid core of the screw rather than the outer threads. The pilot hole prevents the pine from splitting while leaving enough wood for the threads to grip.
How do I hang a heavy mug rack wall shelf securely?
Screw into a wall stud whenever you can. If no stud lines up, use keyhole brackets with heavy-duty anchors, or a French cleat for the strongest hold on a fully loaded shelf. Picture hangers are only suitable for light loads of three or four mugs.
Should I stain or paint my mug shelf?
Stain if you want the pine grain to show for a rustic or coffee-bar look. Paint, usually farmhouse white, if you want a clean uniform finish. Seal a stained shelf with polyurethane to protect against kitchen steam and spills.
Can I make the shelf longer to hold more mugs?
Yes. A longer board holds more hooks, just keep your spacing consistent and mount into at least two studs (or a full-length French cleat) since the weight adds up quickly with more mugs.

“DIY woodworking enthusiast who started with zero experience and a YouTube tutorial.
I build simple, practical projects for my home and share free plans
so other beginners can skip the guesswork.If I can build it, you can too.”